
Easy and Free Crochet Amigurumi Bird Pattern for Beginners
Enjoy this free crochet pattern that makes it easy to stitch cute amigurumi birds, a fun project to explore and share with family and friends.
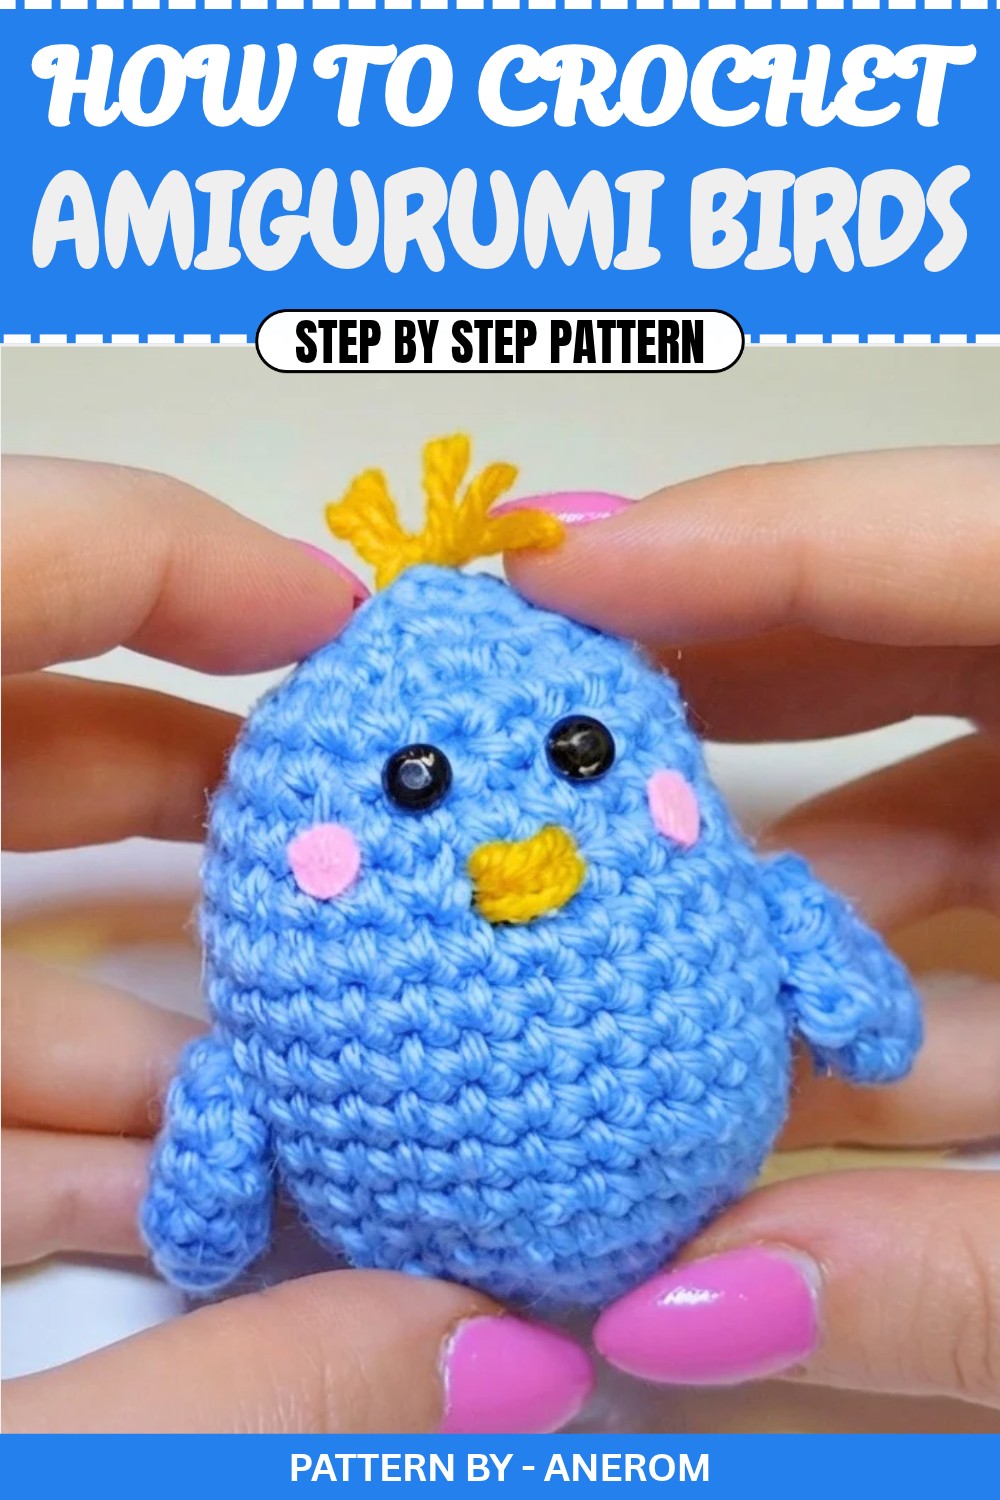
Looking for a fun and heartwarming crochet project to brighten your day? Meet the adorable amigurumi bird. This charming little creation is perfect as a thoughtful handmade gift, a unique home decoration, or even a delightful addition to your crochet collectibles. With its rounded body, tiny wings, soft tuft of “feathers,” and cheerful embroidered details, it’s a project bursting with personality that’s sure to make anyone smile.
How to Crochet Adorable Amigurumi Birds – Free Pattern Included
This crochet bird is ideal for beginners as well as intermediate crocheters who want to explore shaping techniques like working in continuous rounds or making small embellishments. Carefully stitched to bring out its whimsical features, the bird’s design includes a smooth oval body, a tiny cone shaped tail, and optional felt or stitched cheeks for extra cuteness. Whether you use pastel shades for a soft, dreamy look or bold colors for a vibrant character, the yarn choices can make each bird truly unique.
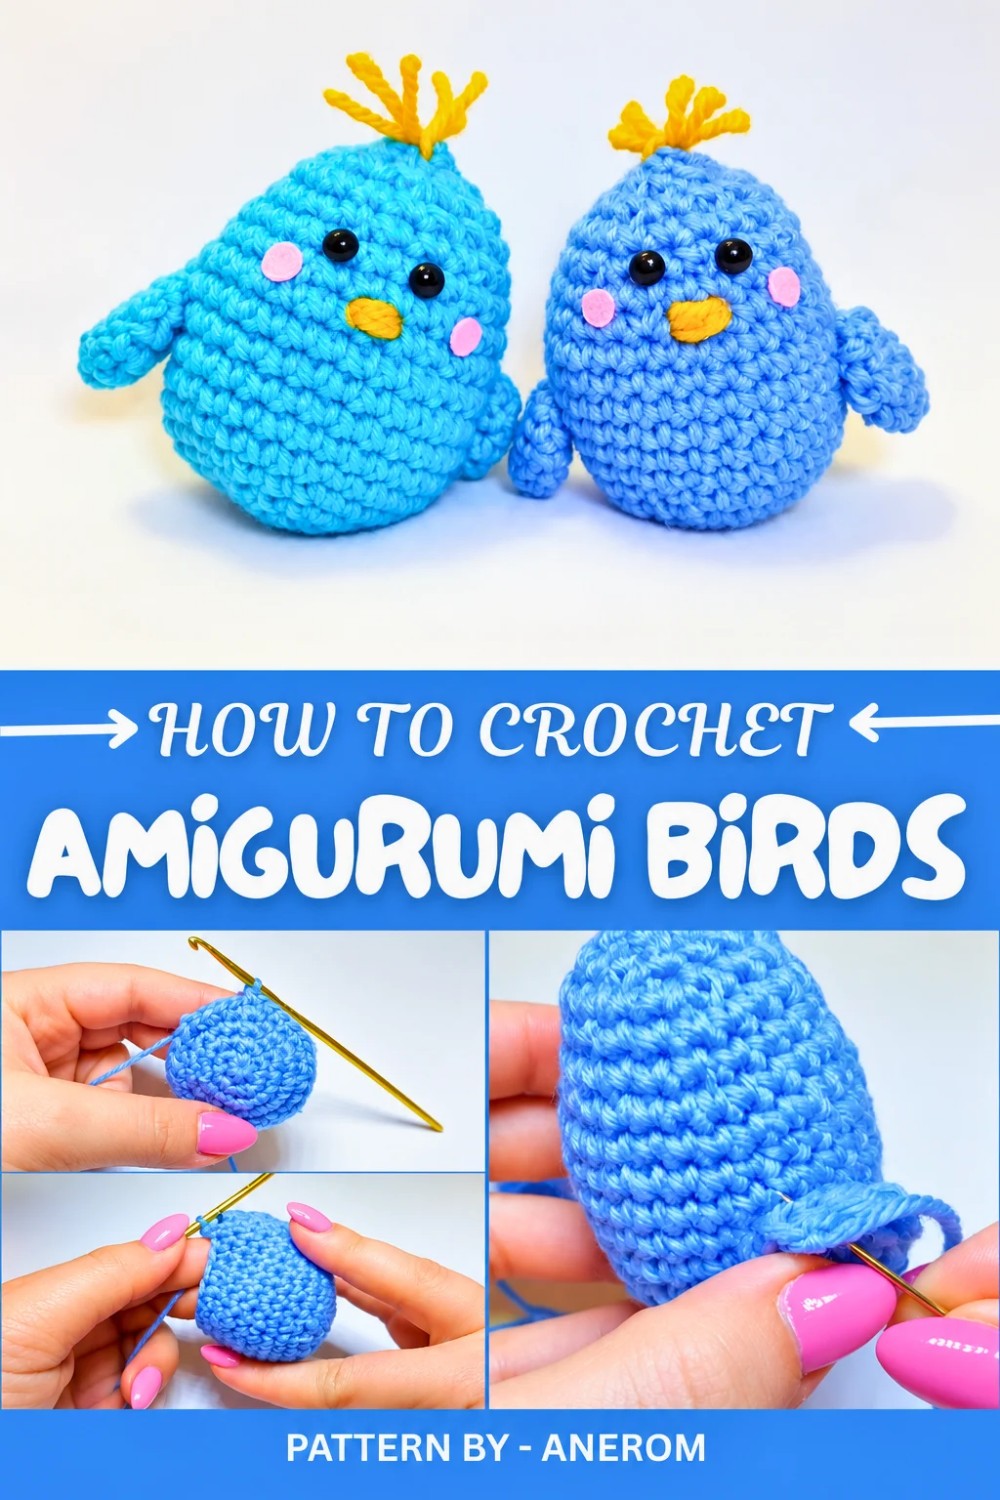
Creating this small marvel requires versatile crochet techniques such as the magic ring, single crochet, increases, and decreases, all while giving you valuable practice in assembling amigurumi pieces. Measuring just a few inches tall, it’s a quick, satisfying project that doesn’t require much yarn or time but leaves you with a result that’s packed with charm.
Inspiration From Anerom
Excited to start? Follow along for the easy and free crochet amigurumi bird pattern, and you’ll soon have a delightful little companion to show off or share.
Sweet Little Crochet Bird Amigurumi – Step by Step Guide
Quick Overview of Pattern
- Crochet a small amigurumi bird with a rounded body.
- Includes a body, two wings, and a tail.
- Add charming features like a beak, a little tuft on the head, cheeks, and eyes.
- Worked in continuous spirals, no joining in rounds.
- Perfect way to use leftover yarn.
Notes
- The bird is worked in rounds using the magic ring method.
- The tail and wings are not stuffed, but the body is lightly filled with stuffing to give it its shape.
- Bird size can be adjusted by using larger or smaller yarn and hook sizes.
- Use a stitch marker to keep track of the first stitch in each round when working the body.
- Use the "front loop only" technique for neat decreases when shaping the body.
Skill Level
Advanced Beginner / Easy Intermediate
You should know how to:
- Create a magic ring
- Work single crochet (sc) stitches
- Work increases and decreases in single crochet
- Crochet in continuous spirals
Materials
- Blue acrylic yarn (size #3) for the body, wings, and tail
- Yellow yarn (for the beak and tuft) – only a small portion needed
- 3 mm crochet hook
- Scrap piece of pink felt (for cheeks)
- Two small black half beads or safety eyes (for the eyes)
- Yarn needle
- Stitch marker or safety pin
- Glue (hot glue or fabric safe glue)
- Fiberfill stuffing
- Scissors
Measurements and Sizing
Using a size #3 acrylic yarn and a 3 mm crochet hook:
- Small bird: Approx. 7–9 cm in height.
- Larger bird: By using slightly thicker yarn, you can make a bird that is a few centimeters taller with a slightly bulkier appearance.
Gauge
Gauge is not critical for this project, but consistent tension results in better finishing.
Approximate Guide with #3 Yarn and 3 mm Hook:
- 1 cm = 3–4 single crochet stitches
Work tightly to avoid stuffing from poking through.
Stitch Abbreviations
- ch: Chain
- sc: Single Crochet
- sl st: Slip Stitch
- inc: Increase (2 single crochets in one stitch)
- dec: Decrease (2 stitches worked together into 1)
- magic ring: Adjustable loop for starting a project
Special Stitches
Decrease (Front Loop Only Decrease)
This technique keeps decreases neat:
- Insert your hook into the front loop of the first stitch.
- Insert your hook into the front loop of the second stitch.
- Yarn over and pull through both front loops.
- Yarn over again and pull through the remaining loops on your hook.
The Crochet Pattern
1. Bird Body
Round 1:
- Start with a magic ring.
- Work 6 sc into the magic ring.
- Pull the ring tight to close.
Round 2:
- Work 1 inc in each stitch (2 sc in every stitch).
- Total: 12 sc.
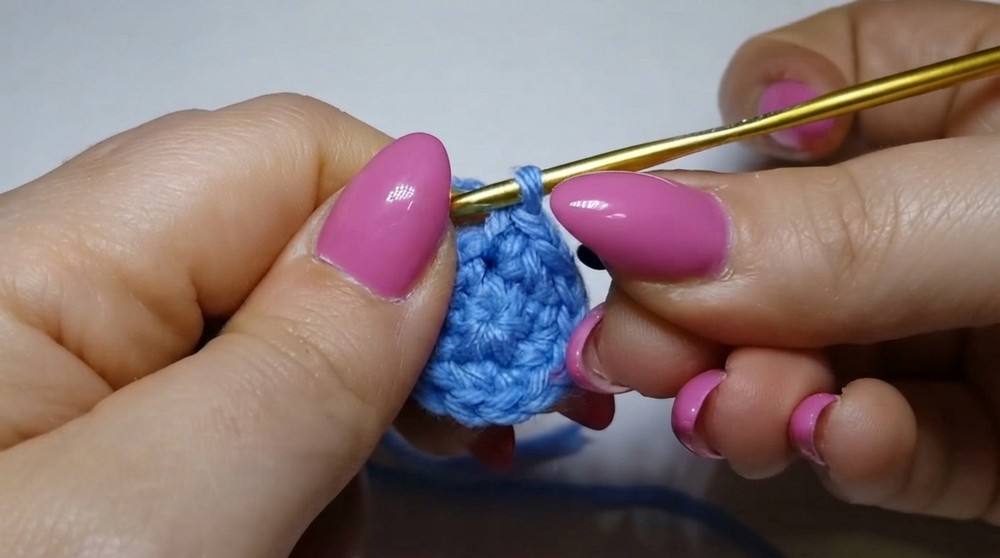
Round 3:
- Alternate: 1 sc, 1 inc around.
- Total: 18 sc.
Round 4:
- Alternate: 2 sc, 1 inc around.
- Total: 24 sc.
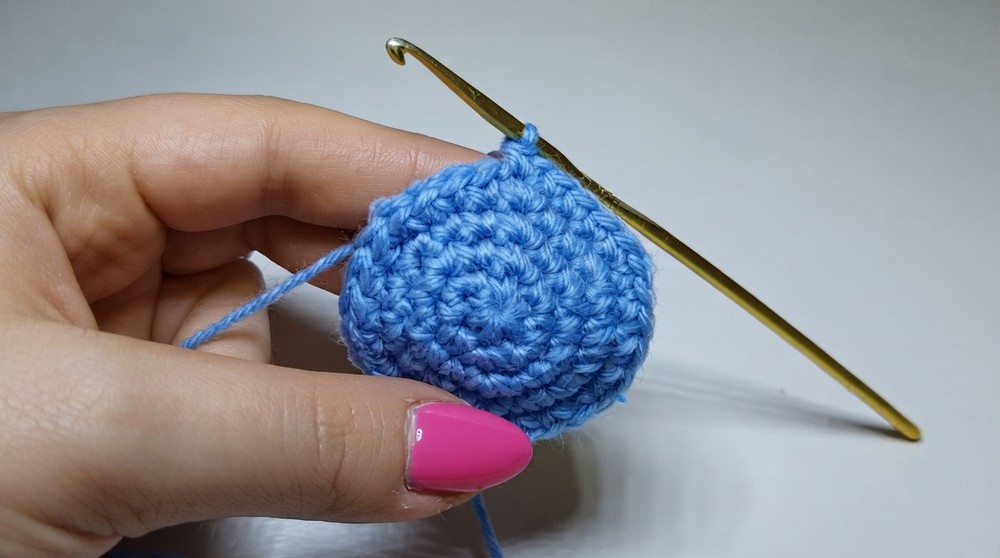
Round 5:
- Alternate: 3 sc, 1 inc around.
- Total: 30 sc.
Rounds 6–12:
- Work 1 sc in each stitch around (no increases or decreases).
- Total: 7 rounds of 30 sc.
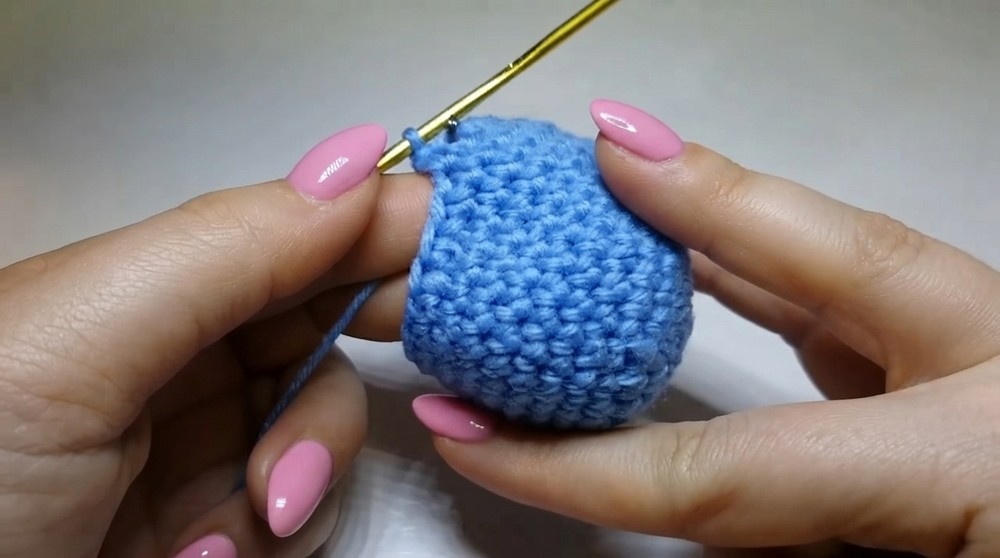
The body will start to elongate and form its rounded shape.
Shaping with Decreases
Round 13:
- Alternate: 3 sc, 1 dec (front loop) around.
- Total: 24 sc.
Round 14:
- Work 1 sc in each stitch around (no decreases).
- Total: 24 sc.
Round 15:
- Alternate: 2 sc, 1 dec (front loop) around.
- Total: 18 sc.
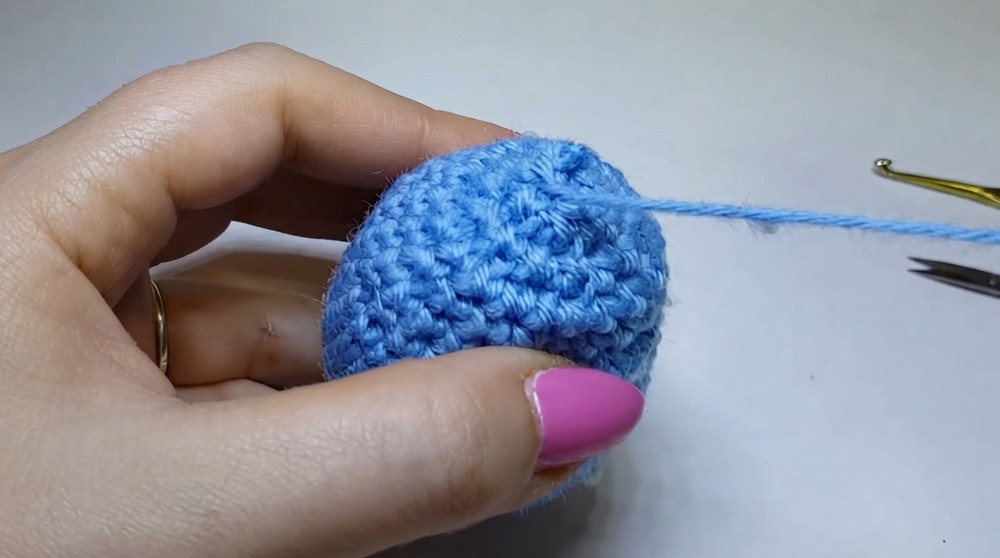
Round 16:
- Work 1 sc in each stitch around (no decreases).
- Total: 18 sc.
Stuffing and Final Decrease Rounds
Before continuing, stop crocheting, pull the loop a little loose to prevent unraveling, and stuff the bird body.
- Use fiberfill stuffing to fill the body. Distribute evenly to maintain a round shape.
- Avoid overstuffing, but make sure it’s firmly shaped.
Round 17:
- Alternate: 1 sc, 1 dec (front loop) around.
- Total: 12 sc.
Round 18:
- Work 6 consecutive decreases (all dec) around.
- Total: 6 sc.
Closing the Body
- Pull the yarn tightly.
- With a yarn needle, weave the yarn through the front loops of the 6 remaining stitches.
- Pull firmly to close the opening.
- Secure with a few stitches and tuck the tail inside the body.
2. Bird Wings (Make 2)
Round 1:
- Create a magic ring.
- Work 4 sc into the ring.
Round 2:
- Work 1 inc in each stitch (8 sc total).
Rounds 3–5:
- Work 1 sc in each stitch around (no increases or decreases).
- Total: 3 rounds of 8 sc.

Finishing the Wings:
- In the next stitch, work 1 sl st to close.
- Leave a long tail for sewing.
- Hide the magic ring’s yarn inside the finished wing by weaving or trimming.
3. Tail
Round 1:
- Start with a magic ring.
- Work 5 sc inside the ring.
Round 2:
- Work 10 sc (just continue in a spiral without any increases or decreases).
Finishing the Tail:
- Work 1 sl st in the next stitch to close.
- Leave a long tail for attaching the tail.
- Hide or cut the magic ring’s tail.
Assembly
Attaching the Wings
- Position the wings symmetrically on either side of the body.
- Sew the wings to the body with the long tail of yarn using your needle.
Attaching the Tail
- Attach the tail to the lower back of the bird’s body.
- Sew securely with your needle and yarn tail.
Features (Beak, Eyes, and Tuft)
Beak: Use yellow yarn and a yarn needle. Embroider a small triangular beak at the base of the bird’s round face.
Eyes: Attach black half beads or small safety eyes symmetrically above the beak.
Tuft of Feathers:
- Cut 3 short pieces of yellow yarn.
- Pull ends halfway through a stitch at the top of the bird’s head so they form a loop.
- Knot them securely and trim the ends to create a short tuft.
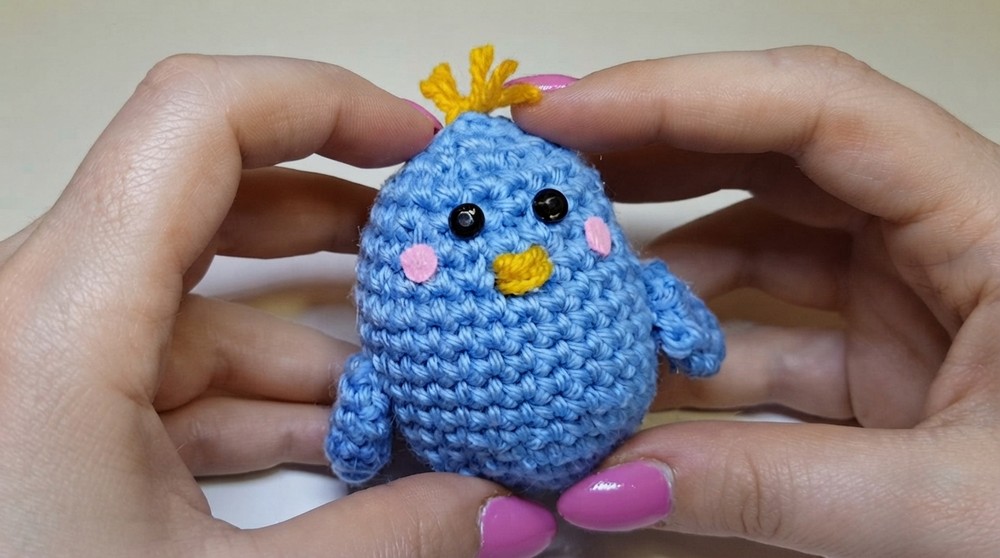
Finished Size
- Small Bird: About 7–9 cm tall with a width of 5–7 cm (depending on yarn tension).
Conclusion
Your adorable crochet bird is complete! It’s a delightful project to experiment with color combinations and materials. Try creating a whole flock with different sizes and shades. I hope you enjoyed this tutorial and found it fun to follow.