
Beautiful Crochet Train Pattern That Is Completely Free
Follow your imagination and turn your yarn into a beautiful crochet train with this free pattern that's perfect for unique designs.
Who doesn’t love a cute little train filled with Easter treats? This crochet train is more than just a decoration, it’s a charming piece of holiday cheer. With vibrant wagon baskets to hold chocolate eggs and an adorable chick as the front engine, this playful project is an instant eye catcher. The rounded shapes and bright colors make it perfect for dressing up your Easter table or gifting to loved ones.
The front of the train grabs attention with its whimsical character design, complete with felt eyes and a beak that you can personalize. Whether you prefer a chick, bunny, or any other festive figure, the charm of this train lies in its flexibility. Each wagon basket is sturdy, cute, and just the right size to hold small Easter eggs or treats. The combination of colors and shapes brings a cheerful vibe, making it a fun addition to your holiday décor.
Free Cute Crochet Train Pattern That’s Quick and Fun
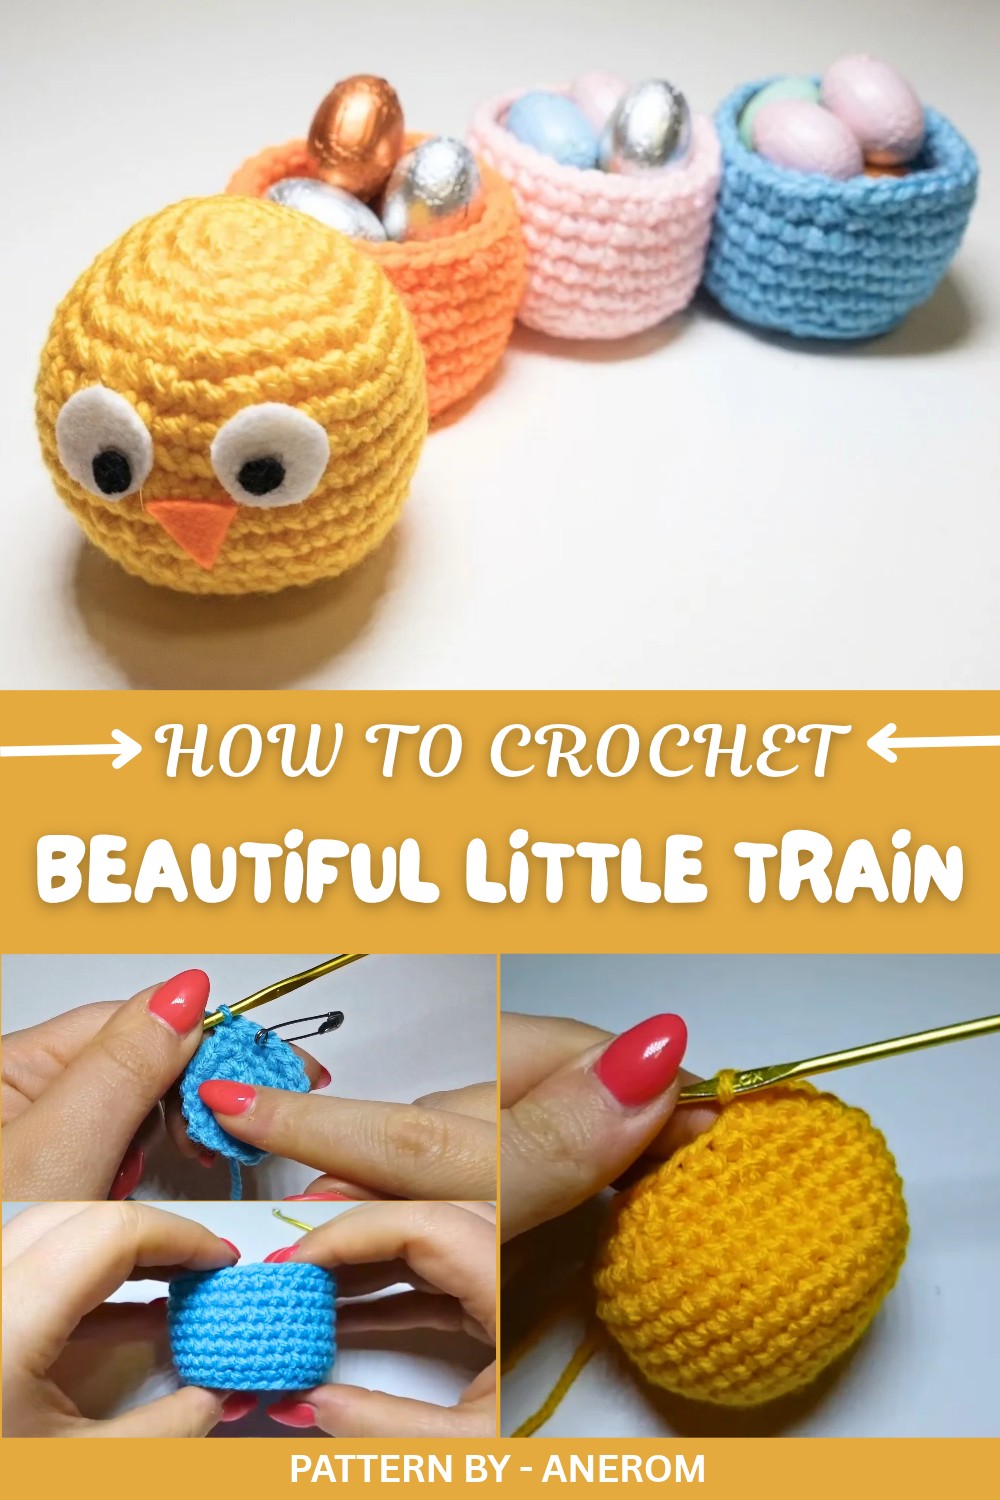
Anerom, the talented creator behind this crochet masterpiece, breaks down every step with her thoughtful and clear tutorial on her YouTube channel. Her approach makes it easy for both beginners and seasoned crocheters alike to follow along and enjoy the process. From the magic ring origins to the detailed assembly, Anerom’s teaching style feels more like chatting with a friend.
Perfect for Easter celebrations or as a year round decorative piece, this crochet train is not just attractive but also practical. Brighten up your home or give it away as a thoughtful handmade gift, it’s a free pattern filled with endless possibilities for holiday fun and creativity.
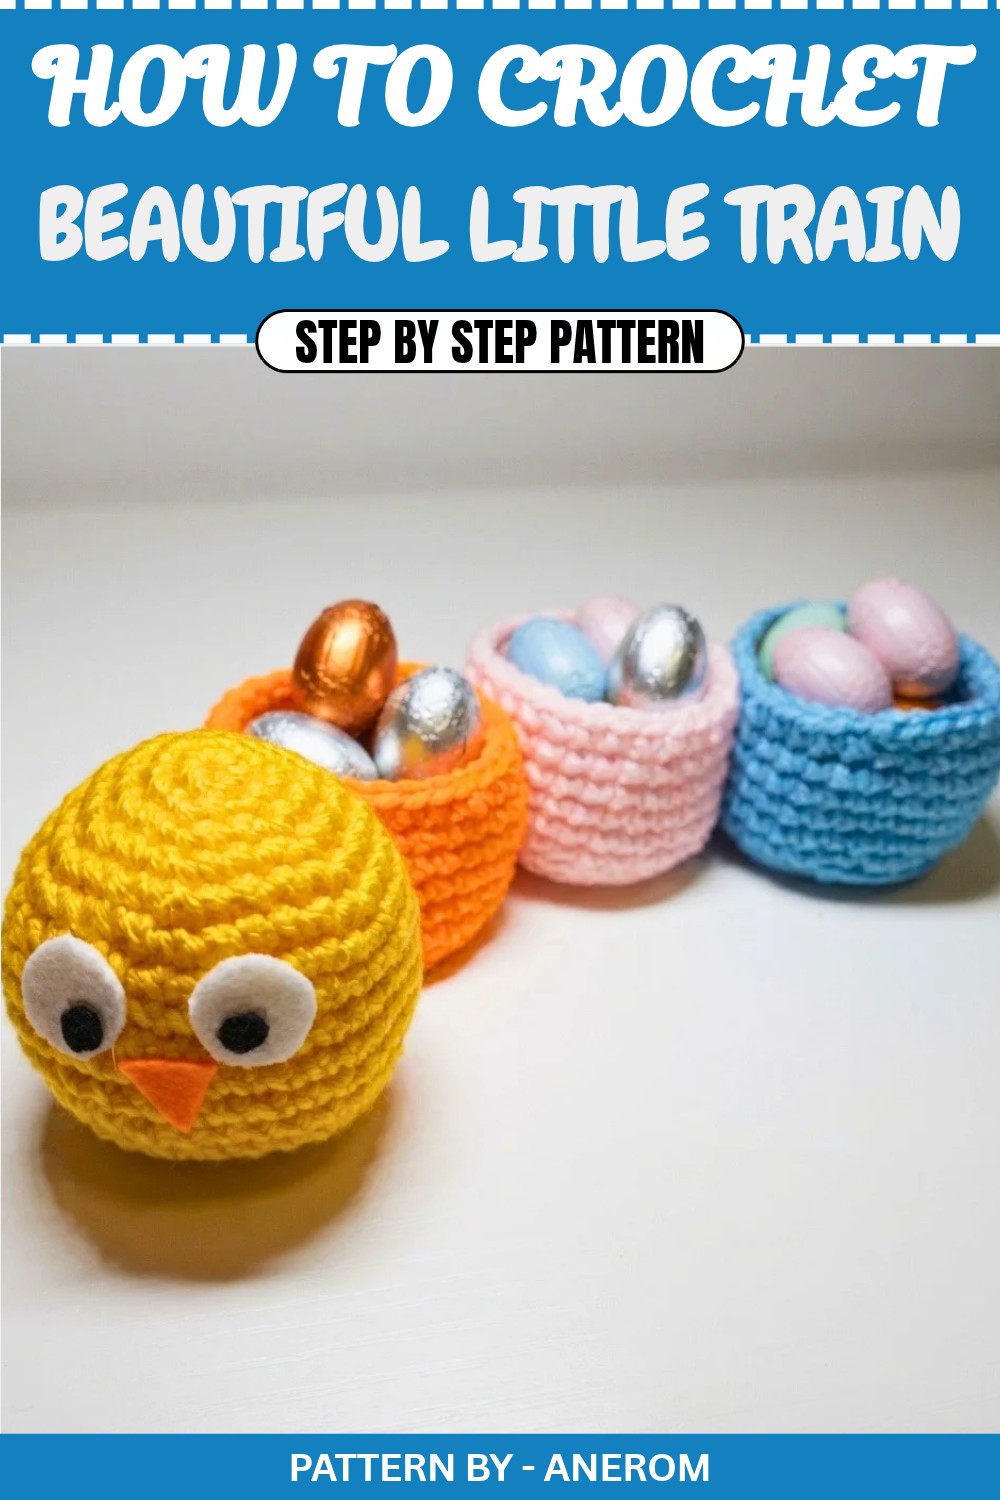
Crochet Pattern: Adorable Train of Little Easter Baskets (Amigurumi)
Quick Overview of Pattern
- Project Type: Easter Train of Crochet Baskets
- Difficulty Level: Beginner friendly
- Customization: Personalize with different colors, characters, or decorations
- Purpose: Perfect as Easter home decor or a unique handmade gift
Notes
- You can easily customize the look of your train by using different yarn colors or creating more/less wagons.
- This tutorial uses a 3 mm crochet hook and size 3 acrylic yarn throughout the project.
- Use hot glue or hand-sewing for assembly, based on your preference.
Skill Level
Beginner-friendly – A great project for crochet beginners with basic pattern knowledge.
Materials
- Yarn: Acrylic yarn (Size 3) in your desired colors. Suggestions: Light blue, pink, orange, and yellow.
- Crochet hook: 3 mm
- Stuffing: To shape the front of the train (optional for wagons).
- Tapestry needle: For weaving in ends and sewing.
- Hot glue gun (optional): For attaching pieces together.
- Decorations: Felt for eyes and chick beak, chocolate eggs for filling the baskets.
Measurements / Sizing
Individual wagons are approximately 5–6 cm tall, depending on yarn and tension. The finished train is customizable depending on the number of wagons.
Gauge
Gauge is not critical for this project. Just ensure your stitches are tight enough to hold the filling and provide a sturdy structure.
Stitch Abbreviations
- ch – Chain
- st(s) – Stitch(es)
- sc – Single crochet
- inc – Increase (2 sc in a single stitch)
- dec – Decrease (join 2 stitches together)
- sl st – Slip stitch
Special Stitches
Back Loop Only (BLO)
- Typically, a single crochet is made under both loops of the stitch from the previous row.
- In the BLO, insert your hook under only the back loop (the strand furthest from you) and complete the single crochet. This creates a ridge or textured edge at the base of your work.
The Crochet Pattern
Part I: The Train Wagon
- Base of the Wagon:
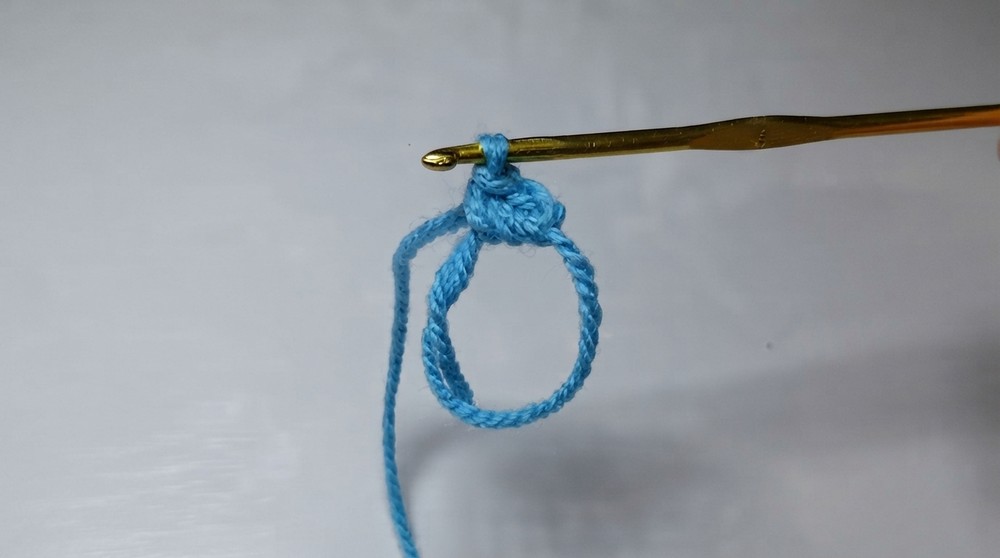
- Start with a magic ring using your chosen yarn color for the wagon.
- Round 1: Work 6 sc into the magic ring. Pull the tail to close the loop. (6 sts)
- Round 2: Work 2 sc in each st around (increase). (12 sts)
- Round 3: Sc in next st, inc in next st. Repeat around. (18 sts)
- Round 4: Sc in next 2 sts, inc in next st. Repeat around. (24 sts)
- Body of the Wagon:
- Round 5: Work BLO sc in each st around to create a base for the basket. (24 sts)
- Rounds 6–11: Sc in each st around, working into both loops as usual. (24 sts for 6 rounds)
- Finishing the Wagon:
- Close off with a sl st in the next st, leaving a long tail. Use a tapestry needle to weave in and hide the tail.
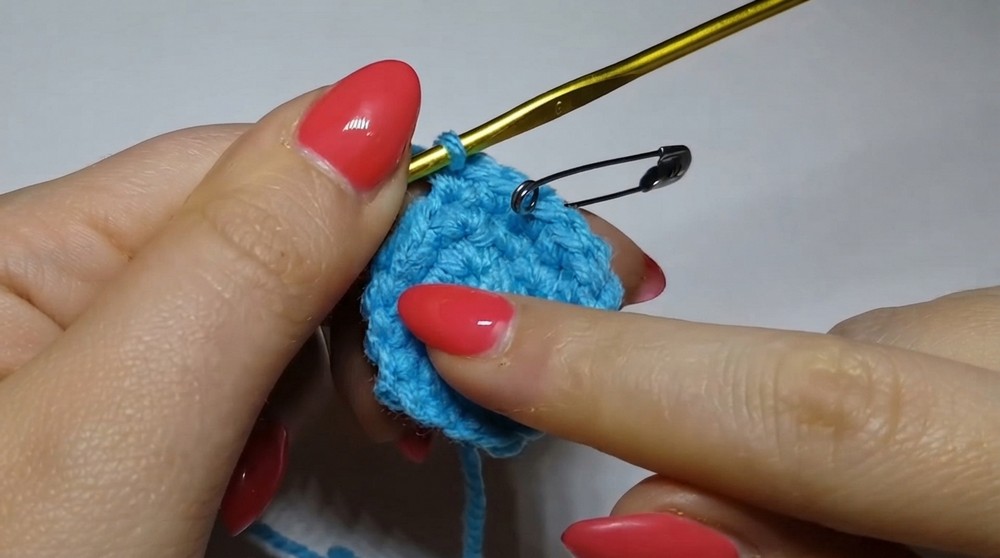
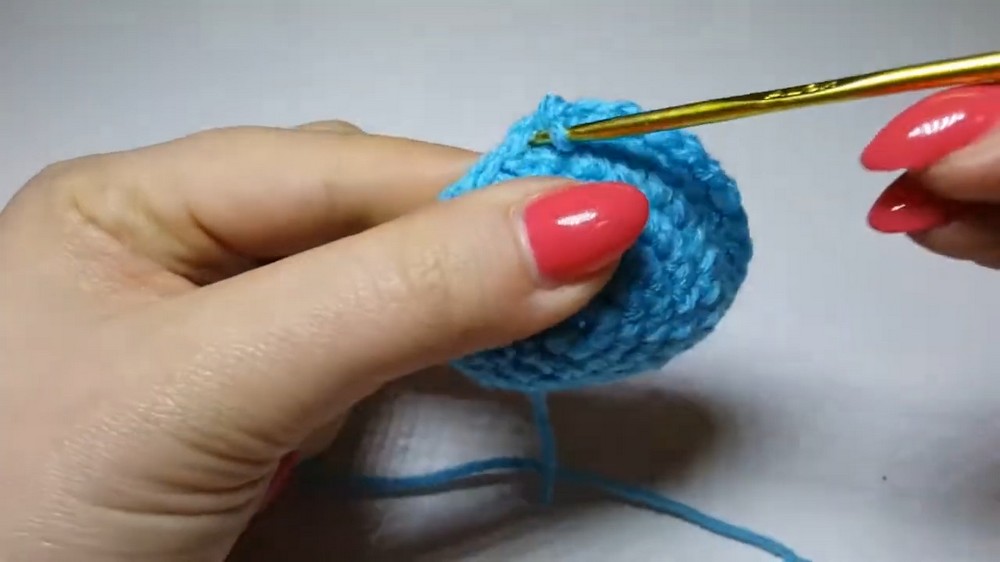
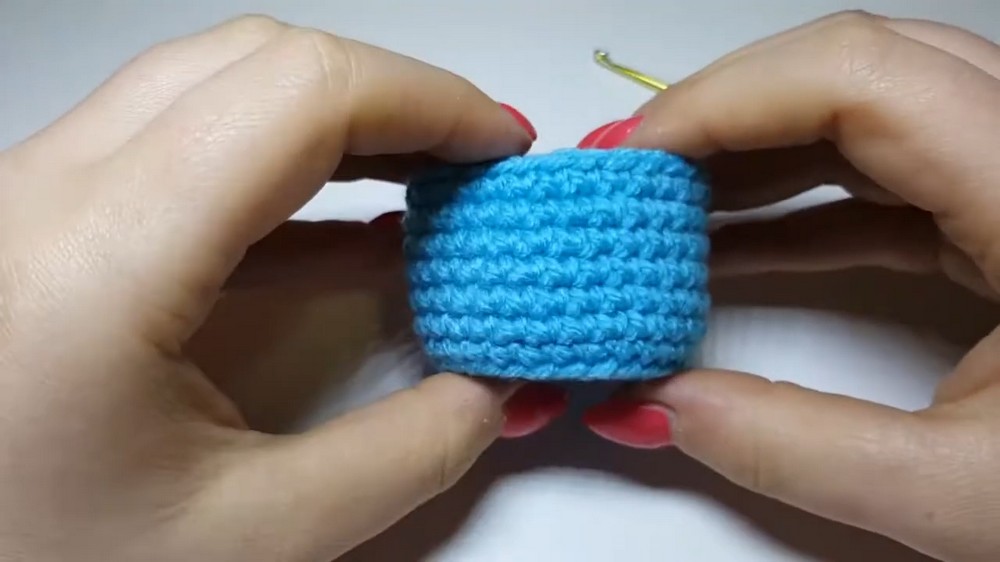
Repeat the process to create as many wagons as you wish. In the video, three wagons are made in blue, pink, and fluorescent orange.
Part II: Front of Train (Chick Element)
- Chick Head:
- Use yellow yarn and make a magic ring.
- Round 1: Work 6 sc into the magic ring. Pull the tail to close. (6 sts)
- Round 2: Work 2 sc in each st around (increase). (12 sts)
- Round 3: Sc in next st, inc in next st. Repeat around. (18 sts)
- Round 4: Sc in next 2 sts, inc in next st. Repeat around. (24 sts)
- Round 5: Sc in next 3 sts, inc in next st. Repeat around. (30 sts)
- Round 6: Sc in next 4 sts, inc in next st. Repeat around. (36 sts)
- Round 7–12: Sc in each st around. (36 sts for 6 rounds)
- Shaping the Chick Head:
- Begin decreasing to shape the head:
- Round 13: Sc in next 4 sts, dec in next 2 sts. Repeat around. (30 sts)
- Round 14: Sc in next 3 sts, dec in next 2 sts. Repeat around. (24 sts)
- Round 15: Sc in next 2 sts, dec in next 2 sts. Repeat around. (18 sts)
- Round 16: Sc in next st, dec in next 2 sts. Repeat around. (12 sts)
- Stuff the head with fiberfill before continuing.
- Round 17: Dec in each st around. (6 sts)
- Close off with a sl st, leaving a long tail. Use a tapestry needle to close the hole securely.
- Hide the tail by weaving through the stitches.
- Begin decreasing to shape the head:
- Decorating the Chick:
- Use orange felt to cut a small triangular beak and attach it with hot glue.
- Use white and black felt to create simple eyes, attaching them with glue.
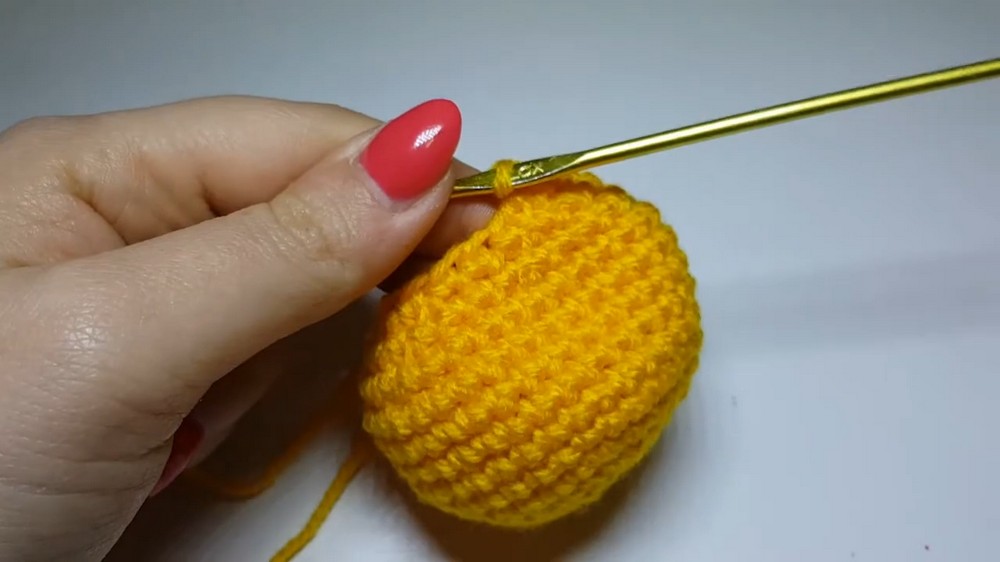
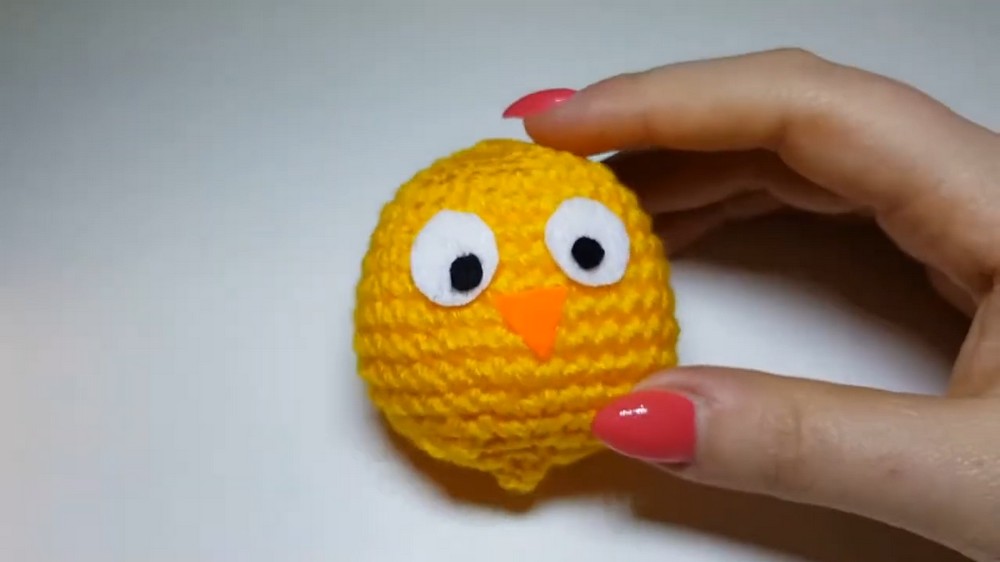
Part III: Assembly
- Arrange your wagons in a straight line or attached slightly tilted for a fun effect.
- Use hot glue or a needle and thread:
- Attach the chick face to the front of the first wagon.
- Glue or sew the wagons to each other by their sides. Ensure they hold tightly.
- Fill each wagon basket with colorful chocolate eggs or small trinkets.
Assembly & Finished Size
- The train consists of three wagons, approximately 5–6 cm each, plus the decorative front. Feel free to adjust the number of carts as per your preference. Fully assembled, the train is around 18–20 cm long.
Conclusion
Congratulations, You’ve just completed your own crochet train of adorable Easter baskets. This easy and beginner friendly project adds a festive touch to your Easter decorations or makes for a unique gift filled with goodies. You can customize the colors, the character on the front, and the number of wagons to suit your style.