
Try This Free Crochet Giraffe Pattern for a Fun Project
Crochet an adorable giraffe amigurumi with a free pattern that's simple, fun, and perfect for bringing handmade joy to your space.
Who doesn’t love adorable handmade creations that can brighten someone’s day? This cute and charming giraffe will surely bring a smile to anyone’s face. Its long neck, sweet little eyes, and decorative spots make it a delightful project for anyone who loves crocheting or giving personalized gifts. Whether you’re creating it as a thoughtful present, a nursery decoration, or even just a fun keepsake for yourself, this soft and cuddly giraffe is perfect for all occasions.
The giraffe’s standout feature is its long neck and tiny horns, making it so recognizable and unique among crocheted animals. While the body, head, and limbs follow an easy to remember stitch pattern, the creative details like the horns, spots, and even a tiny braided tail add personality and charm to the design. The magic ring technique is one of the key methods used to start the various pieces, creating neat and tight circles for a polished look. If you’re new to crocheting, you’ll also get to learn techniques like single crochets, increases, decreases, and stitching pieces together.
Crochet Joy: Free Giraffe Amigurumi Pattern for Everyone
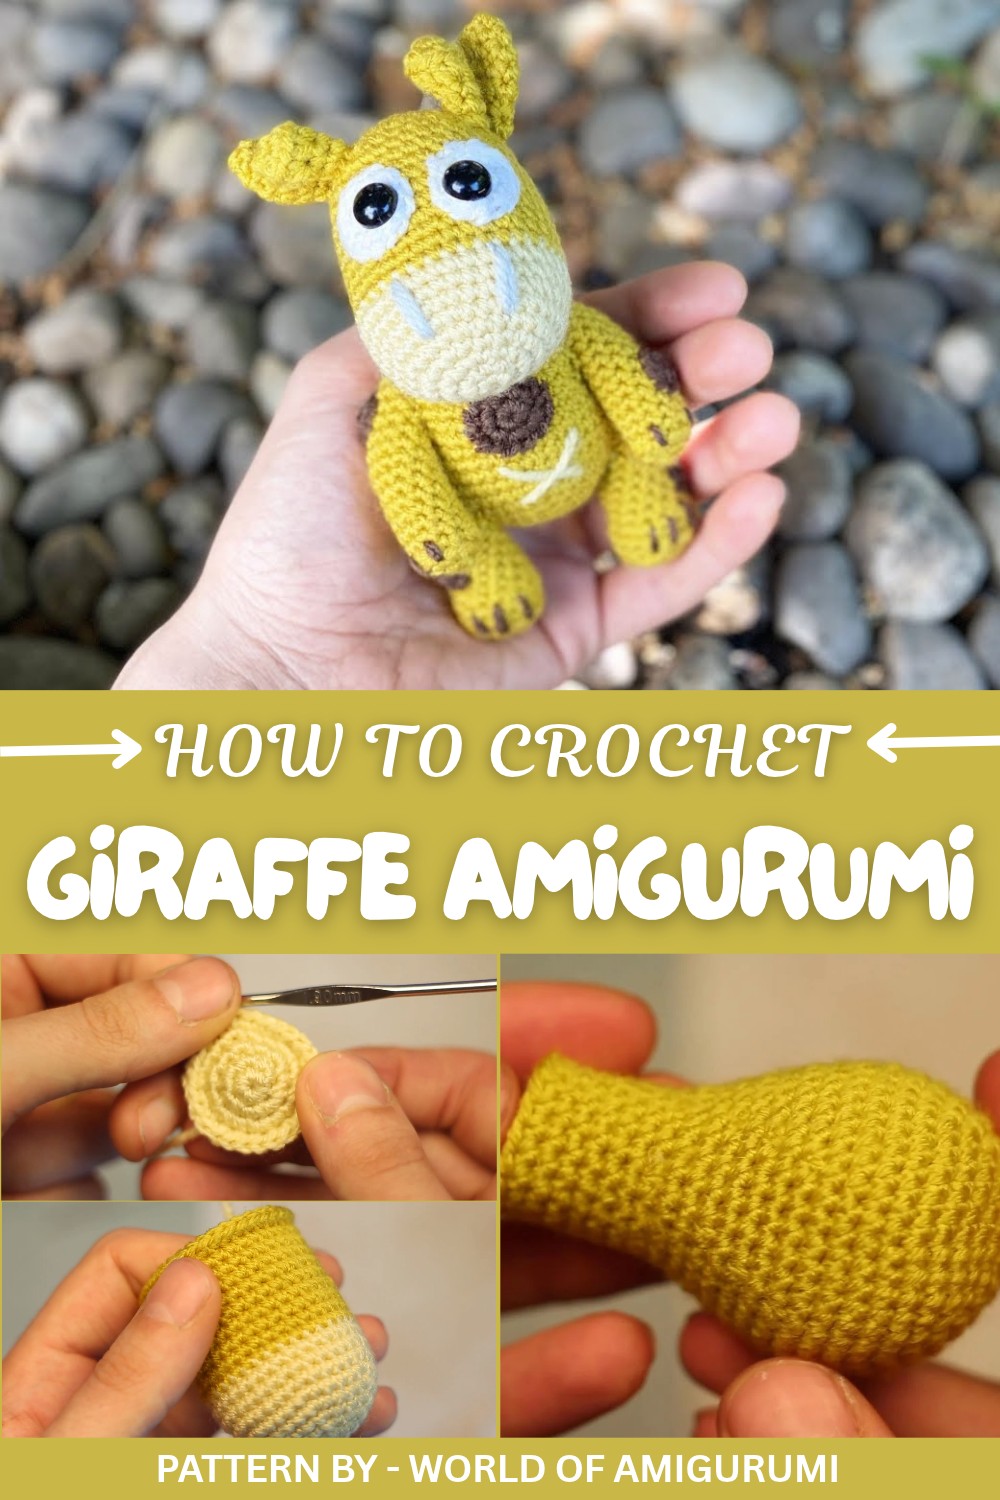
The "World of Amigurumi" channel does a brilliant job showing step by step instructions, making it easy to follow along. What’s even more exciting is that this giraffe is part of a fun experiment. Using the same basic pattern, the creator transforms it into other adorable animals, like a dragon or a bear, by adding small creative details. Once you’ve mastered the giraffe, you’ll have plenty of inspiration to design your own amigurumi animals.
Whether for kids, friends, or yourself, this crochet giraffe is a fun and rewarding project that will leave you with a beautifully handmade treasure.
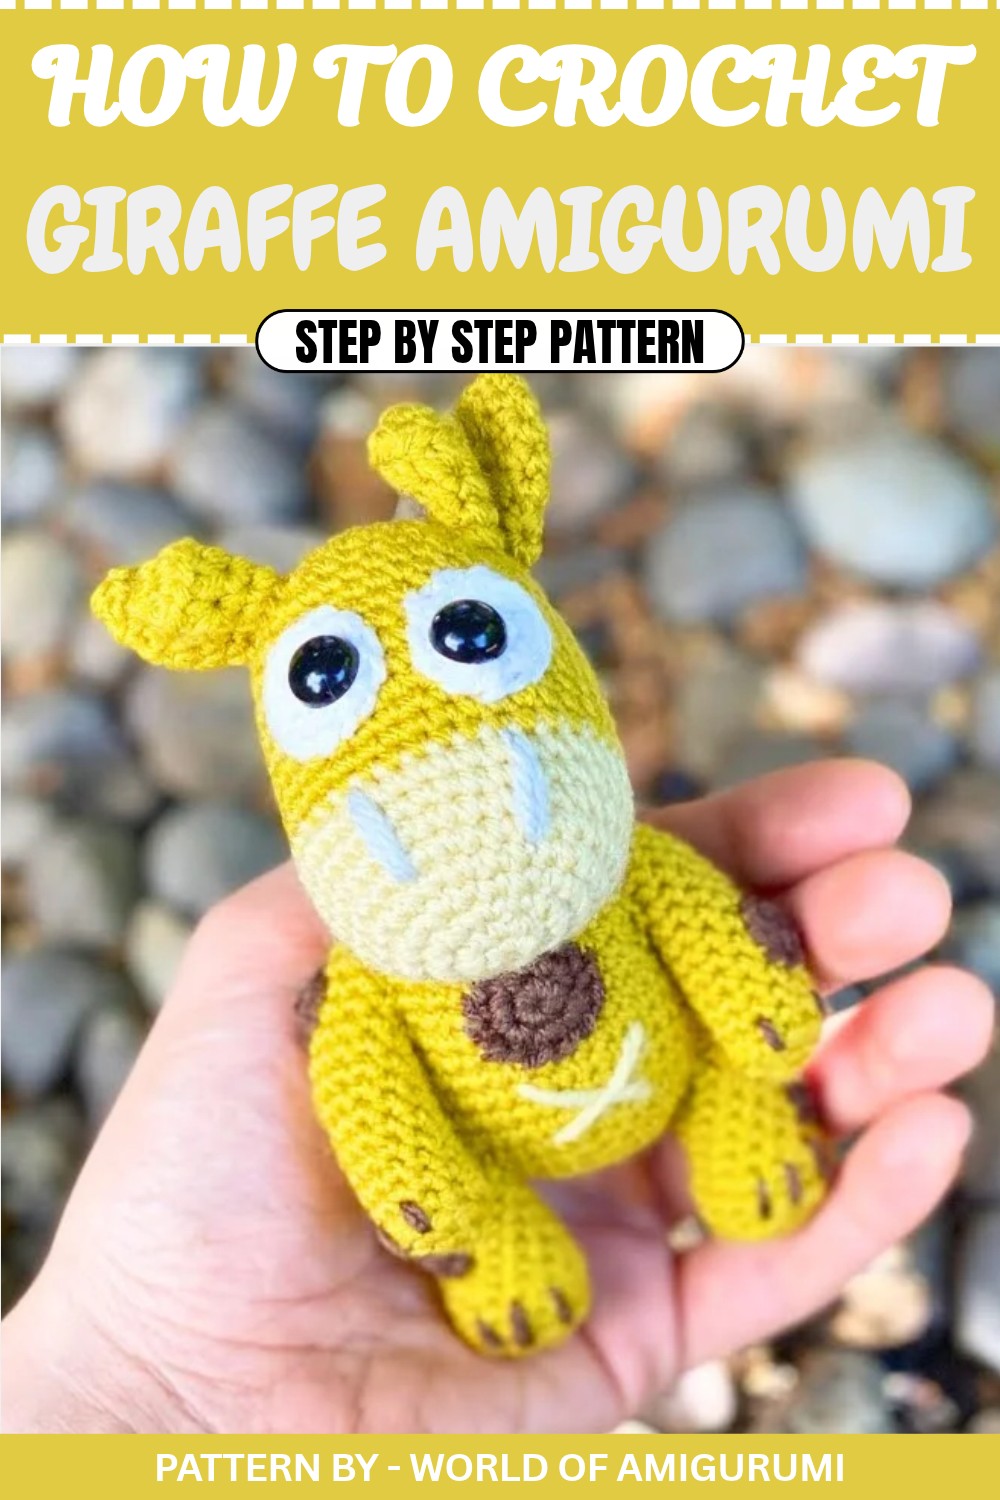
Crochet Pattern: Amigurumi Giraffe
In today’s tutorial, we’ll begin by making a delightful giraffe using basic amigurumi techniques and combining them with a playful touch of detail. This blueprint will also teach you how small modifications can lead to entirely new creatures, like a dragon or bear, using the same base pattern.
Quick Overview of the Pattern
- Introduction to Amigurumi Experiment: Using a single base pattern to create different plush toys.
- Steps: Create specific parts like eyes, head, ears, body, arms, legs, and assemble to form the giraffe.
- Level of Customization: Add features like spots, facial details, and tail.
Notes
- The pattern is worked in continuous spirals unless stated otherwise.
- Use stitch markers to keep track of the beginning of each round.
- Secure all parts firmly while assembling for safety.
Skill Level
Beginner to Intermediate
The pattern is designed for crocheters who are familiar with basic amigurumi stitches, techniques, and assembly.
Materials
- Yarn:
- Yellow yarn (body and head)
- White yarn (eyes)
- Brown yarn (spots and details)
- Gray yarn (nose and facial highlights)
- Hook: 2.5mm crochet hook.
- Eyes: Safety eyes (approx. 10mm).
- Stuffing: Polyester fiberfill.
- Needle: Tapestry needle for sewing parts.
- Pins: For positioning before sewing.
Measurements / Sizing
Finished giraffe size: Approximately 18cm tall (Size can vary based on yarn and hook choices).
Gauge
Gauge is not critical for amigurumi. Focus on tight stitches to ensure stuffing doesn't show through.
Stitch Abbreviations
- ch - Chain
- sc - Single crochet
- inc - Increase (2 sc into one stitch)
- dec - Decrease (single crochet two stitches together)
- sl st - Slip stitch
Special Stitches
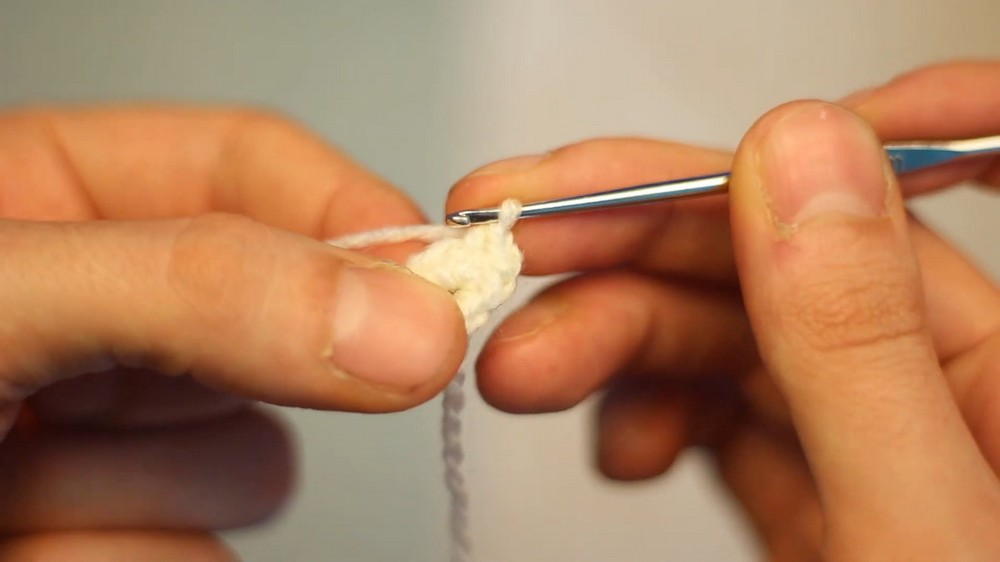
Magic Ring: Create a loop, insert hook through the center, draw up yarn, and crochet the required number of stitches inside. Pull the tail tight for a closed circle.
The Crochet Pattern
Eyes
- Using white yarn, make a magic ring.
- Round 1: 6 sc inside the magic ring. (6)
- Round 2: 6 increases – inc into each stitch. (12)
- Finish with a sl st and fasten off.
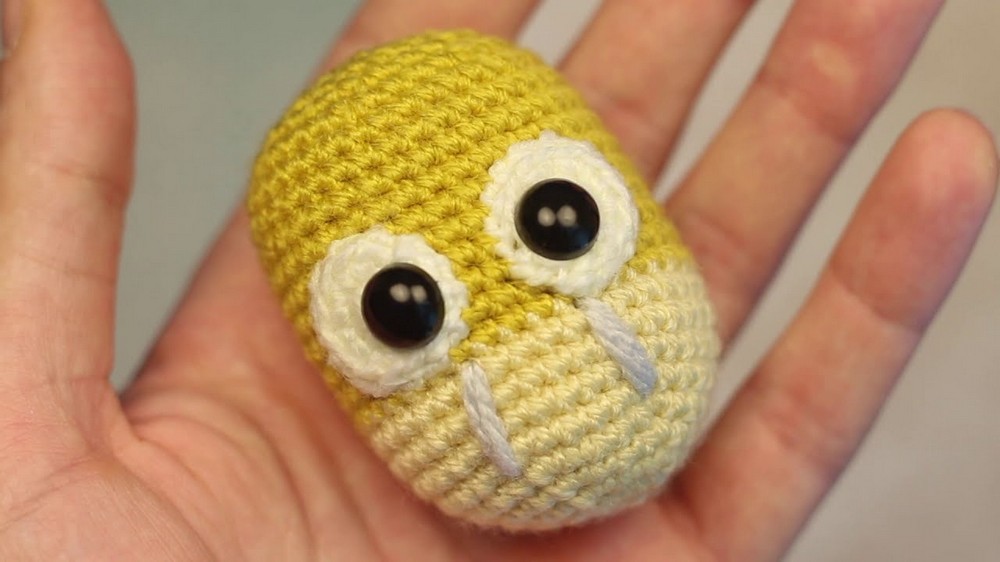
- Insert safety eyes slightly off-center (not in the middle of the magic ring). Repeat for the second eye.
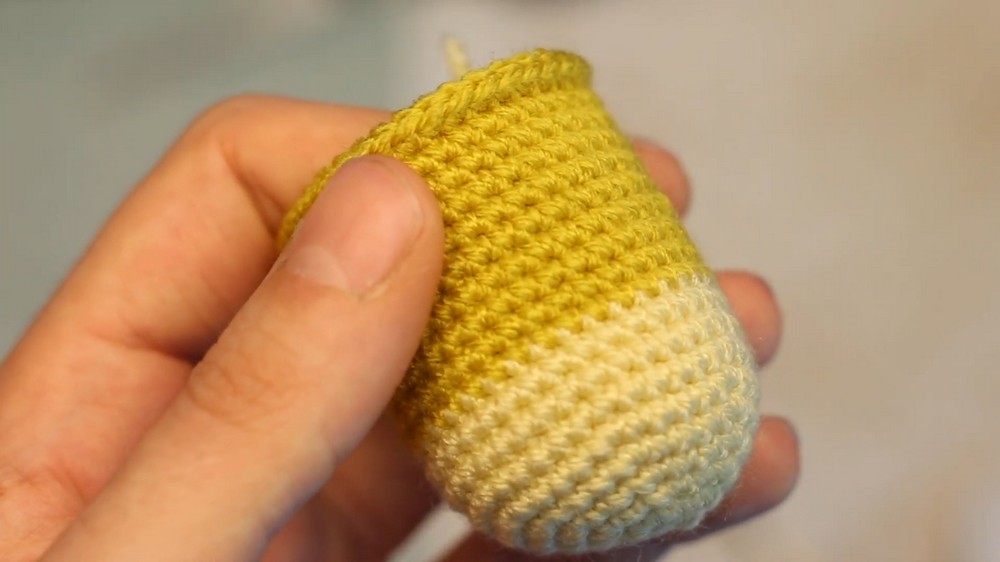
Head
- Using beige or yellow yarn:
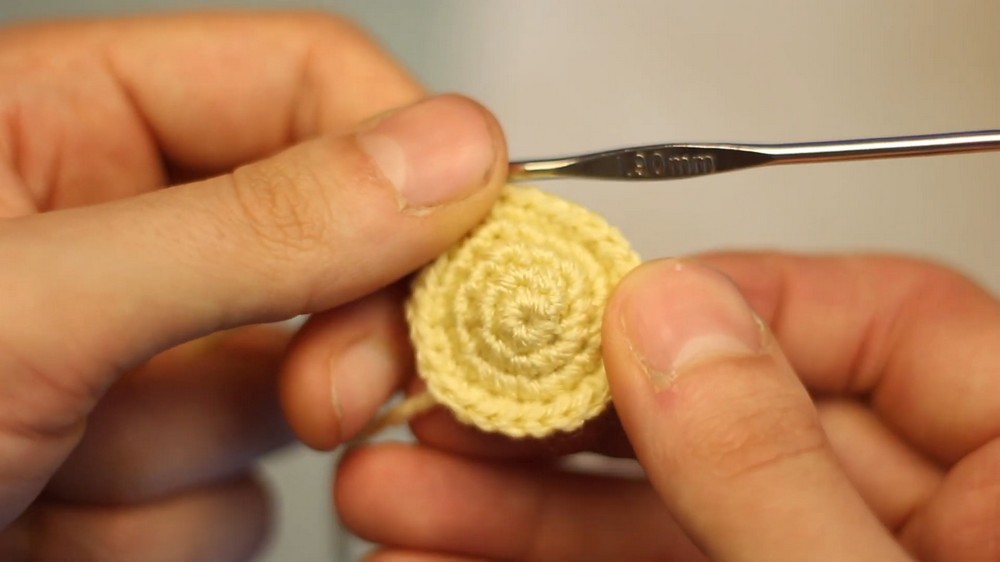
- Round 1: Make a magic ring and crochet 6 sc. (6)
- Round 2: Inc in every stitch (12).
- Round 3: 1 sc, inc, repeat to end (18).
- Round 4: 2 sc, inc, repeat (24).
- Round 5: 3 sc, inc, repeat (30).
- Round 6: 4 sc, inc, repeat (36).
- Rounds 7 to 9: Work sc in each stitch (36).
- Change to yellow yarn.
- Rounds 10 to 19: sc in each stitch, continuing the yellow yarn.
- Position safety eyes between the 2nd and 3rd rows of yellow, and secure tightly.
- Start decreasing:
- Round 20: 4 sc, dec, repeat (30).
- Round 21: 3 sc, dec, repeat (24).
- Round 22: 2 sc, dec, repeat (18).
- Stuff the head firmly with fiberfill.
- Round 23: 1 sc, dec, repeat (12).
- Round 24: Dec around (6).
- Close the head by sewing the opening shut.
Ears
- Using yellow yarn:
- Round 1: Make a magic ring and crochet 6 sc. (6)
- Round 2: sc in each stitch (6).
- Round 3: 1 sc, inc, repeat (9).
- Rounds 4 to 5: sc in each stitch (9).
- Round 6: 1 sc, dec, repeat (6).
- Rounds 7 to 8: sc in each stitch (6).
- Finish with a sl st and fasten off. Repeat for the second ear.
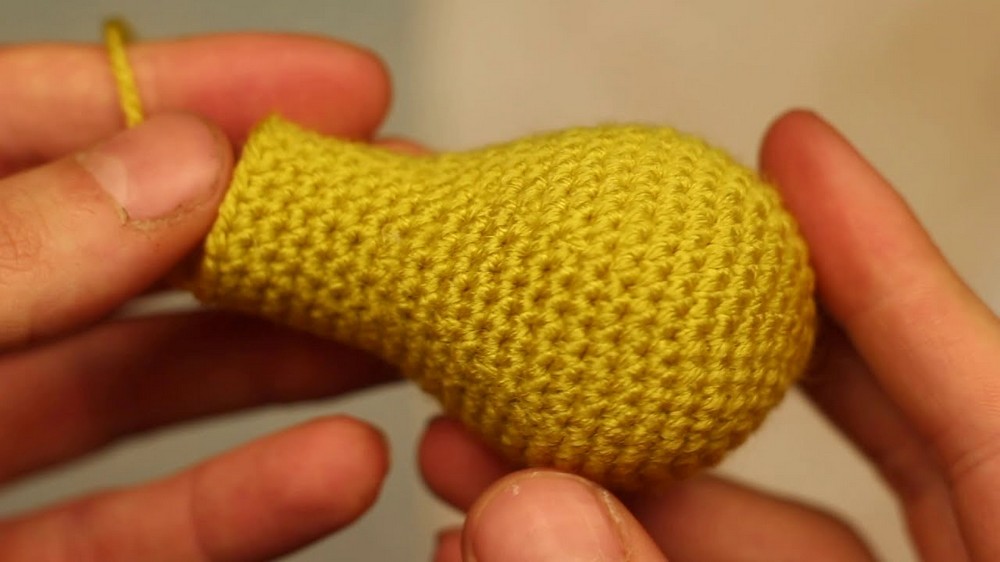
Body
- Using yellow yarn:
- Round 1: Make a magic ring and crochet 6 sc. (6)
- Round 2: Inc in every stitch (12).
- Round 3: 1 sc, inc, repeat (18).
- Round 4: 2 sc, inc, repeat (24).
- Round 5: 3 sc, inc, repeat (30).
- Round 6: 4 sc, inc, repeat (36).
- Round 7: 5 sc, inc, repeat (42).
- Rounds 8-11: Work sc in each stitch (42).
- Start decreasing:
- Round 12: 5 sc, dec, repeat (36).
- Round 13: sc in each stitch (36).
- Round 14: 4 sc, dec, repeat (30).
- Round 15: sc in each stitch (30).
- Round 16: 3 sc, dec, repeat (24).
- Rounds 17-18: sc in each stitch (24).
- Round 19: 2 sc, dec, repeat (18).
- Stuff the body firmly and finish with a sl st.
Arms (Make 2)
- Using yellow yarn:
- Round 1: Make a magic ring and crochet 6 sc. (6)
- Round 2: Inc in every stitch (12).
- Rounds 3-15: sc in each stitch (12).
- Finish with a sl st, stuff lightly, and fasten off.

Legs (Make 2)
- Using yellow yarn:
- Round 1: Make a magic ring and crochet 6 sc. (6)
- Round 2: Inc in every stitch (12).
- Round 3: 1 sc, inc, repeat (18).
- Round 4: Work in back loops only, sc around. (18)
- Round 5: Work in normal loops, sc around. (18)
- Begin decreasing:
- Round 6: 1 sc, dec, repeat (12).
- Rounds 7 to 14: sc in each stitch (12).
- Finish the legs with a sl st, stuff lightly, and fasten off.
Horns (Make 2)
- Using yellow yarn:
- Round 1: Make a magic ring and crochet 6 sc. (6).
- Round 2: Inc in every stitch (12).
- Round 3: Work back loop only decreases around. (6).
- Rounds 4 to 5: sc in each stitch (6).
- Finish with a sl st, stuff lightly, and fasten off.
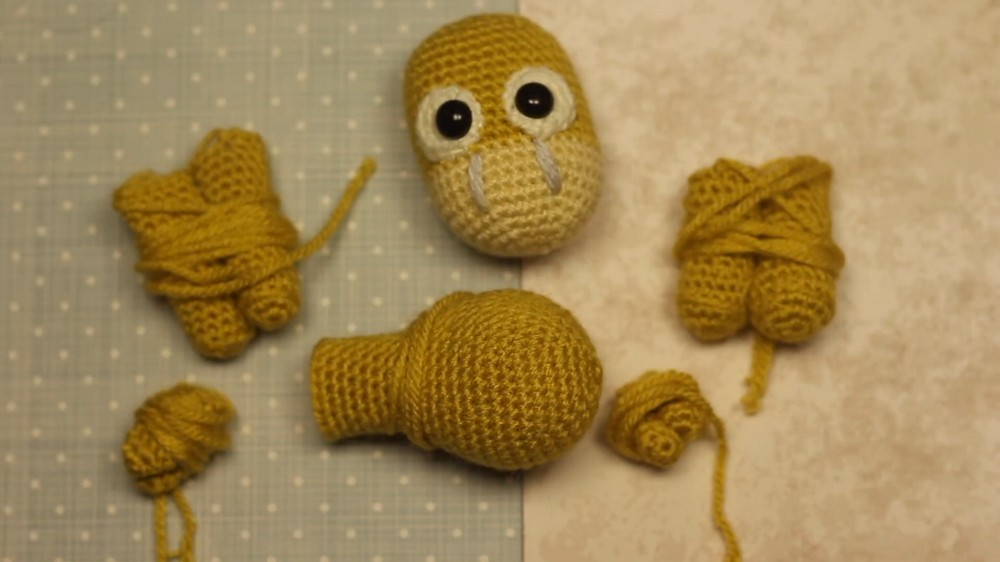
Assembly & Finishing
- Sew the head onto the body, ensuring it’s centered and secure.
- Attach the legs to the bottom of the body and the arms to the sides.
- Sew horns onto the top of the head, slightly off center.
- Attach ears just below the horns.
- Embroider or sew spots onto the body using brown yarn.
- Create a tail by chaining 11 and working 1 sc in each chain. Attach to the back of the body.
Conclusion
Congratulations, Your adorable amigurumi giraffe is now complete. Add playful details like bows or accessories to personalize it further.