
Free Strawberry Keychain Crochet Pattern You Have to Try
Follow this quick and free crochet pattern to make a charming strawberry keychain that adds a fun pop of color to your favorite backpack or key ring.
A tiny handmade strawberry with a happy face can turn something simple, like a bag or a set of keys, into something really special. This kind of crochet project is small, cute, and full of character. With its bright red body, green leafy top, and dangling legs or details, it looks both fun and charming. It’s the kind of piece that makes people smile when they see it.
A Free Strawberry Keychain Crochet Pattern is perfect for using up leftover yarn and making quick gifts. You can hang it on your keys, children’s school bags, pencil cases, or even handbags as a playful accessory. It’s light, soft, and safe for kids, especially if you embroider the eyes instead of using safety eyes. Because it’s small, you can finish one in a short time, making it great for market stalls or as a last‑minute handmade present.
Here’s the Cutest Free Crochet Strawberry Keychain Pattern
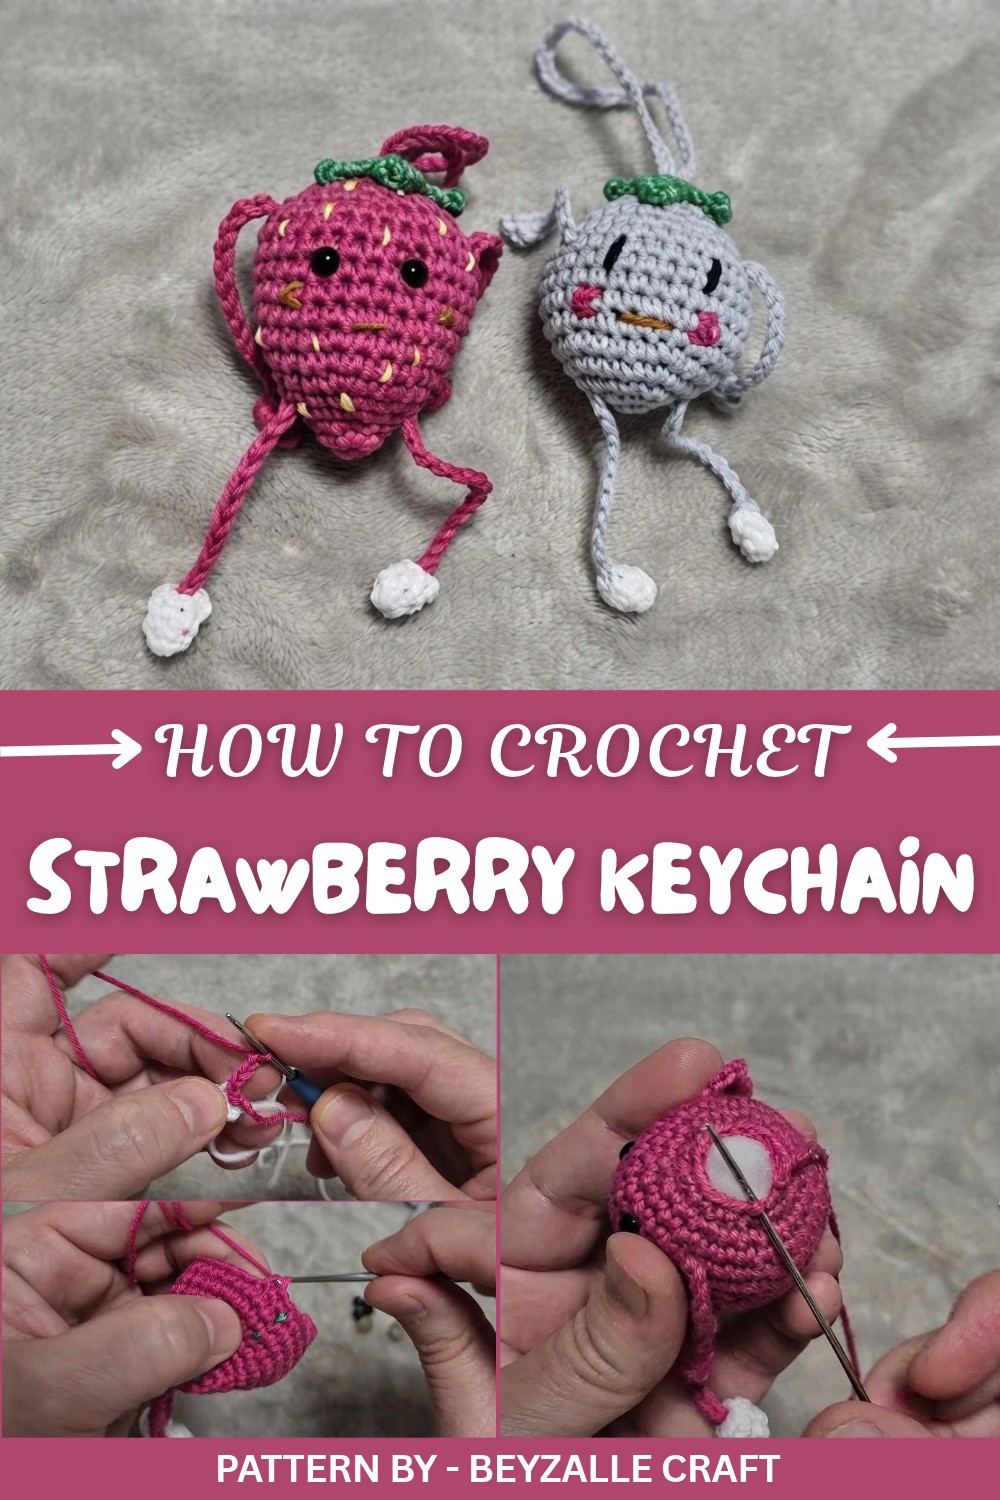
The working style is simple: you usually crochet a small rounded strawberry shaped body, add a cute green leafy crown on top, and sometimes create little legs or decorative chains to make it more fun and movable. Embroidered seeds and a tiny smile make the face extra expressive. The most attractive part of the design is the combination of the plump strawberry shape and the playful details, it looks like a mix of toy and accessory.
On the Beyzalle CRAFT YouTube channel, this kind of project is shown in a very clear, step by step way. The creator explains how to attach parts without complicated sewing, how to keep the stitches neat, and how to give the strawberry a clean, professional look. This makes the pattern easy to follow even for beginners, while still looking impressive when finished.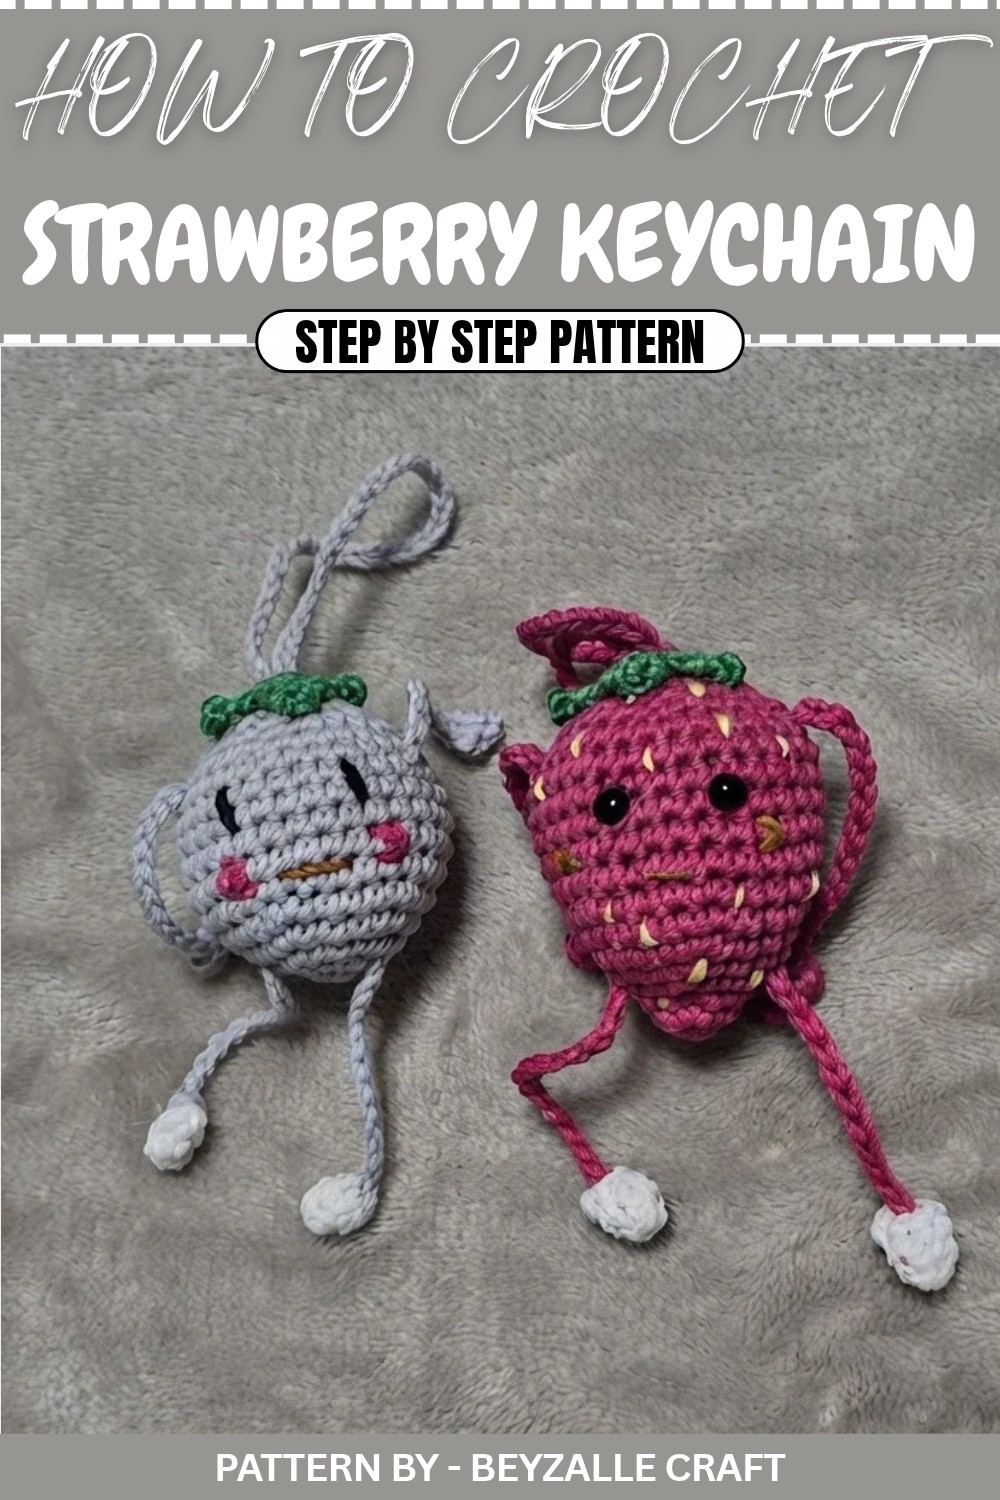
Crochet Pattern: Movable Leg Figurine (Strawberry Design)
The project is easy to follow, beginner friendly, and requires no special skills or a sewing machine. With just a few simple materials, including leftover yarn from your previous projects, you'll create a delightful toy that is great for gifting or selling.
Quick Overview of the Pattern
- Type of Project: Movable-leg crochet figurine (Strawberry design)
- Difficulty: Easy; no extensive sewing required.
- Uses: Toy, keychain, or decorative bag accessory.
- Customization: Can be made into other fruit designs by changing the topper.
Notes
- You can use any yarn you have at home, including leftover yarn from previous projects. Using different colors of yarn allows you to create various fun fruit designs.
- No plastic eyes are required; you can simply embroider the face details.
- The legs and arms of this figurine are movable for added playfulness.
- Pull the legs gently when adjusting for movement.
Skill Level
Beginner – Basic knowledge of crochet stitches, including slip stitch, single crochet, double crochet, magic ring, and chains, is required. Detailed steps are provided below.
Materials
- Yarn in the following colors:
- White for feet.
- Pink (or any desired main color).
- Green for the leaf topper.
- Black or brown for facial details.
- Yellow embroidery thread for seeds.
- Crochet hook (suitable for your yarn size).
- Polyfiber filling (or any suitable stuffing material).
- Tapestry needle for sewing and finishing.
- Scissors.
- Stitch marker (optional).
Measurements / Sizing
- Size of the finished figurine will depend on the type and thickness of the yarn you use. In the tutorial, a small, amigurumi-sized strawberry character is demonstrated.
Gauge
Gauge is not crucial for this pattern. Use the hook suggested for your yarn, ensuring the stitches are dense enough to prevent the stuffing from showing through.
Stitch Abbreviations
- ch = Chain
- sc = Single crochet
- sl st = Slip stitch
- MR = Magic ring
- sc inc = Single crochet increase (2 sc in the same stitch)
- sc dec = Single crochet decrease
Special Stitches
- Magic Ring (MR): A circular loop to start your work. Wrap yarn around your fingers to create a circle, insert hook through the loop, yarn over, pull through, ch 1, and work stitches within the ring before tightening.
The Crochet Pattern
Legs and Arms
- First Leg & Arm:
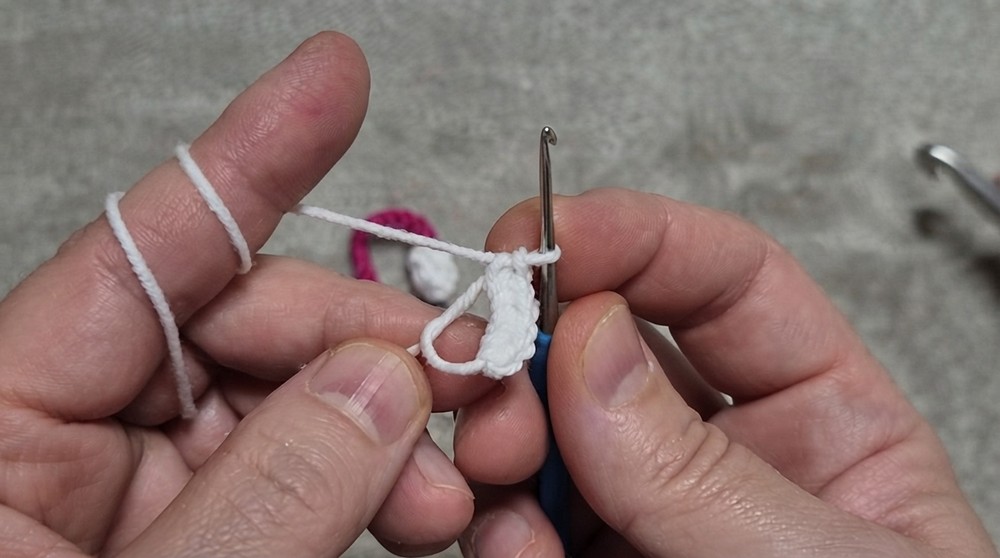
- Begin with white yarn.
- Make a magic ring (MR) and secure with ch 1.
- Work 6 sc into the magic ring. (6 sts)
- Tighten the loop and make one sc in the second round. Crochet over the tail for a clean finish.
- Switch to pink yarn (main color) at this point.
- Join Pink Yarn:
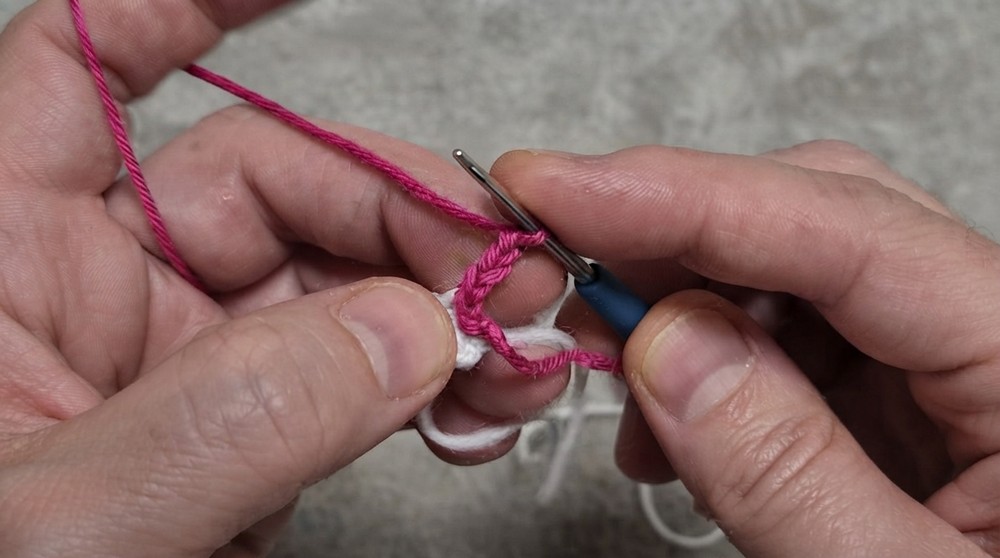
- Replace the white yarn with pink yarn (or your chosen color).
- Secure the pink yarn with ch 1.
- Attach it to the sc from the second round.
- Turn the piece to face the backside and pick the back loop of one stitch.
- Secure it with a sl st.
- Work one loop on the opposite side and secure with another sl st.
- Create the Movable Limb:
- With pink yarn, ch 32 (make loose chains to allow movement).
- In the second chain from the hook:
- Work 2 sc, then turn your work.
- In the same stitch, make 2 more sc to center the chains.
- You’ll have 4 sc for the first round.
- Make another round, working 4 sc.
- Close with a sl st and a length of yarn to secure. Trim and weave in all loose yarn pieces.
- Repeat steps 1–3 to make the second leg & arm.
Body
- Start with the Base:
- Use pink yarn. Make a magic ring and secure with ch 1.
- Work 6 sc into the magic ring and tighten. (6 sts)
- Place a stitch marker at the start of the round.
- Increase Rounds:
- Round 2: [1 sc, 1 sc inc] repeat 3 times. (9 sts)
- Round 3: [2 sc, 1 sc inc] repeat 3 times. (12 sts)
- Repeat these rounds until you have 30 sts in total.
- Attach the Legs:
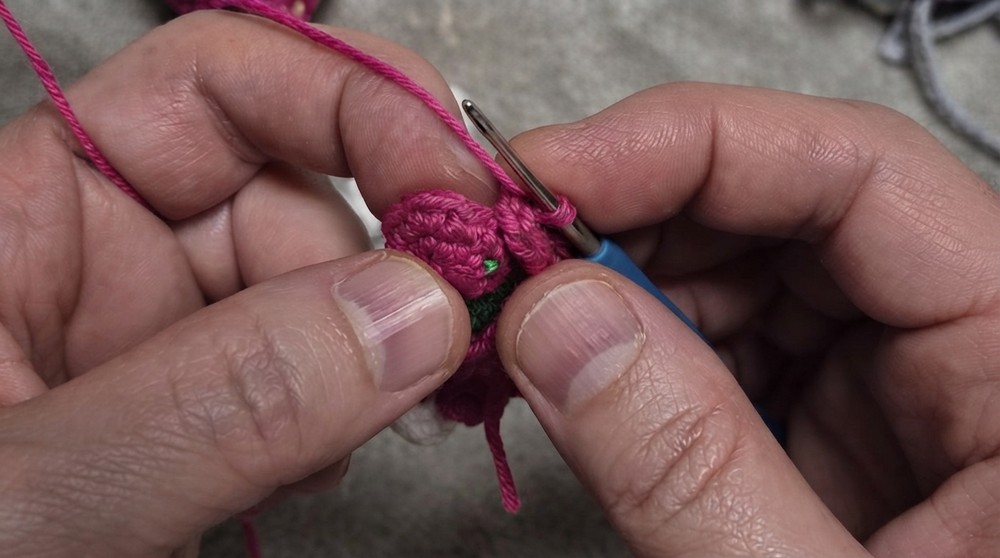
- During the 4th round, attach the legs. Crochet around the leg base without skipping any stitches, ensuring symmetry and alignment.
- Build Up for the Body:
- Work even increases until you reach 30 sts (around Round 8).
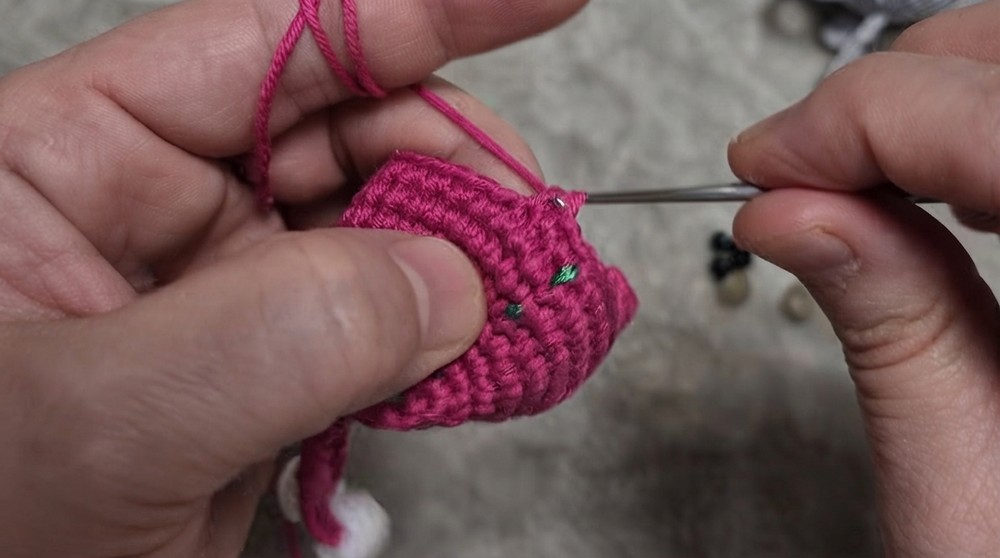
- Work 5 rounds of 30 sc for the body (Rows 9–13).
- Attach arms during Round 13, aligning them with the legs.
Head
- Decrease for the Neck:
- Round 14: [3 sc, 1 sc dec] repeat 6 times. (24 sts)
- Round 15: [2 sc, 1 sc dec] repeat 6 times. (18 sts)
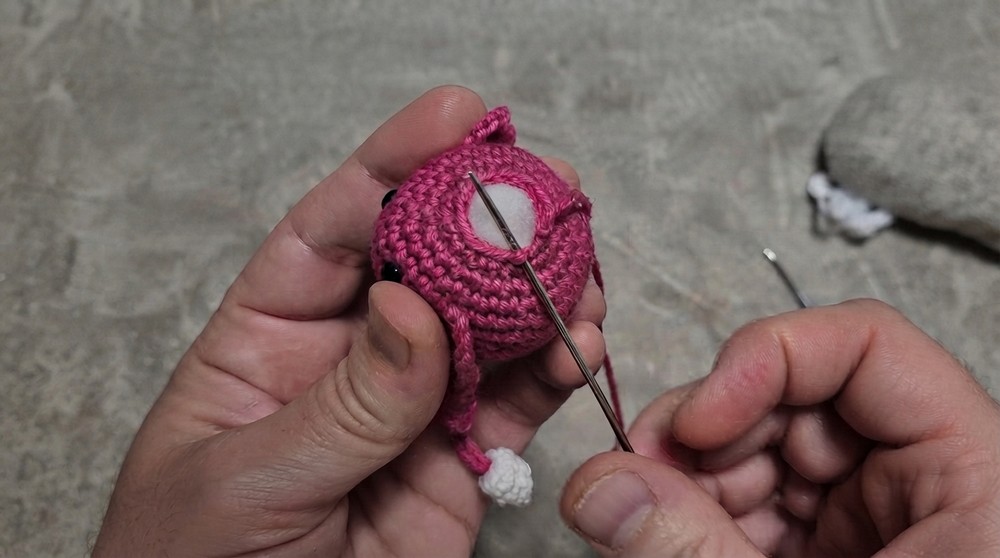
- Stuff the body with polyfiber.
- Final Decreases:
- Round 16: [1 sc, 1 sc dec] repeat 6 times. (12 sts)
- Leave a long tail, thread it on a tapestry needle, and use it to close the remaining gap by weaving through the front loops only. Tighten and knot securely.
Leaf Topper
- Use green yarn to make a magic ring.
- Secure with ch 1 and make 10 sc into it. (10 sts)
- Tighten the loop and join with a sl st into the first sc.
- Work the Leaves:
- For Each Leaf:
- Ch 4.
- Work 1 sc into the second ch from the hook.
- Work 1 hdc into the third ch.
- Work 1 dc into the fourth ch.
- Skip 1 stitch, sl st into the next stitch.
- Repeat until you have 5 leaves.
- For Each Leaf:
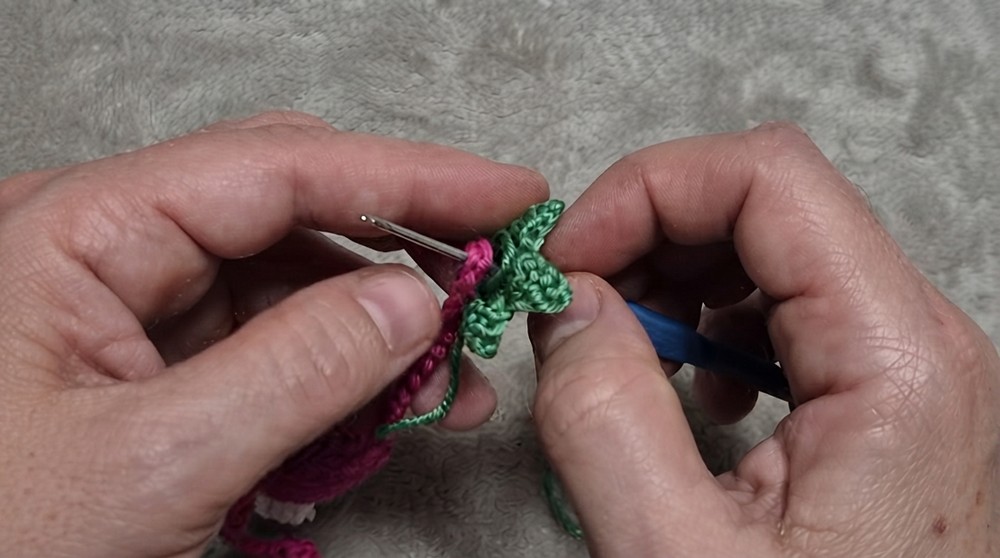
- Finish by leaving a long tail for sewing. Use the tail to sew the finished leafy topper to the head of the figurine.
Details
- Facial Features:
- Using black or brown thread, embroider two small eyes between the 11th and 12th rounds.
- Create a small sideways "V" stitch below the eyes to form the mouth.
- Add Freckles and Seeds:
- Use yellow embroidery thread to add small stitches across the pink body for a strawberry seed effect.
- Avoid sewing through the limb cords to maintain mobility.
- Add two small "X" stitches with pink thread under the mouth for rosy cheeks.
Assembly & Finished Size
- Attach all loose parts neatly to keep the finished piece clean and sturdy.
- Finished size varies depending on yarn thickness but generally stands about 8–10 cm (3–4 inches) tall.
- The arms and legs are fully movable, making this a fun, interactive toy.
Conclusion
Congratulations, You’ve completed a lovely crochet strawberry figurine with movable arms and legs. This project is simple and versatile, perfect for using leftover yarn and creating something unique and joyful. Use your creation as a toy, keychain, or fun bag accessory.