
Free Crochet AirPods Case Pattern as a Cute Stocking Filler
Create a stylish and unique crochet AirPods case with this free pattern that is easy and perfect for anyone who loves adding a personal touch to their accessories.
Crocheting small, cute items can be both relaxing and rewarding, and this AirPods case shaped like a T-shirt is a perfect example. Its beauty lies in its charming design, resembling a tiny, lovable shirt. With its vibrant yarn colors and adorable shape, it not only looks great but also brings a sense of personality to your accessories. It’s a unique way to protect your AirPods or small gadgets, keeping them safe while looking stylish.
This crochet case isn’t just for aesthetics; it’s also highly practical. It’s designed with enough space to hold AirPods securely while featuring a drawstring at the top for easy access. The snug yet neat fit keeps your items safe from scratches, dirt, and falls, all wrapped in the softness of yarn. It’s lightweight and compact, making it a perfect addition to your everyday essentials.
Free Crochet AirPods Case Pattern to Pack in Your Gym Tote
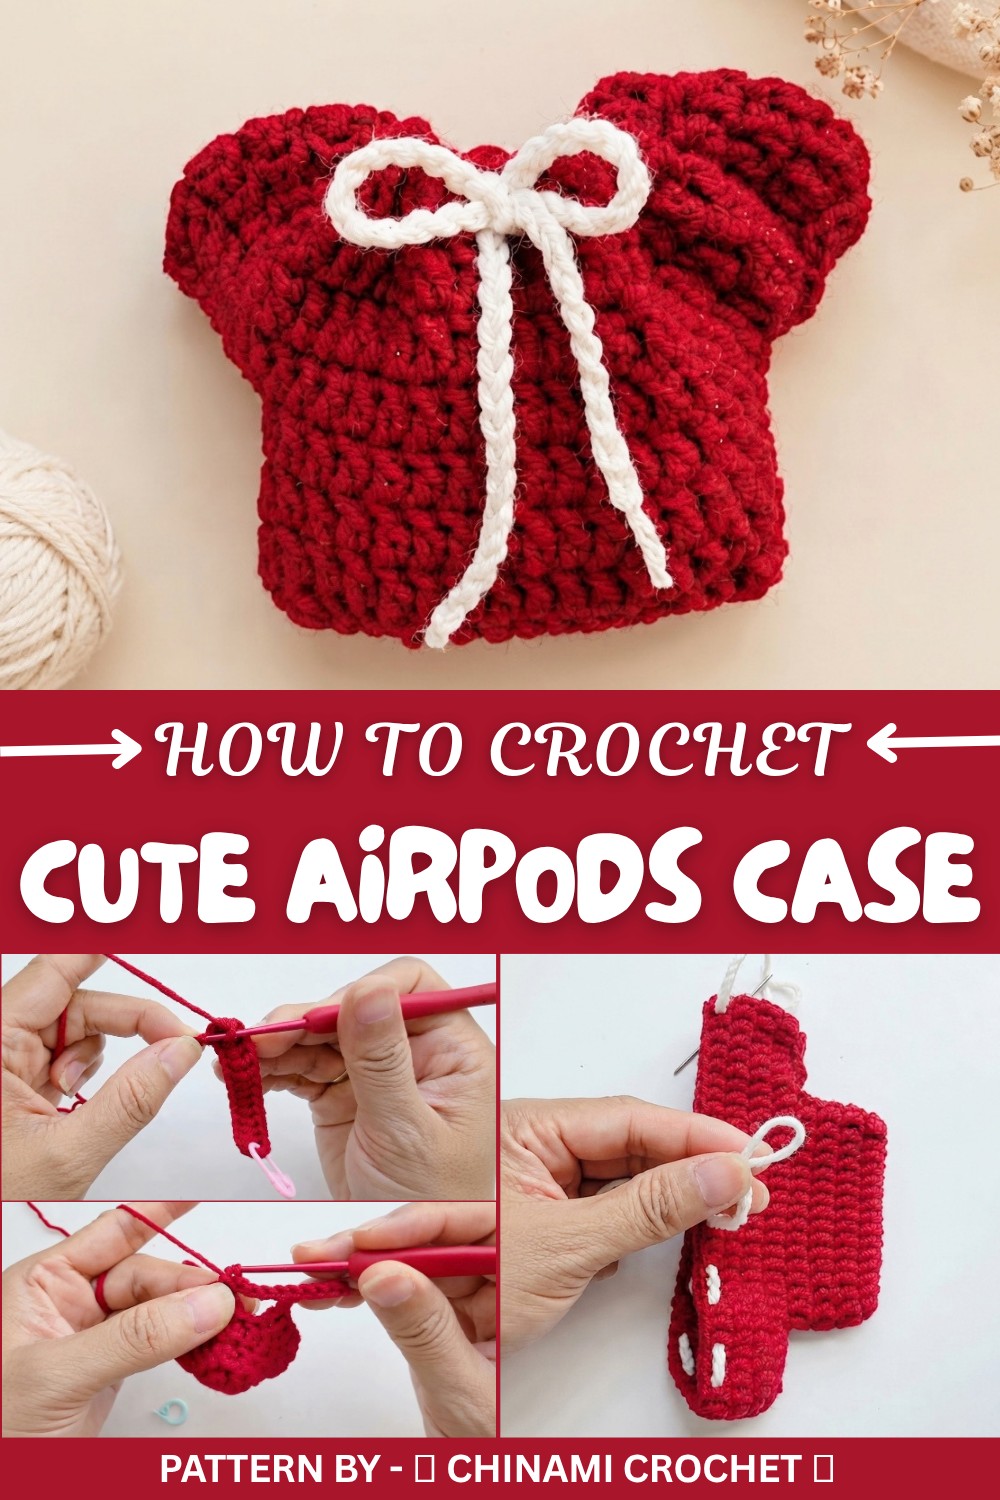
The tutorial from 𑣲 Chinami Crochet 𐙚 on YouTube makes crocheting this case simple and enjoyable. By using only the chain stitch (Ch) and double crochet (DC), even beginners can follow along effortlessly. What sets this project apart is its simplicity, consisting of just eight rows that build the main body of the shirt, plus additional steps to shape the sleeves and finish the edges.
The most attractive feature of this design is the attention to detail, such as sewing the sleeve gaps shut for a tidy finish and adding a contrasting drawstring bow. This combination of functionality and cuteness makes it hard to resist. Whether as a gift or for personal use, this handmade crochet case is the perfect way to add a personal and creative touch to your everyday life.
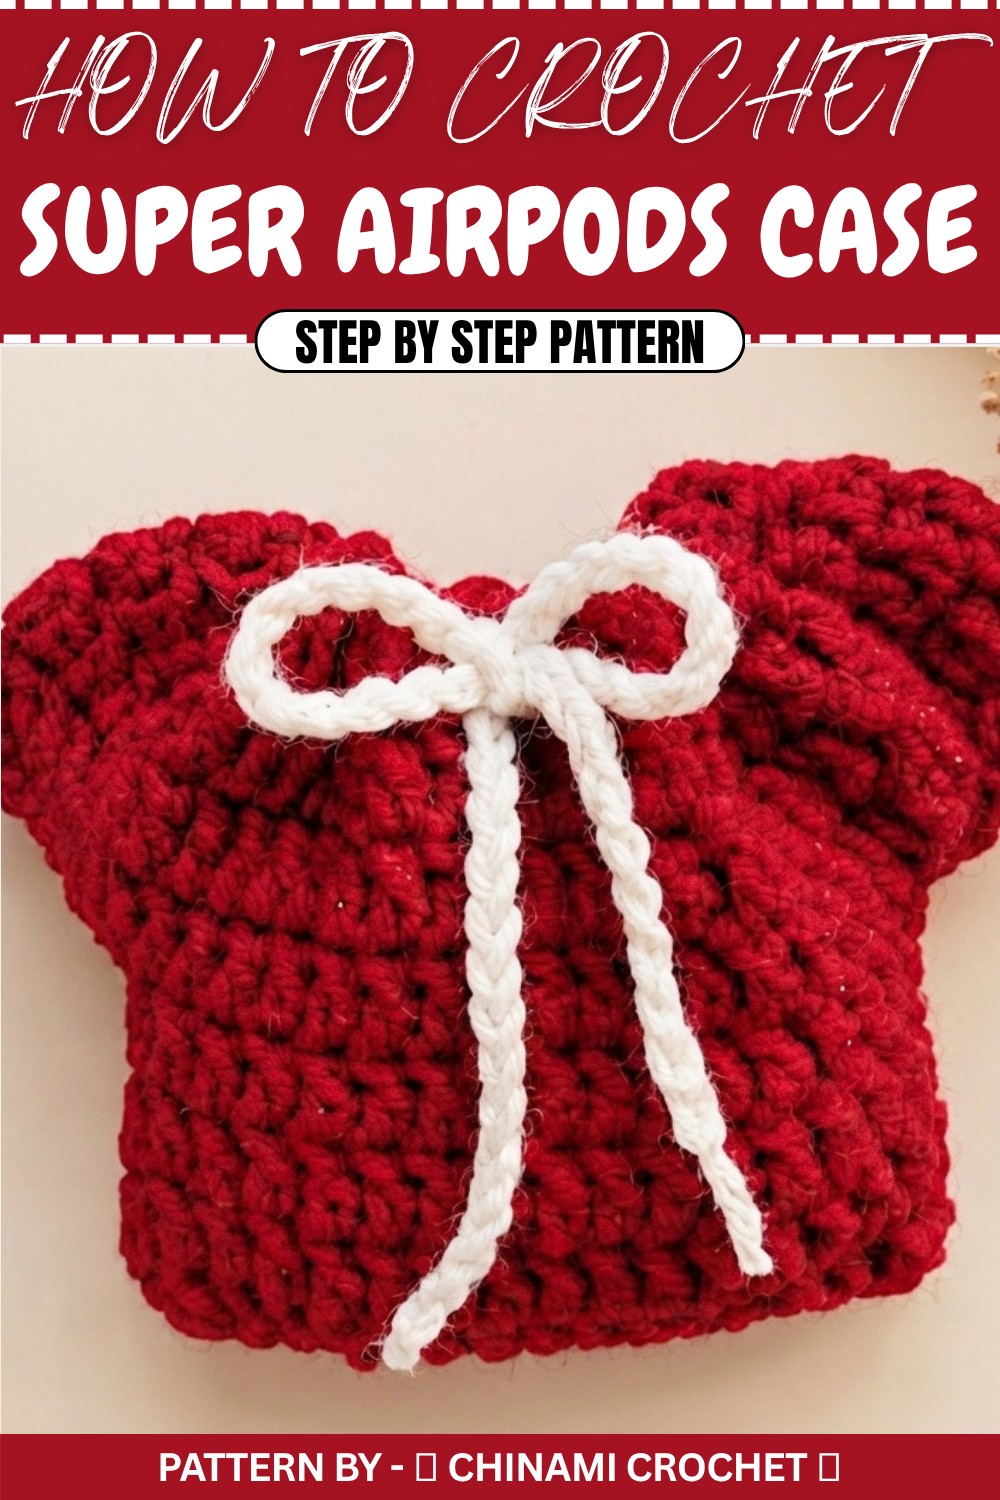
Crochet Pattern: Cute T-Shirt Earphone Pouch
This tutorial will guide you through creating a cute T shirt shaped earphone pouch that's both functional and adorable. Using only two basic stitches, it’s perfect for beginners and makes a fun, quick project. The pouch consists of just 8 rows, making it a fantastic project for beginners who want to practice their double crochet skills while creating something useful.
Quick Overview of the Pattern
- Work the pouch body with rows of double crochet stitches.
- Add sleeves to form the T shirt shape by extending the rows with chain stitches.
- Seam gaps to secure the sleeves and customize with a drawstring closure.
- Optionally, finish the project with neat trimming or adornments.
Notes
- Beginner-Friendly: This project uses only two basic stitches: chain (Ch) and double crochet (DC). It's a great practice project.
- Use a stitch marker: It will help track the beginnings and endings of rows.
- Customize the size: You can adjust the dimensions to fit your earphones or small accessories.
- The gap under the sleeves can be closed using simple slip stitches (Sl St) or whip stitches for a cleaner finish.
Skill Level
- Beginner Intermediate. If you know how to chain and double crochet, you should be able to complete this project.
Materials
- Yarn:
- Color A (main body) – Light pink or any preferred shade.
- Color B (drawstring) – Beige or any accent color.
- Crochet Hook: 2.5–3.0 mm, depending on yarn thickness.
- Tools Required:
- Scissors.
- Yarn needle or tapestry needle.
- Stitch marker.
Measurements / Sizing
- Completed size: Approximately 10 cm wide x 12 cm tall (adjustable based on yarn and stitch tension).
Gauge
Gauge is not critical for this project. Consistent tension throughout the pattern will produce a neatly finished project.
Stitch Abbreviations
| Abbreviation | Description |
|---|---|
| Ch | Chain Stitch |
| DC | Double Crochet |
| Sl St | Slip Stitch |
Step-by-Step Instructions
Section 1: The Body (Rows 1–3)
Row 1: Foundation Chain and Base Row
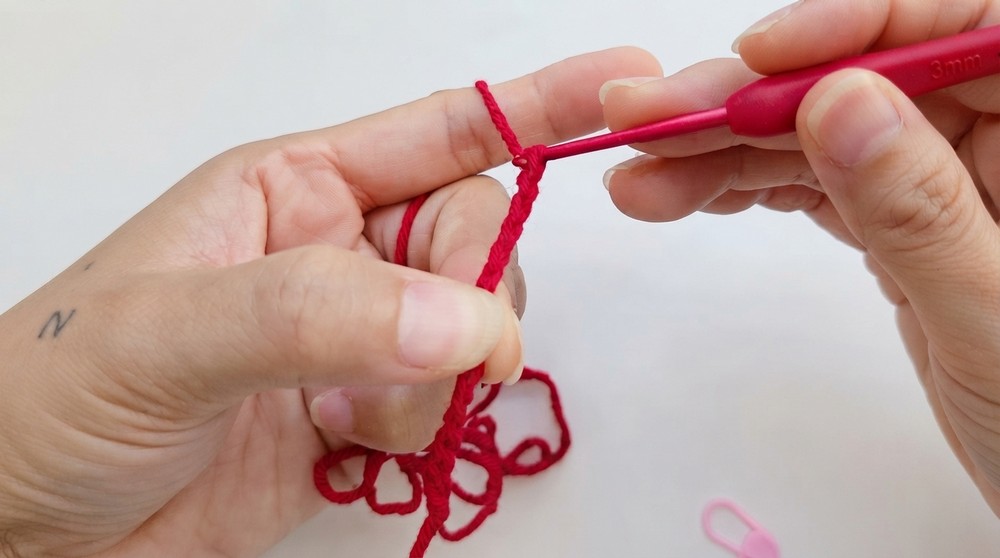
- Start with 17 chains (Ch 17).
- Skip the first two chains from the hook.
- Work 1 double crochet (DC) into the 3rd chain from the hook. Continue with 1 DC in each chain across for a total of 14 DC stitches.
- In the final chain, work 3 DC into the same space. This creates a rounded corner.
- Turn to work on the opposite side of the foundation chain. Work 13 DC stitches along the underside of the chains.
- In the final stitch on this side, work 2 DC into the same space.
- Slip stitch (Sl St) into the top of the first DC to join and complete the round.
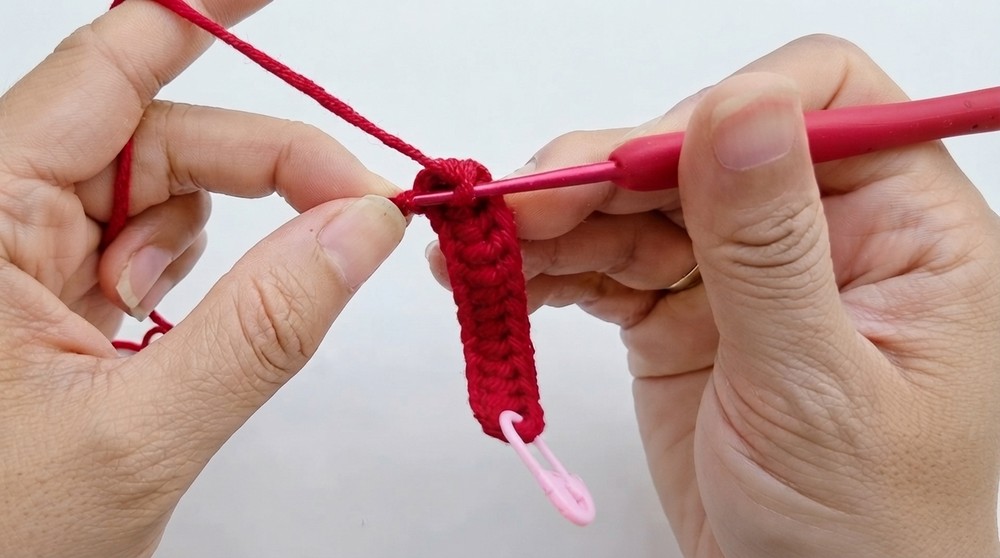
Stitch Count: 34 DC.
Row 2: Build the Body
- Chain 2 (Ch 2). This counts as the first stitch.
- Work 1 DC in the first stitch.
- Continue around evenly, working 1 DC into each stitch for a total of 34 DC stitches (no increases or decreases).
- Slip stitch to the top of the starting chain to complete the round.
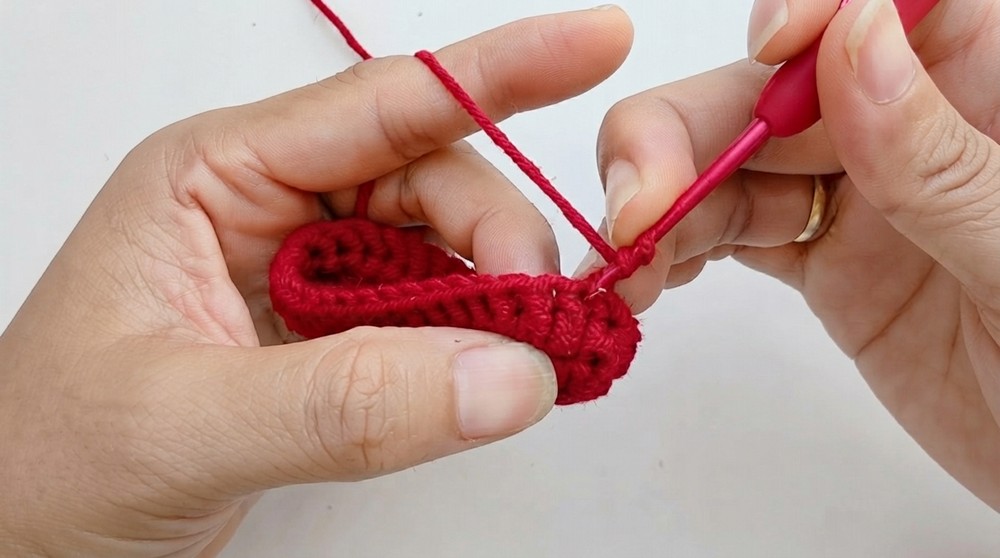
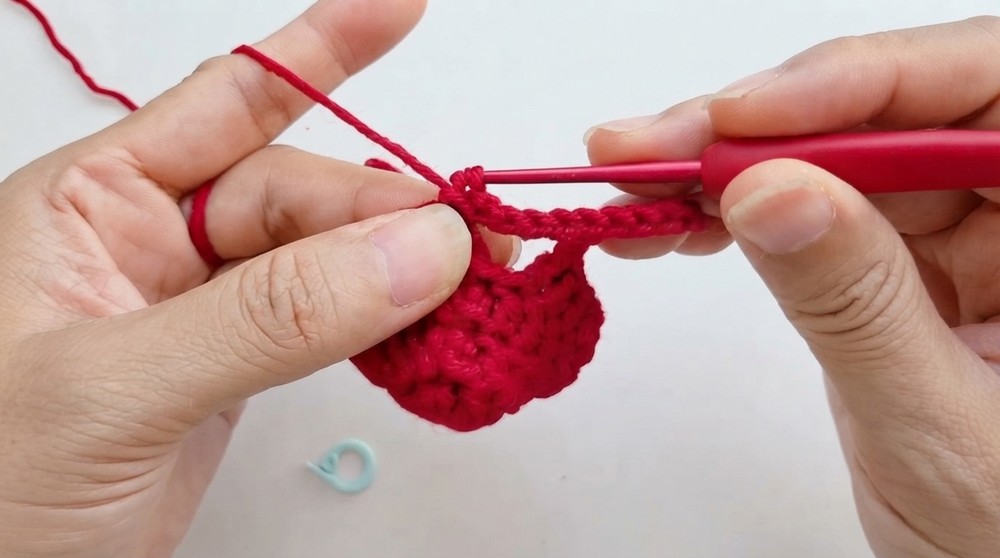
Stitch Count: 34 DC.
Row 3: Reinforce the Shape
- Chain 2 (Ch 2).
- Work 1 DC into the first stitch and continue across the round with 1 DC into each of the 34 stitches.
- Slip stitch into the top of the starting chain to join the round.
Stitch Count: 34 DC.
Section 2: The Sleeves (Row 4)
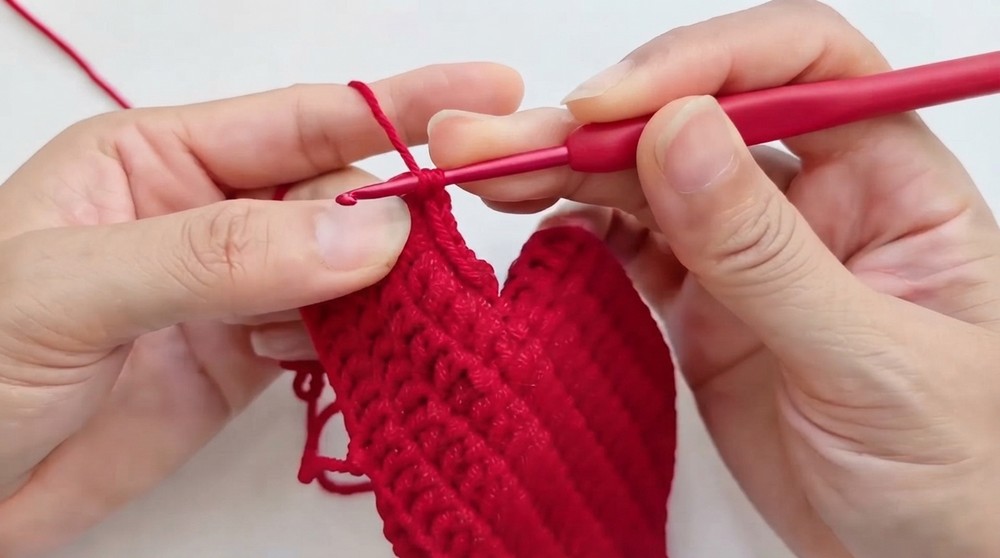
Row 4: Create Sleeves
- Work 16 DC stitches across the body of the T-shirt.
- Chain 16 (Ch 16). This forms the first sleeve.
- Skip the next set of stitches and join with 1 DC into the same space as the 16th stitch.
- Continue working 17 DC stitches along the back side of the T shirt body.
- Chain 16 again (Ch 16) to create the second sleeve. Skip the next set of stitches and slip stitch (Sl St) into the first stitch of the row to complete.
Section 3: Body and Sleeves (Row 5)
Row 5: Work Sleeves and Body Together
- Chain 2 (Ch 2). This serves as the first stitch.
- Work 16 DC stitches across the body of the T-shirt, stopping at the sleeve.
- Work 16 DC stitches directly into the chain 16 space of the first sleeve.
- Continue working 17 DC stitches along the center body section.
- Work 16 DC stitches into the chain 16 space of the second sleeve.
- Slip stitch (Sl St) into the top of the first stitch to complete the row.
Stitch Count: 65 DC.
Section 4: Final Rows (Rows 6–8)
Rows 6–8: Build Out the T-Shirt Body
- Chain 2 (Ch 2) at the start of each row.
- Work 1 DC evenly into each of the 65 stitches across.
- Repeat this process for Rows 6, 7, and 8.
- At the end of Row 8, slip stitch (Sl St), fasten off, and cut the yarn.
Stitch Count: 65 DC per row.
Section 5: Finishing Details
Sleeves
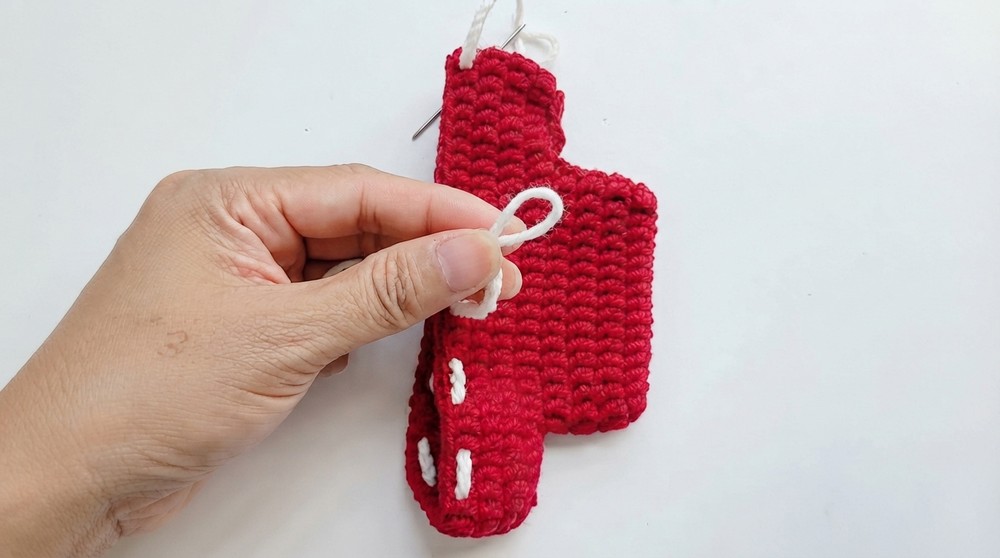
- Fold the sleeves in half to close the open gaps.
- Use slip stitches (Sl St) or a yarn needle to seam the edges of the sleeves neatly together.
- Make sure the sleeve openings are secure for a polished finish.
Drawstring
- Take a contrasting yarn color to create the drawstring.
- Chain 70 (Ch 70), adjusting if needed to fit the pouch’s opening.
- Weave the chained drawstring through the stitches along the top edge of the pouch’s opening. Alternate the drawstring so it weaves in and out of the stitches evenly.
- Once complete, pull the drawstring tight and tie into a bow for closure.
Conclusion
Congratulations, You’ve successfully completed your mini T-shirt AirPods case. Perfect for storing earphones, AirPods, or small accessories, this functional yet whimsical project makes a great homemade gift or simple accessory to add to your collection.