
Handmade Free Crochet Bow Pattern That Makes Gifts Extra Cute
Turn your yarn into something adorable with this free crochet pattern, perfect for crocheting charming accents to embellish hair clips,bags, and countless other creative projects.
Have you ever wondered how something so small can hold so much charm? A crochet bow is one of those delightful pieces that manages to steal the show despite its simplicity. With just a strand of yarn and a crochet hook, what starts as a humble beginning soon becomes a lovely little bow that’s equal parts cute and functional. Anyone can enjoy making these, whether it’s for a relaxing hobby or as a thoughtful addition to handmade gifts.
These bows are ideal for sprucing up almost anything. Use them to accessorize hairbands or as decorative add ons for purses, baby clothes, or even gift boxes. They make excellent holiday decorations or can be attached to greeting cards. You’ll be amazed at how they can instantly brighten up what you pair them with. What truly makes them shine is their elegant symmetry: two identical halves joined with a neatly wrapped center, giving them their classic bow look.
Free Crochet Bow Pattern That Brings Any Project to Life
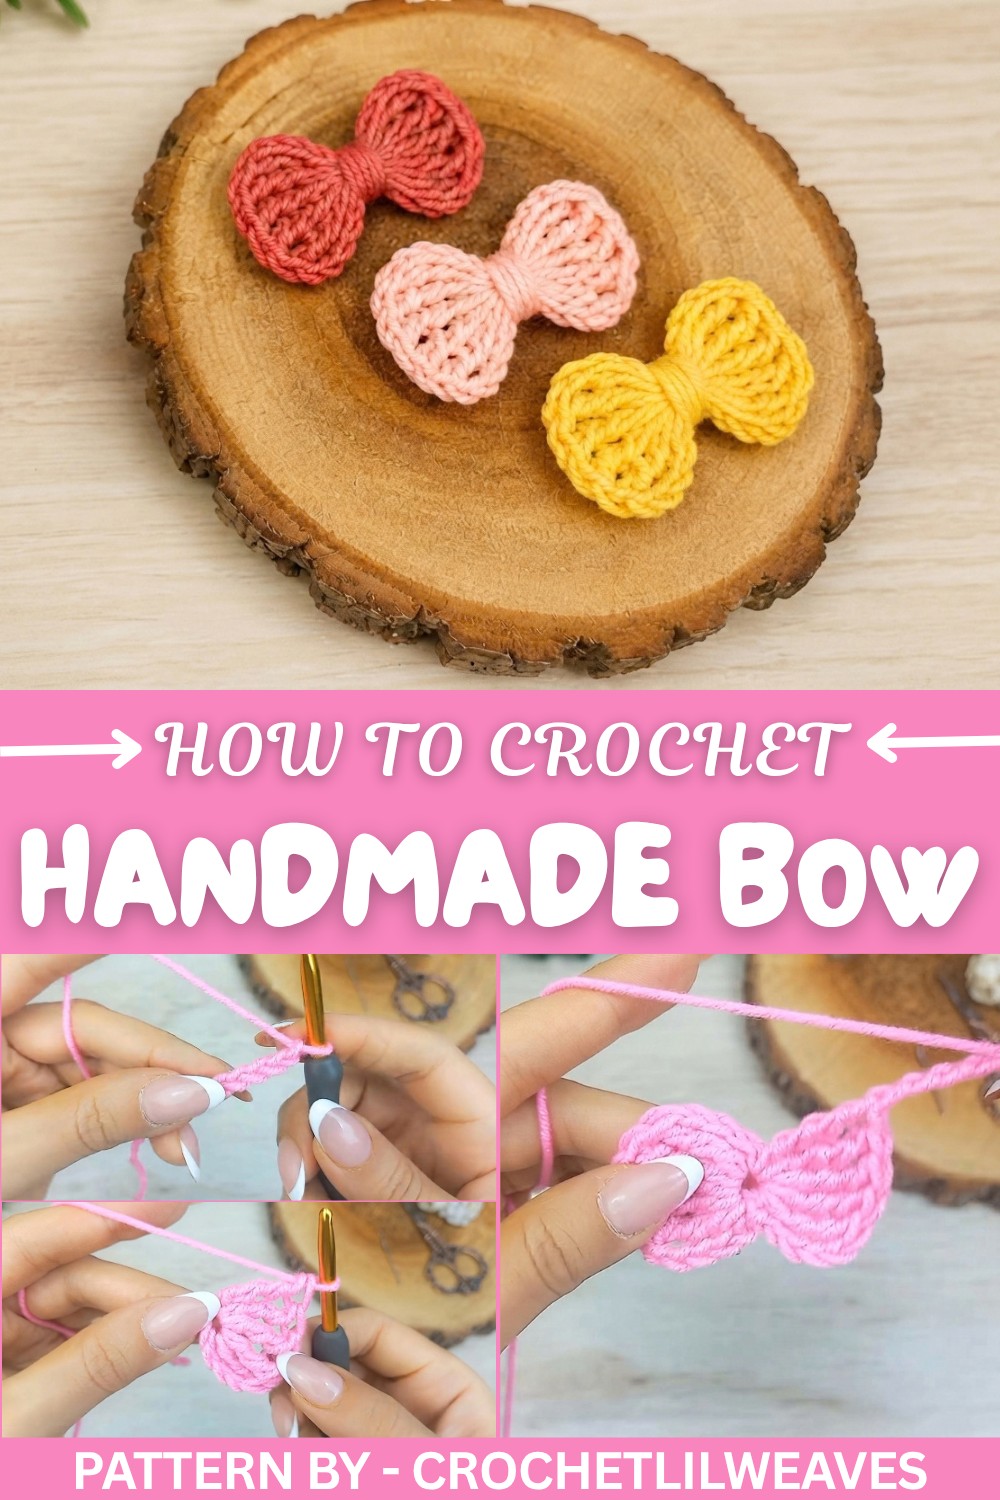
Pattern by
This crochet bow tutorial originates from the YouTube channel CrochetLilWeaves. Known for their clear and detailed explanations, the host guides viewers through every technique, from the initial slip knot and chain stitches to the double treble crochets that give the bow its fullness. With their help, even the most complex looking bows come together effortlessly.
These crochet bows are not only beautiful but also quick to finish. They’re the perfect way to use leftover yarn and add charm to everyday items. No matter how you choose to use them, they’re sure to put a smile on your face.
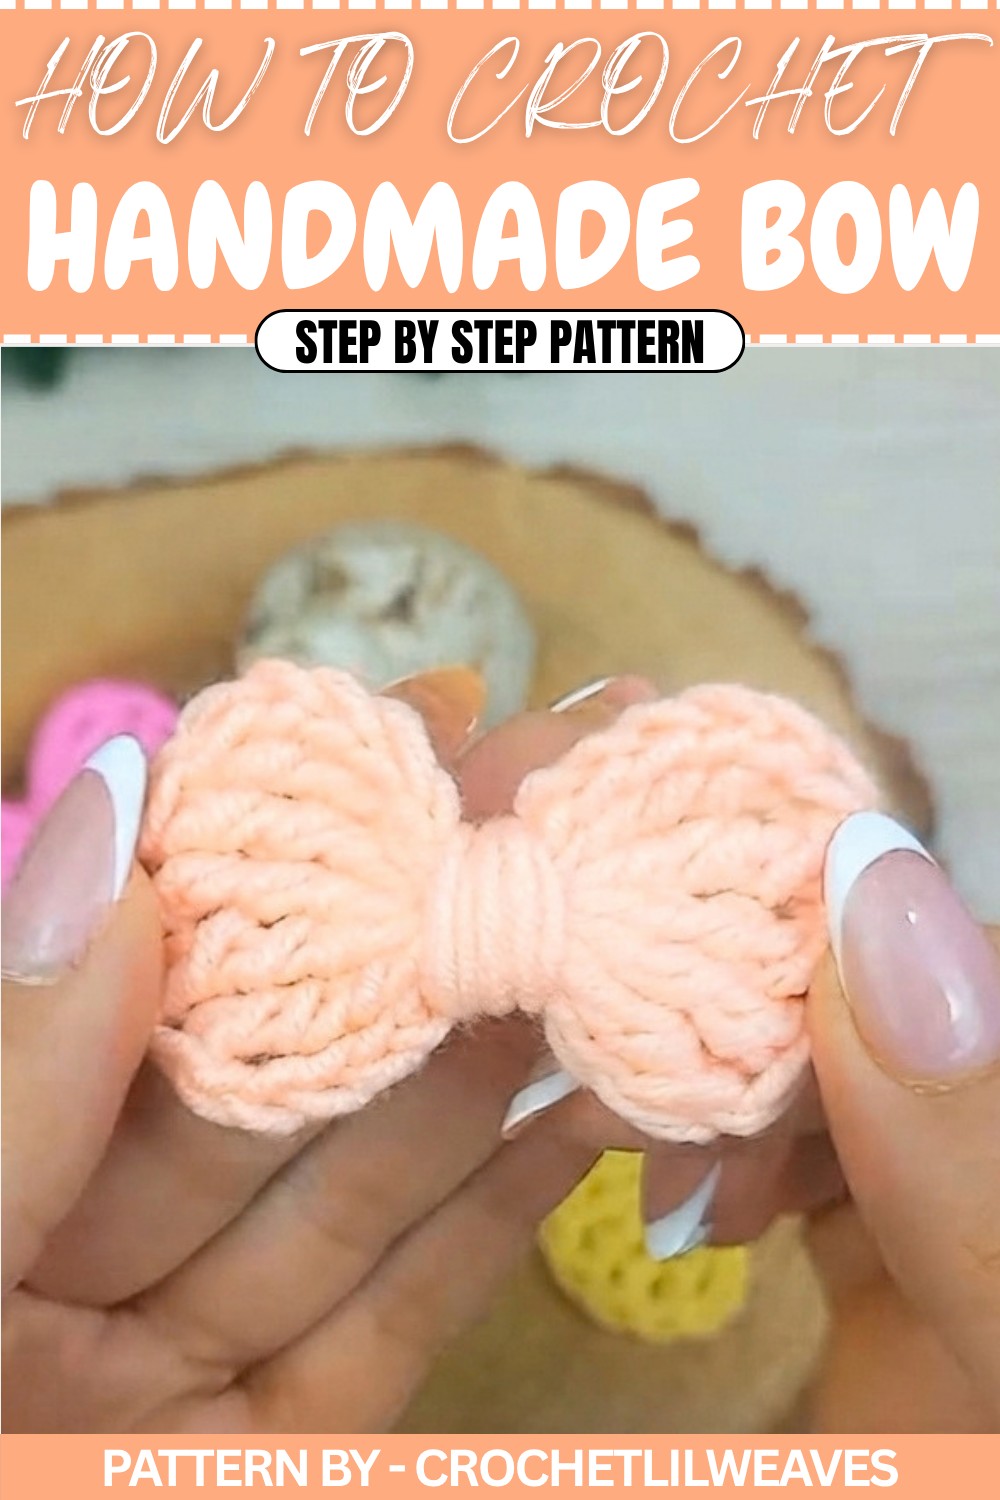
Crochet Bow Pattern
Great for adding flair to any project, this bow can be created in any color with a small amount of yarn. Whether you’re a beginner or an experienced crocheter, this pattern is straightforward and fun to work on. Let’s get started and create something beautiful together.
Quick Overview Of Pattern
- Project type: Decorative crochet bow.
- Design highlights: Simple yet elegant with a wrapped center.
- Customization: Use any color or yarn weight.
- Time required: Fast and easy to complete in under 30 minutes.
- Skill level: Beginner friendly, with detailed instructions provided.
Notes
- The tutorial uses US crochet terminology.
- Keep your tension consistent for a professional finish.
- The project is small, so any leftover yarn can be used.
- Ensure you leave a long tail for wrapping the center and tying the bow.
- Always fasten off securely to prevent unraveling.
Skill Level
Beginner – Familiarity with basic stitches like chain, slip stitch, and double treble crochet (dtr) is helpful.
Materials
- Yarn: Small amount of worsted weight yarn in any color.
- Hook: 5 mm crochet hook.
- Scissors.
- Yarn needle (for weaving in ends).
Measurements / Sizing
The size of the bow will vary based on the yarn used and tension. This pattern creates a bow approximately 3–4 inches wide with worsted weight yarn.
Gauge
Gauge is not critical for this pattern.
Stitch Abbreviations
- ch: Chain
- sl st: Slip Stitch
- dtr: Double Treble Crochet
- yo: Yarn Over
Special Stitches
- Double Treble Crochet (dtr): Yarn over three times, insert the hook into the stitch, pull up a loop, then yarn over and pull through two loops at a time until one loop remains.
Crochet Bow Pattern
Step 1: Create the Slip Knot
- Wrap the yarn around your pinky finger from front to back.
- Take the yarn and place it over the top of your index finger from back to front.
- Hold the yarn between your thumb and middle finger.
- Place your hook on top of the yarn, pull it down into a loop, and hold the loop between your fingers.
- Pull the loop up, move behind the working yarn, and pull it through the loop.
- Remove your fingers, pull the tail, and tighten the working yarn to create your slip knot.
Step 2: Start the Foundation Chain
- Yarn over.
- Pull through the loop on your hook to make 1 chain.
- Repeat this process until you have 5 chains in total.
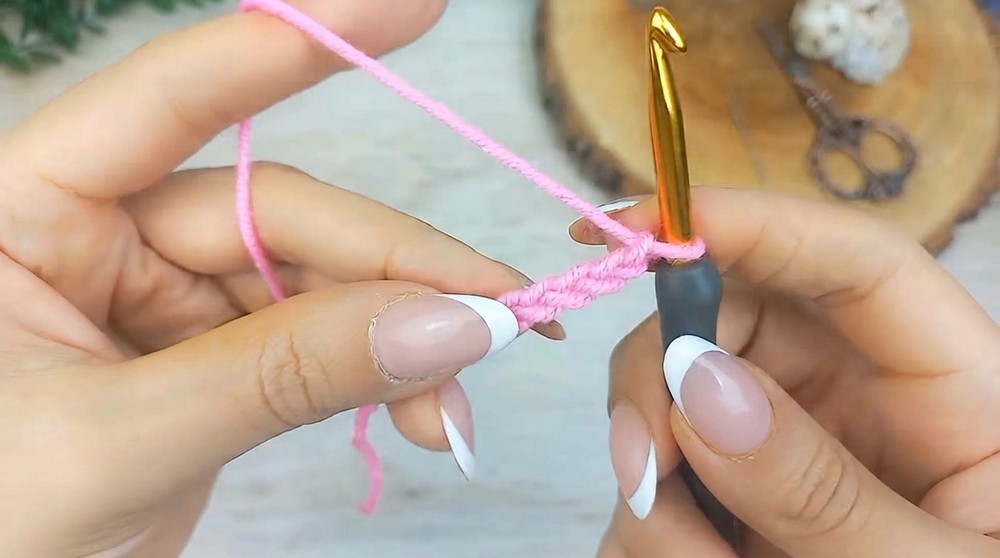
Step 3: First Half of the Bow
- Double Treble Crochet (dtr) into the first chain:
- Yarn over three times.
- Insert your hook into the first chain.
- Pull up a loop (you will have 5 loops on your hook).
- Yarn over, pull through 2 loops (now you will have 4 loops remaining).
- Yarn over, pull through the next 2 loops (now you will have 3 loops remaining).
- Yarn over, pull through the next 2 loops (you will now have 2 loops remaining).
- Yarn over once more, pull through the last 2 loops.
- This completes 1 double treble crochet.
- Repeat Step 1 (dtr) four more times in the same chain to create 5 double treble crochet stitches in total.
- Chain 5.
- Make a slip stitch into the same chain:
- Insert hook into the first chain.
- Yarn over and pull through both the chain and the loop on your hook.
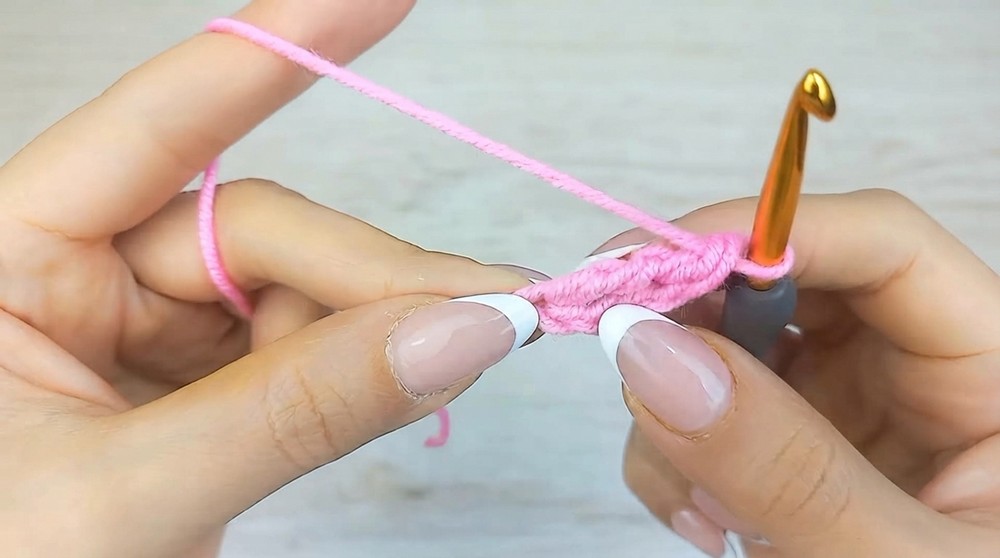
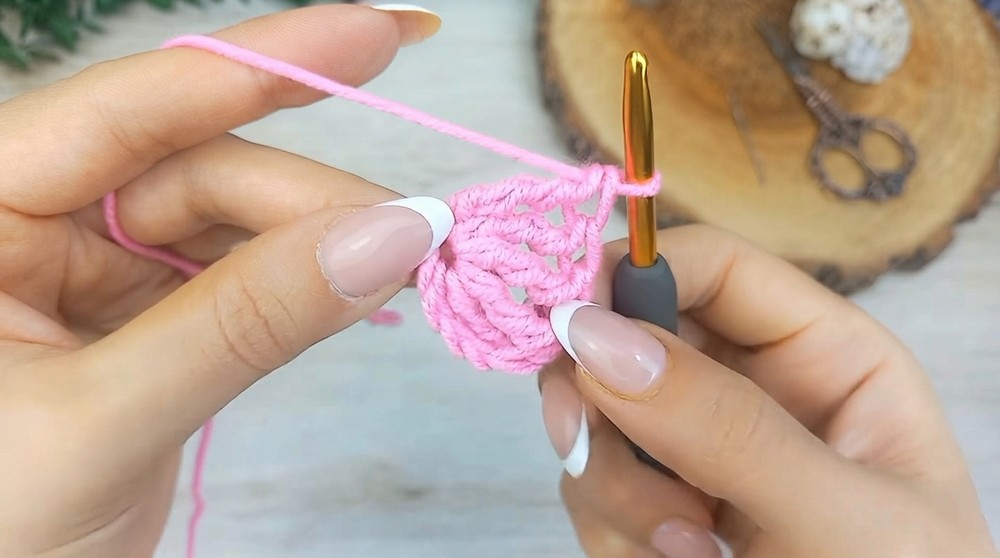
This finishes the first half of the bow.
Step 4: Second Half of the Bow
- Start with 5 chains:
- Yarn over and pull through the loop on your hook to make 1 chain.
- Repeat until you have 5 chains.
- Create 5 double treble crochet (dtr) stitches in the same chain:
- Follow the instructions in Step 3 to make five dtr stitches into the same chain.
- Chain 5.
- Make a slip stitch into the same chain:
- Insert hook into the same chain where you’ve been working.
- Yarn over and pull through both the chain and the loop on your hook.
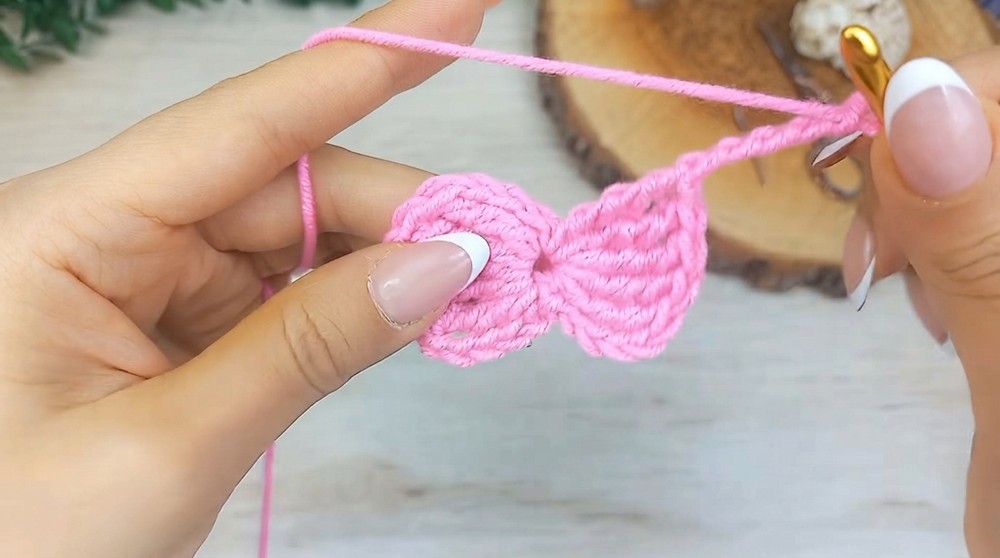
This completes the second half of the bow.
Step 5: Fasten Off
- Make 1 chain to secure the work.
- Leave a long tail (about 8–10 inches) and cut the yarn.
- Pull the hook through the chain and tighten to secure the knot.
Assembly & Finished Size
Step 6: Wrap the Center
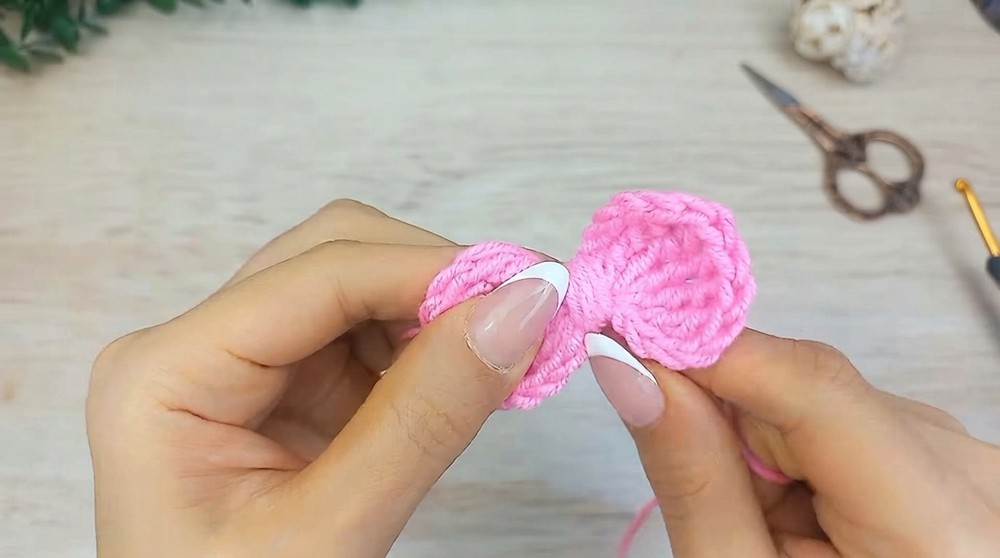
- Take the long tail you left earlier and start wrapping it tightly around the center of the bow.
- Ensure you cover the starting chain completely and evenly to create a neat decorative band.
- Repeat wrapping several times until the center looks smooth and firm.
Step 7: Tie and Secure
- Turn the bow to the back.
- Tie the two yarn tails together securely to hold the wrapping in place. Tie twice for extra security.
Step 8: Weave In Ends
- Use a yarn needle to weave the tails into the wrapped yarn at the back of the bow.
- Pull the yarn through the wrapped section several times until it is secure.
- Trim off any excess yarn.
- Repeat the weaving process for the second tail.
Conclusion and Final Notes
Congratulations! Your crochet bow is complete. This quick and simple pattern makes adorable bows that are perfect for adding style to any accessory or garment—be it headbands, hair ties, or decor for gifts. Experiment with colors and yarn weights to customize your bow designs.