
Amazing Free Crochet Bookmark Pattern with Pretty Yarn Color
Slide a charming and handmade bookmark into your favorite book with this Free Crochet Bookmark Pattern, a delightful and easy project that’s perfect for readers of all ages.
On a quiet afternoon, you settle down with a book, turning its pages with interest. Between those pages lies a handmade bookmark, adding a touch of charm to your reading moments. This small yet eye catching addition combines neat stitches, soft textures, and delicate yarn to offer both purpose and style to your daily reads.
The guidance for making this bookmark comes from CrochetLilWeaves, a YouTube channel that simplifies the process and guides you through the essentials with ease. In this tutorial, she uses straightforward techniques like single crochet stitches worked into back loops to form a neat and flat structure. To finish, a tassel is attached, bringing a playful yet polished touch to the overall design. The tutorial also shows how this project can be adjusted to fit different book sizes, making it adaptable to personal preferences.
Free Crochet Bookmark Pattern That Book Lovers Need
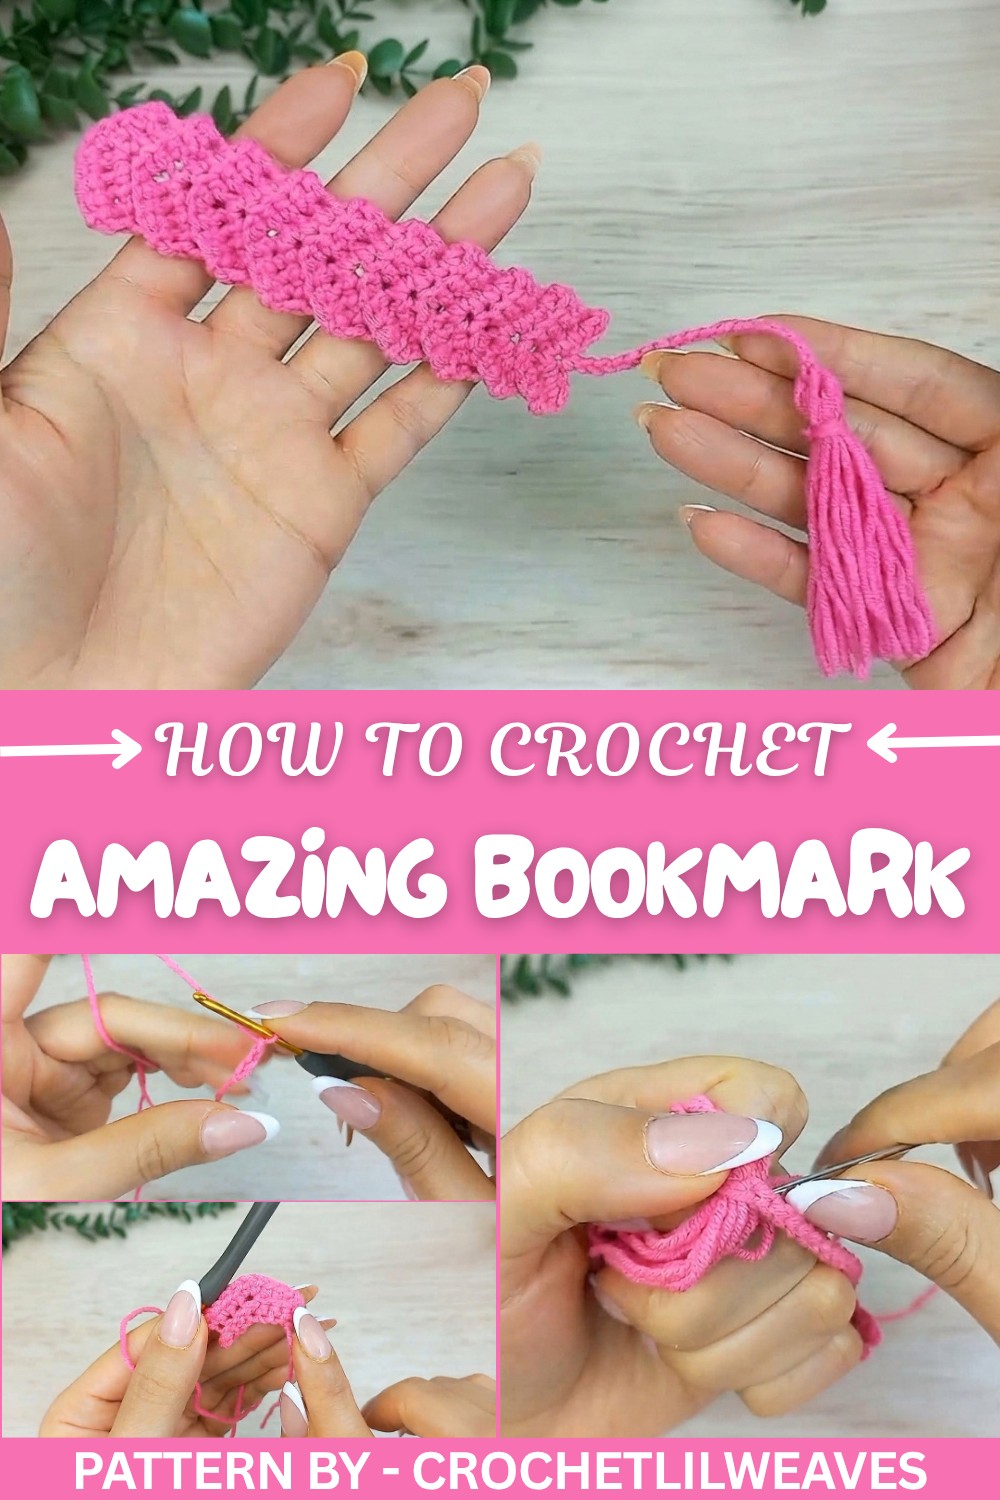
This bookmark stands out for its elegant simplicity and practical charm. Rows of carefully worked stitches give it a neat and professional look, while the tassel adds personality to the finished piece. It’s lightweight yet sturdy, making it an everyday companion for books, journals, or notebooks. Whether left plain or customized with unique colors and lengths, it becomes a delightful addition to any reading routine.
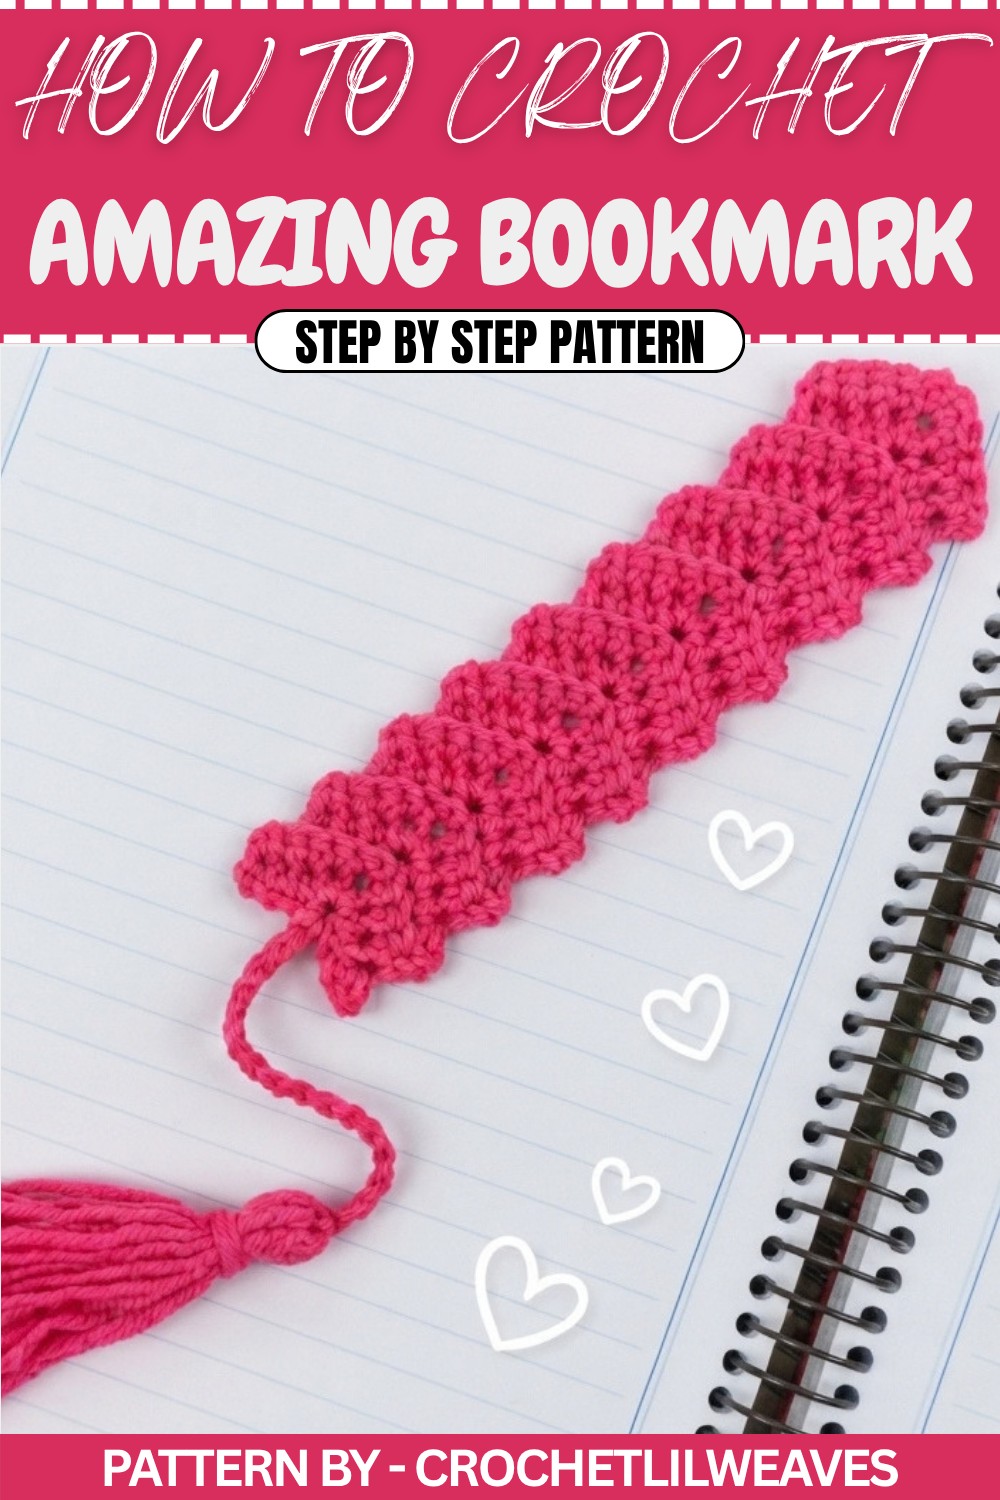
Easy and quick to finish, it’s perfect for those starting their crochet journey or looking for a relaxing project. Beyond its practical use, it serves as a thoughtful gift, offering a bit of handmade charm to anyone who enjoys spending time with books.
Easy Crochet Bookmark Pattern
In this pattern, you’ll learn how to create a beautiful, simple, and fast crochet bookmark. This project can be adjusted to your preferred size and makes an excellent addition to your study materials. Follow the step by step instructions and, by the end, you’ll have a practical yet decorative handmade bookmark.
Quick Overview of Pattern
- Project Type: Crochet Bookmark
- Skill Level: Beginner
- Stitches Used: Slip knot, chain, single crochet, and slip stitch
- Total Rows: Approximately 18 (but can be customized to a desired length)
- Special Features: Includes a tassel for completing the bookmark
Notes
- Ensure your tension is consistent for even and neat stitches.
- The pattern can be customized by altering the number of rows or chains.
- The bookmark is finished with a tassel, but this step is optional.
- For a longer bookmark, simply add more rows by repeating the pattern provided.
Skill Level
This pattern is perfect for beginners, as it involves basic stitches and simple techniques that are easy to follow.
Materials
- Yarn: Small amount of Category 2 yarn (lightweight).
- Hook Size: 2.5 mm crochet hook.
- Tools: Yarn needle, scissors.
Measurements / Sizing
- Length: Approximately 13 cm (can be extended or shortened by adding or reducing rows).
- Width: Approximately 2.5–3 cm.
Gauge
- Not critical for this project. Ensure consistent tension for a neat look.
Stitch Abbreviations
- ch: Chain
- sc: Single Crochet
- sl st: Slip Stitch
- yo: Yarn Over
Special Stitches
The stitch variations are basic:
- Single Crochet (sc):
- Insert hook into the indicated stitch, yarn over, and pull up a loop.
- Yarn over again and pull through both loops on the hook.
- Worked Into the Back Loop Only:
- Instead of inserting your hook under both loops of the stitch, insert it under the back loop only.
The Crochet Pattern
Step 1: Begin with a Slip Knot
- Make a slip knot:
- Place the yarn on your pinky finger (front to back).
- Wrap it over your index finger (back to front).
- Hold the yarn using your thumb and middle finger.
- Place the hook under the yarn and pull it downward to form a loop.
- Pull this loop upward and remove your fingers, creating a slip knot.
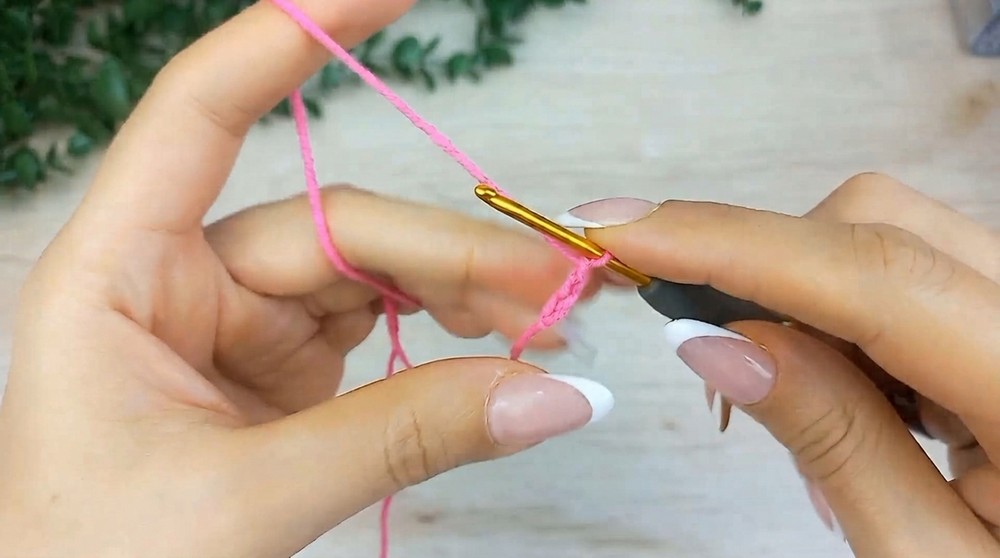
Step 2: Chain Foundation
- Chain 8:
- Yarn over and pull through the loop on the hook. Repeat this 7 more times until there are a total of 8 chains.
Step 3: Row 1
- Skip the first chain and begin in the second chain.
- First Single Crochet (sc):
- Insert the hook into the second chain.
- Yarn over and pull up a loop (2 loops on hook).
- Yarn over again and pull through both loops. (1 single crochet created)
- Work 2 more single crochets into the next 2 chains for a total of 3 single crochets.
- Work 3 single crochets into the next chain:
- Insert the hook into the same chain three times and complete a single crochet each time (this will create a rounded "corner").
- Work 1 single crochet into each of the next 3 chains.
- Row 1 Complete: You should have:
- 3 sc, 3 sc in one chain (rounded corner), and 3 sc.
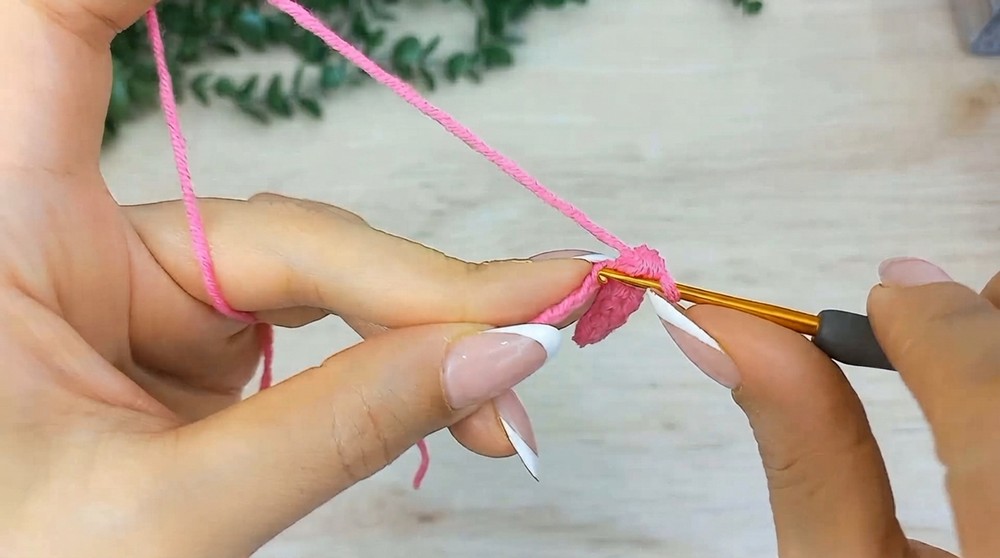
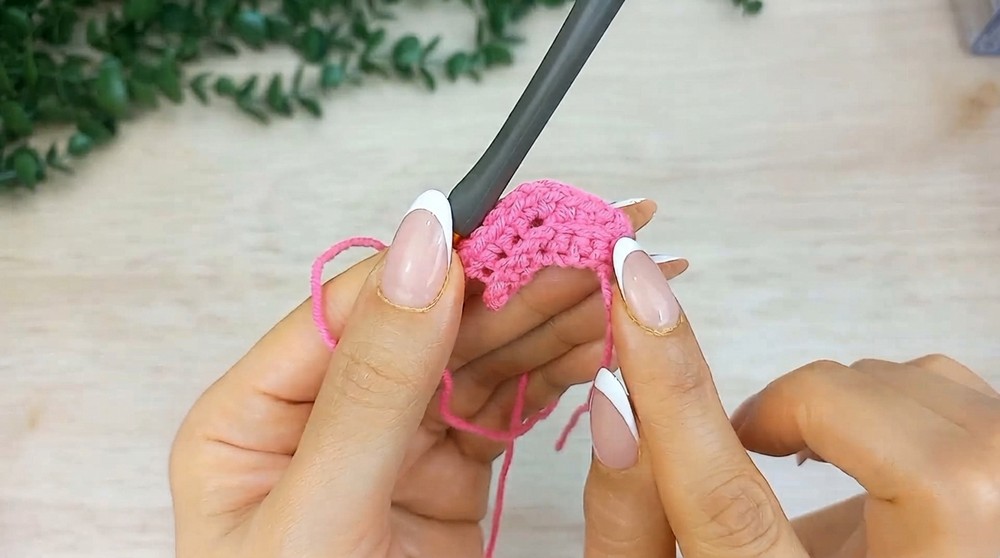
Step 4: Row 2 (Back Loop Single Crochet Row)
- Turn Your Work: Chain 1 and rotate the work.
- Skip the first stitch and work into the back loop of the second stitch.
- Work 1 single crochet into the back loop of the next 3 stitches.
- 3 Single Crochets into the Middle Stitch (Back Loop Only):
- Insert the hook into the back loop of the middle stitch from the previous row.
- Make 3 single crochets (sc) into that same back loop.
- Work 1 single crochet into the back loop of the next 3 stitches.
- Row 2 Complete: Repeat the sequence of 3 stitches, a rounded corner (3 sc in one stitch), and 3 more stitches.
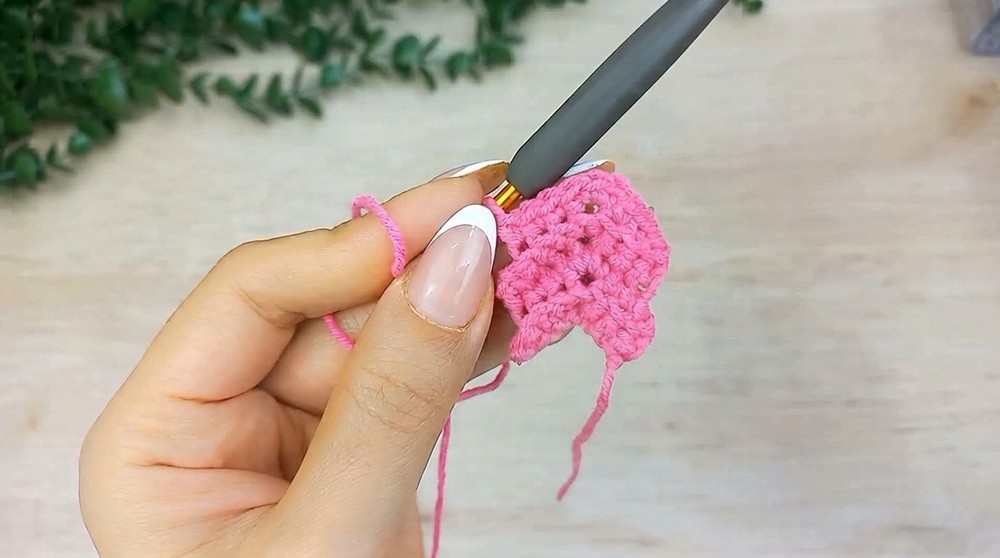
Step 5: Repeating Rows
- Repeat Row 2:
- Chain 1 and turn the work.
- Always skip the first and last stitches of each row.
- Work 3 single crochets into the back loop of the middle stitch for a rounded effect in each row.
- Continue this sequence until the bookmark reaches your desired length.
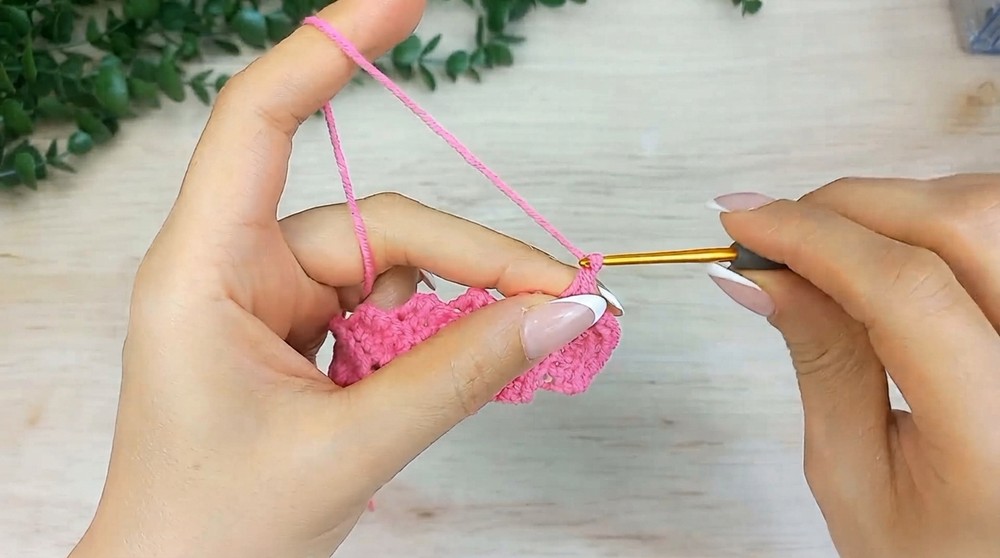
Step 6: Finishing Off the Bookmark
- Once the bookmark reaches your desired length (around 18 rows for 13 cm in length):
- Fasten off: Chain 1, cut the yarn, and pull it through the chain.
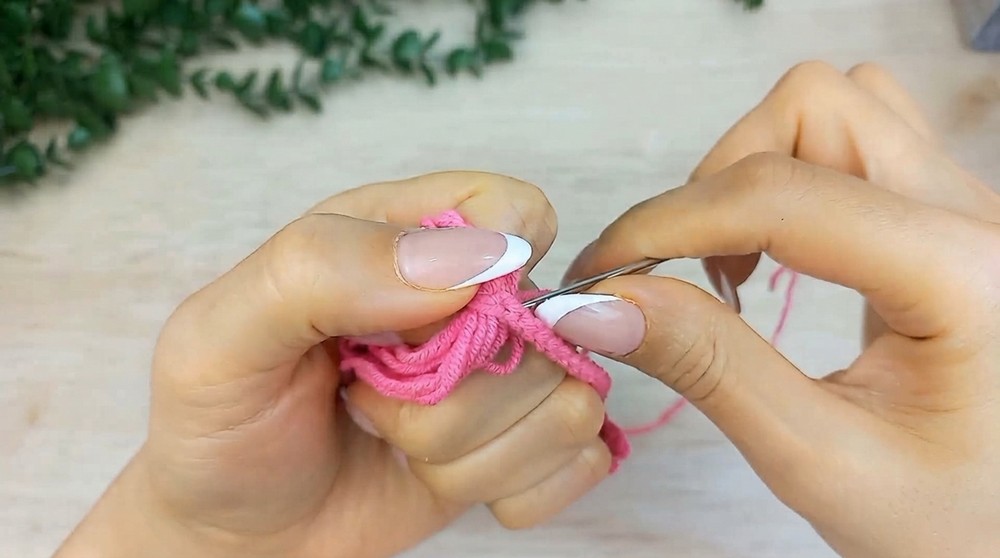
- Weave in the Ends:
- Use a yarn needle to weave the beginning and ending yarn tails into the project.
- Work through the loops of stitches. Pull gently to avoid misshaping the piece, then cut the excess yarn.
Step 7: Adding a Tassel
- Create a String for Tassel Attachment:
- Insert the hook into the middle stitch of the first row.
- Pull the yarn through the stitch to create a loop.
- Chain 16 (or longer if desired).
- Secure the String:
- Fasten off by making one additional chain and leaving a long yarn tail.
- Pull the yarn through the loop and tighten.
- Make the Tassel:
- Wrap the yarn around 4 fingers approximately 13–14 times.
- Slide the loops off your fingers carefully to avoid tangling.
- Attach the string from the bookmark to the top of the loops using the long yarn tail. Secure tightly.
- Wrap the Tassel:
- Use a separate piece of yarn to wrap tightly around the head of the loops several times.
- Tie with a secure knot.
- Trim the Tassel:
- Cut the bottom loops of the tassel to ensure the strands are even.
- Adjust as needed for neatness.
Assembly & Finished Size
- The completed bookmark measures approximately 13 cm in length. The added tassel will make the overall piece slightly longer and more visually appealing.
Conclusion
This fast and simple crochet bookmark is a perfect project for beginners or anyone looking for a quick, practical creation. You can customize the length, colors, and tassel size to suit your preferences. Enjoy this charming addition to your study materials or gift it to the book lover in your life.