
Effortlessly Crochet Tea Bag Bookmark Pattern for Beginners
Infuse warmth into your next read with the Free Crochet Tea Bag Bookmark Pattern, perfect for unique and thoughtful gifting.
Sitting down with a warm cup of tea and a good book feels even cozier when your place is marked with a handmade touch. This charming crochet tea bag bookmark adds a playful and creative flair to your reading routine. Its cute tea bag shape and soft texture make it both eye-catching and practical, slipping easily between pages without damaging them. The simple yet sturdy design mainly uses single crochet stitches, which makes this pattern perfect for beginners who want to make something delightful and useful.
More Possibilities with This Pattern
This pattern’s basic techniques and shapes can be adapted to make cute little plush toys, keychains, or decorative appliqués. By changing colors, sizes, or facial expressions, you can customize these projects for gifts or personal use. The skills learned here open the door to many more charming and simple crochet creations.
Top Trendy Crochet Tea Bag Bookmark Pattern for All Skill Levels
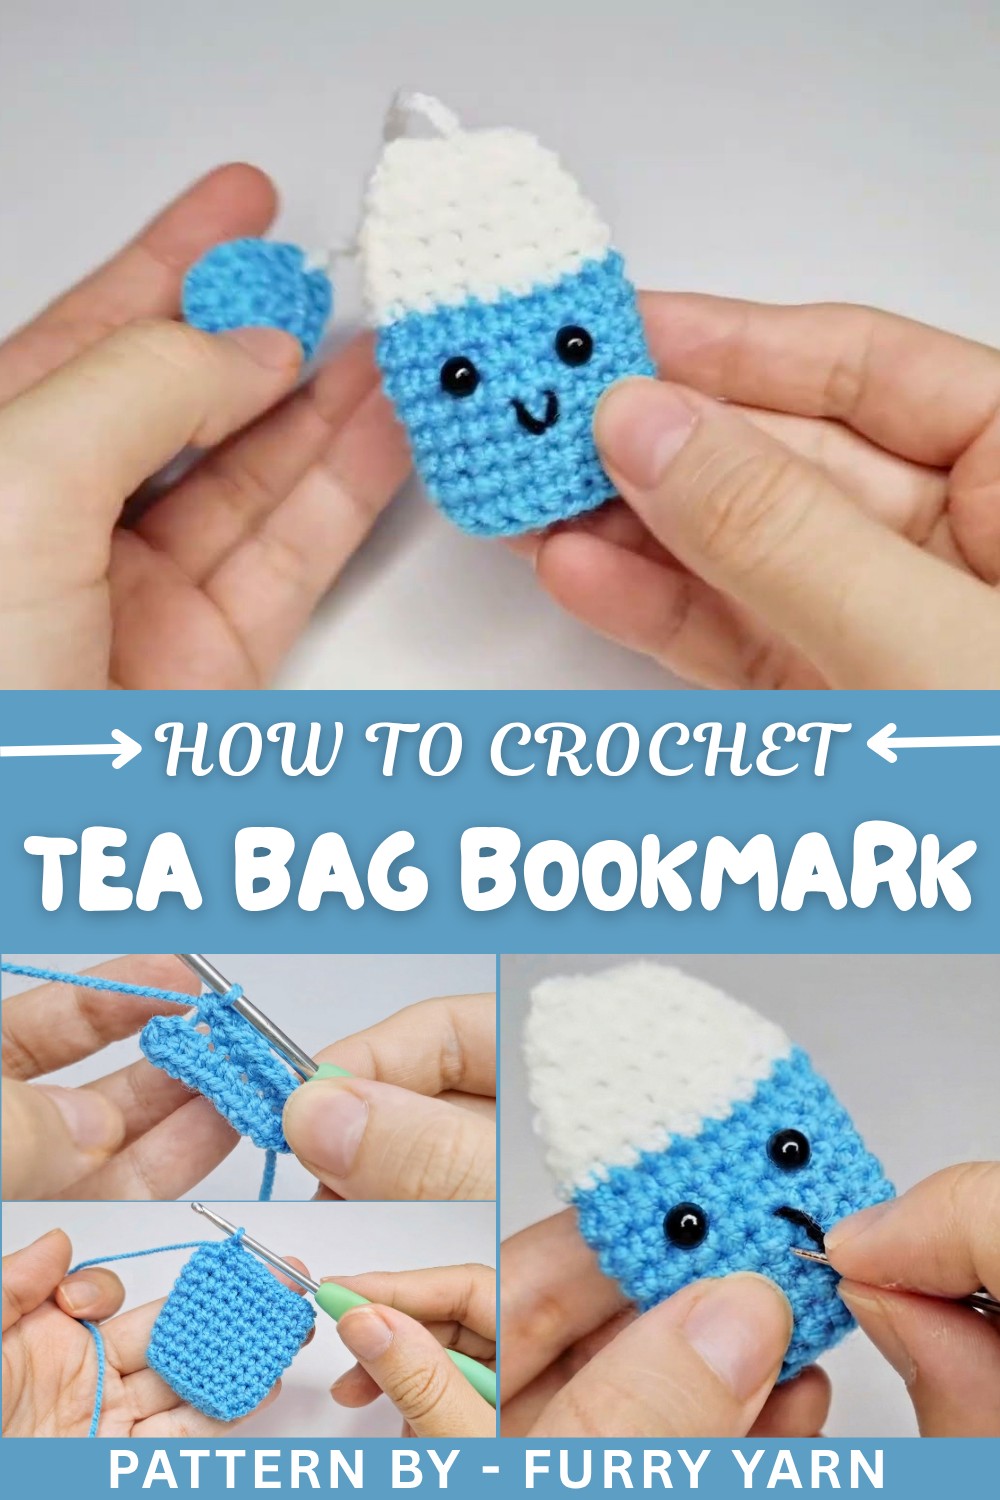
The bookmark starts with a foundation of eight chains, then builds the tea bag shape with single crochets, including some increases and decreases to shape the edges nicely. Working stitches through back loops and front loops adds a subtle texture that gives the bookmark its distinct shape. After creating the main body, you add little eyes and a smile with needlework, which brings the tea bag character to life. The small stitched "tag" is made using a magic ring and increases, then attached by chaining a length of yarn as the string. Finishing touches include stuffing the tea bag lightly to give it dimension and sewing in yarn ends neatly.
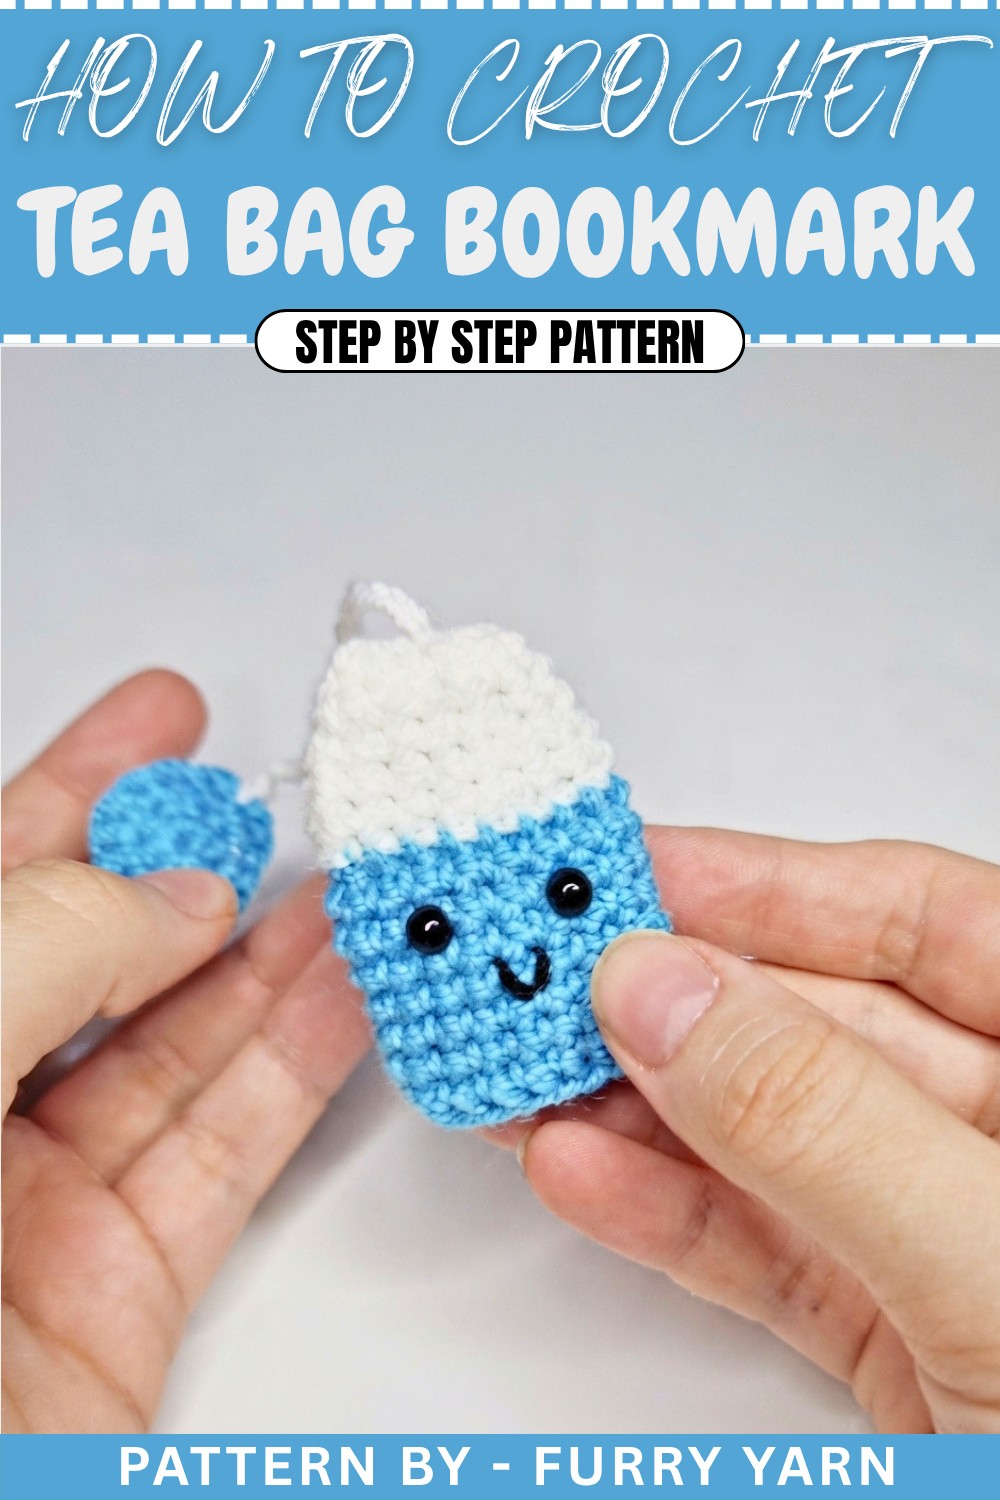
Crochet Pattern: Tea Bag
This adorable crocheted tea bag is a fun, quick project that’s perfect as a keychain, ornament, or even a small gift for tea lovers! The pattern introduces fundamental crochet techniques such as the magic ring, single crochet, and increases and decreases for shaping. With simple stitches and step-by-step guidance, this pattern is a satisfying beginner-friendly project that is both practical and cute.
Skill Level & Terminology
- Skill Level: Beginner
- Terminology: Pattern uses US crochet terms.
Materials & Tools
- Yarn:
- Beige yarn (body of the tea bag)
- White yarn (tea tag and border of the tea bag)
- Black embroidery thread (for eyes and smile)
- Crochet Hook: 3.00 mm hook or appropriate size for your yarn
- Tapestry Needle: For weaving in ends and making facial stitches
- Fiberfill Stuffing: For lightly stuffing the tea bag
- Scissors
- Safety Eyes: (optional) Size 6mm, or you can embroider the eyes
Gauge
Gauge is not critical for this project, but ensure your stitches are tight enough to prevent stuffing from escaping.
Abbreviations List
Here’s your quick guide to abbreviations used in the pattern:
- ch: Chain
- sc: Single Crochet
- sl st: Slip Stitch
- yo: Yarn Over
- Inc: Increase (2 single crochets in the same stitch)
- Dec: Decrease (crochet 2 stitches together)
Special Stitch Instructions
Slip Knot
To begin your project, create a slip knot:
- Wrap the yarn around your fingers, insert the hook, yarn over, and pull through to form an adjustable knot securely on your hook.
Single Crochet (sc)
- Insert your hook into the stitch.
- Yarn over, pull up a loop (2 loops on your hook).
- Yarn over, pull through both loops on your hook.
Increase (Inc)
- Work 2 single crochets into one stitch to increase.
Decrease (Dec)
- Work a sc decrease by crocheting 2 stitches together:
- Insert hook into the first stitch.
- Yarn over, pull up a loop (2 loops on your hook).
- Insert hook into the next stitch.
- Yarn over, pull up a loop (3 loops on your hook).
- Yarn over, pull through all 3 loops.
Finished Size
The finished tea bag is approximately 3 inches tall, with the tea tag’s chain length customizable (35 chains suggested).
The Pattern
Step 1: Tea Bag Base
- Create a slip knot and ch 8.
- Row 1:
- Skip the first chain and begin working from the second chain.
- Work 2 sc into the first stitch.
- Work 1 sc into the next 5 chains.
- Work 4 sc into the last chain to turn the corner.
- Now, work into the opposite side of the chain:
- 1 sc into the next 5 stitches on the other side.
- 2 sc into the last stitch to complete the row.
- This creates an oval-shaped base.

For Beginners: If you’ve never worked in a round with an oval base before, think of the steps as crocheting down one side of the chain, turning the corner, and continuing on the opposite side.
Step 2: Building the Tea Bag Body
- Row 2 (Back Loops Only):
- Work all stitches into the back loops only (BLO).
- 1 sc into each stitch around. This creates the base edge of the tea bag.
- Rows 3-8 (Standard Rows):
- Work 1 sc into each stitch—no increases or decreases. This builds the vertical body.
- Fasten off the beige yarn and tie it securely.
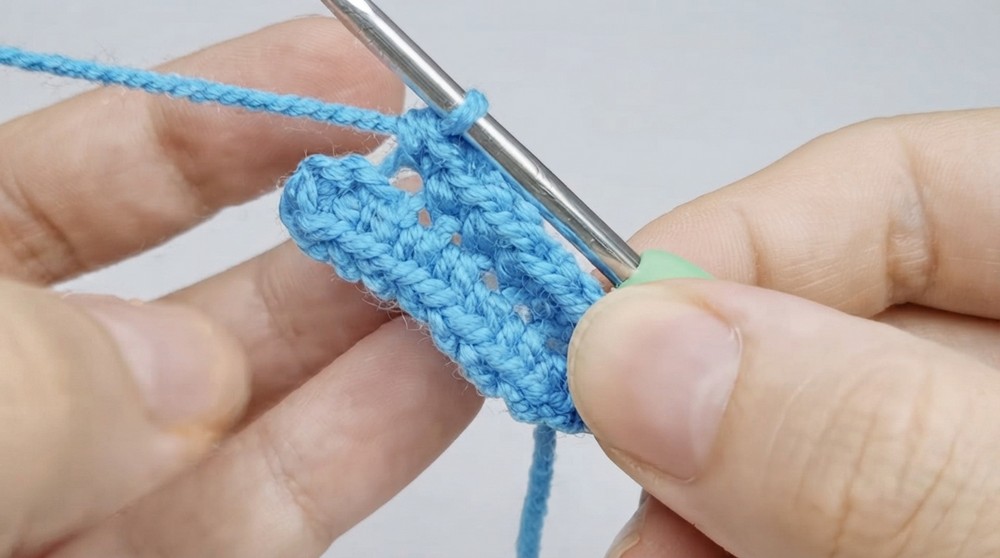
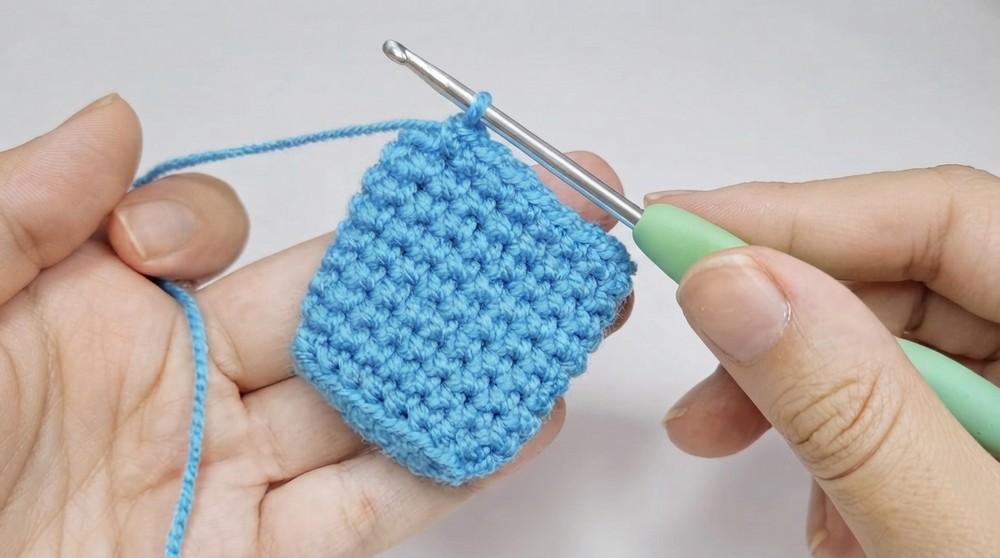
For Beginners: Working in back loops in Row 2 provides a cleaner edge and gives the tea bag its structured, box-like shape. Rows 3-8 involve only single crochets, which makes this section simple to complete.
Step 3: Adding the Tea Bag Rim
- Attach white yarn to the front loops of the base edge (Row 2).
- Work 1 sc into each front loop to create the border of the tea bag.
- Fasten off the white yarn and weave in the ends securely.
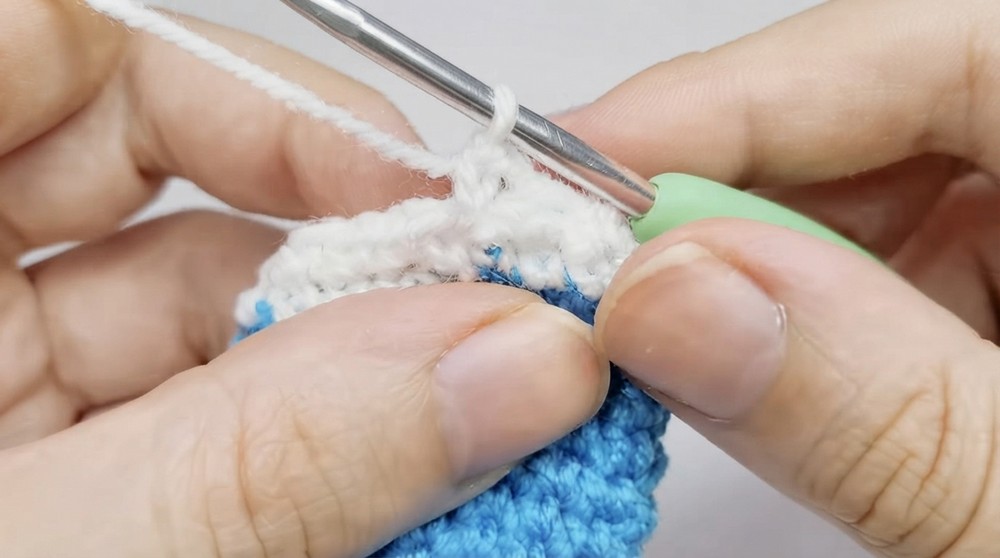
For Beginners: The white edge simulates the look of the tea bag's paper edges and adds contrast to the design. Make sure to use the front loops only when creating this detail!
Step 4: Shaping the Top of the Tea Bag
- Attach white yarn and begin working in the front loops again.
- Row 1:
- Work 4 sc, 1 Dec across.
- Row 2:
- Work 3 sc, 1 Dec across.
- Row 3:
- Work 1 sc into each stitch.
- Lightly stuff the tea bag with fiberfill stuffing as you shape the top.
- Row 4:
- Work 1 sc into each stitch.
- Close the top by working 1 sc into both sides of the last remaining stitches.
- Fasten off the yarn, leaving a long tail for sewing.
Stuffing the tea bag during this step ensures it has a nice shape while crafting the pointed top. Make sure not to overstuff, as it might make adding details difficult.
Step 5: Adding the Face
- Use black embroidery thread or yarn and a tapestry needle to embroider small black eyes and a cute smile onto the front of the tea bag.
- You can also attach safety eyes for a quicker, more 3D effect.
- Fasten off and weave in the thread securely.
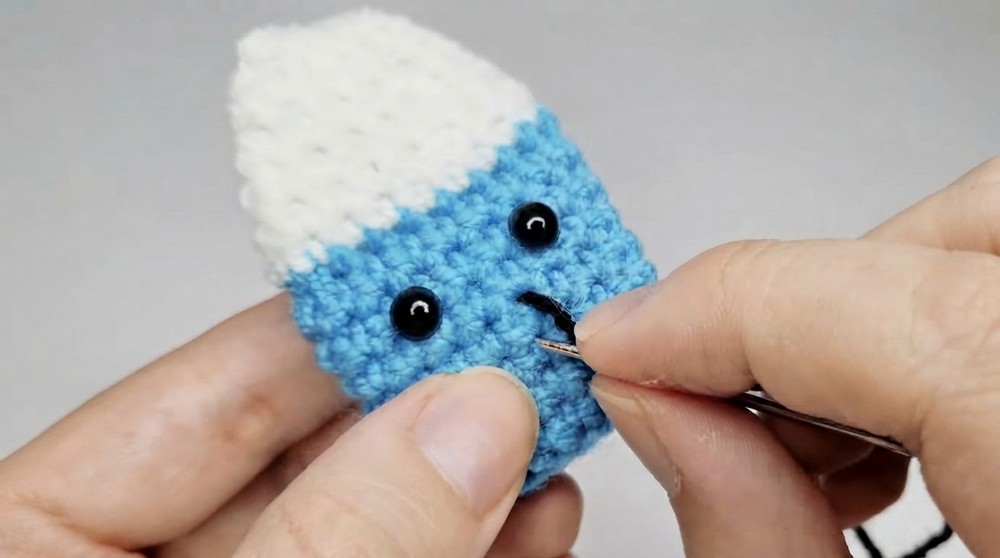
Adding a face makes your tea bag come to life! If you’re nervous about embroidery, start with simple dots for eyes and a curved line for the smile.
Step 6: Tea Tag
- Create a Magic Ring with white yarn.
- Work 7 sc into the magic ring, pull the ring tight, and join with a sl st.
- Round 2:
- Ch 1, work 2 sc into each stitch for a total of 14 sc.
- Join with a sl st, then ch 1 and fasten off.
- Attach Yarn Chain:
- Insert your hook into the top of the tea bag, and attach 35 chains of white yarn.
- Attach the chain to the tea tag and fasten securely.
For Beginners: The tea tag completes the look of the tea bag. Adjust the chain length to suit your desired tassel or attachment style.
Assembly & Finishing
- Weave in Loose Ends:
- Use a tapestry needle to tidy up any remaining yarn ends.
- Attach the Tea Tag to the Tea Bag:
- Use the chain to secure the tea tag to the tea bag. Adjust the chain's length if needed.
- Display your Work:
- Use it as a keychain or decorative item for a unique, personalized project!
Troubleshooting & Solutions
Problem 1: Uneven Shaping
If your tea bag looks uneven, ensure you’re counting your stitches correctly on every row. Use a stitch marker if necessary to keep track.
Problem 2: Gaps Between Stitches
Check your tension. If there are large gaps, tighten your stitches to create a neater effect.
Problem 3: Uneven Face Embroidery
Lightly sketch the face with a pencil or use pins to mark the placement before embroidering to ensure alignment.
What You'll Learn
- How to make a magic ring to start circular projects.
- How to work basic stitches like single crochet, increase, and decrease.
- How to layer and join separate crochet pieces (for the tea tag).
- Creating a three-dimensional crochet piece with stuffing and shaping techniques.
Why You’ll Love This Pattern:
This tea bag pattern is quick, customizable, and irresistibly charming! It’s an ideal project for gifting or practicing amigurumi techniques.