
Cute Crochet Lily Of The Valley Pattern for Lovely Home Decor
Simple way to freshen up your décor is the Free Crochet Lily Of The Valley Pattern adding delicate floral beauty wherever you need it.
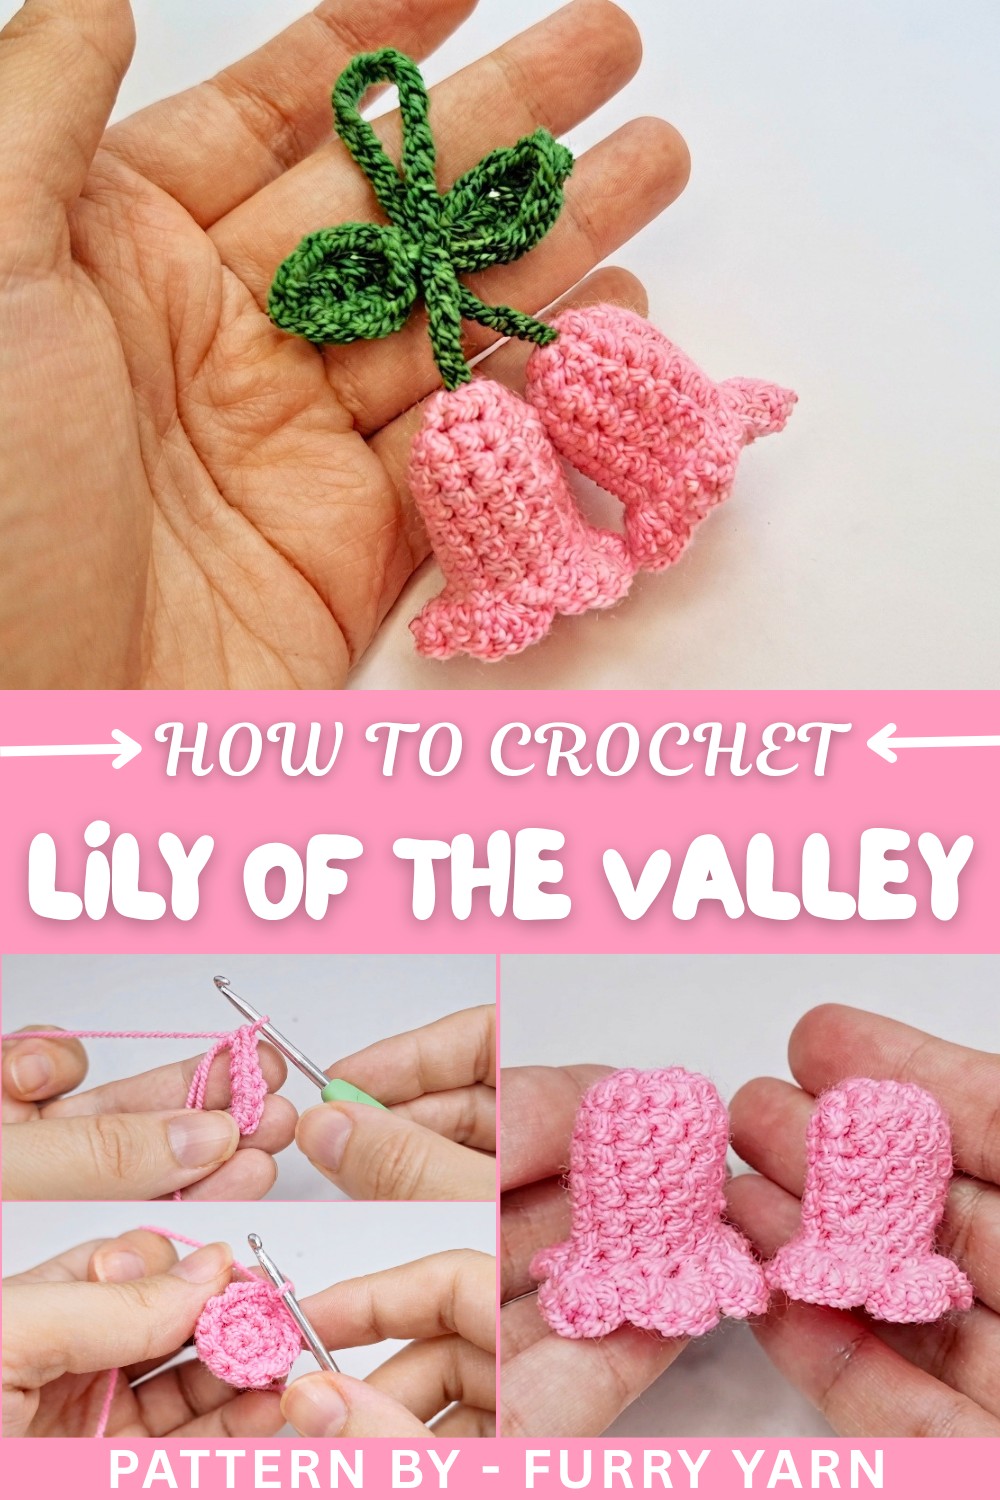
Adding beautiful flowers to your crochet projects can instantly give them a fresh, elegant look. Creating a soft, charming lily of the valley that feels light as a breeze and looks perfect as a decoration on clothing, accessories, or home décor items. This crochet flower captures the gentle beauty of lily of the valley with its graceful bell-shaped blooms and slender leaves. The pattern mainly uses single crochet stitches, combined with carefully crafted chains and slip stitches to form the tiny flowers and elegant leaves. Starting with a magic ring, this project is beginner-friendly and teaches you stitch variations that build confidence while adding lovely details to your crochet skills.
Stunning Crochet Lily of the Valley Pattern Elegant Floral Charm
Thankful for Furry Yarn
Special thanks to Furry Yarn for sharing such a warm and easy-to-follow tutorial. Their patient guidance and clear instructions turn what seems like a complicated flower into a simple, enjoyable project. Whether you are a beginner or looking to improve your crochet techniques, the Furry Yarn channel is a brilliant resource to learn, create, and feel inspired every step of the way.
More Wonderful Projects From This Pattern
Once you master the lily of the valley, you can get creative by making bouquets or floral arrangements for gift wrapping or wall art. These delicate flowers also make charming appliques on scarves, hats, or bags, adding a personal and handmade charm to your wardrobe. Experimenting with yarn colors and sizes lets you create seasonal decorations or unique accents for any occasion, making this pattern a versatile addition to your crochet collection.
Crochet Pattern: Lily of the Valley
Introduction
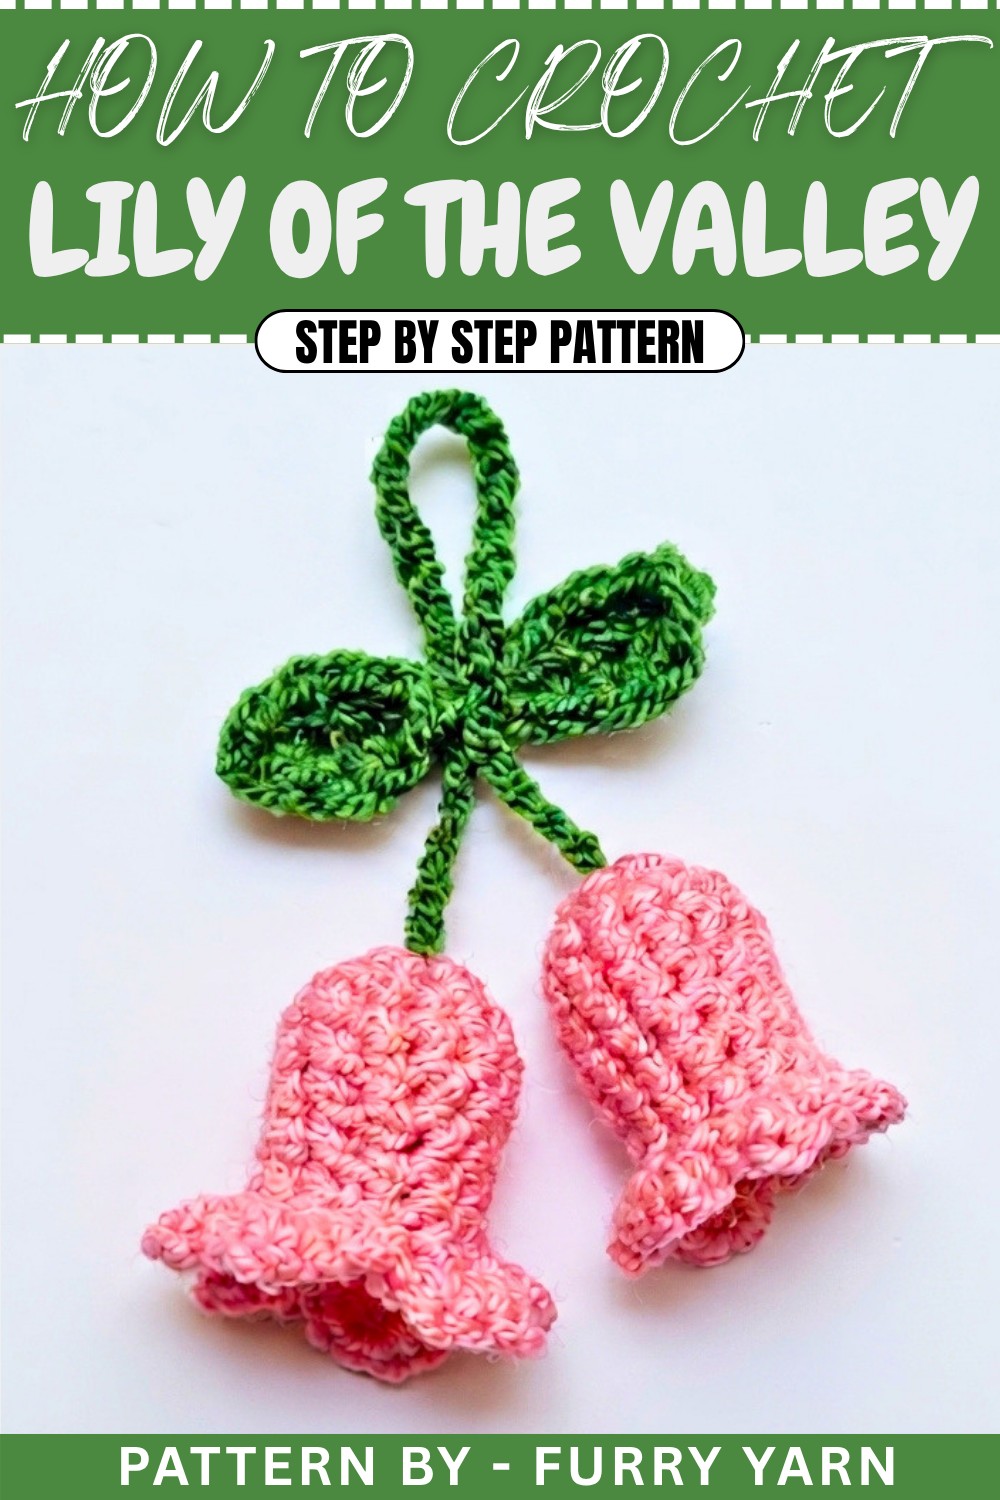
Lily of the valley flowers symbolize purity, humility, and sweetness, making them a timeless design to incorporate into your crocheting. This crochet pattern creates delicate lilies complete with leaves, perfect for bouquets, home decor, or personalized gifts such as bookmarks or ornaments.
Skill Level & Terminology
- Skill Level: Beginner to Intermediate. Basic crochet techniques and simple shaping are required.
- Terminology: This pattern uses US crochet terms.
Materials & Tools
- Yarn:
- Pink (for flowers)
- Green (for stem and leaves)
- Crochet Hook: Size 3 mm (or size suitable for your yarn).
- Scissors: For clean yarn cutting.
- Tapestry Needle: For weaving in ends and assembling parts.
Uses of This Pattern
This lily of the valley pattern is versatile and can be used for:
- Ornamental bouquets
- Bookmarks
- Embellishments for bags, hats, or clothing
- Decorative displays for special occasions
Gauge
Gauge is not essential for this project. The size of the flowers and leaves will vary depending on yarn weight and hook size.
Abbreviations List
Here are the abbreviations used in the pattern:
- ch: Chain
- sc: Single Crochet
- hdc: Half Double Crochet
- dc: Double Crochet
- sl st: Slip Stitch
- yo: Yarn Over
Special Stitch Instructions
Magic Ring:
To form the magic ring:
- Create a loop with the yarn and insert the hook into the loop.
- Yo, pull through the loop and secure with ch 1.
- It allows for a tight closure for circular crochet designs.
Bulb Formation (Flower Top):
- The bulb shape is created by working multiple sc stitches into the same stitch.
Finished Size
The completed lily of the valley measures approximately:
- Flowers: 1 inch diameter each.
- Leaves: 3–4 inches in length.
- Stem: A total length of 6–7 inches, depending on chain count.
What You'll Learn from This Pattern
In this pattern, you’ll learn how to:
- Work with the magic ring for clean, circular crochet starts.
- Shape delicate flowers and leaves with basic stitches (sc, hdc, dc).
- Assemble separate crochet pieces for cohesive designs.
- Create texture and structure by working multiple stitches into one area.
Lily of the Valley Crochet Pattern
Part 1: Lily Flowers
Step 1 (Magic Ring Foundation):
- Magic Ring: Wrap the pink yarn around your fingers and insert the hook into the loop. Yo, pull through and secure with ch 1.
Step 2 (Round 1):
2. Work 6 sc into the magic ring:
- Insert hook into the ring, yo, pull up a loop, yo, pull through two loops.

Step 3 (Close the Ring):
3. Pull the tail yarn to cinch the ring closed tightly.
- Join the round with a sl st into the first sc: Insert hook into the first stitch, yo, pull through both loops.
Tip: If you're unfamiliar with the magic ring, replace it with a foundation chain loop (e.g., chain 4 and join into a circle) to achieve similar results.
Step 4 (Round 2 - Increase):
- Work 2 sc into each stitch around the circle:
- Insert hook into stitch, yo, pull up a loop, yo, pull through two loops.
- Repeat for all six stitches. You will now have 12 sc.
Step 5 (Round 3):
- Work 1 sc into each stitch, continuing in the round.
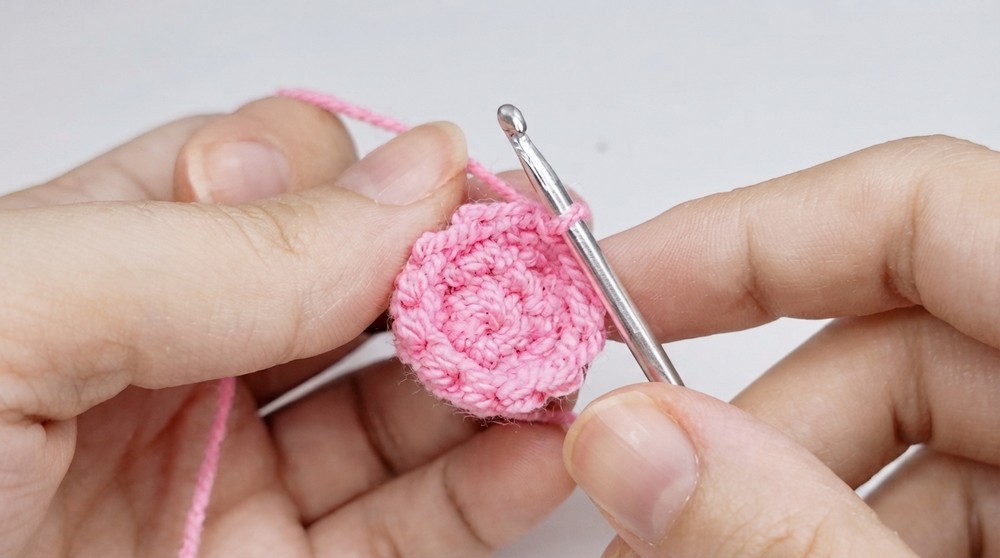
For shaping the bulb, repeat this round for 5 rounds, ensuring a balanced structure.
Step 6 (Bulb Formation - Round 8):
- In one stitch, work 5 sc into the same stitch:
- Insert hook into the stitch, yo, pull up a loop, yo, pull through two loops.
- In the next stitch, make a sl st to anchor the shape.
Step 7 (Final Slip Stitch):
- Repeat the bulb formation steps until all stitches are completed.
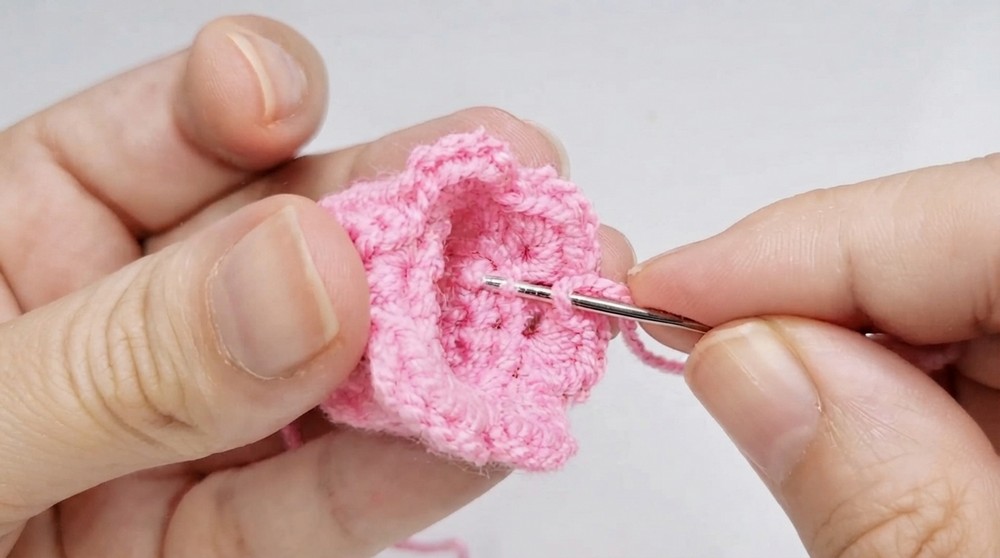
Final Step:
- Ch 1, tie off, and cut the yarn with scissors. Use a tapestry needle to hide ends.
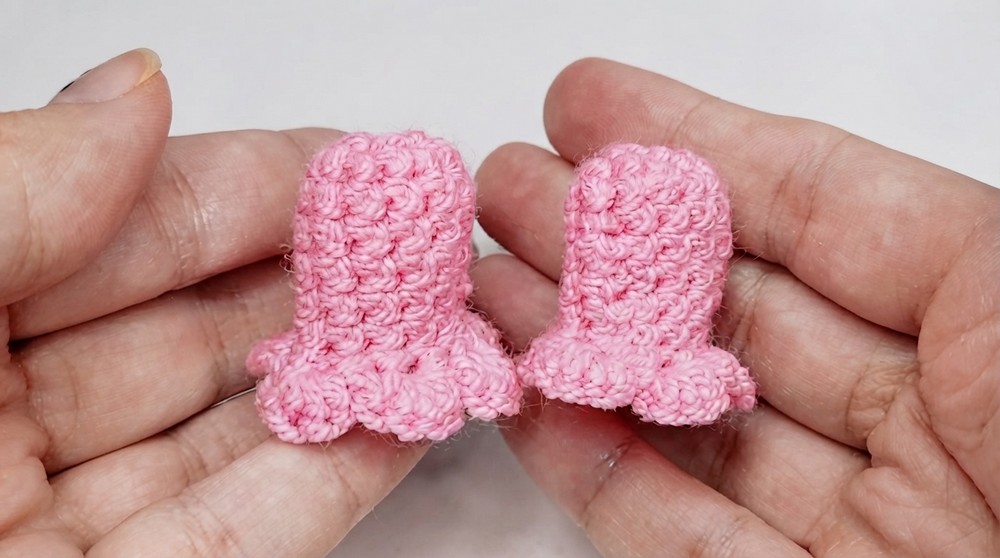
Create two lilies using the same steps.
Part 2: Leaves
Step 1 (Chain Base):
- Slip Knot: Create a slip knot and place it on your hook.
- Ch 6 for the leaf foundation.
Step 2 (First Side of the Leaf - Row 1):
- Skip the first chain. Start from the second chain and work:
- 1 sc, 1 hdc, 1 dc, 1 hdc, 1 sc sequentially into the chain.
Step 3 (Turn and Repeat):
2. Turn your work.
- Repeat the sequence on the opposite side of the chain, mirroring the stitches.
Step 4 (Anchor the Leaf):
- Finish with a sl st into the base of the starting chain.
- Tie off, cut the yarn, and weave in ends.
You’ll need to create two leaves following the same steps.
Part 3: Stem
Step 1:
- Slip Knot: Add green yarn to your hook with a slip knot.
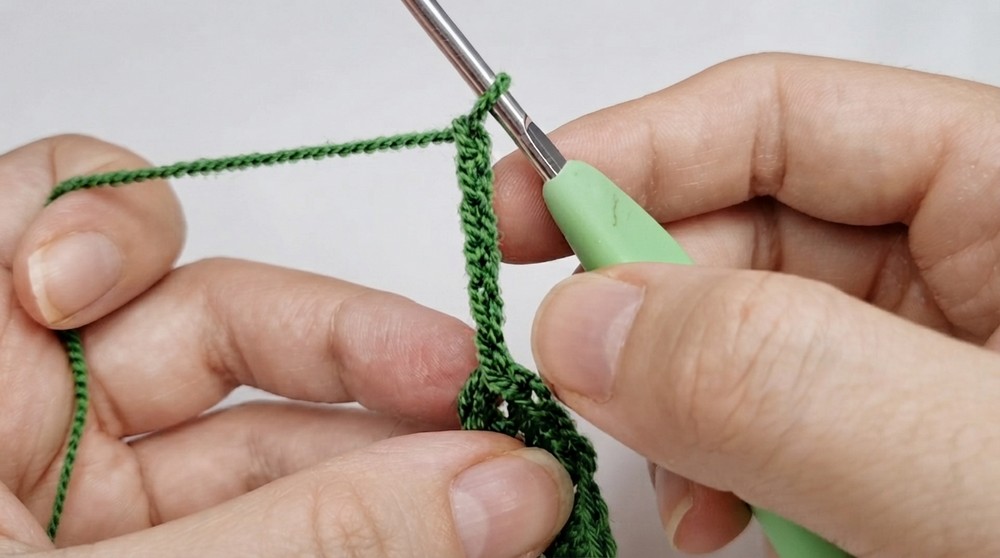
- Ch 50 for the desired stem length.
Step 2:
3. Tie off and cut the yarn neatly.
- Use the tapestry needle to weave in ends.
Assembly & Finishing
- Attach Lilies to Stem:
- Insert the stem through the base of the flower bulbs using your hook or needle. Tie the flowers securely to the stem three times for durability.
- Attach Leaves:
- Sew or tie the leaves to the stem slightly below the flowers for a realistic look.
- Shape:
- Use your fingers to adjust the lily bulbs and leaves for a polished result.

Why I Love This Pattern
This pattern brings delicate artistry to life while remaining accessible for beginners. It can be easily customized with different colors or variations for unique designs.
Potential Difficulties & Solutions
1. Trouble with Magic Ring:
- If creating the magic ring is difficult, use a chain-4 loop instead to get a clean circular foundation.
2. Uneven Bulbs:
- Ensure consistent tension when working multiple sc into the same stitch for the bulb. Adjust the shape with your fingers for uniformity.
3. Loose Attachment:
- To secure the flowers and leaves, use additional sewing or ties along the stem to prevent pieces from shifting.
Final Thoughts
The lily of the valley crochet pattern is a joyful project that combines texture, structure, and elegance. Whether for home decor or as a heartfelt gift, it’s an excellent choice for any crocheter looking to create timeless floral designs.