
Stunning Crochet Granny Square Earrings Pattern for Beginners
Spark new style with the Free Crochet Granny Square Earrings Pattern for unique earrings bursting with personality.
Crafting something small with bright colors and clear shapes can instantly lift your mood. These granny square earrings are a perfect example of how classic crochet techniques can turn into charming accessories. With their vibrant colors and geometric design, they make lively additions to any outfit. The main stitch used in this pattern is the double crochet, which creates open squares that look both neat and stylish. These earrings are lightweight, so they feel great to wear all day long. Whether you want to add a splash of color to your casual look or gift something handmade and cheerful, these earrings fit the bill perfectly.
Easy Crochet Granny Square Earrings Pattern for Unique Outfits
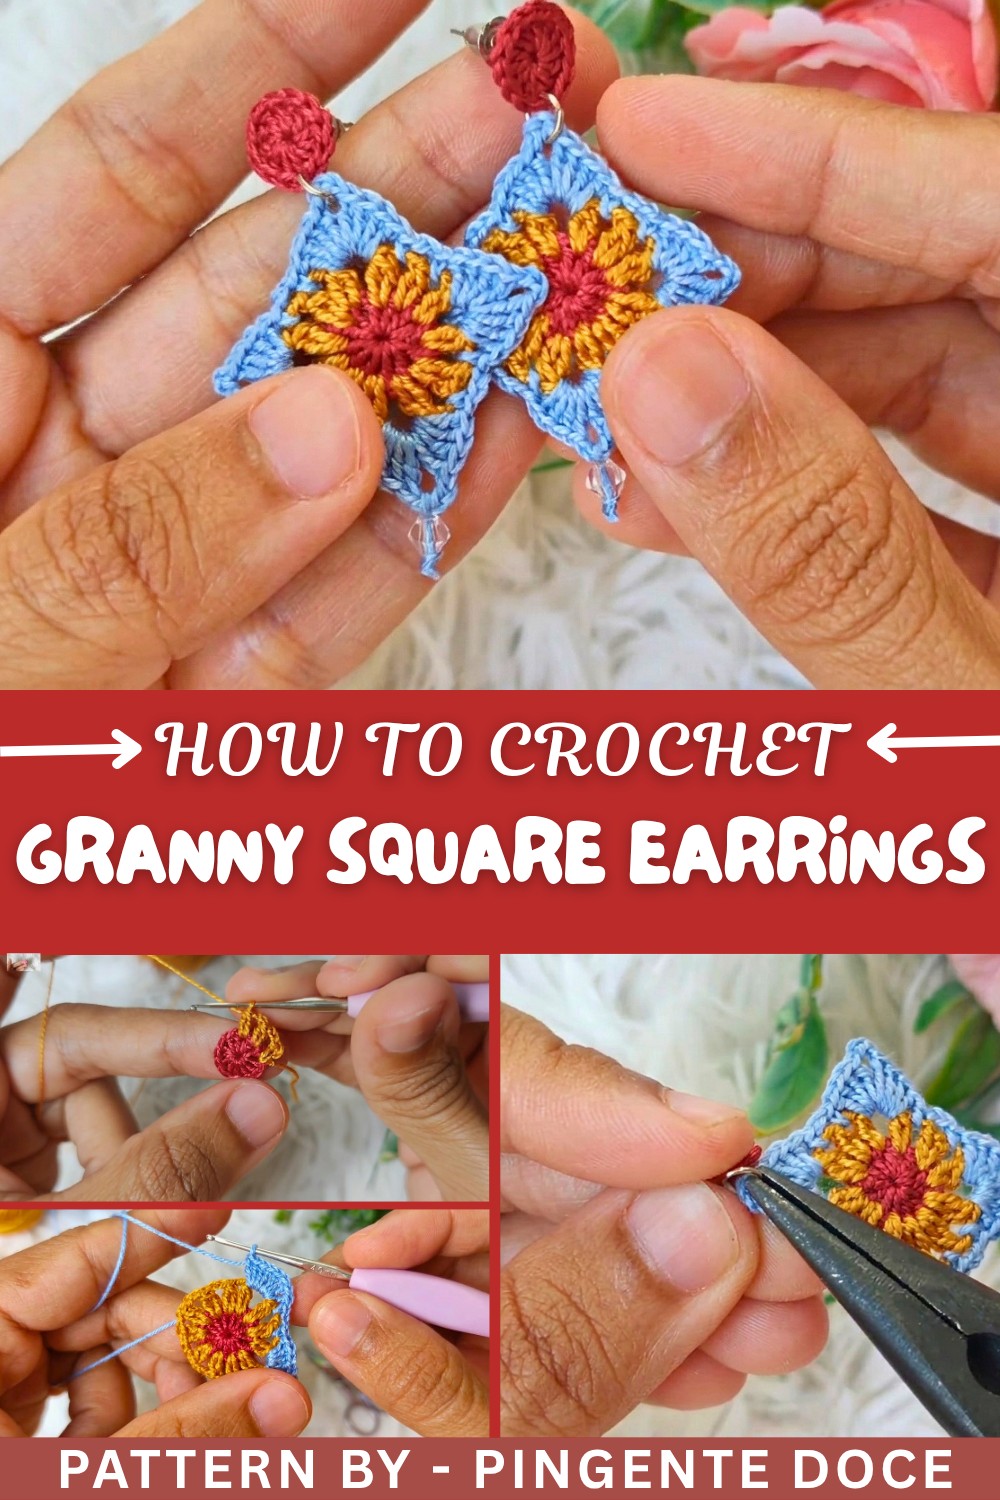
The process begins by making a magic ring, which forms the center of the granny square. Then, rounds of double crochets and chains build out the square shape, giving it its classic blocky pattern. Switching yarn colors between rounds adds fun stripes or color blocks to personalize your piece. Finishing the edges and attaching earring hoops makes these granny squares ready to shine as accessories. The pattern is easy to follow and especially welcoming for beginners because it uses basic stitches repeated in a familiar way.
Other Creative Uses of Granny Squares
This same pattern works beautifully beyond earrings. You can create larger granny squares for cozy blankets, scarves, or cushion covers. Smaller granny squares can become bracelets, keychains, or decorative patches for bags and hats. Mixing colors and yarn types lets you design something truly unique. The granny square is one of the most versatile crochet patterns, inviting endless creative projects with just a few simple stitches.
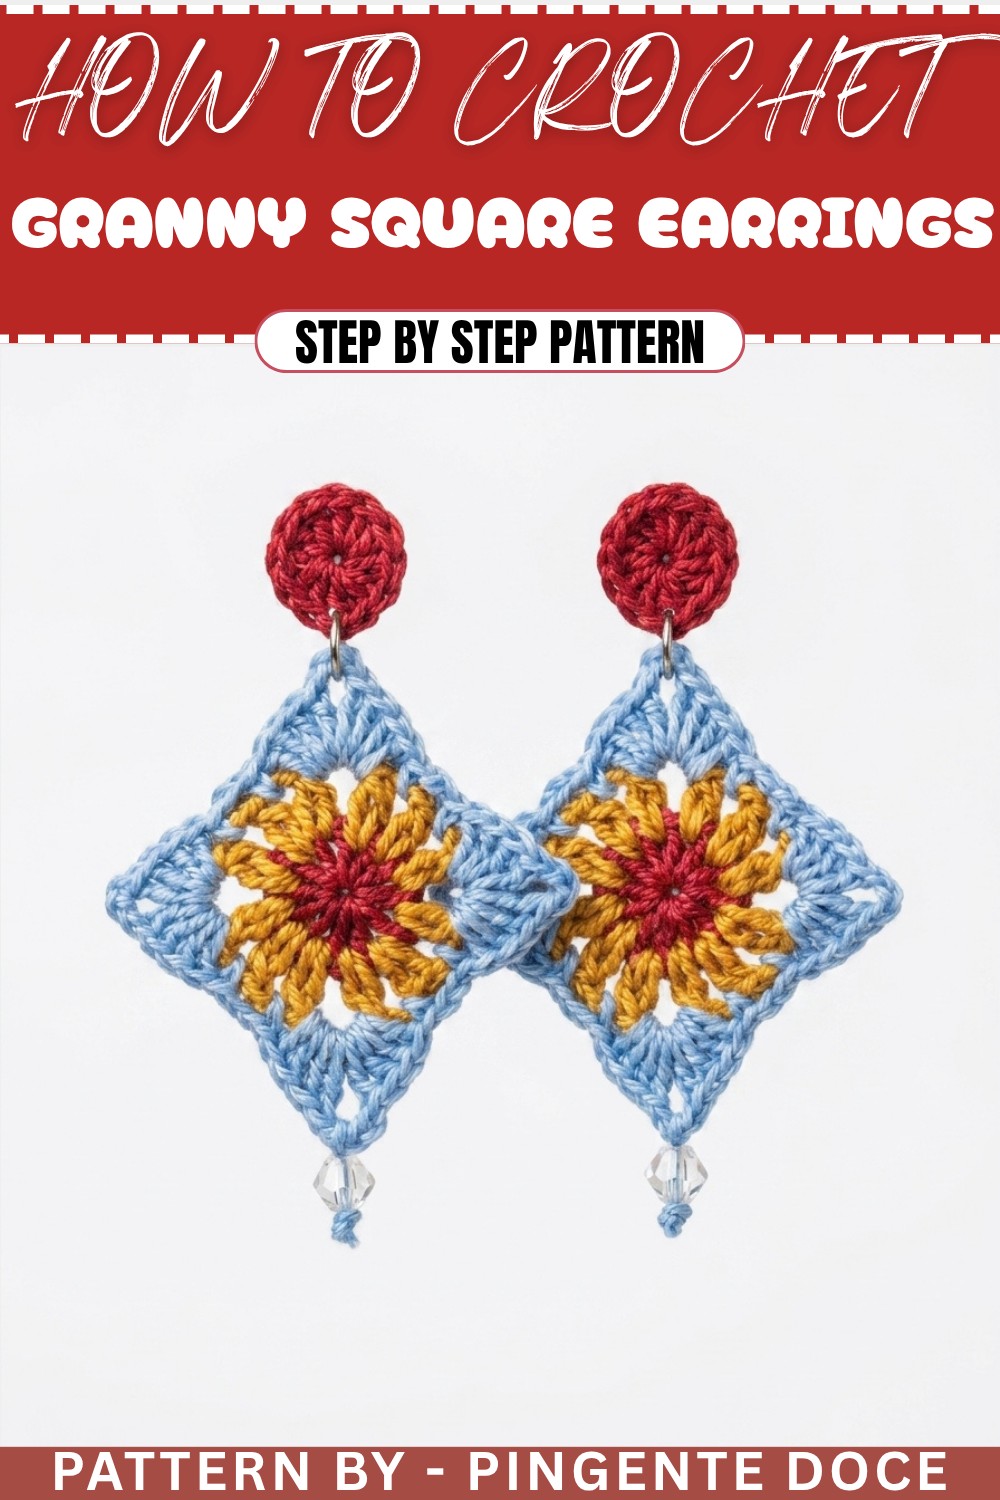
Crochet Beaded Floral Earrings Pattern
These beautiful crochet earrings pattern combine floral motifs with bead accents for a stunning, handmade accessory. Perfect for casual or formal occasions, this project uses simple crochet techniques such as double crochet, single crochet, and slip stitches to build layers of texture and detail. The addition of beads elevates the elegance, while using multiple thread colors allows you to customize your design. This lightweight pattern is quick to make and suitable for beginners and experienced crocheters alike!
Skill Level & Terminology
- Skill Level: Beginner to Intermediate
This pattern is ideal for those comfortable with basic crochet stitches and working in the round. The addition of beads provides a small challenge for intermediate crocheters looking to experiment with jewelry-making techniques. - Terminology: The pattern uses US Crochet Terms, as follows:
- Magic Ring (MR): Starting crochet projects in the round.
- Chain (Ch): Loops forming a foundation or spacers.
- Slip Stitch (Sl st): Used for joining rounds and perfecting finishes.
- Single Crochet (Sc): A compact stitch used for structure.
- Double Crochet (Dc): A tall stitch often used for decorative elements.
Materials & Tools
- Thread:
- Lightweight crochet thread or embroidery floss in three colors:
- Color A: Centerpiece of the flower.
- Color B: Petal outlines.
- Color C: Outer decorative petals.
- Lightweight crochet thread or embroidery floss in three colors:
- Crochet Hook: 1 mm crochet hook.
- Scissors: For trimming ends.
- Sewing Needle: For weaving in ends and attaching beads.
- Beads: Small decorative beads (optional).
- Glue: Washable fabric glue diluted with water for stiffening.
- Earring Hardware: Hook and hoop for assembly.
Gauge
Gauge is not critical for this pattern as the final size of the earring depends on thread and hook size. The finished earrings measure approximately 2.5 inches in diameter.
Abbreviations List
| Abbreviation | Meaning |
|---|---|
| MR | Magic Ring |
| Ch | Chain |
| Sl st | Slip Stitch |
| Sc | Single Crochet |
| Dc | Double Crochet |
Special Stitch Instructions
Magic Ring (MR):
- Wrap the thread around your fingers to form a loop.
- Insert the hook into the loop, yarn over, and pull through.
- Chain 1 to secure the ring before working stitches into it.
Double Crochets Closed Together (Dc2tog):
- Yarn over, insert the hook into the space, yarn over, and pull up a loop (three loops on the hook).
- Yarn over, pull through the first two loops (two loops remain).
- Yarn over, insert the hook into the same space, yarn over, and pull up a loop.
- Yarn over, pull through the first two loops (three loops remain).
- Yarn over and pull through all three loops on the hook.
What You’ll Learn & Why You’ll Love This Pattern
What You'll Learn:
- How to crochet in the round using a magic ring technique.
- Steps for creating layered, floral-inspired textures with double and single crochet stitches.
- Techniques for attaching beads to crochet and adding earring hardware.
Why You’ll Love It:
This pattern encourages creativity by mixing vibrant colors, rich textures, and beadwork. It’s fast and rewarding, and the lightweight pattern ensures comfort for all-day wear. Versatile in style and perfect for gifting, these earrings showcase your love for handmade artistry.
Finished Size
The finished floral earrings measure approximately 2.5 inches in diameter, including the bead accent and hoop.
The Pattern Itself
Part 1: Creating the Central Circle (Color A)
Round 1: Magic Ring and Double Crochet Foundation
- Begin with a Magic Ring (MR).
- Ch 3 (counts as the first Dc), then work 11 Dc into the ring.
- You will have 12 stitches total, including the initial chains.
- Tighten the magic ring to close the circle.
- Cut the thread, leaving a generous tail for sewing.
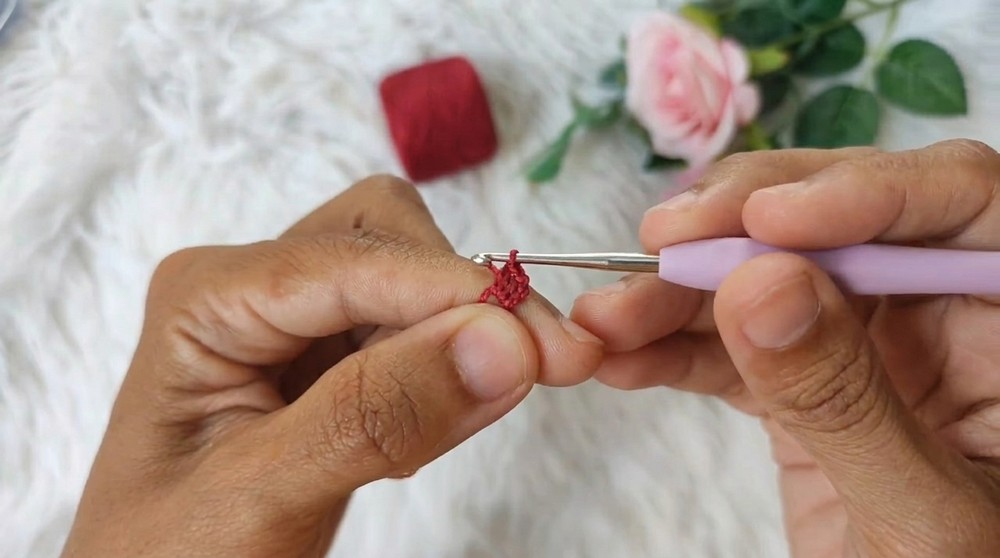
Finish:
Using a sewing needle, skip the first 3 chains, and pull the tail through the next stitch. Pass it through the last stitch from the back and neatly weave in all loose ends at the back of your piece.
Explanation for Beginners: This creates the compact, circular base of the flower, which will hold the remaining decorative layers.
Part 2: Adding Petal Loops (Color B)
Round 2: Working Petal Loops
- Attach Color B with a Slip Knot and insert the hook into any space between two stitches on the previous round.
- Ch 3, and then work Dc2tog in the same space.
- Ch 2, then move to the next stitch space, and repeat: Dc2tog, Ch 2.
- Continue working around the circle with the sequence above.
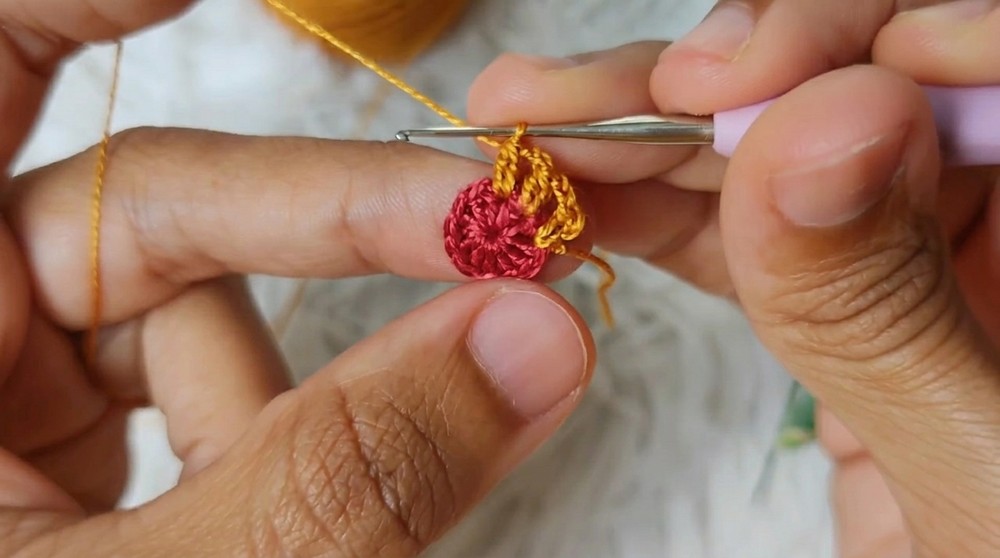
Finish:
At the end of the round, cut the thread, leave a tail, and use the sewing needle to repeat the finishing process used in Round 1.
Explanation for Beginners: You’ll be adding texture and small loops for your flower petals.
Part 3: Building Petals (Color C)
Round 3: Petal Construction
- Attach Color C to any chain-space.
- Inside each chain-space:
- Work 4 Dc, Ch 2, 4 Dc.
- Between chain-spaces:
- Insert your hook into the space and work Sc, Ch 2.
- Move to the next chain-space and repeat the petal crochet.
- Continue the pattern all the way around the circle.
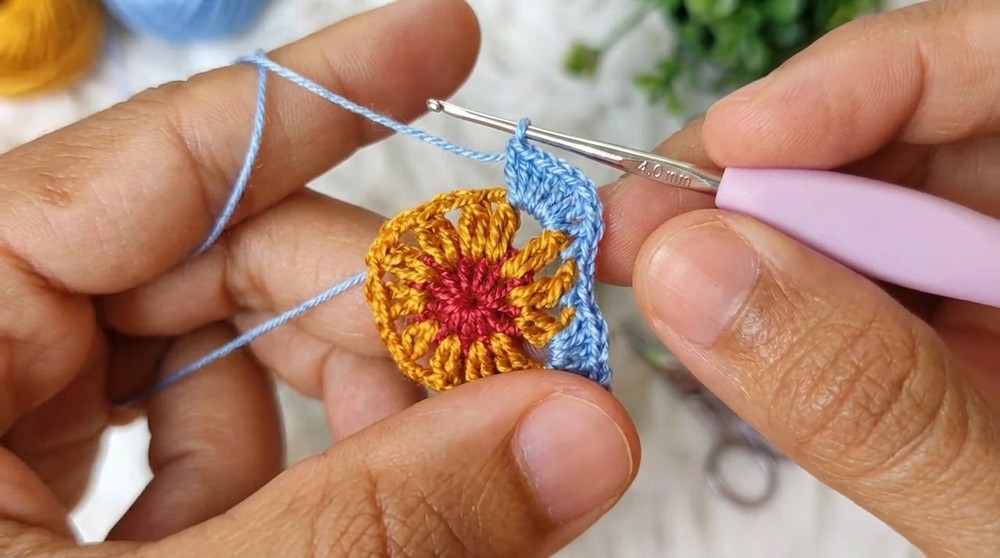
Finish:
After completing the last petal cluster, cut the thread and use a sewing needle to weave in loose ends at the back.
Explanation for Beginners: This step creates layered petals that radiate outward for a fully bloomed floral look.
Assembly & Finishing
Beadwork and Stiffening:
- Optional: Thread beads onto fine yarn or thread and weave them through the center or outer edges of your flower using a sewing needle.
- Mix washable fabric glue with water and lightly coat the back of your flower to stiffen it. Allow it to dry completely for structure.
Earring Hardware Attachment:
- Attach a hoop to the top petal or chain-space using needle-nose pliers.
- Connect the earring hook to the hoop, ensuring it closes securely.
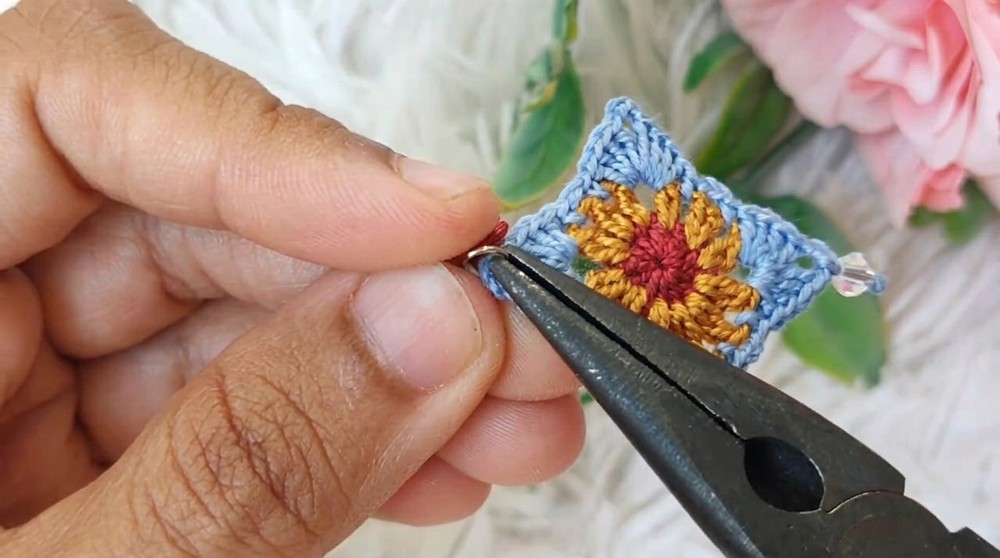
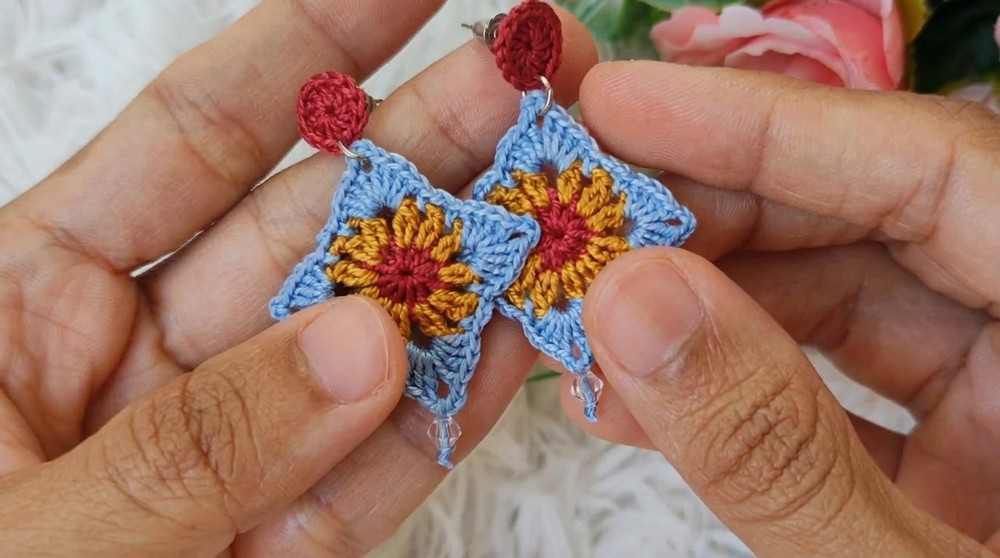
Explanation for Beginners: This step stiffens the earring to keep its shape and finishes it for wearability.
Difficulties & Solutions
Challenge #1: Uneven Shape Due to Yarn Tension
Solution: Check your tension regularly while working, especially during petals. Adjust loose stitches where necessary for symmetry.
Challenge #2: Loose Thread Ends
Solution: Weave thread tails securely into the backing using a sewing needle. Glue can also reinforce loose threads if needed.
Final Thoughts
This crochet floral earring pattern combines charm, elegance, and creativity into a functional, wearable accessory. While the techniques are easy to follow, the resulting design appears intricate and stylish. With added beads and your choice of colors, each pair carries a unique personality. Whether you’re making them for yourself, for friends, or to sell, these earrings are the perfect example of how small handmade pieces can brighten your day!