
Effortless & Cute Crochet Frog Earrings Pattern for Animal Lovers
Level up your accessory game and skip boring earrings with this playful Free Crochet Frog Earrings Pattern for standout, quirky style.
Have you ever come across a tiny, charming pair of accessories that instantly brighten your day? These delightful frog earrings pattern do just that! Crocheted with care and a touch of whimsy, they bring a playful splash of green and a sweet smile to your style. Using a special stitch known as the double crochet, this pattern showcases pretty rounds made with soft, colorful yarn that feels smooth on your fingers as you work. The double crochet stitch is quick to learn and creates a lovely, lacy texture that's perfect for small projects like jewelry.
What Else Can You Crochet From This Pattern?
The shapes and stitches used in these frog earrings are versatile. With a few changes, you can create coasters, small appliques for hats or bags, or even tiny amigurumi frogs! The circular motif is a great foundation for many projects—try adding more rounds to make colorful drink coasters or stitch several frogs together to decorate a child's blanket. The neat double crochet rounds help build confidence in your crochet skills while offering endless creative possibilities!
Try this Crochet Frog Earrings Pattern for Statement Jewelry
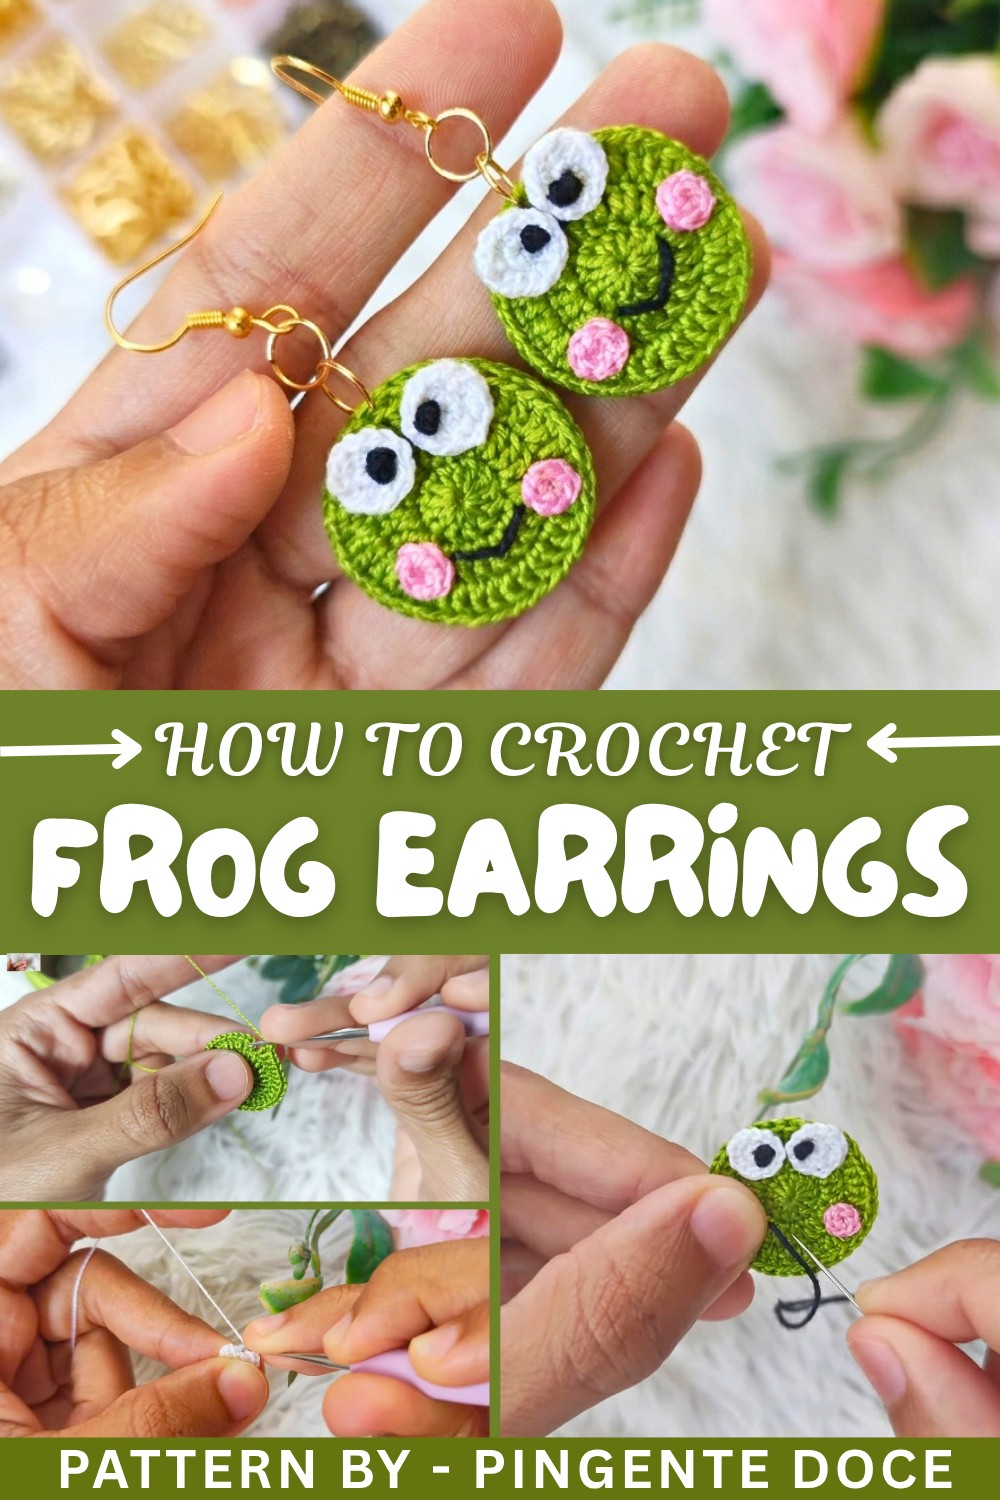
These cute frog earrings not only add fun and personality to your wardrobe but are also fantastic conversation starters. They are lightweight and comfortable to wear, making them suitable for everyday use or as a unique gift for someone special. Plus, the way the pattern grows in circles using magical rings and increases helps beginners understand how to shape their crochet projects. You’ll work round by round, starting with a magic ring and adding stitches as you go—this technique is simple yet satisfying to master.
The pattern combines stitches skillfully, creating playful features like eyes and a cheeky mouth with basic sewing and embroidery techniques. Using just a few tools like a crochet hook, sewing needle, and some cloth glue, you’ll bring these frogs to life quickly. No need to worry if you’re new; the pattern is designed to be beginner-friendly with easy-to-follow steps.
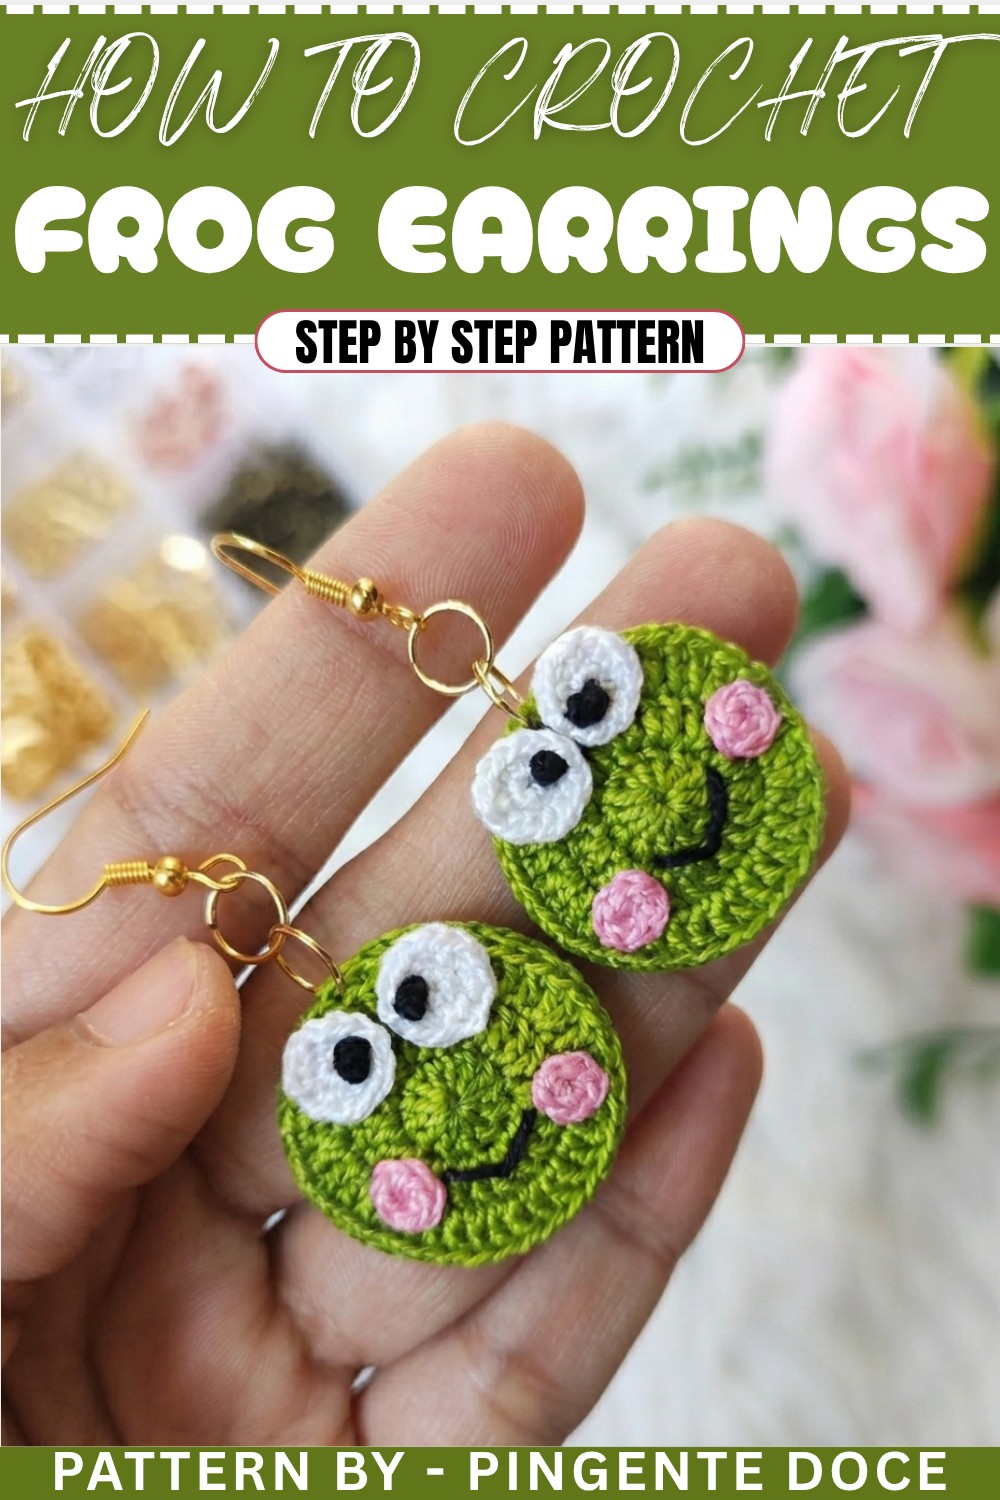
Crochet Frog Earring Pattern
This delightful frog crochet earring pattern allows you to create adorable handmade earrings with charming blush cheeks and a smiling face. It's a small yet intricate design, perfect for accessorizing your outfits, gifting to loved ones, or preparing fun craft projects. You'll enjoy how customizable this pattern is, allowing endless variations to match your personal style.
Uses of This Pattern:
- Accessories: Make cute earrings to match a range of outfits.
- Decorative Ornaments: Use the finished pieces as pendants, keychains, or magnets.
- Gift Ideas: Create heartfelt, handmade gifts for friends, family, or event giveaways.
What You'll Learn:
- Working with magic rings to start circles.
- Creating basic crochet stitches, such as single crochet (SC) and double crochet (DC).
- Precision assembling and embellishing techniques with embroidery and glue.
Skill Level & Terminology:
Skill Level: Beginner-Friendly
Terminology: US Terms
Materials & Tools:
- Thread: Anchor thread in three colors (e.g., pink, white, and green).
- Crochet Hook Size: 1 mm.
- Other Tools: Sewing needle, scissors, black thread, and fabric glue.
- Accessories: Earring hooks and hoops.
Gauge:
Gauge is not critical for this small project. Keep stitches tight for a neat and compact finish.
Abbreviations:
- MR: Magic Ring
- SC: Single Crochet
- DC: Double Crochet
- INC: Increase (2 stitches worked into the same base stitch)
- SLST: Slip Stitch
- CH: Chain
Special Stitch Instructions:
Magic Ring (MR): Loop the yarn around your fingers, insert the hook into the loop, pull yarn through, and crochet into the ring. Tightening the ring creates a firm and neat circular base.
Finished Size:
Approximately 1 to 1.5 inches across.
The Pattern Instructions
Part 1: The Base
- Start with the Green Thread for the Bottom Base:
- Work a Magic Ring (MR) and create 2 CH.
- Inside the MR, crochet 12 DC. Close the round with a SLST in the first DC.
Tip for Beginners: Pull the magic ring gently to close tightly to avoid gaps.
- Second Round:
- Start with 2 CH (counts as the first DC).
- Crochet 2 DC in each base stitch (an INC) all around. Finish with 24 stitches total.
Make sure to count stitches as you go for accuracy.
- Third Round:
- Start with 2 CH and crochet:
- (1 DC, INC) in the next stitch. Repeat all around the circle.
- End with 36 stitches total. Close the round with a SLST. Cut the thread.
This builds the round base and increases gradually for a flat shape.
- Start with 2 CH and crochet:


Part 2: The White Face
- Work the White Thread for the Face Base:
- Create a Magic Ring (MR) and make 6 SC inside the ring. Finish the round with a SLST in the first SC.
White thread is used to create the foundation for the face of the earring.
- Second Round:
- Work 2 SC in each stitch of the previous round (INC).
- You should now have 12 SC. Finish the round with a SLST and cut the thread.

Part 3: Cheeks
- Cheeks Using Pink Thread:
- Similar to the white face base, create 2 Magic Ring rounds:
- Round 1: Make 6 SC inside the MR.
- Finish the round with a SLST. Cut the thread. Make two identical pieces.
The pink thread rounds will serve as the blush cheeks for your kawaii face.
- Similar to the white face base, create 2 Magic Ring rounds:
Part 4: Adding Facial Details
- Create the Smile:
- Using black thread, create knots to form the eyes on the white piece. Position the knots symmetrically for balance.
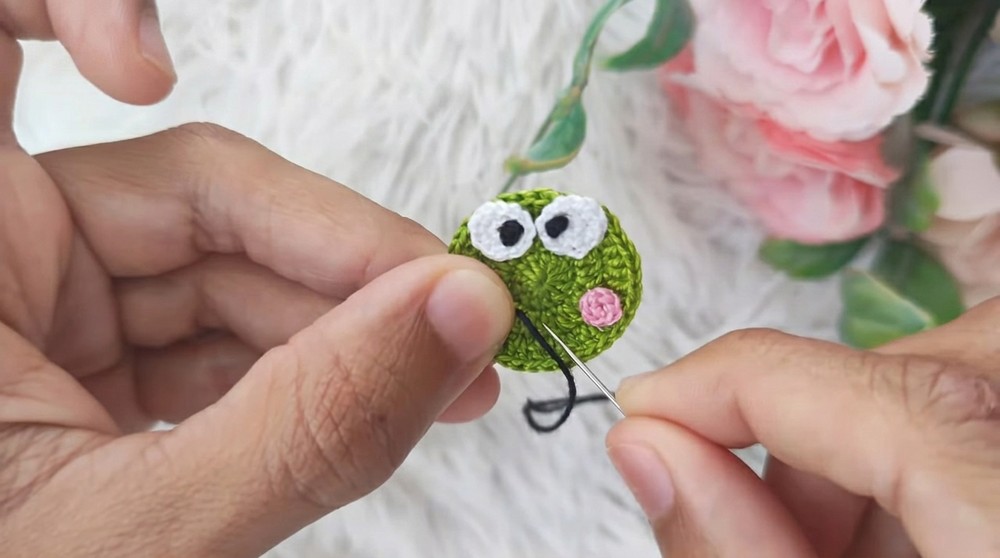
- Embroider the smile beneath the cheeks with a V-shaped pattern using the sewing needle and black thread.
Detailed embroidery is key to giving the kawaii face an adorable personality.
Part 5: Assembly
- Attach Cheeks:
- Glue the two pink blush pieces onto the white circle using fabric glue. Place them evenly on both sides below the eyes.
- Join the Base and Face Pieces:
- Use fabric glue to attach the white piece onto the green base. Press firmly to secure. Allow to dry completely.
- Add Earring Accessories:
- Attach the earring hook and hoop at the top, threading through the green piece.
Ensure all parts are firmly glued and securely joined before handling.
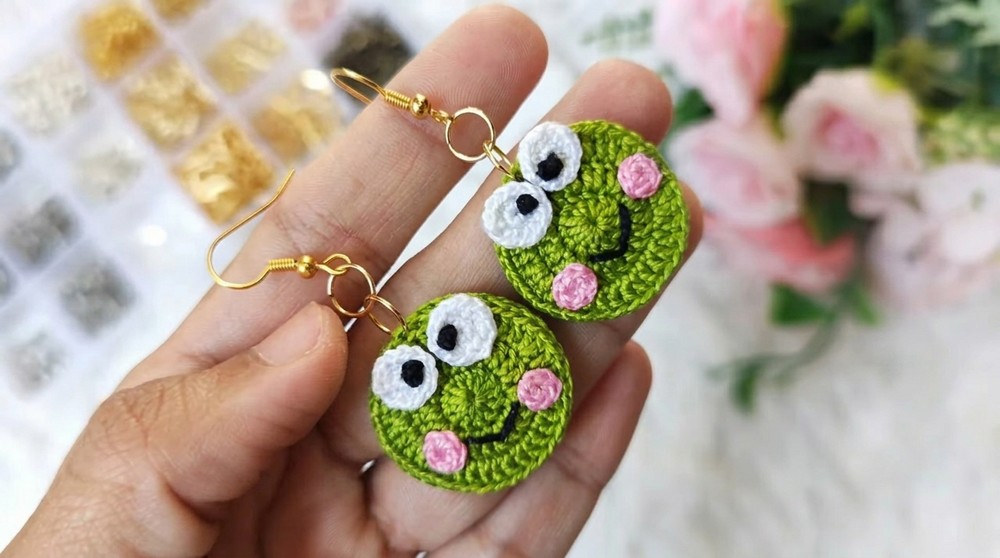
Assembly & Finishing:
- Weave in all loose threads and trim excess.
- Check alignment and ensure embellishments (smile, cheeks, etc.) are centered.
Difficulties and Solutions
Challenge: Joining small intricate pieces neatly without visible gaps.
Solution: Use fabric glue sparingly and press each piece firmly. Allow it to dry completely before adding more layers or accessories.
Final Thoughts:
This frog crochet earring pattern is an excellent project for practicing magic rings and precision. The finished earrings are delightful accessories that can be customized with different colors and designs. Whether you’re gifting them or wearing them yourself, you’ll love how easily they bring a smile to everyone!