
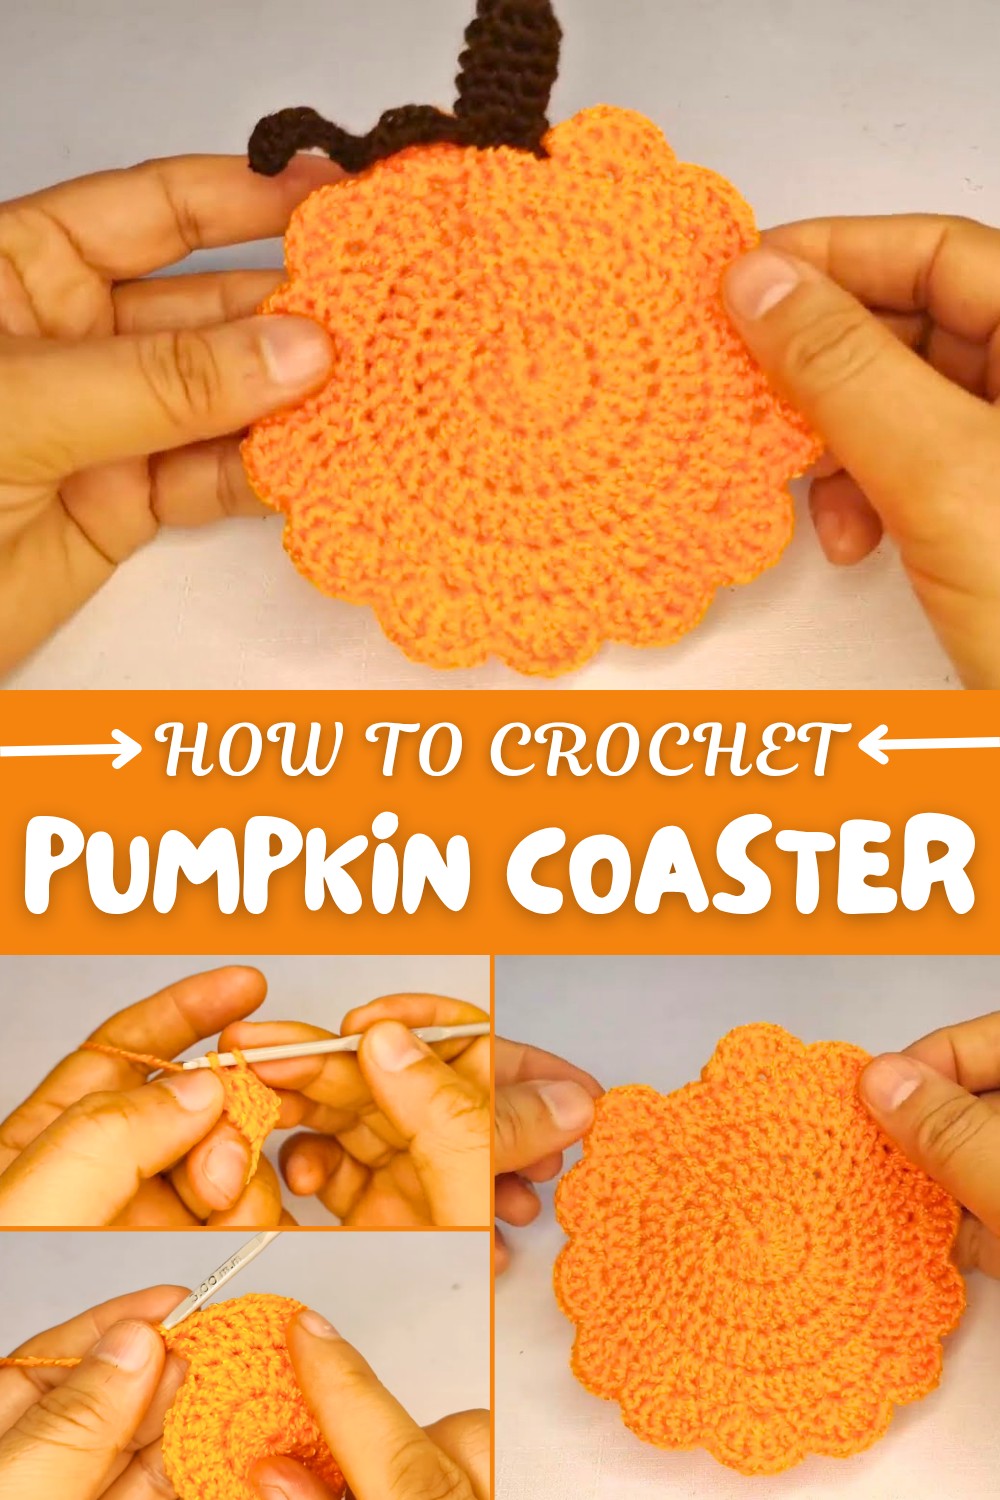
How to Crochet Pumpkin Coaster Pattern for Festive Home Style
Spruce up your décor with the Free Crochet Pumpkin Coaster Pattern and stitch playful accents that make every coffee break special.
As the air gets cooler and the leaves turn golden, there’s nothing more delightful than adding a cozy, handmade touch to your home with a charming pumpkin coaster. This crochet pumpkin coaster pattern is an ideal project to embrace the autumn season. With its rounded shape and adorable stem detail, it’s not only functional but also incredibly cute. Designed with warm, fall-inspired colors like orange and brown, this pattern beautifully captures the seasonal charm and instantly enhances your décor. Whether you’re styling your coffee table or preparing for a festive Thanksgiving gathering, this coaster pattern adds a playful yet rustic vibe perfect for fall.
Free Crochet Pumpkin Coaster Pattern for Cozy Seasonal Vibes
The pattern is straightforward and beginner-friendly, built around foundational techniques like the magic ring, double crochet, and increases to shape the pumpkin. You’ll also work with single crochet for the finer details, such as creating the coaster’s raised ridges and adorable stem. The most satisfying part is how quickly this project comes together, making it a fantastic option for last-minute gifts, handmade décor, or even as a stash-busting project. Its versatility means you can adjust the size or color to fit your personal style or creative needs.
What Else You Can Create Using This Pattern
This pumpkin-inspired pattern opens the door to many more possibilities:
- Larger placemats by increasing the round repetitions.
- Seasonal garlands or hanging décor perfect for fall festivities.
- Mini pumpkin appliqués for embellishing bags, blankets, or hats.
- Crochet trivets or potholders for your kitchen, scaled up with thicker yarn.

Why You’ll Adore This Pattern
- Quick, easy, and beginner-friendly.
- Perfect for seasonal gifts or festive home accents.
- Customizable with any colors or sizes to match your style.
Celebrate the fall season with this cozy and creative project that combines both beauty and functionality, all while expanding your crochet skills!
Crochet Pumpkin Placemat: Step-by-Step Pattern
Create a charming crochet pumpkin placemat that doubles as seasonal decor for your home! This easy-to-follow project uses basic crochet techniques combined with creativity to make a fun and festive piece perfect for autumn.
Skill Level & Terminology:
- Skill Level: Beginner to Intermediate
- Terminology: Pattern follows US crochet terms.
Materials & Tools:
- Yarn:
- Orange yarn (2 mm thick, slightly thicker than crystal thread) – For the pumpkin body.
- Brown yarn – For the pumpkin stem.
- Hook Size: 3.0 mm crochet hook.
- Other Tools:
- Scissors.
- Tapestry or tambourine needle (for weaving in ends).
- Optional: Stitch markers or safety pins (to mark rounds).
Gauge:
Gauge is not critical for this project. However, your placemat should lie flat as the rounds progress. Adjust hook size if needed to ensure consistent tension.
Abbreviations List:
- ch – Chain
- st – Stitch
- sl st – Slip Stitch
- sc – Single Crochet
- dc – Double Crochet
- tog – Together
- magic ring – Adjustable loop to start crochet in the round
Special Stitch Instructions:
- Magic Ring: Create a small loop, yarn over, and pull through to secure. Work the first round of stitches into this loop. Pull the tail to tighten the ring.
- 2-dc together (Increase): Work 2 double crochets into a single stitch.
Finished Size:
Approximately 10–12 inches in diameter depending on your tension.
The Crochet Pattern:
Follow each step in this clear, detailed pattern to create your crochet pumpkin placemat.
Pumpkin Body:
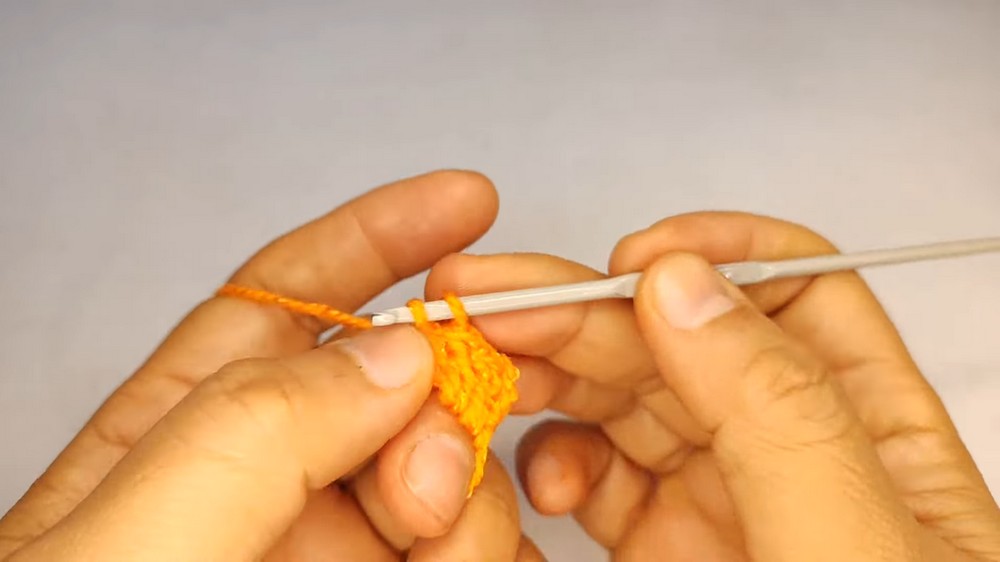
- Round 1:
Start with an orange yarn.- Create a magic ring.
- Ch 3 (counts as the first dc).
- Work 13 dc into the ring for a total of 14 stitches (including the initial ch-3).
- Pull the magic ring closed and join with a sl st in the top of the ch-3.
(For those unfamiliar, this creates the base circle of the placemat.)
- Round 2:
- Ch 2, then work 2 dc into each st around for a total of 28 stitches.
- Join with a sl st to the starting ch-2.
(This round creates the first increase, making the circle expand.)
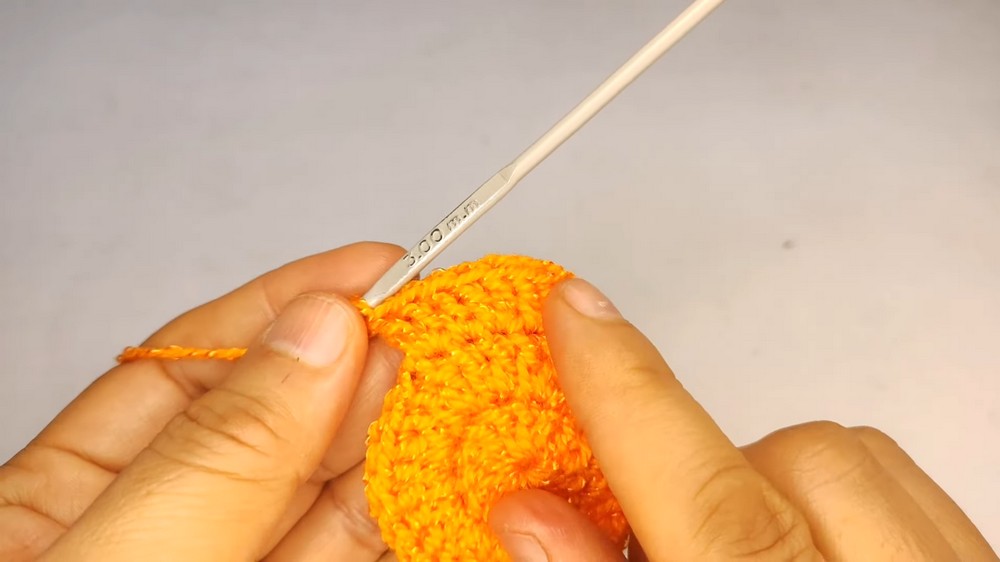
- Round 3:
- Ch 2, then 2 dc in the first st, followed by 1 dc in the next st.
- Repeat: 2 dc in the next st, 1 dc in the next st around.
- Total 42 stitches.
- Join with a sl st to the starting ch-2.
(You’re beginning to shape your pumpkin body!)
- Round 4:
- Ch 2, then 2 dc in the first st, followed by 1 dc in the next 2 sts.
- Repeat: 2 dc in one st, 1 dc in each of the next 2 sts.
- Total 56 stitches.
- Join with a sl st to the starting ch-2.
(The pumpkin base is growing steadily – smooth and round.)
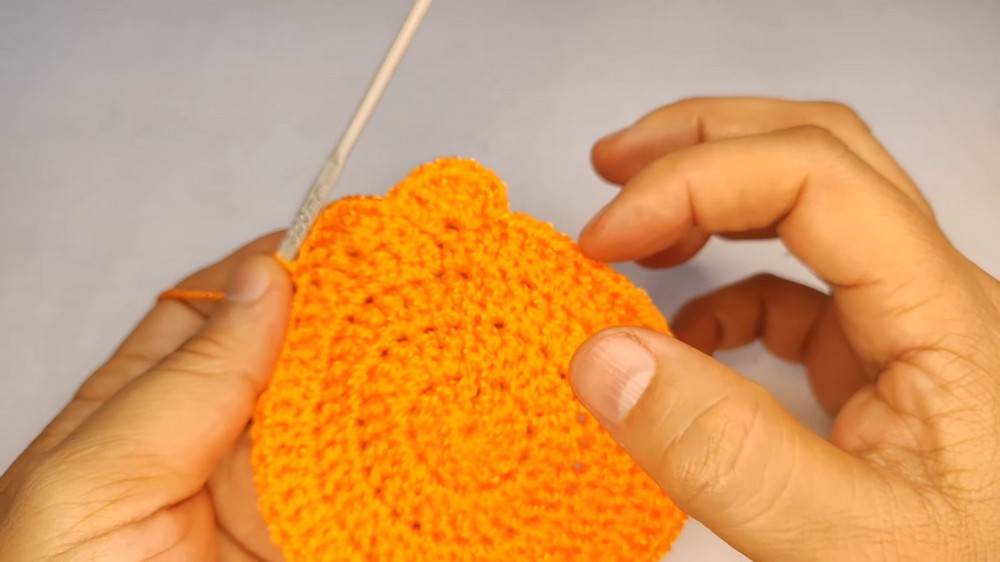
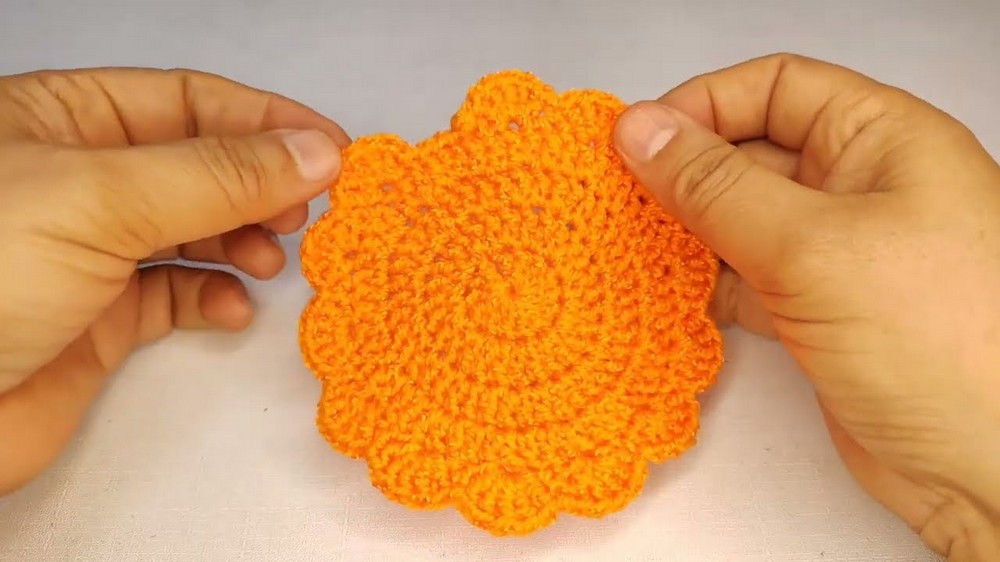
- Round 5 (Creating Fans):
- Ch 1, skip 1 st, and in the next st work 5 dc (fan stitch).
- Skip 1 st and sc in the next st.
- Repeat: (5 dc in one st, skip 1 st, sc in the next st) all the way around.
- End the round with a sl st to the first ch-1.
- Total: 13 fan shapes.
(This adds texture to your pumpkin shape. It resembles the pumpkin's ridges and grooves.)
- Fasten Off:
- After securing the last sl st, trim the yarn.
- Weave in your ends with the tapestry needle.
(Your pumpkin placemat's main body is complete!)
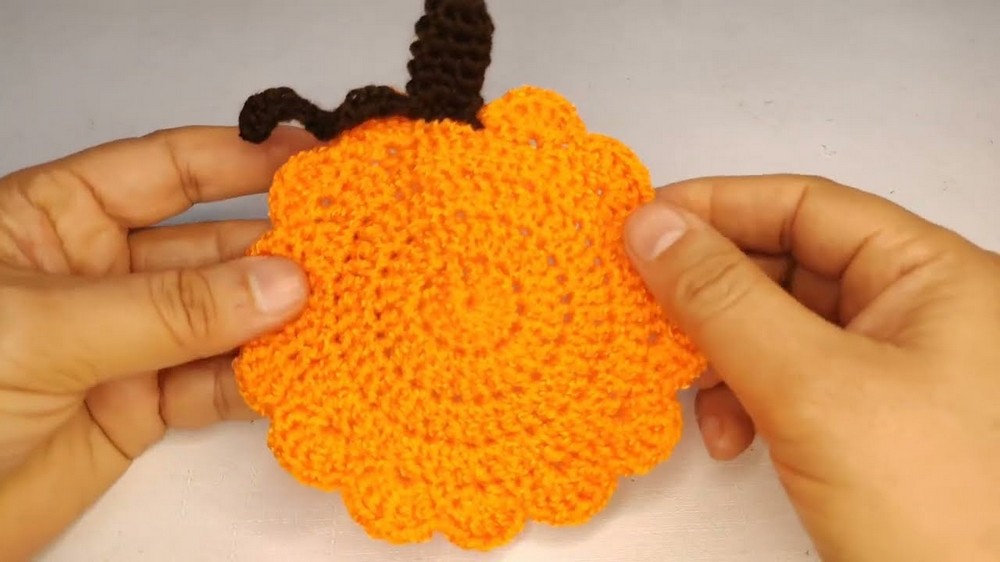
Pumpkin Stem:
- Round 1 (Magic Ring):
With brown yarn, create a magic ring.- Ch 1, then work 6 sc into the loop. Tighten the loop and join with a sl st.
- Rounds 2–6 (Stem):
- Ch 1, work 1 sc in each st around (6 sts in every round).
- Use a stitch marker to track your rounds.
- Continue until you have 6 rounds total, including Round 1.
(This forms a short stem for your pumpkin.)
- Ruffled Detail at the Top of the Stem:
- Ch 10, skip the first chain, and in each of the next 9 ch, work 2 sc.
- Join with a sl st to the stem's base and fasten off, leaving a long tail for sewing.
(This creates a playful, curly design for added detail.)
- Attach the Stem to the Pumpkin:
- Position the stem at the center of the pumpkin body.
- Stitch it securely using the tail left earlier.
- Weave in the ends and trim excess yarn.
(The stem adds personality and ties the pumpkin decor together!)
Assembly & Finishing:
- Check that all ends are securely woven in with no loose threads.
- Flatten the pumpkin placemat to ensure it lies evenly.
- Optional: Lightly block your work by dampening it and shaping it flat, letting it air dry for better form.
Summary of the Project:
This pumpkin placemat pattern is a great project for crocheters looking to practice working in rounds and mastering simple increases. Using double crochet, single crochet, and some creative fan stitches, you’ll craft a cute, functional piece in no time! The finished item can be used for fall table decor, holiday themes, or even as a small rug for dollhouses.
For best results, use stiff yarn or add a lining underneath to make the placemat sturdier. Have fun with color variations to create unique pumpkins!
What You’ll Learn
Creating this pumpkin coaster will help you:
- Master the magic ring for starting round projects seamlessly.
- Learn how to increase evenly to shape your work in circular rounds.
- Experiment with working in spaces for a neat and firm structure.
- Practice edge finishing and securely weaving in ends for a polished result.
Each section of this project builds essential skills that are easily applicable to other crochet ideas.