
Easy Crochet Christmas Tree Earrings Pattern for Festive Projects
Recharge your seasonal outfits and avoid ordinary pieces through a Free Crochet Christmas Tree Earrings Pattern brimming with holiday fun.
Finding the perfect festive accessory that is both charming and easy to make can be a challenge, but these lovely crochet Christmas tree earrings pattern offers a simple and joyful solution. They feature groups of double and treble crochet stitches worked together, creating a textured, layered look that brings the miniature trees to life. The special use of three-stitch clusters closed together gives the earrings their classic tree shape with beautiful dimension. Tiny picot details add a delicate sparkle, making these earrings an ideal choice for holiday celebrations or thoughtful handmade gifts.
Crochet Christmas Tree Earrings Pattern for Handmade Holiday Vibes
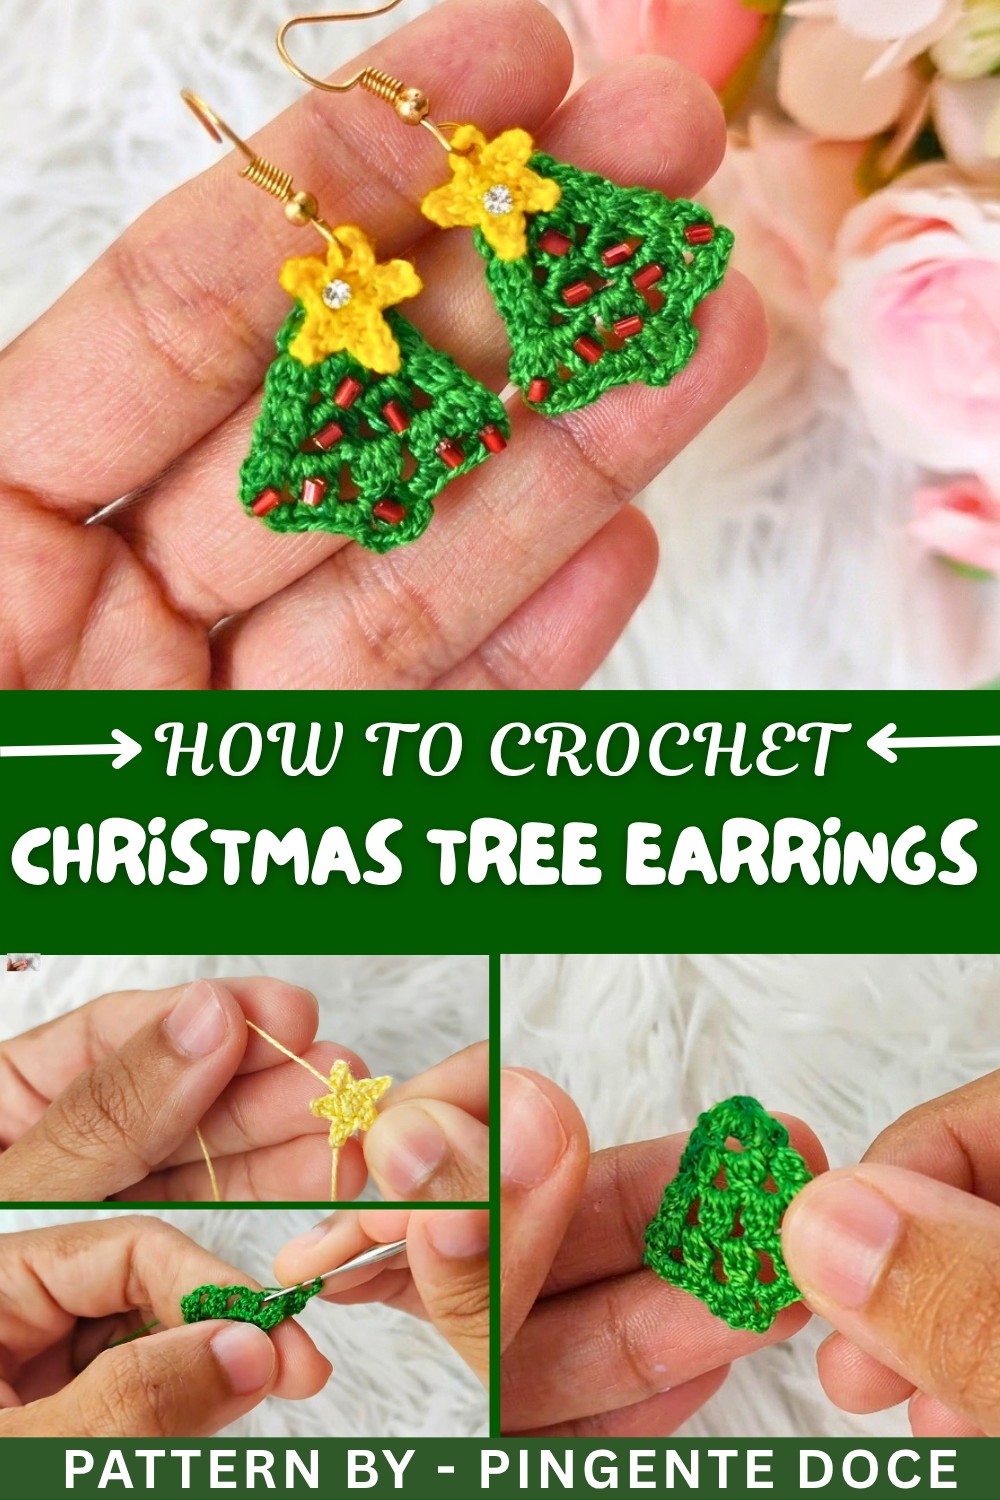
Beginning with a few chains, the pattern grows row by row by crocheting stitch clusters that form the tree’s branches. Using the magic ring technique helps create a neat center perfect for attaching decorative beads or charms. Finishing the piece with a fabric glue mixture on the back keeps the earrings lightweight but sturdy. Adding small rings and earring hooks completes a project that is beginner-friendly, fun, and quick to make.
Other Ways to Use This Pattern
This Christmas tree stitch pattern can be easily adapted for other festive crochets. It makes charming holiday brooches, gift tags, or tree ornaments. You could also scale up the size for cozy table decorations or string several trees together to create a delightful garland. This versatile pattern offers many creative ways to share the holiday spirit through handmade items.
Crochet Christmas Tree Earrings Pattern
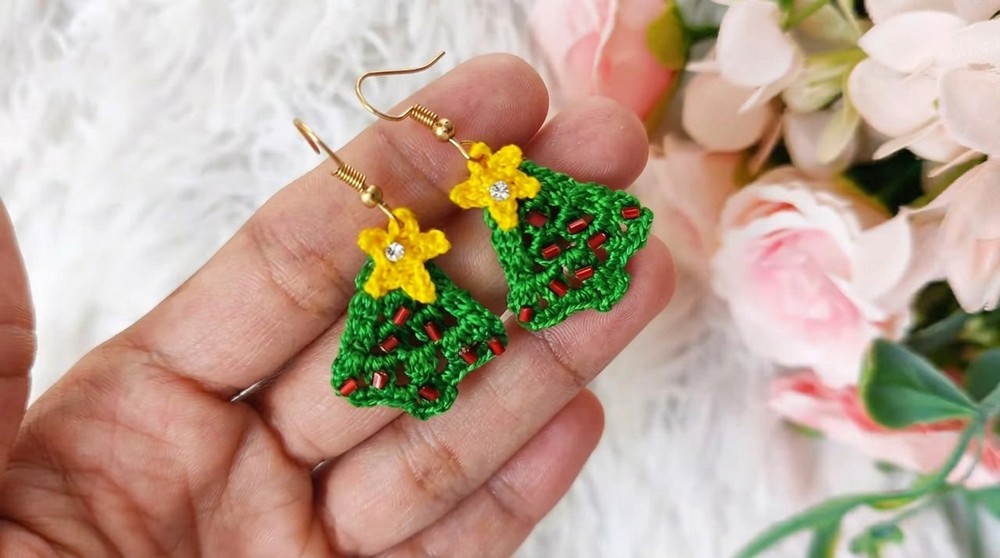
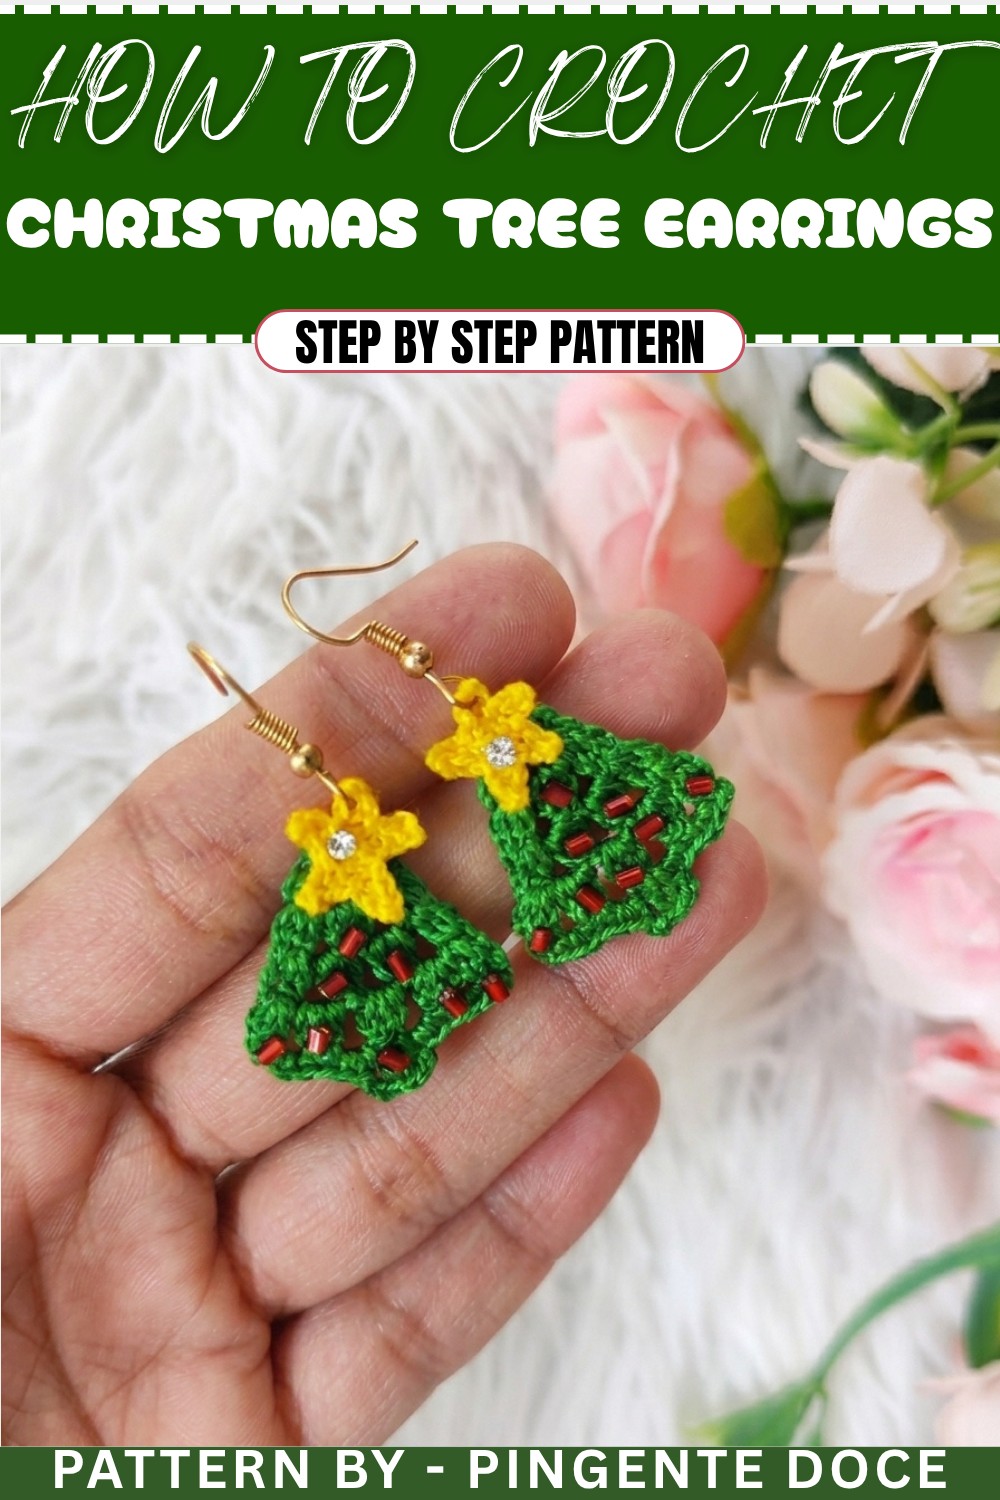
Bring the festive spirit to your accessory collection with this Crochet Christmas Tree Earrings Pattern! These lightweight, handmade accessories are easy to customize and make perfect gifts or personal holiday decorations. The delicate 3D tree pattern is complemented by a mini star at the top and optional bead embellishments, making it a beautiful project for any crochet enthusiast.
Uses of This Pattern
- Festive Accessory: Celebrate the holidays in style with festive earrings!
- Personalized Gifts: Ideal as unique, handmade presents for loved ones.
- Holiday Decor: Double as mini tree ornaments or decorative charms.
Skill Level & Terminology
- Skill Level: Beginner to Intermediate (includes magic ring, double crochet, and finishing techniques).
- Terminology: U.S. Crochet Terms
Materials & Tools
- Yarn/Thread:
- Embroidery thread or fine crochet thread in green (for the tree) and yellow (for the star).
- Tools:
- Crochet hook: 1 mm or a size to match your chosen thread.
- Scissors for cutting threads.
- Pliers for securing earring hooks and jewelry rings.
- Sewing/tapestry needle for weaving in ends.
- Fabric glue (optional, mixed with water) for hardening.
- Jewelry findings: Earring hooks, jump rings, and decorative beads.
Gauge
Gauge is not critical for this project, but aim for consistent tension to ensure your tree and star shapes are even and well-formed.
Abbreviations List
- ch: Chain
- sc: Single Crochet
- dc: Double Crochet
- sl st: Slip Stitch
- tc: Triple Crochet
- MR: Magic Ring
Special Stitch Instructions
Magic Ring (MR):
- Loop the yarn to create a circle, ensuring the working end lays over the tail.
- Insert the hook into the center of the ring, yarn over, and pull a loop through the ring.
- Chain 1 to secure the ring and begin stitching into it.
Double Crochet 3 Together (DC3TOG):
- Yarn over and insert hook into the designated space.
- Yarn over and pull up a loop (3 loops on hook).
- Yarn over and pull through the first two loops on the hook.
- Repeat the steps for 2 more stitches in the same space until 4 loops remain on the hook.
- Yarn over and pull through all 4 loops on the hook, closing the stitches together.
Finished Size
Each completed earring measures approximately 2.5 inches (6.5 cm) in length, including the star, and 1.5 inches (4 cm) in width.
The Pattern Itself
Part 1: Crochet the Christmas Tree Base
1. Start with the Tree Foundation:
- Make a slip knot and crochet 5 chains (ch).
- Slip stitch (sl st) into the first chain to form a ring.
2. First Row of Branches:
- Chain 3 (counts as the first dc).
- Work 2 incomplete double crochets (dc) in the ring, leaving two loops on the hook for each.
- Yarn over and pull through all three loops to close them together (DC3TOG).
- Chain 3 and repeat the pattern in the ring: DC3TOG, chain 3.
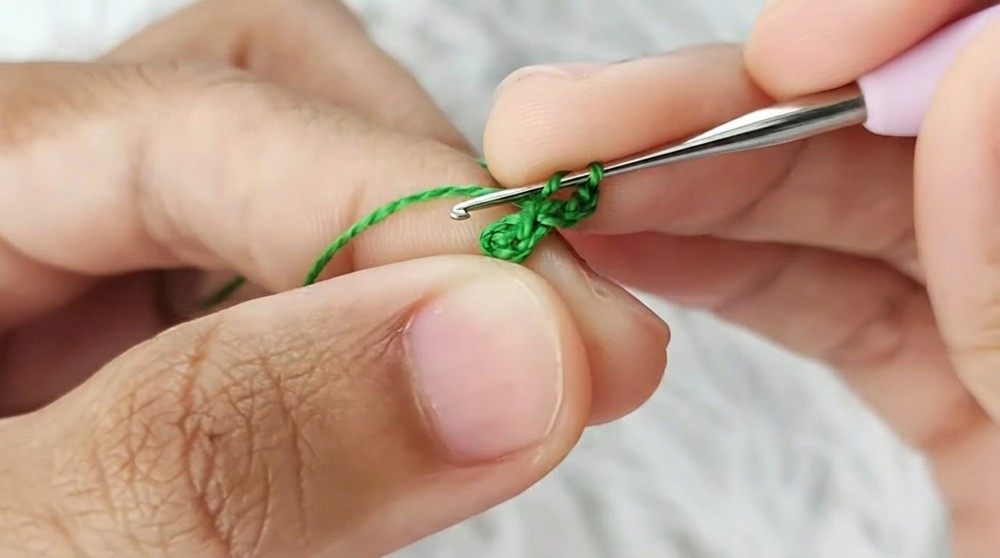
→ This creates the first cluster of branches. You should have two clusters separated by chain spaces.
3. Second Row of Tree:
- Turn your work, chain 3, and begin by working DC3TOG into the first cluster space.
- Chain 3, and work DC3TOG into the next chain space.
- In the previous cluster space, work another DC3TOG to complete the row, finishing with a chain 3.
→ You’ve now expanded the tree shape to its second tier. The clusters give the tree its structured, layered look.
4. Rows 3 & 4:
- Repeat the same process:
- Create a chain space by chaining 3.
- Work DC3TOG into each chain space and cluster space from the previous row.
- Continue for 4 rows total, ensuring that the tree grows wider as you add rows.
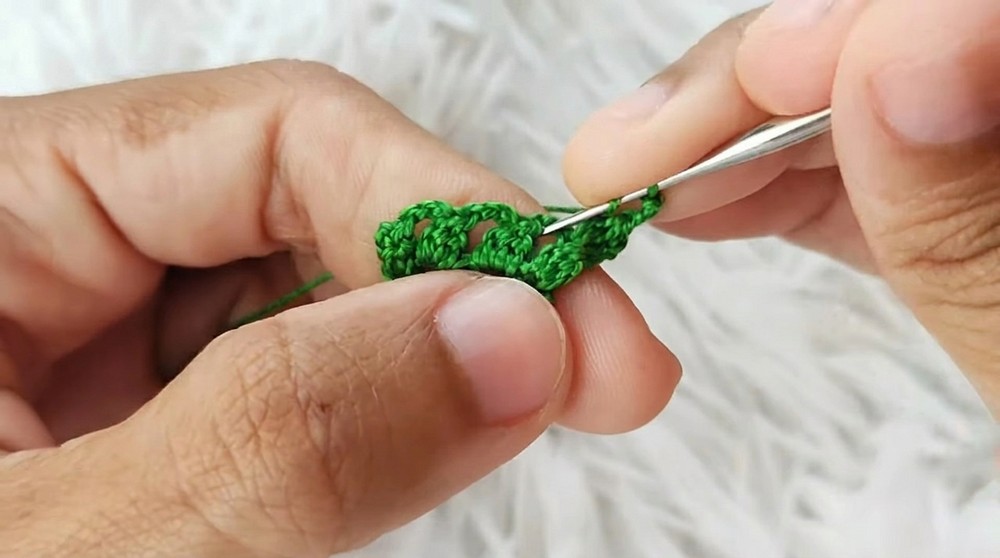
5. Final Row of the Tree:
- In the last row:
- Work 2 double crochets (dc) into each chain space.
- Add 2 chains between every cluster.
- Finish the last cluster with 1 single crochet (sc) stitch instead of dc.
- Cut the thread, leaving a small excess for sewing, and weave in the end.
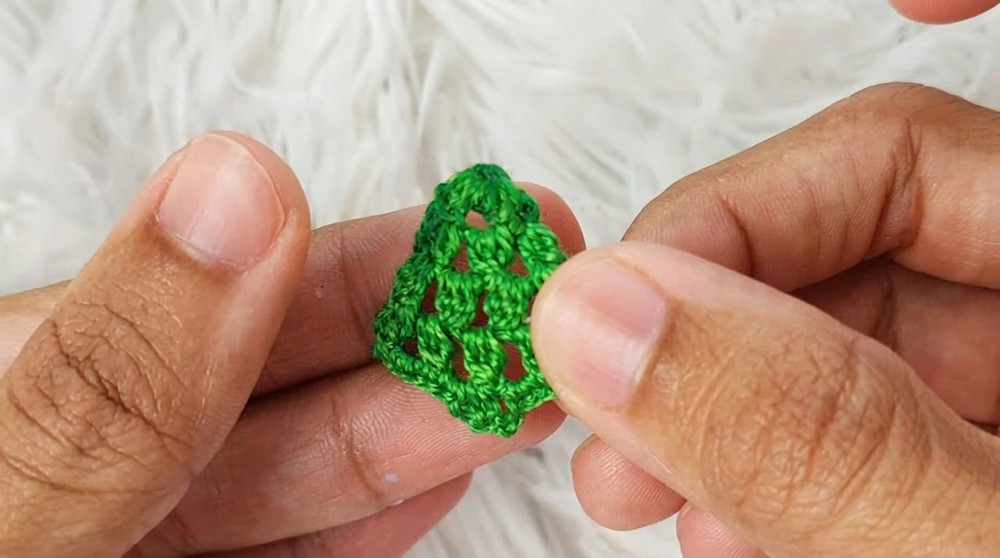
The tree is now complete! Its triangular shape forms the main body of your earring.
Part 2: Create the Mini Star
6. Start with Magic Ring:
- Using yellow thread, create a magic ring (MR). Crochet 5 dc into the ring to form the base.
- Pull the loose thread to close the ring and secure with a slip stitch (sl st).
7. Create the Star Points:
- Chain 3, skip the next stitch, and make a slip stitch (sl st) into the following one.
- Add a single crochet (sc) stitch to the next chain and make another sl st into the next stitch.
8. Repeat for All Points:
- Repeat the same sequence of ch 3, sc, sl st to create a total of 5 mini points.
- Finish by cutting the thread, leaving a short tail for sewing.
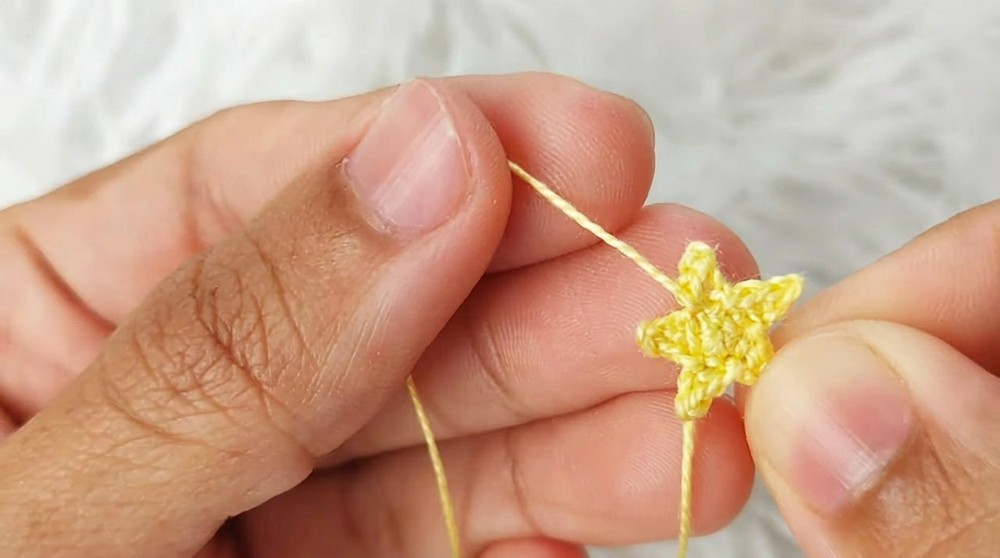
Your mini star topper is complete! Its five dainty points make it the perfect crowning element for your Christmas Tree earring.
Part 3: Assemble the Earring
9. Harden the Tree and Star:
- Use fabric glue diluted with water to stiffen the crochet pieces.
- Apply the solution to the back side of the tree and star. Let dry completely before assembly.
10. Attach the Star to the Tree:
- Use a tapestry needle or fabric glue to secure the mini star to the top of the tree.
11. Add Beads and Decorations:
- Thread small decorative beads onto the tree for added sparkle.
- Use thread to wrap around the tree to mimic garlands if desired.
12. Add Earring Hook:
- Attach a small jump ring to the top of the tree using pliers.
- Secure the earring hook to the jump ring.
Your Christmas Tree earring is now complete! Pair it with matching festive outfits or give it as a holiday gift.
What You’ll Learn
- Clustered Double Crochet (DC3TOG): Create textured, clustered shapes to form 3D designs.
- Stiffening Crochet Pieces: Learn techniques to harden delicate designs for jewelry.
- Decorative Stitch Techniques: Gain experience with picot and chain embellishments for elegant finishes.
- Jewelry Assembly: Develop skills for attaching hooks, rings, and decorative beads to crochet projects.
Difficulties & Their Solutions
Key Challenges
- Uneven Stitches:
- Uneven tension can distort your tree’s shape.
- Solution: Practice tension control on a test swatch before starting the project.
- Loose Star Points:
- The mini star points may look uneven or floppy.
- Solution: Keep a tight tension when you work the chain stitches, and consider stiffening the star with glue.
- Fragile Final Assembly:
- The star may detach from the tree if not secured properly.
- Solution: Reinforce attachment with multiple stitches or add a drop of glue for extra hold.
Why You’ll Love This Pattern
This Crochet Christmas Tree Earrings Pattern is magical to create and wear, capturing the festive spirit in a stylish accessory. The combination of simple stitches, creative layering, and embellishments makes this project both satisfying and enjoyable to complete. Whether worn as jewelry or used as ornaments, these earrings embody holiday cheer and the joy of handmade gifts.