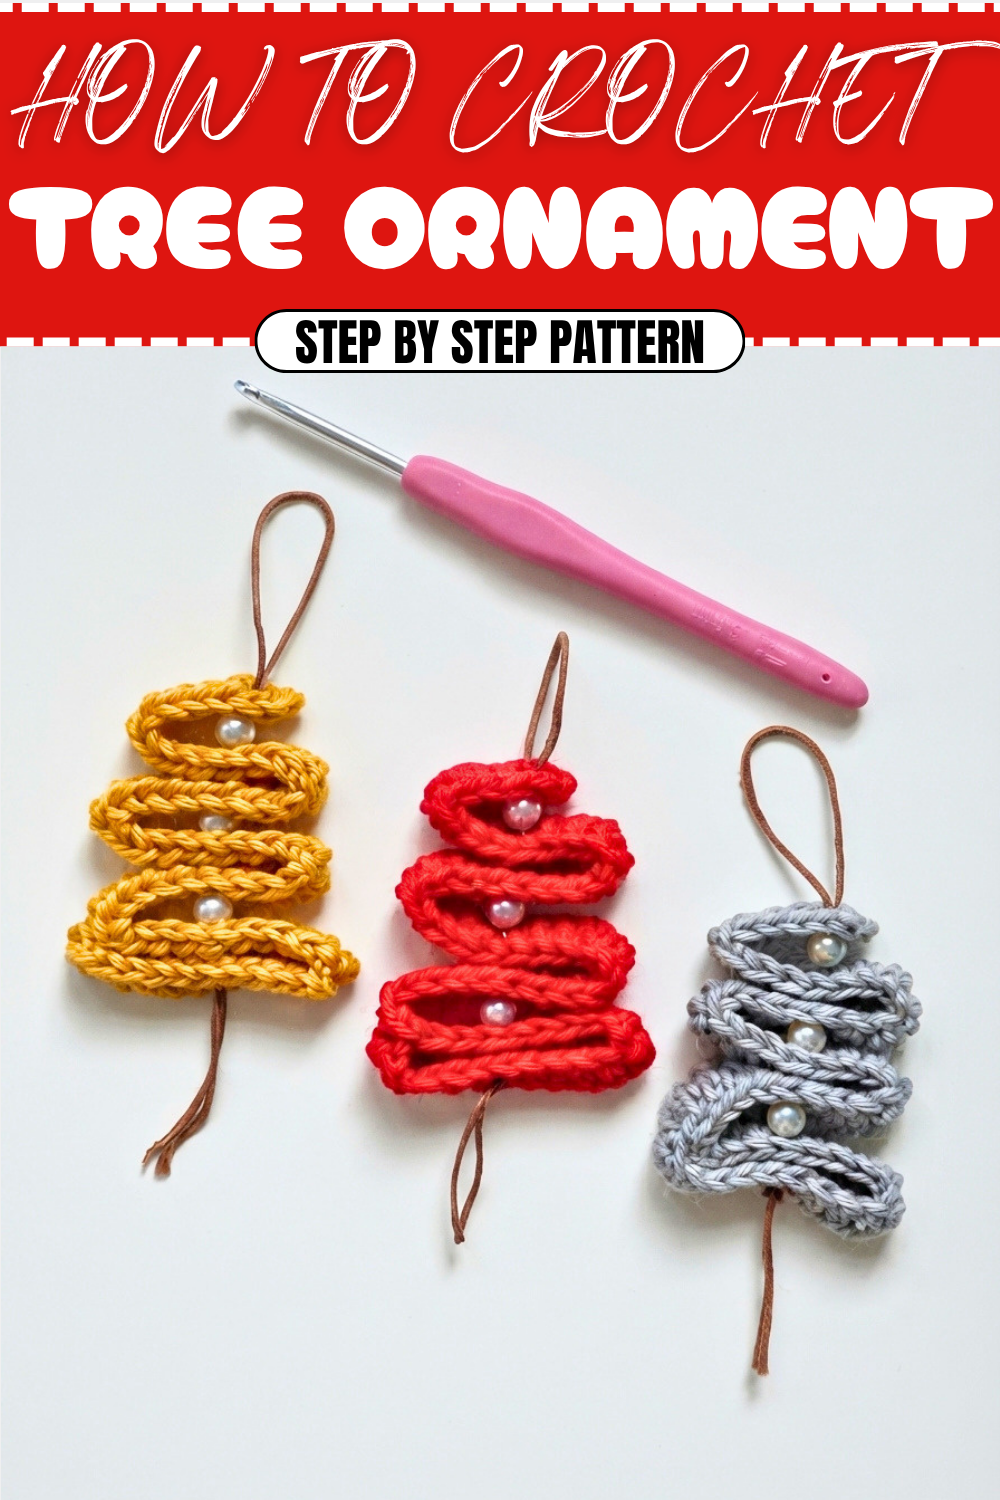
Easy Crochet Christmas Tree Ornament Pattern for Beginners
Simple Crochet Christmas Tree Ornament Pattern for Beautiful Results
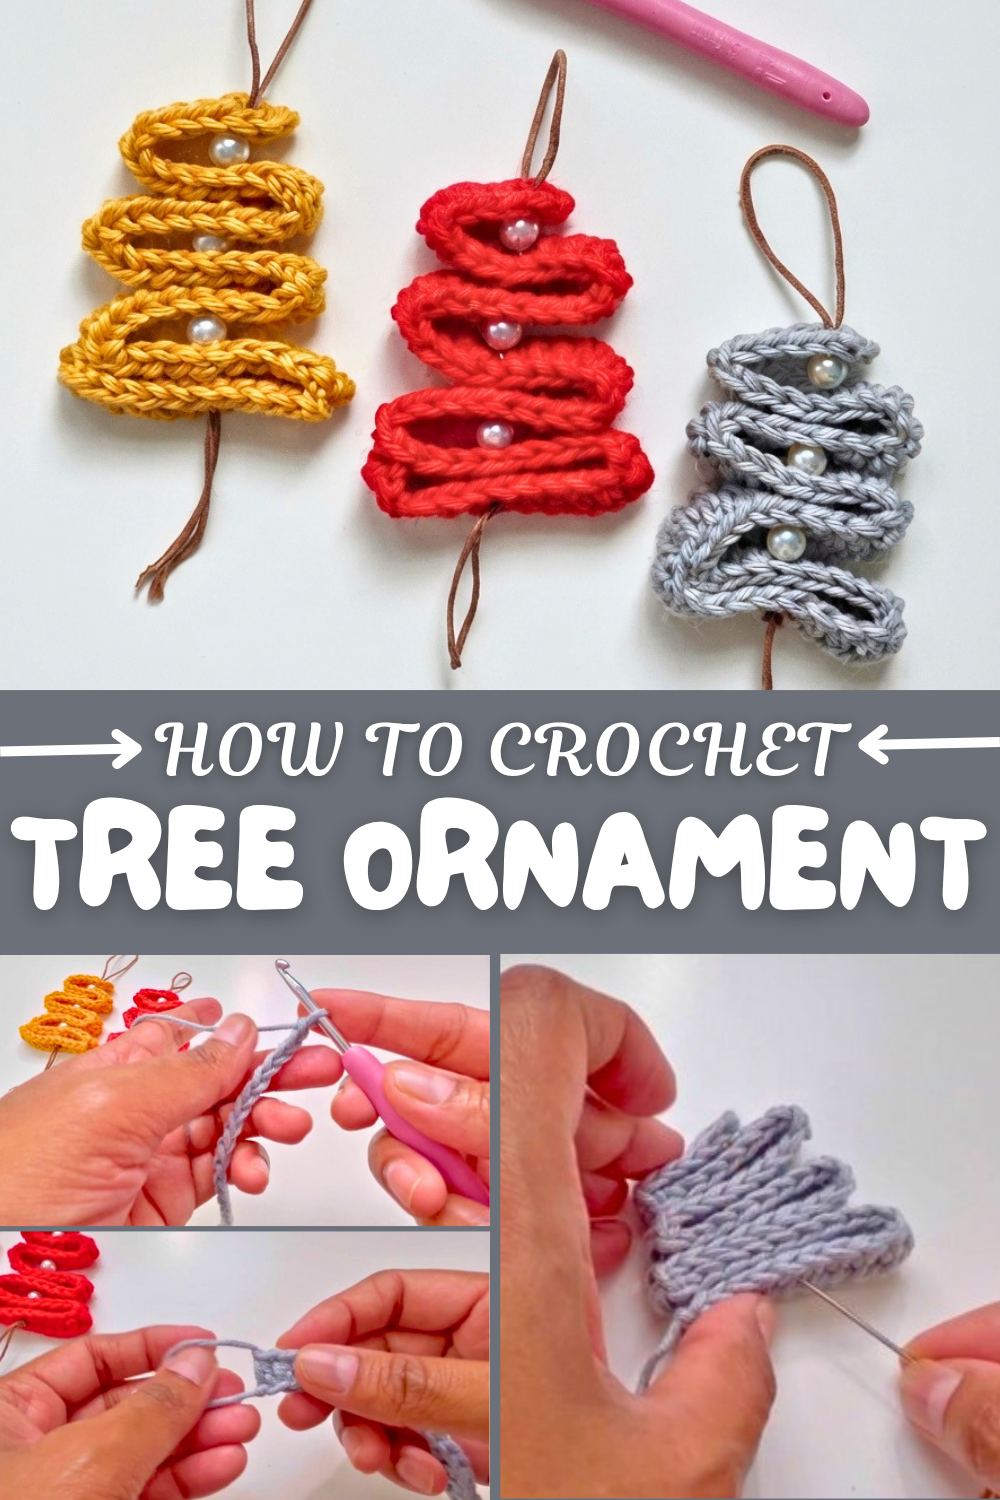
This pattern begins with a foundation chain of 61 stitches, followed by rows of half double crochets that shape the tree’s form. The way the stitches build up creates a textured, layered look that mimics real pine needles. Using a thicker yarn for the tree and a thinner yarn for the hanging loop adds a nice contrast and keeps the ornament lightweight. Small beads are added as charming "ornaments," giving it a sparkling holiday feel. The straightforward stitch work and clear instructions make it easy and enjoyable to crochet, perfect for making multiple ornaments to share with loved ones.
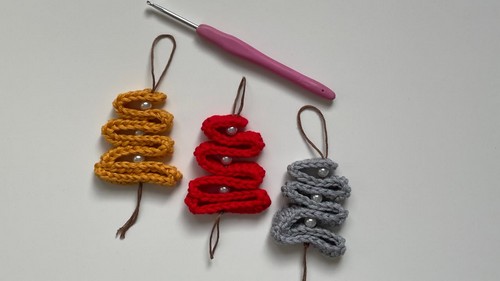
Christmas Tree Ornament Crochet Pattern
1. Introduction
Adorn your living space or Christmas tree with this handmade Christmas tree ornament! This charming pattern works as a standalone home décor item or can be hung up on your festive tree. Designed with simplicity in mind, this quick project will bring delightful holiday cheer.
What You’ll Learn:
- How to create a Christmas tree shape with accordion-style folding.
- How to crochet even rows of half-double crochets for clean, firm lines.
- Techniques for decorating your projects with beads and securely attaching them using a needle.
- How to use simple crochet techniques to build unique and festive accessories for the holiday season.
2. Skill Level & Terminology
- Skill Level: Beginner-Friendly
- Terminology: US Crochet Terms
This pattern is perfect if you’re familiar with basic crochet techniques like working in chains, half double crochet stitches, and using a needle for finishing and embellishments.
3. Materials & Tools
Materials
- Yarn:
- Thicker cotton yarn (3–4 mm hook size) for the body of the tree.
- Thinner cotton yarn (2–3 mm hook size) for assembling and adding beads.
Tools
- Crochet Hook: 3.5 mm
- Yarn needle: For sewing and weaving in ends.
- Scissors
- Decorative beads or pearls: For creating ornaments on the tree.
4. Gauge
Gauge is not critical, but aim for uniform stitches. Using appropriate hook sizes for your chosen yarn ensures a gauged, sturdy design.
5. Abbreviations
Here’s your glossary of terms for this pattern:
- ch – Chain
- hdc – Half Double Crochet
- sl st – Slip Stitch
- st(s) – Stitch(es)
- yo – Yarn Over
6. Special Stitch Instructions
Half Double Crochet (hdc):
- Yarn over, insert the hook into the stitch indicated.
- Yarn over again and pull through the stitch (3 loops on hook).
- Yarn over once more and pull through all 3 loops on the hook.
7. Finished Size
The complete ornament will measure approximately 6–7 inches tall and 4–5 inches wide, with optional adjustments for different sizes.
8. The Pattern Itself
Part 1: Creating the Christmas Tree Base
- Foundation Chain:
- Start with a slip knot on your hook.
- Ch 61.
- Row 1:
- Turn your work and skip the first 2 chains.
- Work 1 hdc in the 3rd chain from the hook.
- Continue working 1 hdc into each remaining chain across the foundation chain.
- At the end, you should have 60 hdc.
- Finish:
- Ch 1, fasten off, and secure your yarn tail.
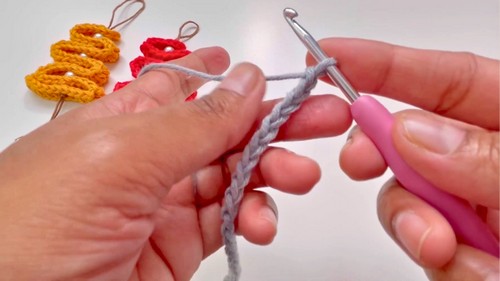
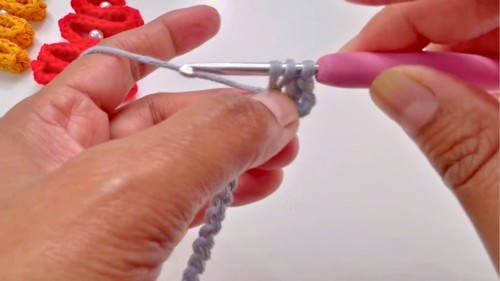
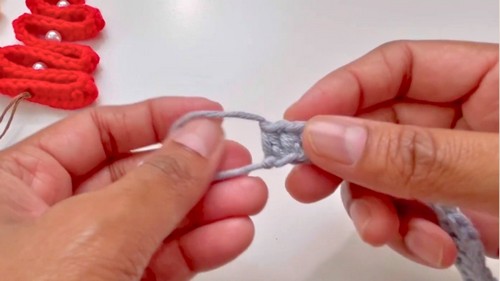
Start by creating a long chain of 61 stitches, then work a single row of half double crochet stitches into the chain, ending with 60 half double crochets.
Part 2: Assembling the Christmas Tree Shape
- Lay the completed strip on a flat surface.
- Fold the strip backward and forward like an accordion or in a zigzag manner to form a series of rows stacked in a triangle shape.
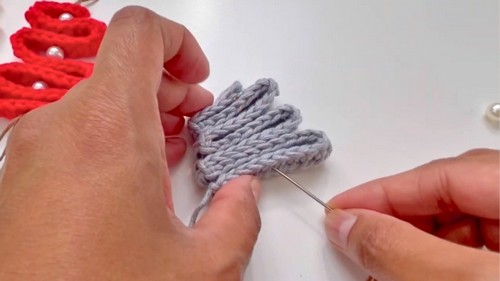
General Guide for Arranging Rows:
- Row 1: 10–11 stitches.
- Row 2: 9–10 stitches.
- Row 3: 7–8 stitches.
It’s okay for the stitch count to vary slightly; adjust for symmetry as needed. This folding creates the tiers of the Christmas tree.
Part 3: Adding Decorative Beads & Creating the Hanging Loop
- Take your thinner yarn and thread it onto a darning needle.
- Begin at the bottom layers of the folded tree:
- Start from the bottom two layers, inserting the needle through the center of all the folds.
- Add a bead or pearl to the needle before moving to the next layer.
- Insert the needle once again through the next layer, adding a bead on the way.
- Continue stacking until you reach the top layer. Using this thinner yarn ensures the beads are securely held in place while adding a nice finishing touch. Ensure there is a small loop at the top of the tree’s peak for hanging.
- Supporting the Beads:
- To further secure the beads, work the needle back down through the layers following the same path you used to go up. This will make the beads perfectly stable and aligned.
- Leave a loop at the top of the tree to act as a hook for hanging the ornament.
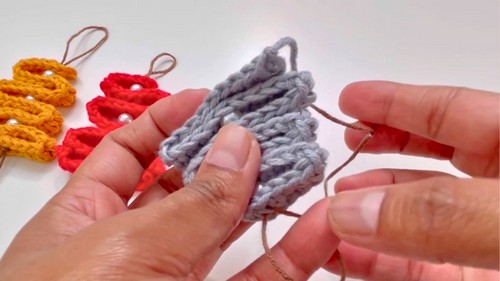
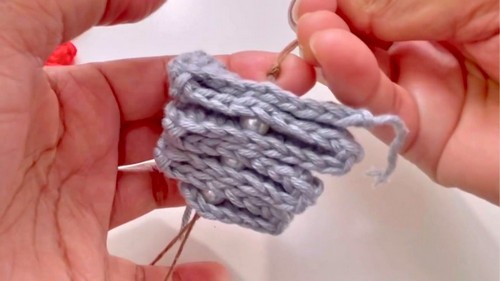
To secure the folds of the Christmas tree, sew through the middle of each layer while adding a small bead or pearl onto the thread with each pass. Make sure to leave space at the top to create a loop for hanging.
Part 4: Securing and Shaping the Tree
- After threading the needle back through, pull the yarn tightly to bring the layers together and create the Christmas tree’s cone shape.
- Leave extra yarn at the bottom and tie a secure knot.
- Add a second knot over the first to ensure the end stays in place and doesn’t come undone.
- Trim the excess yarn at the bottom carefully, leaving a slight tail if necessary.
For non-pattern readers: Tie a secure knot at the base of the tree after shaping it, pull the thread tightly, and trim any remaining yarn for a clean finish.
Part 5: Finishing Touches
- To prevent the tree from unfolding:
- Use a yarn needle with the same color as your tree yarn.
- Sew through the side edges of the folds to secure the layers in place.
- Once secured, trim off any additional yarn and hide the ends neatly within the folds of your work.
- Make any final adjustments to the tree’s shape, ensuring the rows are symmetrical and even.
To complete the ornament, sew the layers together on the sides to prevent the Christmas tree from unraveling. Hide any yarn tails for a polished finish.
Optional Customizations
- Use different types or colors of beads to add a more festive touch.
- Try using metallic or glitter yarn to add sparkle.
- Adjust the chain lengths or row sizes to create larger or smaller ornaments depending on your preferences.
9. Assembly & Finishing
- Once the tree is secured, attach an additional decorative hanging loop to the top of the tree. To do this, use the leftover loop created earlier with the thinner yarn or incorporate twine, ribbon, or a string for a more decorative option. Just make sure it is firmly fastened to hold the ornament securely.
- Check the alignment and the stability of the bead placement. Smooth out rows if necessary. Now you’re ready to hang your tree or gift it to family and friends!
10. Why You’ll Love This Pattern
This crochet Christmas tree is an ideal project for the holidays. Its simplicity makes it beginner-friendly, but its charming design appeals to advanced crocheters who want a quick and cheerful project. You’ll love the creative aspect of organizing the zigzag accordion rows into a perfect triangle shape and then adorning your tree with beads. You can customize the size, colors, and embellishments to fit your style and décor theme.