
How to Crochet Fingerless Gloves Pattern for Cozy Fashion
Instantly refresh your look using the Free Crochet Fingerless Gloves Pattern, perfect for fashion-forward, practical hand accessories.
Keeping your hands warm while still being able to move your fingers freely is such a useful idea, especially when you want to type, write, or use your phone without taking off your gloves. These cozy fingerless gloves pattern is designed to do just that. Using simple stitches like single crochet, extended double crochet, and working in the back loops only, this pattern gives the gloves a neat texture and a stretchy fit that feels comfortable. The bubble stitch detail adds a fun and playful look, making these gloves not only practical but also stylish.
Free and Practical Crochet Fingerless Gloves for Everyday Use
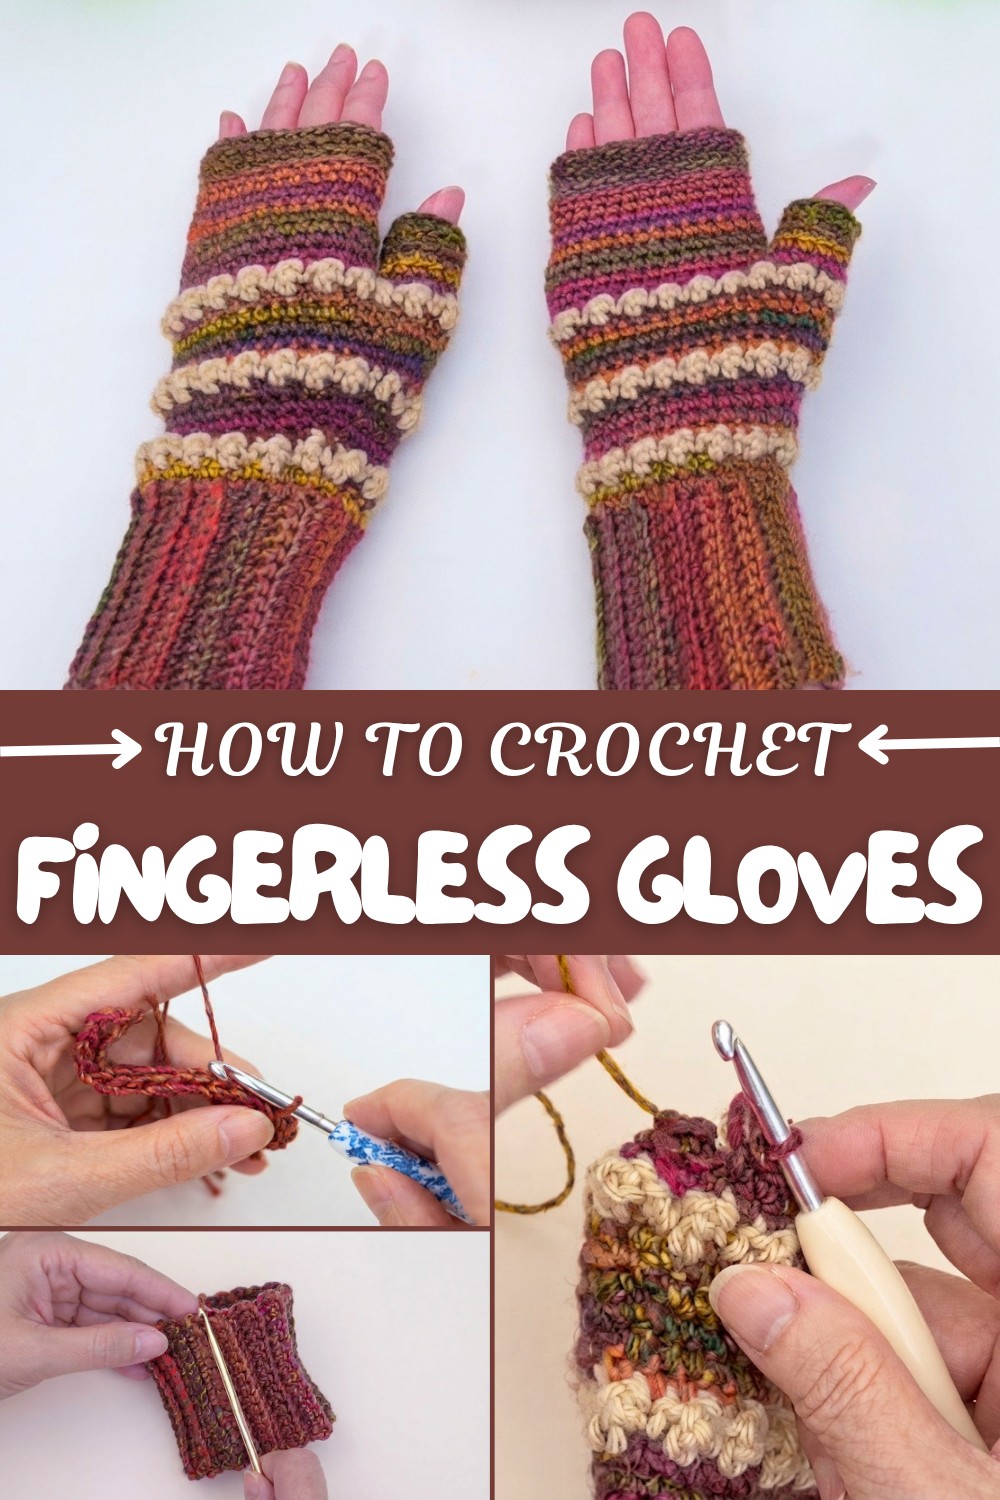
The project works up quickly with medium-weight yarn and a standard crochet hook, making it friendly for beginners. The pattern starts with a flat piece that is folded and joined into a tube, shaping around the palm, thumb, and fingerless part. Special attention to increases and stitch placement ensures that the glove fits well without being tight or too loose. Working with back loops helps give some flexibility and a nice ribbed effect.
This pattern is great for chilly days when you still need to use your fingers, or even for indoors when you want a bit of warmth without bulk. The pattern also offers space for easy modifications, so you can add wrist cuffs or make them longer if you like. Besides gloves, you can apply the same stitches and shaping techniques to crochet other accessories like cozy headbands, wrist warmers, or even mittens by extending the finger section. The bubble stitch detail can bring texture to scarves and hats, helping you build more crochet skills with fun and fashionable results.
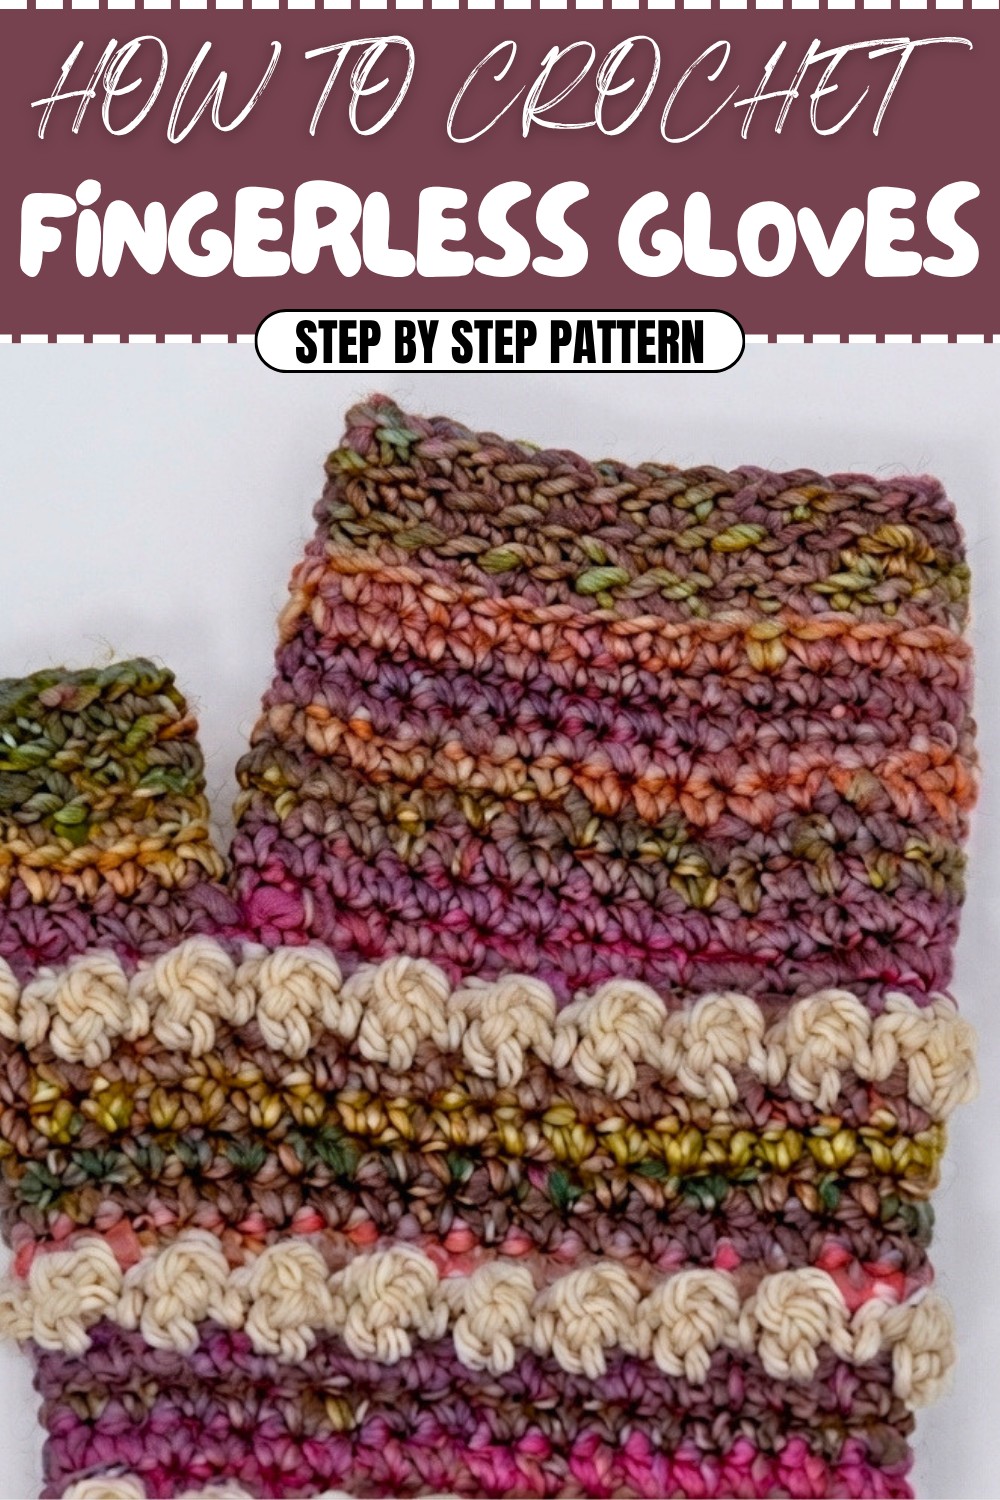
Crochet Fingerless Gloves Pattern
This crochet pattern will guide you through creating a personalized pair of fingerless gloves. Ideal for keeping your hands warm while maintaining dexterity for activities like typing, crafting, or using your phone, these gloves are fashionable and functional. The design is straightforward, making it approachable for beginners while still appealing to intermediate crocheters.
What You'll Learn From This Pattern
- Mastering Flexible Ribbing: The back loop single crochet technique creates flexible fabric, ideal for snug-fitting gloves.
- Shaping Stitches: Learn how increases shape sections like a thumb opening without interrupting the overall pattern.
- Decorative Stitches: Add texture with bobble rows, perfect for adding personality to any design.
Skill Level & Terminology
- Skill Level: Beginner to Intermediate
- Terminology: US Crochet Terms. (Note for UK users: US "single crochet" = UK "double crochet.")
Materials & Tools
- Yarn: Size 4 medium-weight yarn (select your favorite color).
- Crochet Hook: Size 5mm (US H-8).
- Additional Tools:
- Tapestry needle for weaving in ends.
- Scissors.
- Stitch markers (optional, for marking the thumb area).
Gauge
Ensure a gauge of 10 single crochet stitches by 9 rows = 2 inches with the specified hook and yarn. Adjust hook size to achieve the correct dimensions.
Abbreviations List
- ch: Chain
- sc: Single Crochet
- sl st: Slip Stitch
- blo: Back Loop Only
- st: Stitch
- tr: Treble (or Triple) Crochet
- inc: Increase (two stitches worked in the same stitch)
Special Stitch Instructions
- Back Loop Only (blo):
- Insert your hook in the back loop of the stitch instead of under both loops. This adds ribbing to your work, making it stretchable and textured.
- Extended Double Crochet (edc):
- Yarn over, insert hook into the stitch, pull up a loop (3 loops on hook).
- Yarn over, pull through 1 loop (creating an extra chain).
- Yarn over, pull through 2 loops. Yarn over, pull through the final 2 loops.
Finished Size
Each glove measures approximately 9 inches tall by 4 inches wide at the cuff. Adjust the row count to modify the size.
The Pattern Itself
Step 1: The Cuff
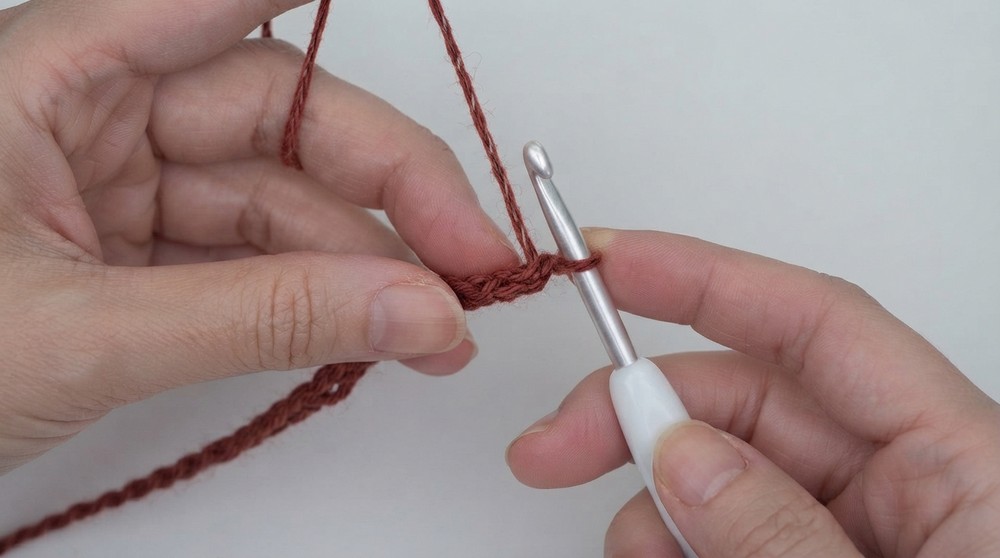
- Ch 15: This chain determines the length of your wrist cuff. Feel free to adjust for a tighter or looser fit.
- Row 1:
- Ch 1, sc in the 2nd ch from the hook.
- Work sc stitches across, crocheting into the back bump of each chain. (14 sc total).
- Row 2:
- Ch 1, turn. Work sc blo across the row (14 sc).
- Rows 3–30:
- Repeat Row 2 until you have a total of 30 rows or the desired wrist circumference (ensure an even number of rows).
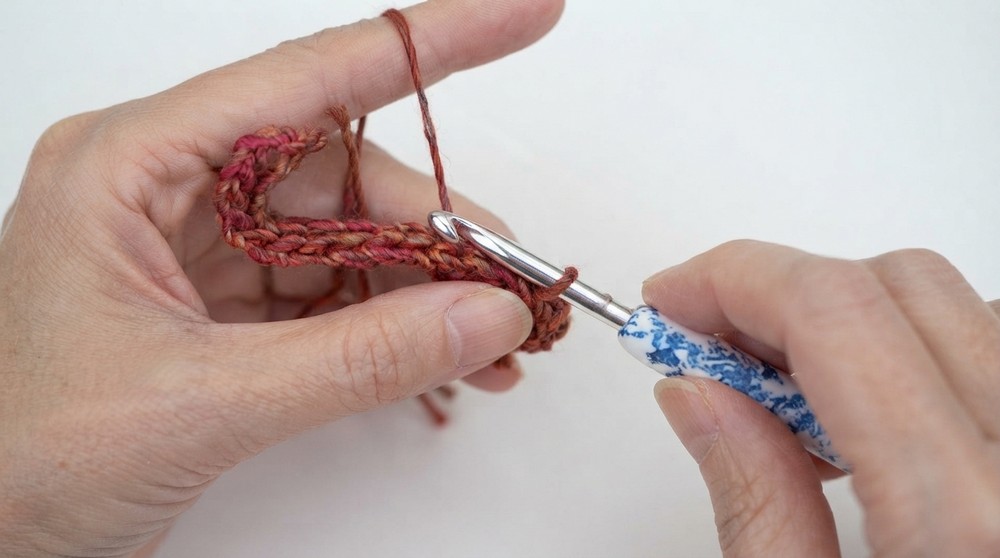
Note: Once complete, fold the cuff in half and align the edges together.
Step 2: Joining the Cuff
- Align the first and last rows of the cuff together to form a loop.
- Join with Slip Stitches:
- Insert your hook through the blo of the last row and the loops of the starting chain. Sl st across to join.
- Turn the cuff inside out so the seam is less visible.
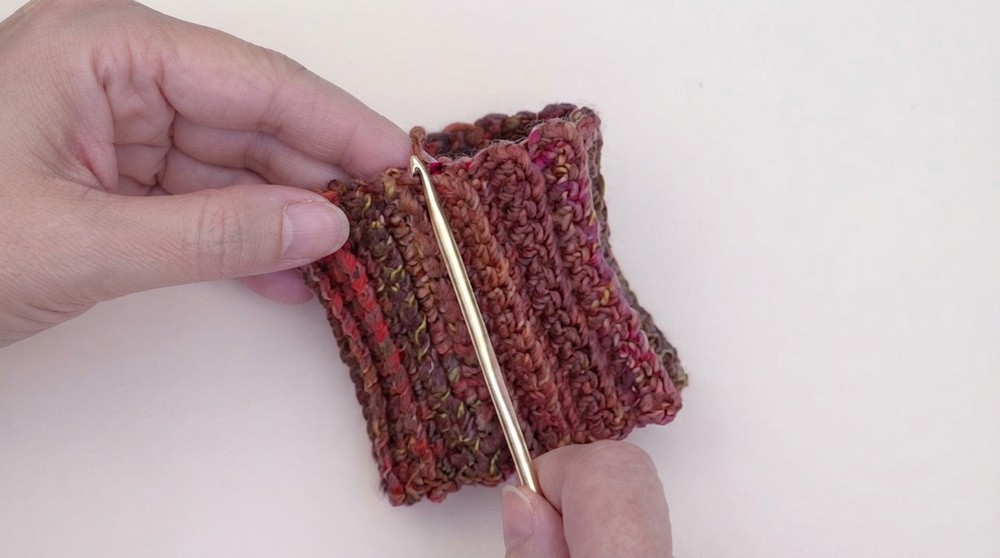
Note: You now have the base cuff for your gloves! Feel free to try it on to ensure a snug fit.
Step 3: Building the Palm
- Round 1:
- Ch 1. Work sc evenly around the edge of the cuff. Make sure to crochet 2 sc per ribbing row.
- Sl st to the first sc to join (30 sc total).
- Round 2:
- Ch 1, work sc in each st around. Sl st to join.
- Round 3 (Bobble Round):
- Attach a contrasting yarn color (optional). Turn your work.
- Ch 1, sc in the first st. Alternate between sc and extended double crochet (edc) stitches around. Sl st to join.
Note: The bobble stitch adds texture to your gloves. These textured rows are optional but add decorative charm!
- Rounds 4–6: Repeat Round 2 in the main yarn color.
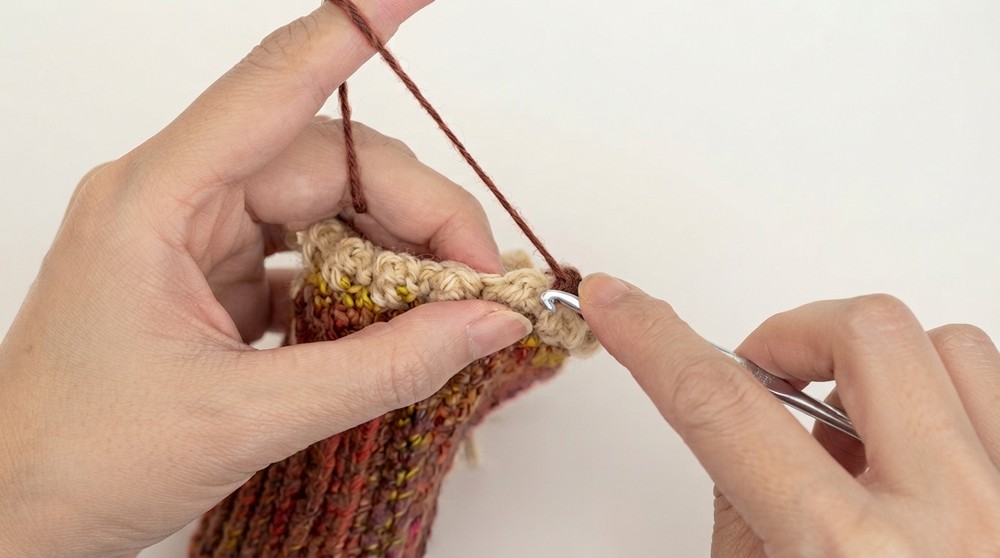
Step 4: Shaping the Thumb
- Begin shaping the thumb by adding stitch increases:
- From Round 7 through Round 13, increase 1 st by working 2 sc in the first st of each round.
- On bubble rows (e.g., Round 8): Work without increases. Repeat the textured bobble pattern. Turn the glove over to work from the back side so that bobbles appear correctly.
- Continue following the alternating rows of texture and sc, maintaining increases on sc rows.
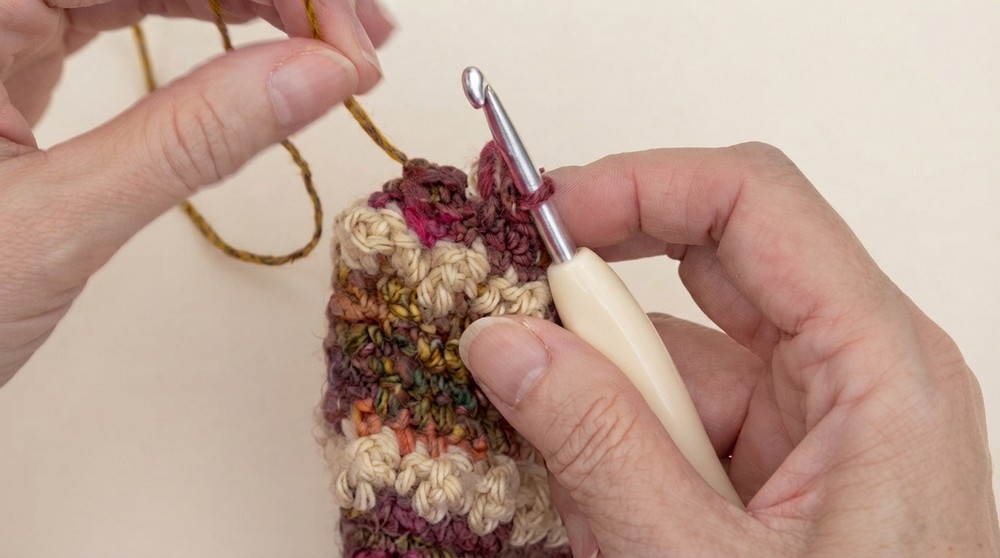
Note: By Round 13, the glove will have shaped to accommodate thumb placement.
Step 5: Creating the Thumb Hole
- Mark the Thumb Area: Use stitch markers to mark the middle 12 stitches (6 on each side).
- Round 1:
- Attach yarn at the marker. Sc in the next 6 marked stitches.
- Ch 1 to connect the front and back of the thumb hole. Sc around the remaining side to close the thumb.
- Rounds 2–6:
- Sc evenly around the thumb to build height, working in blo for added stretch.
- Work additional rounds if you desire a longer thumb.
Note: Once the thumb is complete, fasten off and weave in all loose ends.
Step 6: Completing the Fingerless Section
- Attach yarn opposite the thumb hole. Begin working sc stitches evenly across the palm section:
- Round 1: Attach yarn and do a standing sc in the middle of the row opposite the thumb hole, then sc in each st around.
- Sl st to join.
- Round 2: Attach yarn and repeat sc across all stitches, including the base of the thumb to close the gap.
- Rounds 3–12:
- Continue working sc for the desired glove height. Follow with additional bobble rows for texture (optional).
- Fasten off and weave in ends to finish your gloves.
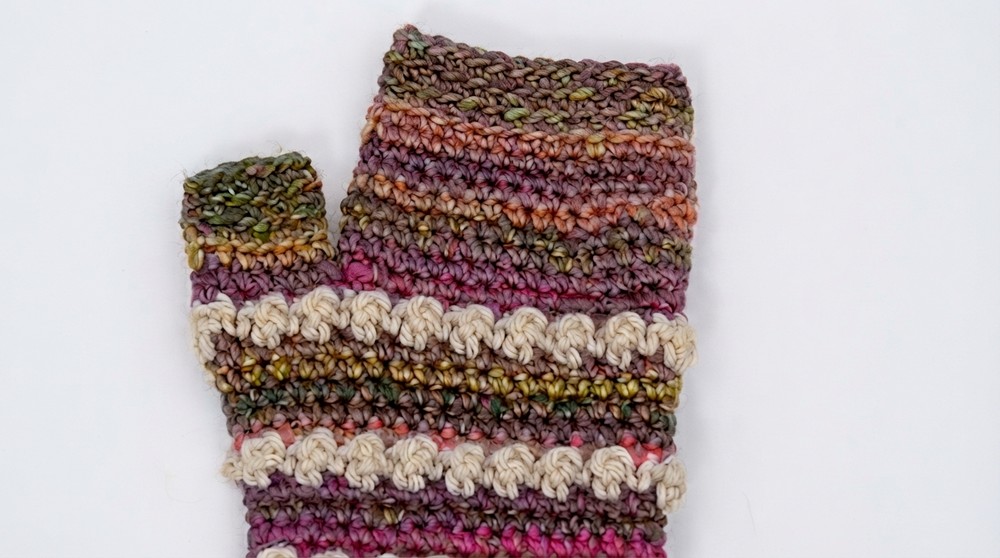
Note: This process mirrors the thumb pattern but covers the fingers. Repeat the steps to complete the second glove.
Assembly & Finishing
- Weave in Loose Ends: Use a tapestry needle to secure and hide yarn tails neatly.
- Block if Needed: Lightly block the gloves to even out stitches and get the desired shape.
- Try the gloves on and admire your work!
Why You’ll Love This Pattern
This pattern is simple yet elegant, combining functionality and creative expression. The fingerless gloves are practical accessories for cold weather and add a stylish accent with the textured bobble rows and clean shaping. Whether for a gift or your personal wardrobe, these gloves are versatile and enjoyable to make.