
How to Crochet Cat Keychain Amigurumi Pattern for Playful Style
Show off your keys in a cool way using the Free Crochet Cat Keychain Amigurumi Pattern for a sweet cat look.
Bringing a little joy into everyday items is such a fun way to add personality to your space, and what better way than with a tiny handmade cat? This adorable crochet Cat Keychain Amigurumi is created using simple single crochet stitches, worked in rounds to shape a soft, cuddly cat keychain that fits perfectly in your hand or on your keys. The pattern cleverly uses color changes to add charming markings, giving your cat a unique and lively look. Along the way, you’ll practice important crochet skills like increasing stitches, working with different colors, and finishing techniques that keep your work neat and durable.
Learn to Crochet a Cat Keychain Amigurumi with Free Pattern for Creative Results
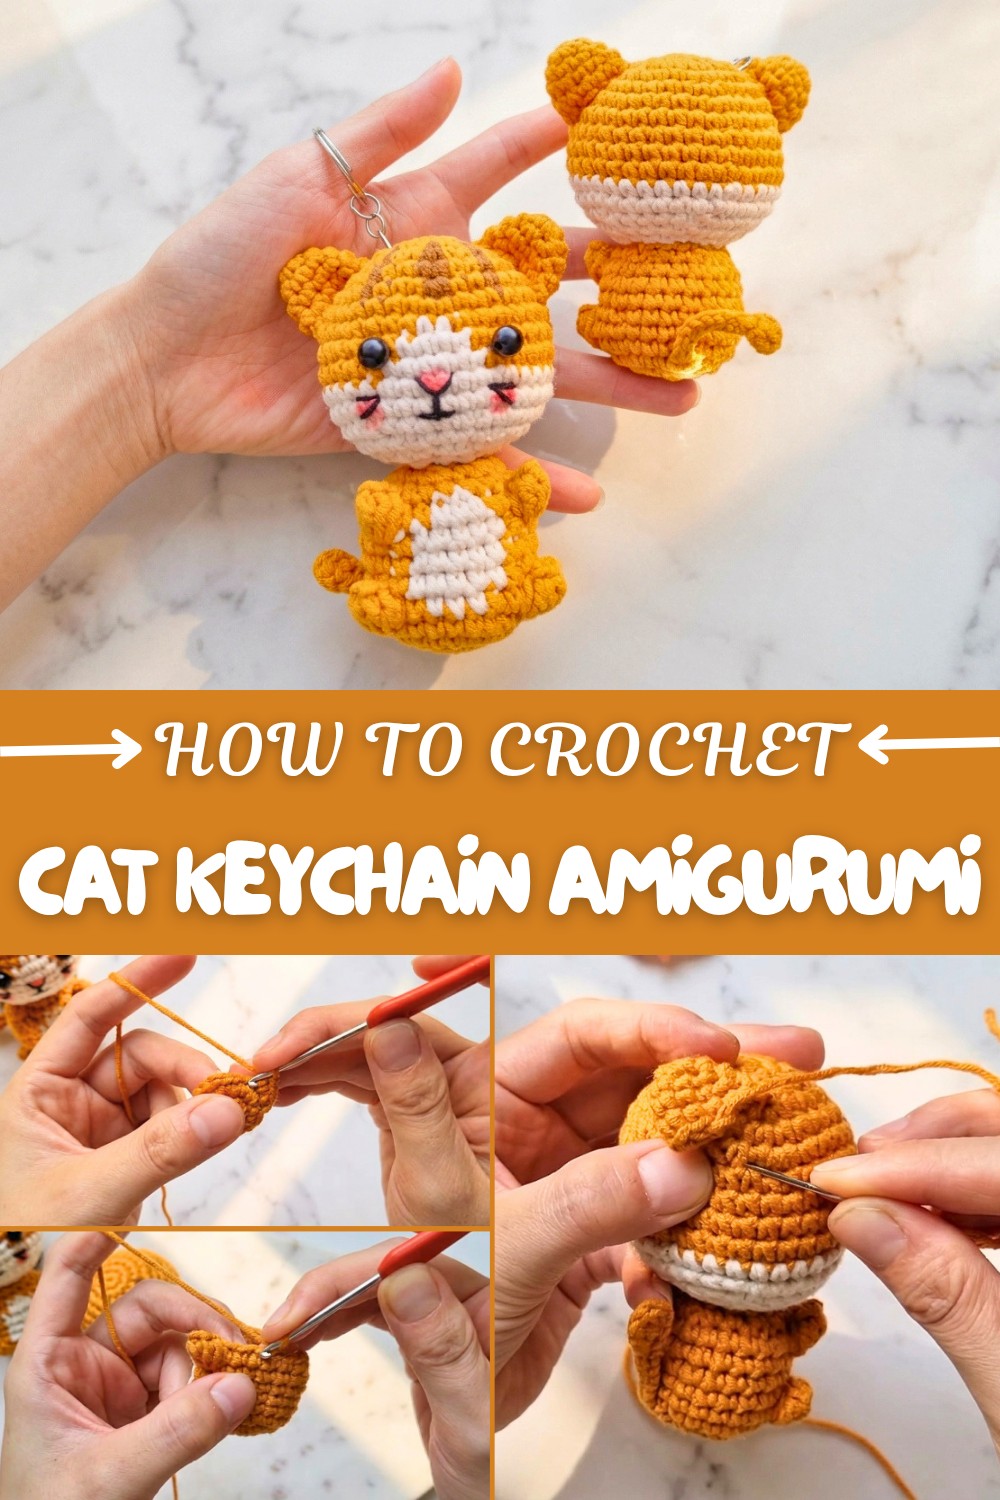
This project is crocheted with beginners in mind, featuring clear, easy-to-follow instructions so even those new to crochet can succeed. The use of basic stitches such as single crochet, slip stitches, and chain stitches makes the process smooth and enjoyable. The finished size of about 10 cm makes it an ideal keychain or decorative piece for bags and rooms, blending function with a dose of cuteness.
What Else Can You Create
Once you’ve mastered this cute cat amigurumi, there’s a whole world of crochet fun ahead! You can adapt the skills learned here to make other small animal keychains like dogs, bunnies, or even fantasy creatures. The same rounded shaping and color-changing techniques are perfect for creating a variety of charming amigurumi friends or seasonal decorations. Additionally, you might try crafting miniature accessories like tiny hats or scarves to dress up your crochet pets. This pattern opens up so many possibilities to expand your crochet collection with playful, personalized creations.
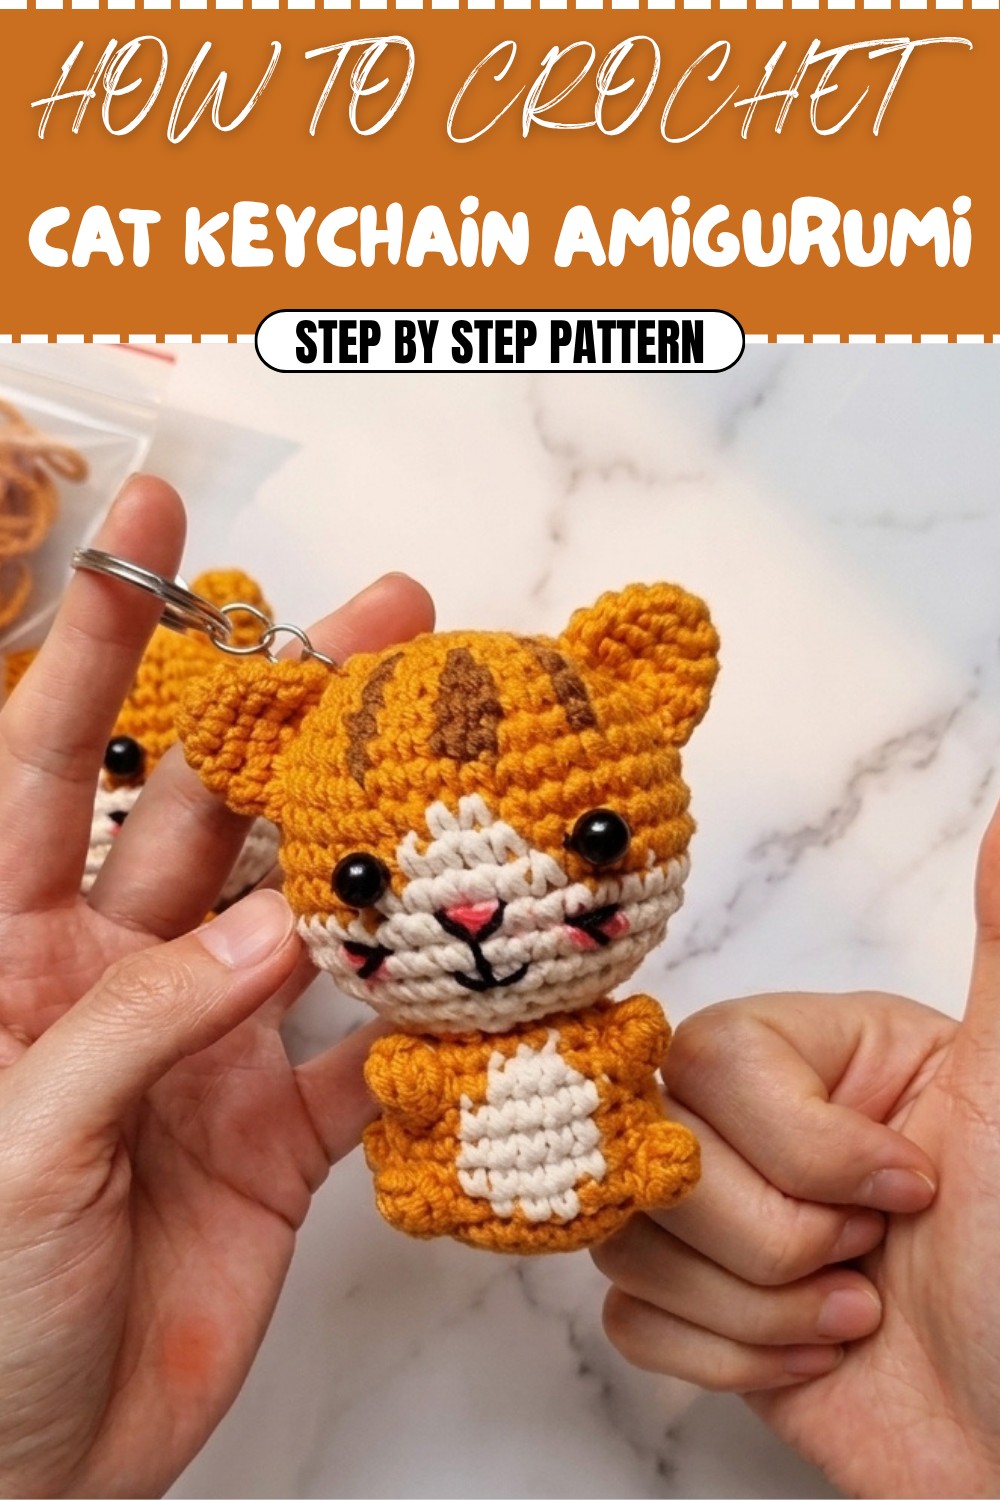
Crochet Pattern: Cat Keychain Amigurumi (Stuffed Animal)
In this tutorial, we’ll create an adorable crocheted stuffed animal featuring a little cat. This pattern is perfect for beginners and uses simple crochet techniques like single crochet (sc), increases, and decreases to shape the plush toy. Featuring detailed instructions, this guide will help you craft a cute little dog toy that can double as a keychain or decorative piece. Feel free to personalize it with different yarn colors for added flair.
Skill Level & Terminology
- Skill Level: Beginner.
- Terminology: US Crochet Terms.
Materials & Tools
- Yarn: Medium-weight yarn (125g).
- Primary color: [e.g., Brown]
- Secondary color: [e.g., White]
- Accent color: [e.g., Cream or Orange]
- Hook Size: 2.5mm crochet hook.
- Stuffing: Polyester/cotton fiberfill.
- Tools: Scissors, darning needle, and sewing needle (optional).
- Optional: Keychain ring, blush for decorative accents, beads for eyes.
Gauge
Gauge is not critical for this project, but ensure your stitches are tight and uniform to avoid gaps in the stuffing.
Abbreviations List
- ch: Chain.
- sc: Single crochet.
- sl st: Slip stitch.
- inc: Increase (2 sc in the same stitch).
- dec: Decrease (crochet two stitches together).
- st(s): Stitch(es).
Special Stitch Instructions
- Single Crochet Increase: Crochet 2 sc into the same stitch.
- Single Crochet Decrease: Insert hook into the next stitch, pull up a loop; insert hook into the next stitch, pull up another loop; yarn over and pull through all loops on hook.
Finished Size
- Height (Head to Body): Approximately 10 cm (4 inches).
The Pattern Itself
Step 1: Head
- Start with a magic ring.
- Round 1: Work 8 sc into the magic ring. Sl st to the first sc to close the round. (8 sts)
- Round 2: Work 2 sc in each stitch (inc) around. (16 sts)
- Round 3: (1 sc, inc) around. (24 sts)
- Round 4: (2 sc, inc) around. (32 sts)
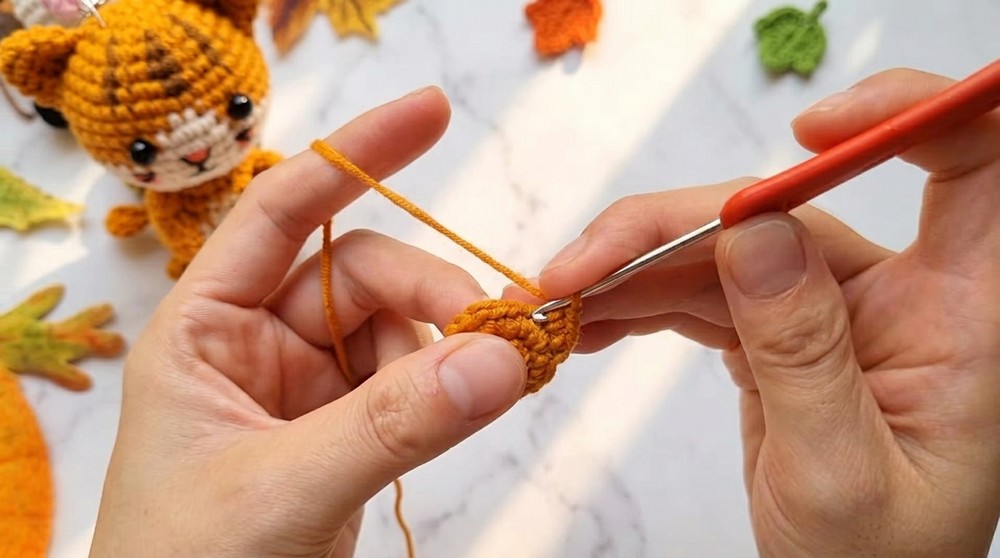
Summary: You’ve created the base shape of the head. Remember to pull the ring tight and crochet evenly to maintain the circular form.
Step 2: Add Color and Details
- At Round 5, begin adding color changes for decorations (optional). Use these steps:
- Insert hook into the outer loop of the stitch.
- Pull the new yarn color through.
- Crochet evenly with 1 sc in each stitch for 3 rounds to create depth and surface.
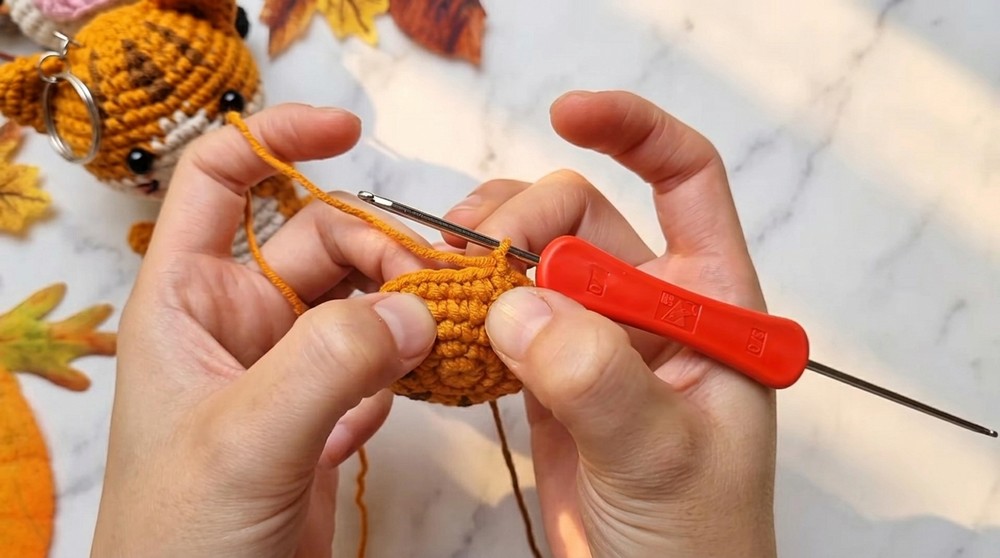
Summary: Incorporate patterns by alternating yarn colors. Hide excess yarn tails inside the stitches as you crochet to keep the surface neat.
Step 3: Shape and Stuff the Head
- Round 8: (3 sc, dec) around. (24 sts)
- Rounds 9-10: Continue with (2 sc, dec) to reduce stitch count. (16 sts)
- Round 11: (1 sc, dec) around. (12 sts)
- Round 12: (dec) around. (6 sts)
- Add stuffing while reducing. Use polyester fiberfill to maintain firmness.
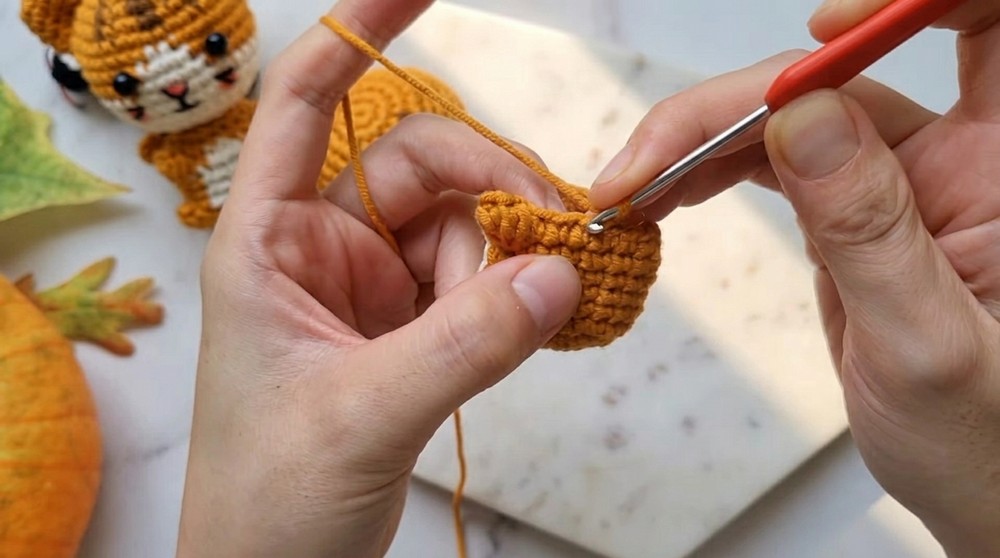
Finish off by pulling the yarn through remaining stitches and tightening the shape.
Summary: Your pattern transitions from increasing to decreasing to form a sphere. This serves as the head, which is stuffed to add structure.
Step 4: Body
- Create the body in the same fashion:
- Round 1: Make a magic ring and crochet 8 sc into it.
- Round 2: (inc) into each stitch. (16 sts)
- Round 3: (1 sc, inc) around. (24 sts)
- Rounds 4-6: 1 sc in each stitch (no increases). (24 sts)
- For Round 7, decrease evenly using (3 sc, dec). Continue reducing in subsequent rounds:
- Round 8: (2 sc, dec) (18 sts).
- Round 9: (1 sc, dec) (12 sts).
- Round 10: (dec) (6 sts).
- Stuff the body part before completing the decrease stitches.
Summary: The body is tapered by decreasing stitches, maintaining the core structure. Stuffing ensures the shape remains rigid.
Step 5: Tail
- Start by chaining 9 ch for the tail.
- Row 1: Turn and work 1 sc into each chain. (9 sts)
- Attach the tail to the back by sewing it into the base of the body.
Summary: The tail is crocheted separately and sewn in place, giving the plush toy its playful character.
Step 6: Arms
- Round 1: Make a magic ring and crochet 6 sc into it. (6 sts)
- Round 2: (1 sc, inc) in every alternate stitch. (9 sts)
- Round 3: (2 sc, inc). (12 sts)
- Rounds 4-6: 1 sc in each stitch. (12 sts)
Finish off and sew the arms symmetrically to the sides of the body.
Summary: Shaping the arms mirrors the process for the head and body. Placement is key for balance.
Step 7: Sew Parts Together
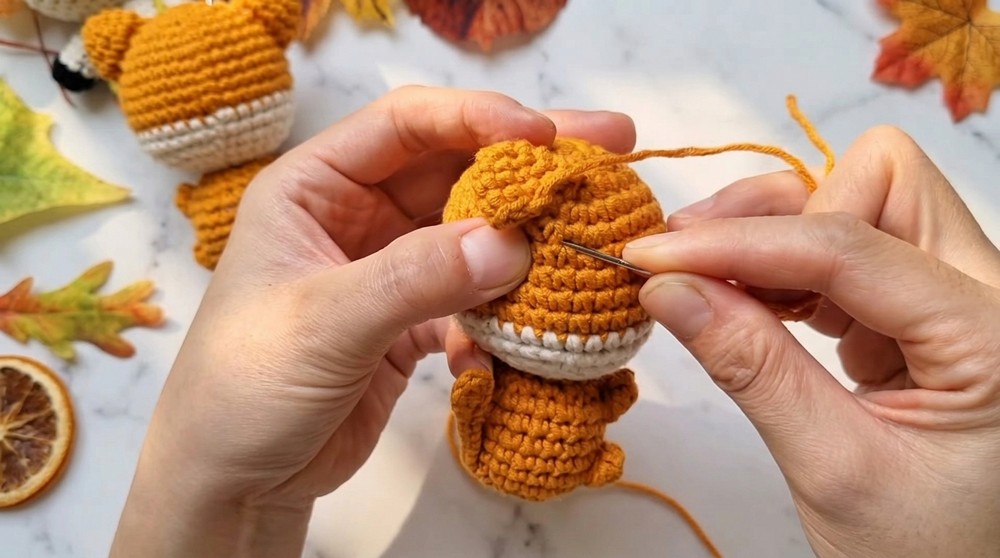
- Attach the head between rounds 15 and 16 of the body using a secure sewing technique.
- Position and sew the tail to the back of the body.
Summary: Alignment is crucial for a cohesive finished product. Be sure to adjust placements as needed.
Step 8: Add Facial Features
- Use black embroidery thread to sew the nose and mouth.
- Attach beads or safety eyes into position. Ensure the eyes are equally distanced.
Summary: Adding facial details brings character to your plush toy, giving it a unique and expressive look.
Assembly & Finishing
- Stuffing: Add stuffing during decreases to retain structural integrity.
- Sewing ears : Use a strong thread for assembly to ensure durability.
- Decoration: Add blush/paint to cheeks for a cute finish. Attach a keychain ring to the top if desired.
Conclusion
This Little Cat Keychain Amigurumi is crocheted using basic stitches like single crochet, increases, and decreases. The pattern is beginner-friendly and provides opportunities for creativity, allowing you to personalize colors and features. Whether it’s a gift, a keychain, or a playful decoration, this project is versatile and fun.
Difficulties and Solutions
While the pattern is beginner-friendly, some challenges may arise, especially for newcomers. Managing color changes can be tricky, but you can simplify this by ensuring your yarn is pulled tightly when transitioning colors to maintain an even stitch tension. Another common issue is keeping the stitches tight enough to avoid gaps in the stuffing—using a smaller hook or tighter tension can resolve this. Lastly, assembling the parts evenly may be challenging; pinning the sections in place before sewing can help ensure proper alignment.
Tip: Don't rush! Take breaks if needed, and double-check your stitch counts at the end of each round to avoid mistakes. Patience is key to mastering this pattern!