
Free Crochet Mesh Hairband Pattern for Easy Hair Styling
Refine your everyday look with this Free Crochet Mesh Hairband Pattern and make a pretty hair accessory that brings a soft handmade touch to any outfit.
Pattern By CrochetLilWeaves
My best friend once showed me a handmade hairband she crocheted, and I was instantly captivated by its elegance and simplicity. The delicate mesh design wasn’t just beautiful, it was practical too. Since then, I’ve loved using crochet mesh patterns to make lightweight, breathable accessories like hairbands and headwraps. They’re perfect for anyone looking to combine style with functionality while using techniques that are surprisingly easy to master.
Free Crochet Mesh Hairband Pattern for Keeping Hair Back
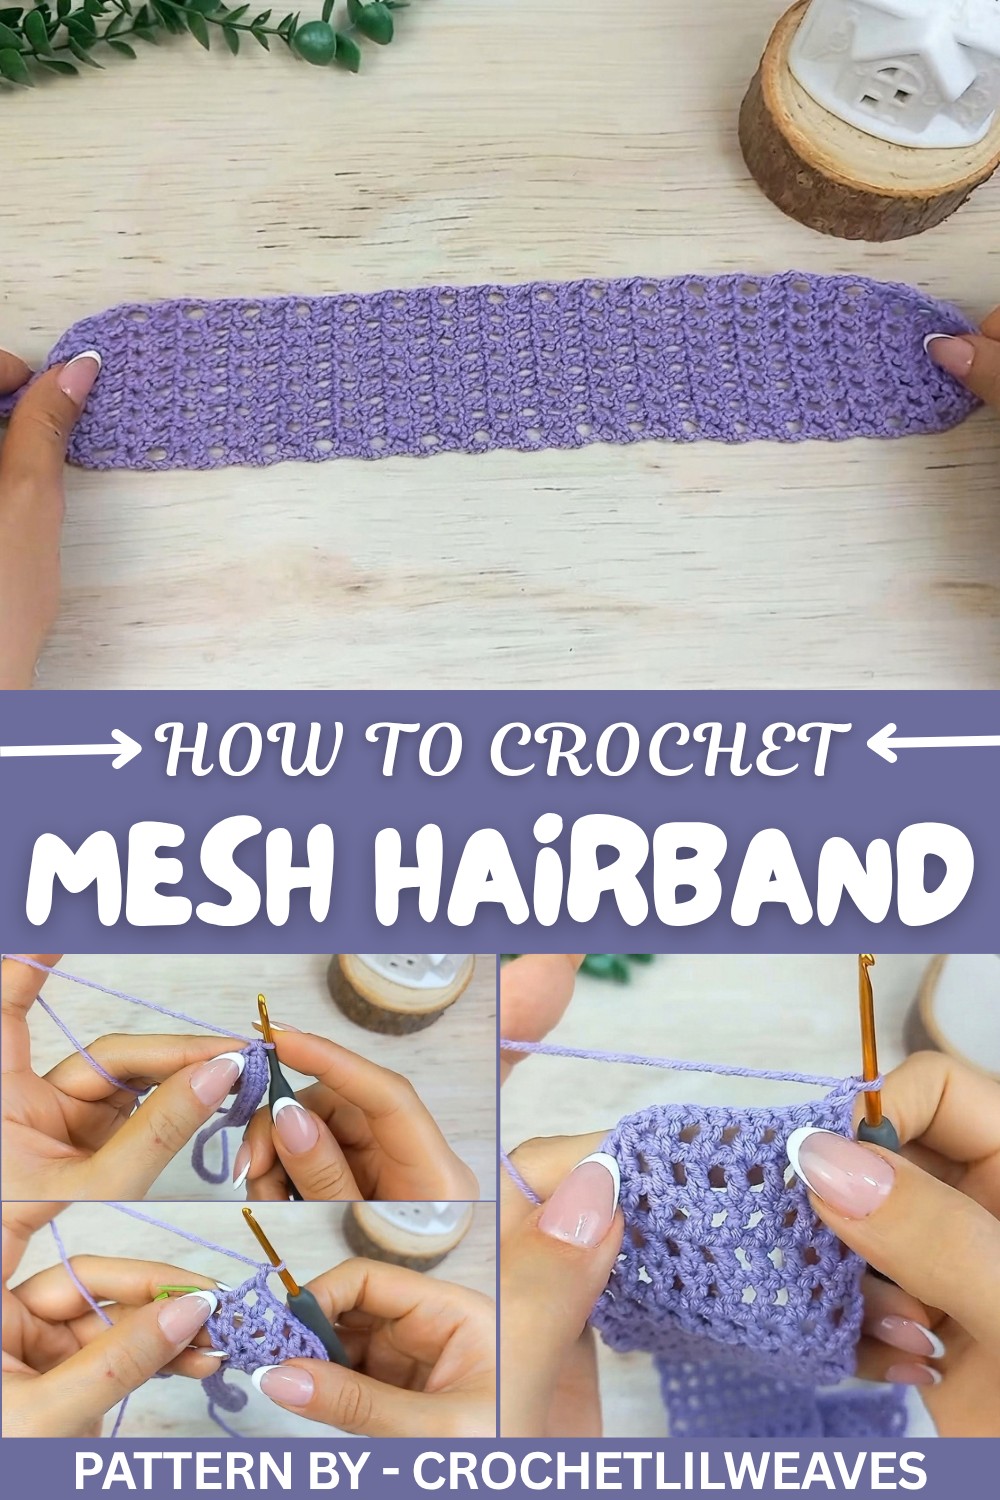
A mesh hairband stands out with its airy, open design that feels light yet holds its shape beautifully. It’s an excellent accessory for keeping your hair neat without feeling heavy or tight, especially during warm summer days. This pattern uses simple stitches like chains, single crochets (sc), and double crochets (dc) to create a lovely, lacy texture. If you’re just starting out with crochet, you’ll find these stitches easy to learn and versatile enough to use for other projects, including mesh style bags, scarves, or wraps.
The great part about a mesh hairband is that it’s fully customizable. You can adjust its width or length for a snug or relaxed fit. With endless color options, you could make classic pieces in neutral tones or vibrant, playful ones to match every outfit. And because the stitch pattern opens up space in between, you only need a little yarn to make a quick yet stylish hairband.
Whether you’re making this for yourself, as a gift, or simply trying out a new crochet technique, this mesh hairband is a wonderful beginner friendly project. It’s the perfect combination of beauty, ease, and functionality that lets your creativity shine.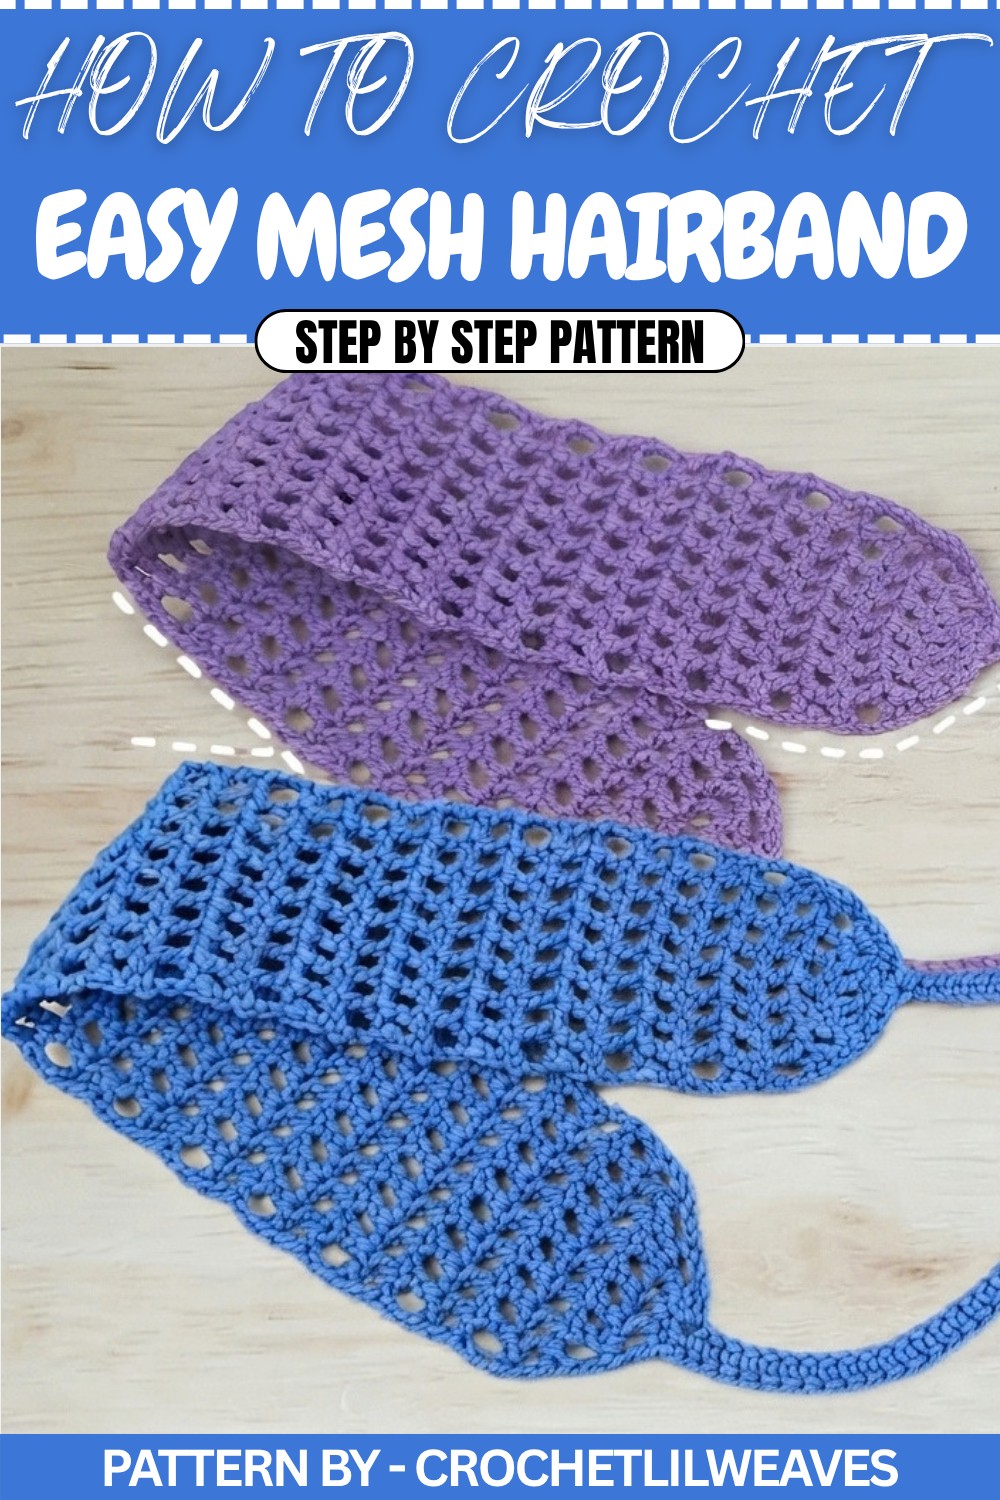
Crochet Mesh Hairband Pattern
This project is perfect for anyone who loves making simple and functional crochet items. The length of the hairband from one end to another is 36 cm, and its width is 6.5 cm. You should measure the distance between your ears and adjust the rows accordingly to ensure the perfect fit.
Quick Overview of the Pattern
- Project Type: Crochet Hairband
- Skill Level: Beginner
- Yarn Category: 2
- Tools Required: 2.5 mm crochet hook, scissors, yarn needle, stitch markers, and measuring tape
- Finished Dimensions: 36 cm in length, 6.5 cm in width
- Techniques Used: Slip knot, chain, single crochet, double crochet, decreases, slip stitch
Notes
- Adjust the length of the rows as needed by measuring the distance between your ears.
- Crochet loosely for a more flexible and comfortable fit.
- The project consists of creating two strings, a main body with rows of increasing and decreasing double crochets, and stitching them together.
Skill Level
This pattern is beginner friendly and guides you through basic crochet stitches such as chains, single crochets, double crochets, and simple decreases.
Materials
- Yarn: Category 2 lightweight yarn
- Hook Size: 2.5 mm crochet hook
- Other Tools:
- Scissors
- Yarn needle
- Stitch markers
- Tape measure
Measurements / Sizing
- Length: 36 cm
- Width: 6.5 cm
- Adjust the row length based on personal preferences or your head measurement.
Gauge
- Gauge: Not critical for this pattern but recommended for accurate sizing.
- Standard Gauge: 22 sc x 24 rows = 10 cm x 10 cm
Stitch Abbreviations
- ch: Chain
- sc: Single crochet
- dc: Double crochet
- sl st: Slip stitch
- yo: Yarn over
Special Stitches
Decrease Double Crochet (dec dc)
- Yarn over, insert the hook into the first stitch, pull up a loop (3 loops on hook).
- Yarn over, pull through the first 2 loops (2 loops remain on hook).
- Yarn over, insert the hook into the next stitch, pull up a loop (4 loops on hook).
- Yarn over, pull through the first 2 loops (3 loops remain on hook).
- Yarn over, pull through all remaining loops to complete the decrease.
The Crochet Pattern
Step 1: Make the First String
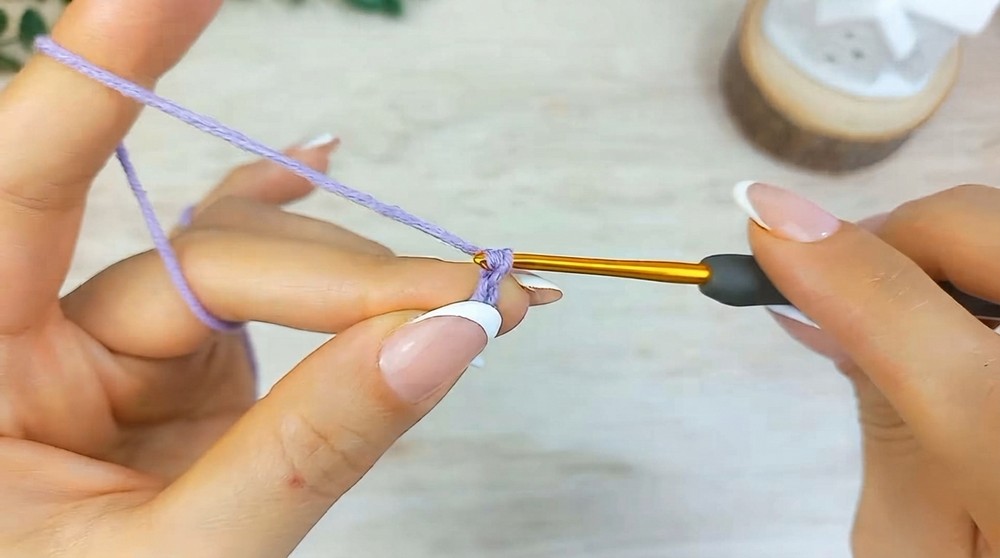
- Start by creating a slip knot:
- Wrap the yarn around your pinky from front to back.
- Pull the yarn and position it on top of your index finger from back to front.
- Hold the yarn between your thumb and middle finger.
- Place the hook on the yarn, pull it down, and form a loop on the hook.
- Pull the working yarn and tighten the beginning tail. Your slip knot is ready.
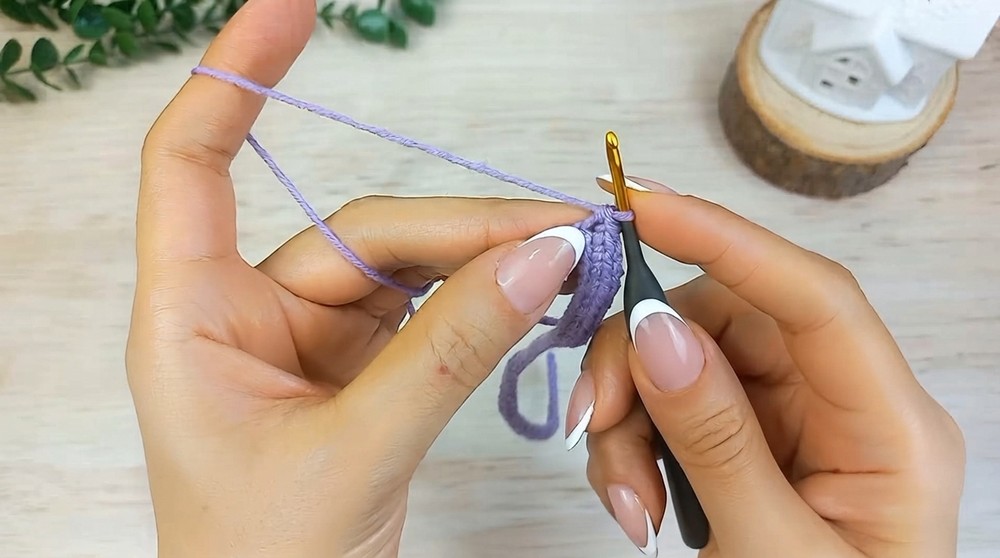
- Chain 51:
- Yarn over, and pull through the loop on the hook. Repeat this process until you have 51 chains.
- Single Crochet Row:
- Skip the first chain from the hook.
- Insert your hook into the second chain, yarn over, and pull up a loop (2 loops on hook).
- Yarn over again and pull through both loops (1 sc created).
- Continue making 1 sc into each chain until you reach the end. You should have 50 sc in total.
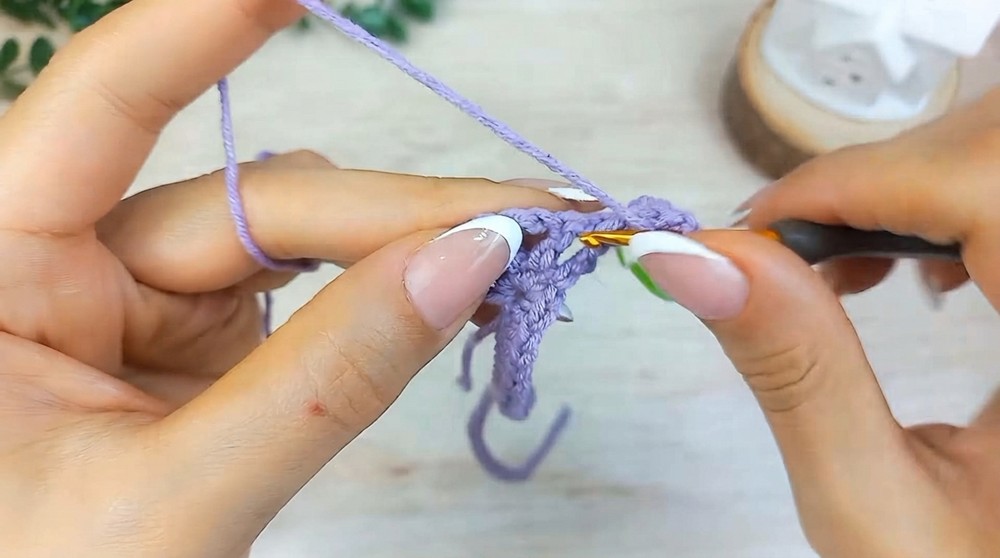
Step 2: Begin the Hairband Body
- Row 1 (Increase):
- In the last chain of the previous row, make five single crochets (sc).
- Row 2:
- Chain 4 (3 chains count as the first dc, 1 chain counts as spacing) and mark the chain.
- Turn your work, and make 1 dc into the top of the second sc. Insert the hook under the two loops of the stitch, pull up a loop, yarn over, and complete the dc.
- Chain 1, then repeat making 1 dc in each of the next three sc, with a chain 1 between each dc.
- Row 2 finishes with 5 dc and 4 chain spaces.
- Row 3 (Increase):
- Chain 4 (3 chains as the first dc, 1 chain for space) and mark the chain. Turn the work.
- In the first ch space, make 1 dc. Add 1 chain.
- Make 1 dc between the next chain spaces. Add 1 chain.
- Continue this process, making 1 dc and 1 ch until you cover all chain spaces.
- The row ends with 7 dc and 6 chain spaces.
- Row 4:
- Build upon the pattern by chaining 4 (3 chains for the first dc, 1 chain for space), turning the work, and evenly distributing 9 dc and 8 chain spaces.
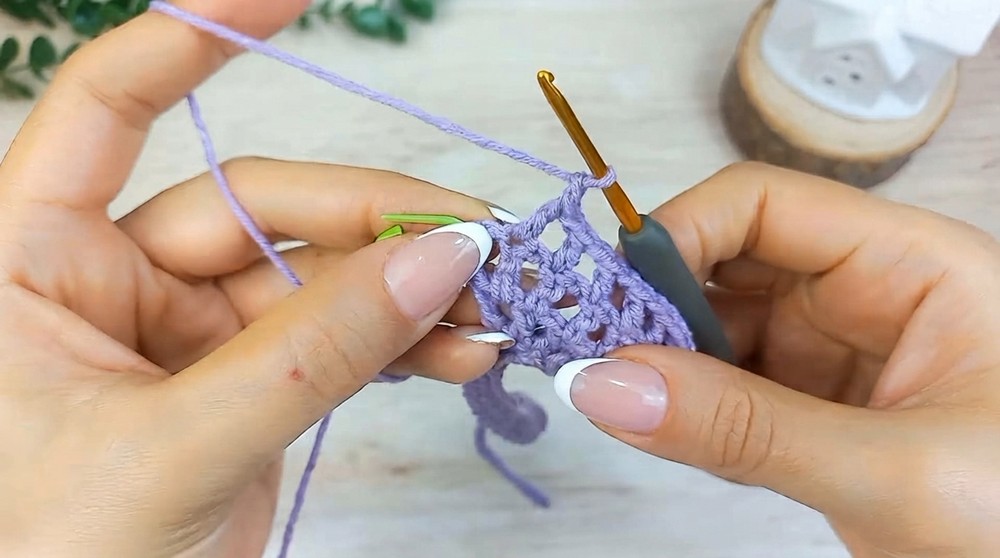
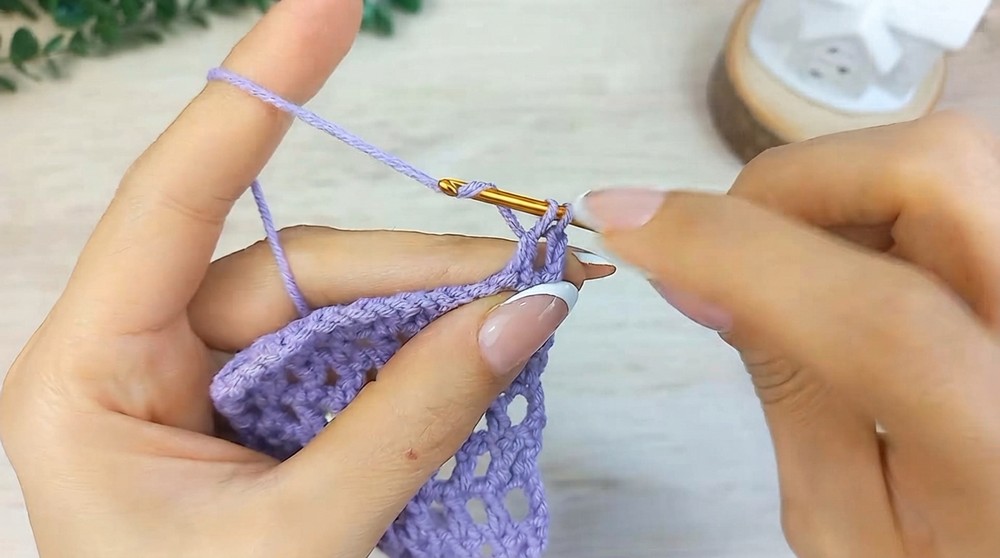
Step 3: Repeat Middle Rows
- Rows 5–37: Continue repeating the pattern established in Row 5:
- Chain 4 (3 chains for the first dc, 1 chain for space), turn the work, and make 1 dc at the top of each previous row's dc.
- After each dc, add 1 chain for spacing.
- By Row 37, your work should consist of 9 dc and 8 chain spaces.
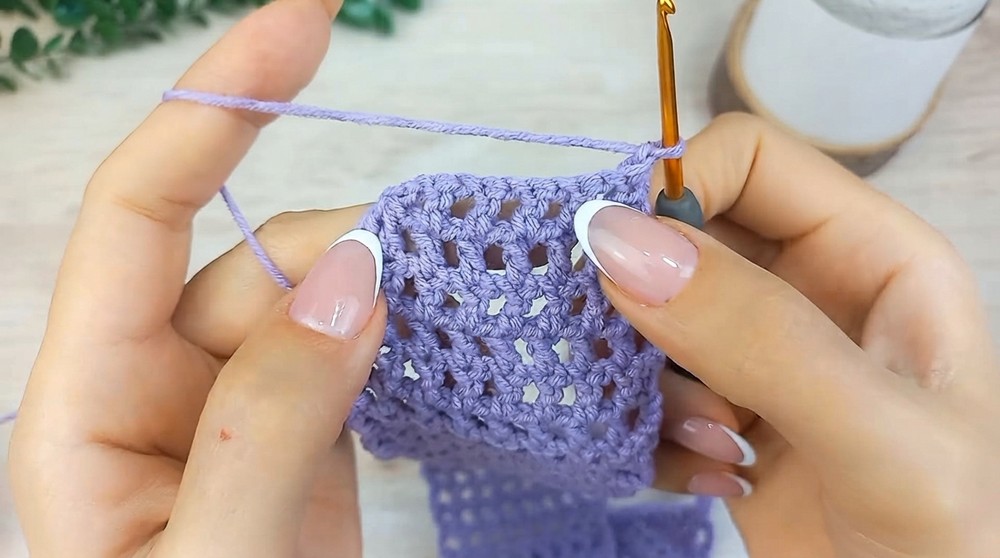
Step 4: Decrease Rows
- Row 38 (Decrease):
- Start with 2 chains (instead of 4) for the first incomplete dc.
- Turn the work and make incomplete dc stitches at the first two dc and last two dc. Use the dec dc method described earlier.
- The row ends with 7 dc and 6 chain spaces.
- Row 39 (Further Decrease):
- Follow the same process as Row 38 to create 5 dc and 4 chain spaces.
- Final Row:
- Chain 1, turn the work, and make a decrease stitch across all remaining stitches to form the final taper.
Step 5: Make the Second String
- Repeat Step 1 to create a second string with 51 chains and 50 single crochets.
- Attach the string to the ending point of the hairband using a sl st at the top of the final decrease.
Step 6: Finishing
- Fasten off the yarn:
- Make a chain, cut the yarn, and pull to tighten.
- Weave in the beginning and ending tails using a yarn needle:
- Insert the tail through the loops of the last row and along the stitches of the string for a neat finish.
Assembly & Finished Size
- Finished Dimensions: 36 cm in length, 6.5 cm in width.
- The strings are seamlessly attached to opposite ends of the hairband and tied behind the neck for a perfect fit.
Conclusion
Congratulations, Your beautiful crochet hairband is complete. This cute and super easy pattern is great for all skill levels, and the result is both practical and stylish.