
Free Baby Piglet Amigurumi Crochet Pattern You'll Love
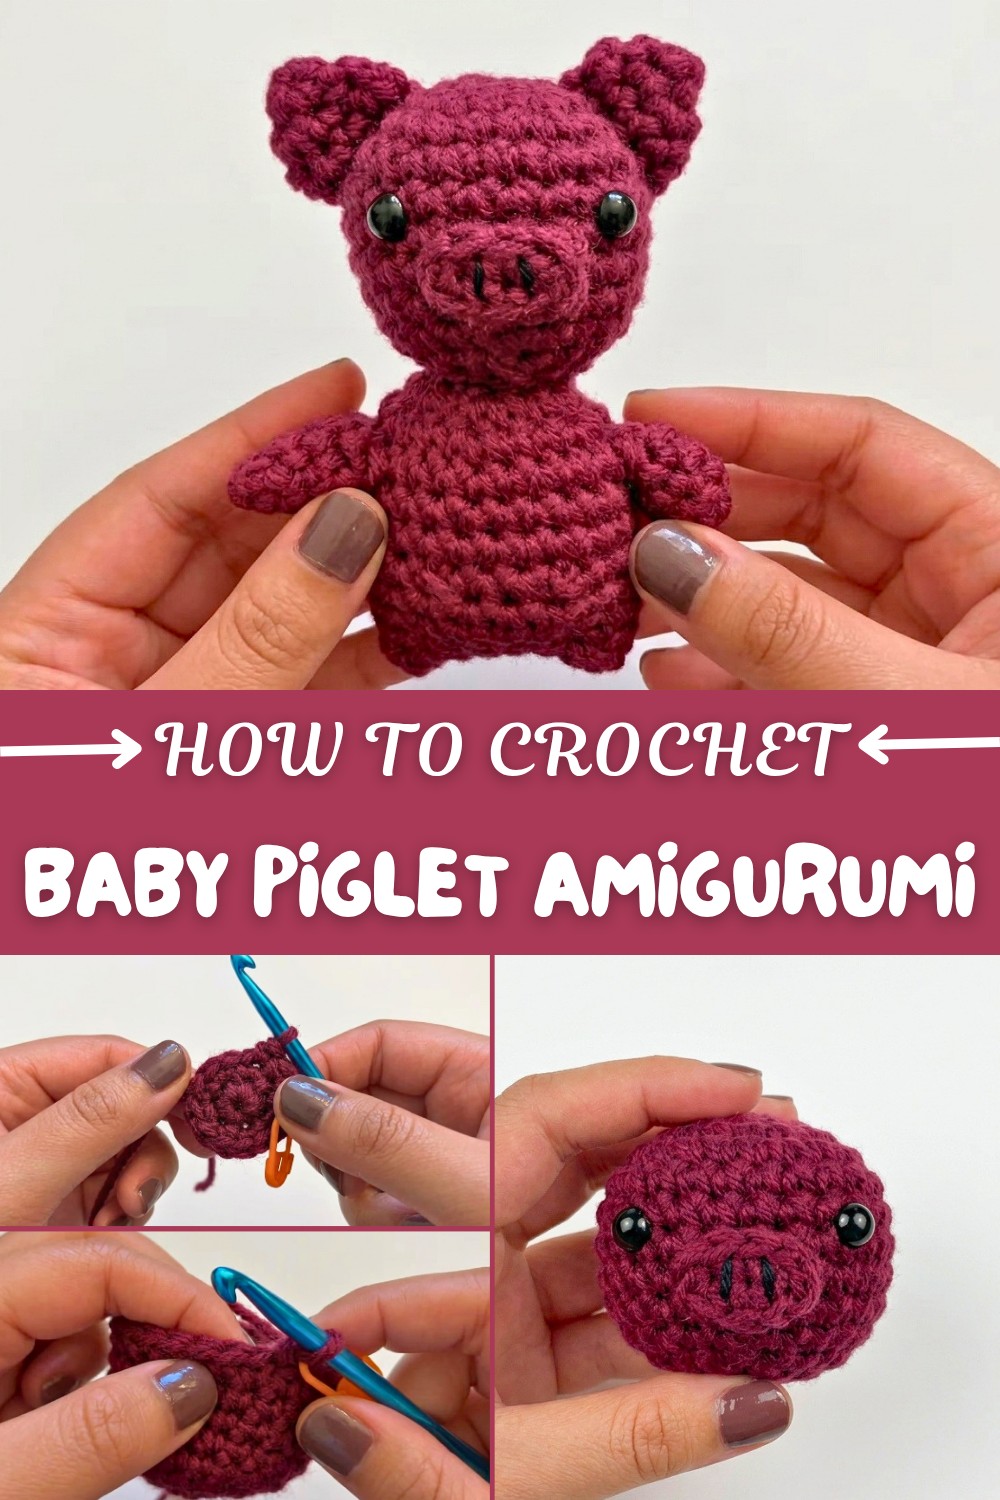
This crochet project is a nice choice for beginners who want to build their amigurumi skills, while more experienced crocheters can enjoy adding their own creative touches. As you work on the piglet, you can practice shaping small pieces, putting them together neatly, and creating a finished toy with a clean and polished look. By the end, you will have a cute handmade piece that is both fun to display and enjoyable to gift.
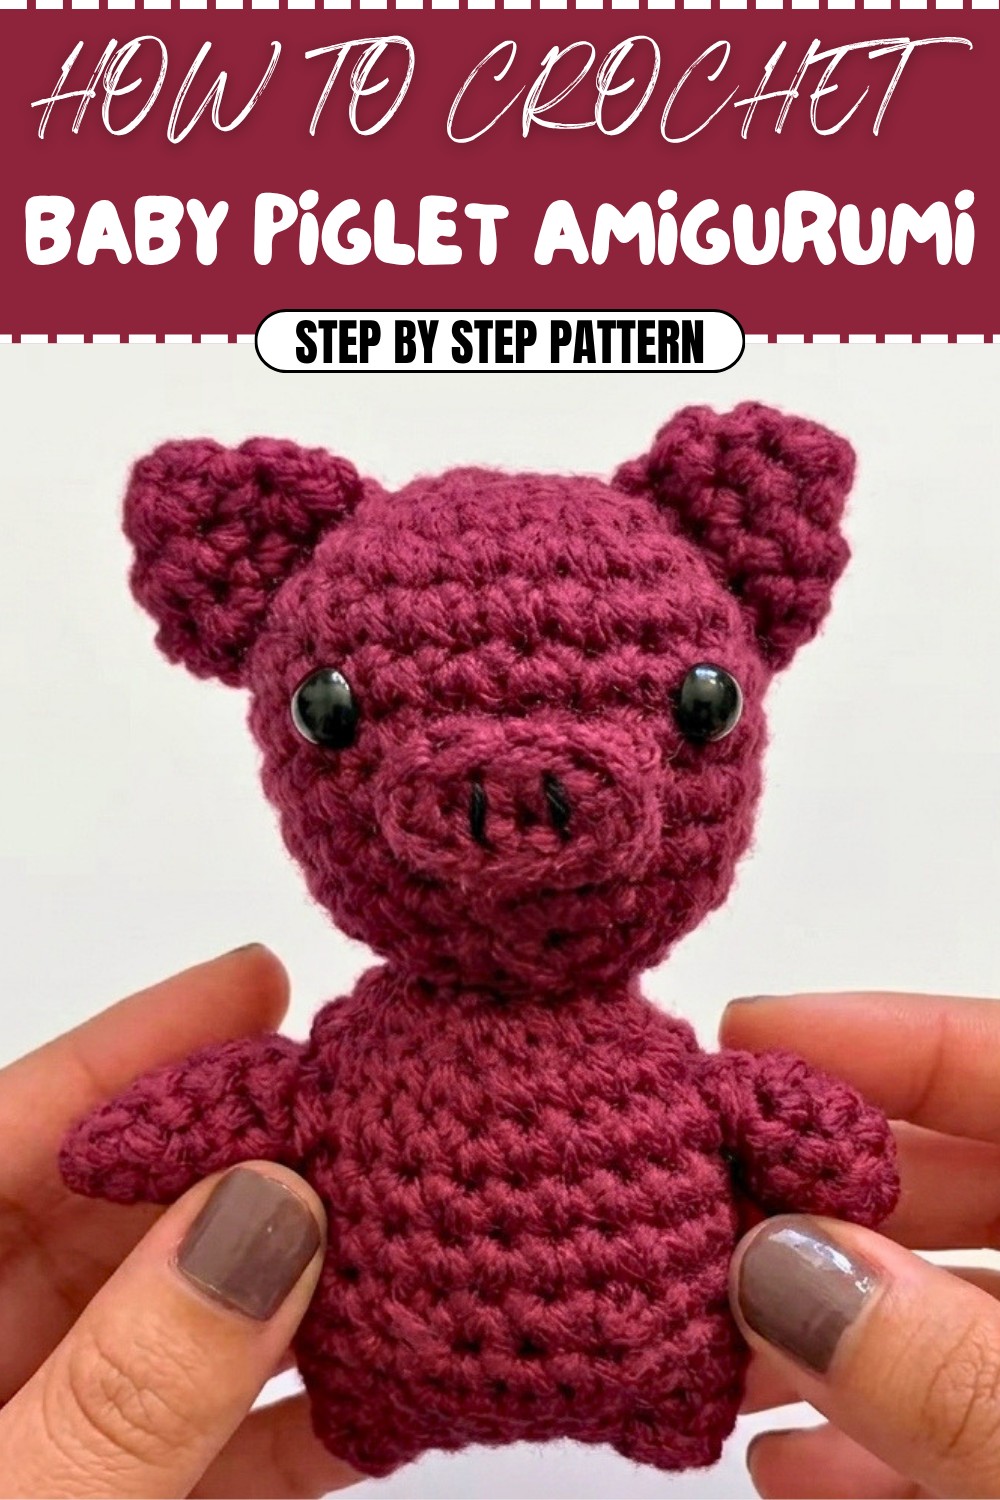
One of the best things about this little piglet is how many ways it can be used. It makes a sweet birthday gift, a baby shower surprise, a nursery decoration, or a cheerful keepsake for someone who loves animals. Whether you are making one for yourself or for someone special, this adorable project is sure to bring smiles. The Free Crochet Baby Piglet Amigurumi Pattern is a delightful way to create a tiny friend that can be enjoyed for years to come.
Crochet Piglet Amigurumi Pattern
Welcome! This pattern will guide you step-by-step to crochet a cute Piglet Amigurumi. You'll learn how to create each body part, join them together, and add charming details like eyes and a snout. Using simple stitches and clear instructions, even beginners can achieve great results.
Quick Overview of the Pattern
- Parts to crochet: Head, Nose, Ears, Arms, Tail, Body
- Main stitches: Single Crochet (SC), Increases, Invisible Decreases (DEC)
- Assembly includes attaching safety eyes, embroidery snout, and sewing pieces together
- Finished size: approx. 12-15 cm tall
Notes for Beginners
- This pattern is worked mostly in the round using a magic circle to start each part.
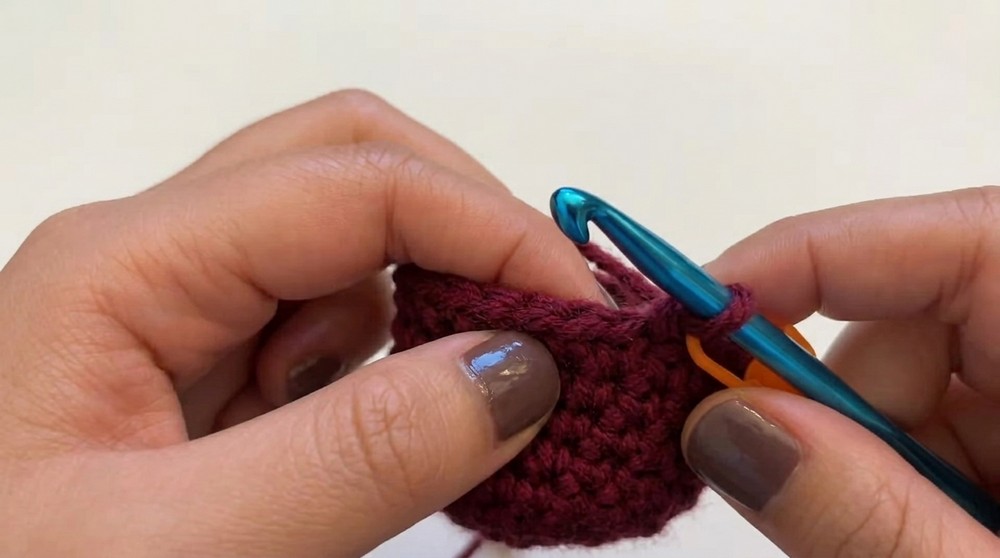
- Use stitch markers to keep track of rounds if needed.
- Stuff parts lightly but firmly to keep shape.
- Invisible decreases provide smooth shaping; they are explained below.
- Attach safety eyes before closing the head.
- Use hot glue and embroidery thread for snout detail.
- Take your time assembling pieces for the best finish.
Skill Level
Beginner to Intermediate – Suitable for beginners familiar with basic crochet stitches and ready to learn decreases and assembling.
Materials Needed
- Bordeaux yarn (worsted weight recommended)
- Crochet hook size 5 mm
- 8 mm safety eyes
- Embroidery thread (for snout details)
- Polyester stuffing
- Hot glue gun
- Scissors
- Yarn needle
Finished Size
- Approximately 12 to 15 cm tall (size depends on tension and yarn used).
Abbreviations and Terms
| Abbreviation | Explanation |
|---|---|
| ch | chain |
| sc | single crochet |
| inc | increase (2 sc in same stitch) |
| dec | decrease (invisible single crochet decrease) |
| sl st | slip stitch |
Special Stitches Explained
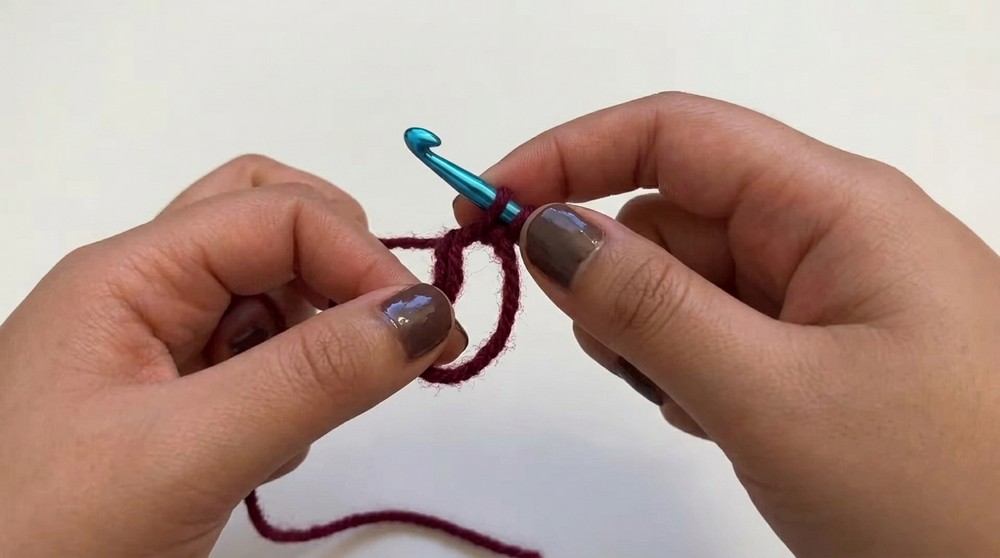
Magic Circle (Ring)
- Create an adjustable loop to crochet the first round into, pulling tight after the round to close the hole.
Invisible Decrease (Invisible SC Decrease)
- Insert hook through front loops of next 2 stitches, yarn over and pull through both loops, then yarn over and pull through loops on hook. Leaves minimal gap.
Detailed Step-by-Step Pattern
1. The Head
- Round 1:
- Make a magic circle.
- Work 6 SC into the magic circle.
- Slip stitch to join.
- Round 2:
- Increase in every stitch: 2 SC in each stitch around (total 12 SC).
- Round 3:
- Increase in the first stitch, 1 SC in next stitch; repeat (total 18 SC).
- Round 4:
- Increase in first stitch, 1 SC in next 2 stitches; repeat (total 24 SC).
- Rounds 5–9:
- Work 1 SC in each stitch (24 SC per round) to build the head height.
- Round 10:
- Invisible decrease in first stitch, 1 SC in each of next 2 stitches; repeat (total 18 SC).
- Round 11:
- Invisible decrease in first stitch, 1 SC in next stitch; repeat (total 12 SC).
- Round 12:
- Stuff the head firmly.
- Work normal decrease (2 SC together) around until closed (total 6 SC).
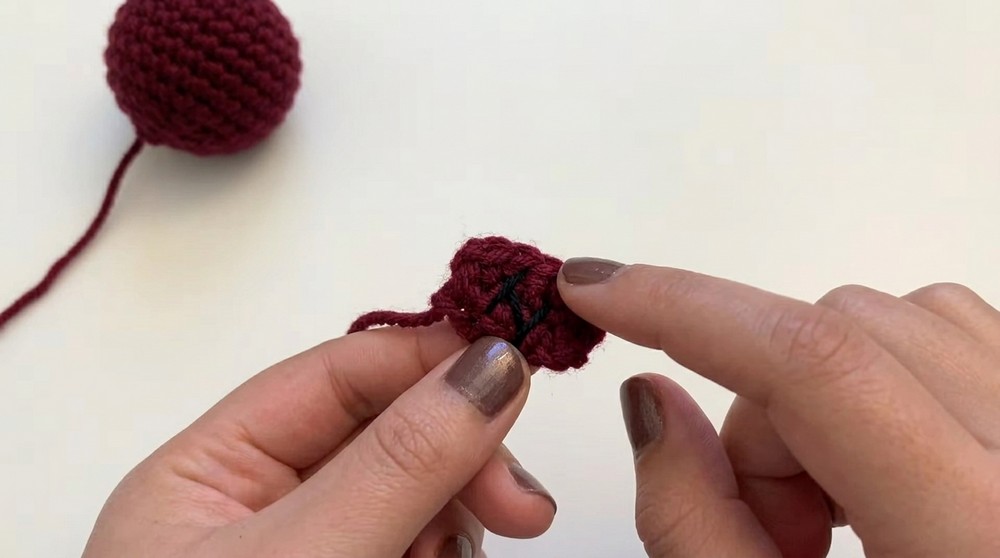
2. The Nose (Snout)
- Chain 4.
- Row 1:
- SC in 3 stitches, skipping the first chain.
- Chain 1 and turn.
- Row 2:
- SC in each of the 3 stitches worked the previous row.
- Slip stitch to join.
- Assembly:
- Use embroidery thread to stitch nostrils and snout details.
- Attach snout to the head using a hot glue gun.
3. Attachment Pieces
Tail
- Make slip knot.
- Chain 5.
- Work increase by placing 2 SC in every chain stitch; this creates a curly tail.
Ears (Make 2)
- Round 1: Magic circle, 4 SC.
- Round 2: Increase in every stitch (2 SC in each stitch) = 8 SC total.
- Round 3: SC in each stitch (8 SC).
Arms (Make 2)
- Round 1: Magic circle, 5 SC.
- Round 2: SC in 2 stitches, increase (2 SC in next stitch), 2 SC — total 6 SC.
- Rounds 3–4: SC in each stitch (6 SC).
4. The Body
- Round 1: Magic circle, 6 SC.
- Round 2: Increase in every stitch (12 SC).
- Round 3: Increase in first stitch, 1 SC in next stitch; repeat (18 SC).
- Round 4: Increase in first stitch, 1 SC in next 2 stitches; repeat (24 SC).
- Rounds 5–7: SC in every stitch (24 SC).
- Round 8: Invisible decrease in first stitch, 1 SC in next 2 stitches; repeat (18 SC).
- Rounds 9–10: SC in every stitch (18 SC).
- Round 11: SC in next 7 stitches, invisible decrease, SC in next 7 stitches, then decrease over last 2 stitches; this shapes the bottom.
- Closing:
- Stuff the body firmly.
- Fold the piece in half.
- Slip stitch across folded edge to close securely.
Assembly Instructions
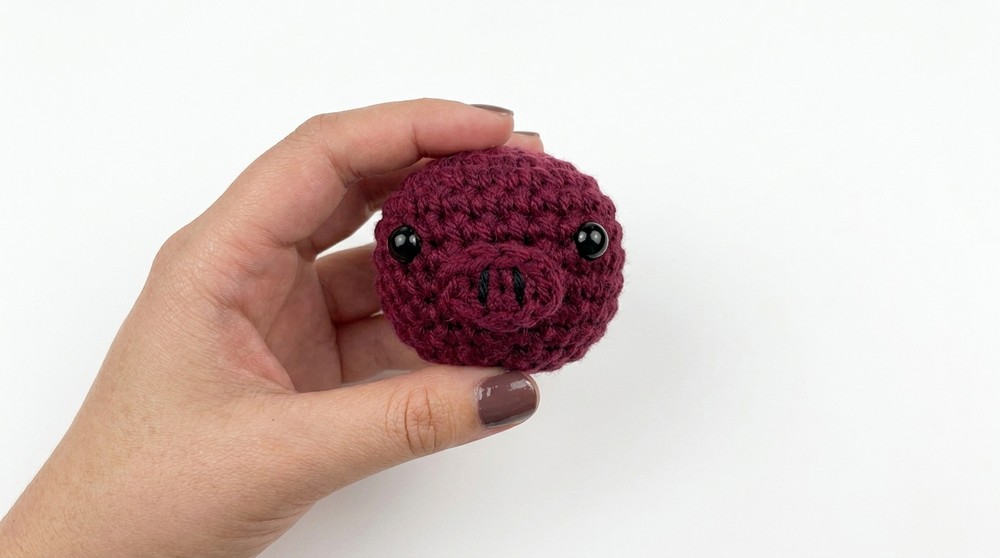
- Insert 8mm safety eyes into the head before finishing it. Position them evenly on the face.
- Glue and embroider the snout onto the head securely.
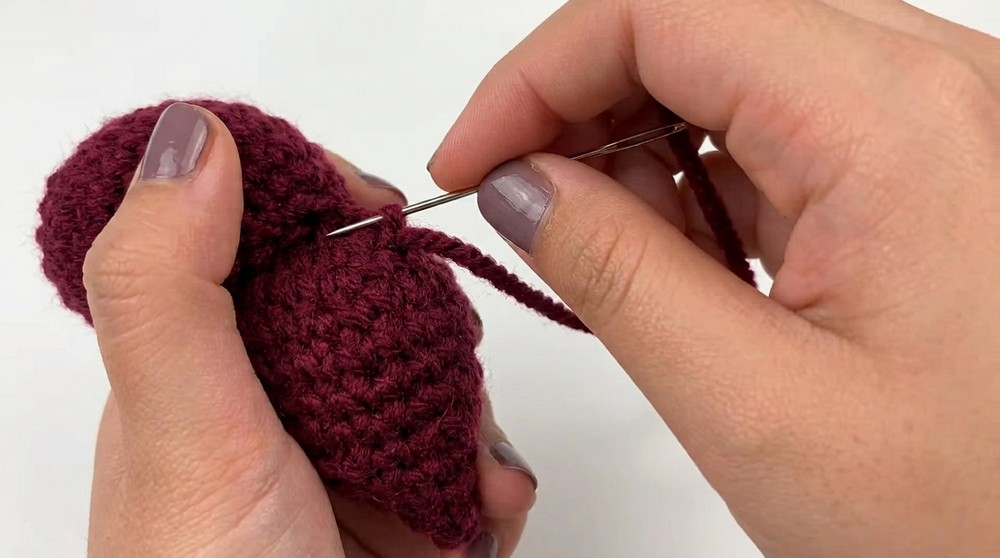
- Sew ears evenly on the top sides of the head.
- Attach arms on each side of the body with yarn needle.
- Sew the tail onto the back of the body.
- Weave in all yarn ends for neatness.
Finished Size
Your piglet will measure approximately 12 to 15 cm tall, perfect for gifting or display.
Conclusion
Congratulations! By following this step-by-step pattern, you’ve created a soft and adorable piglet amigurumi. The pattern’s simplicity combined with shaping techniques like increases and invisible decreases help you develop your crochet skills while producing a delightful toy. Take pride in your work — every stitch contributes to a lovely handmade creation.