
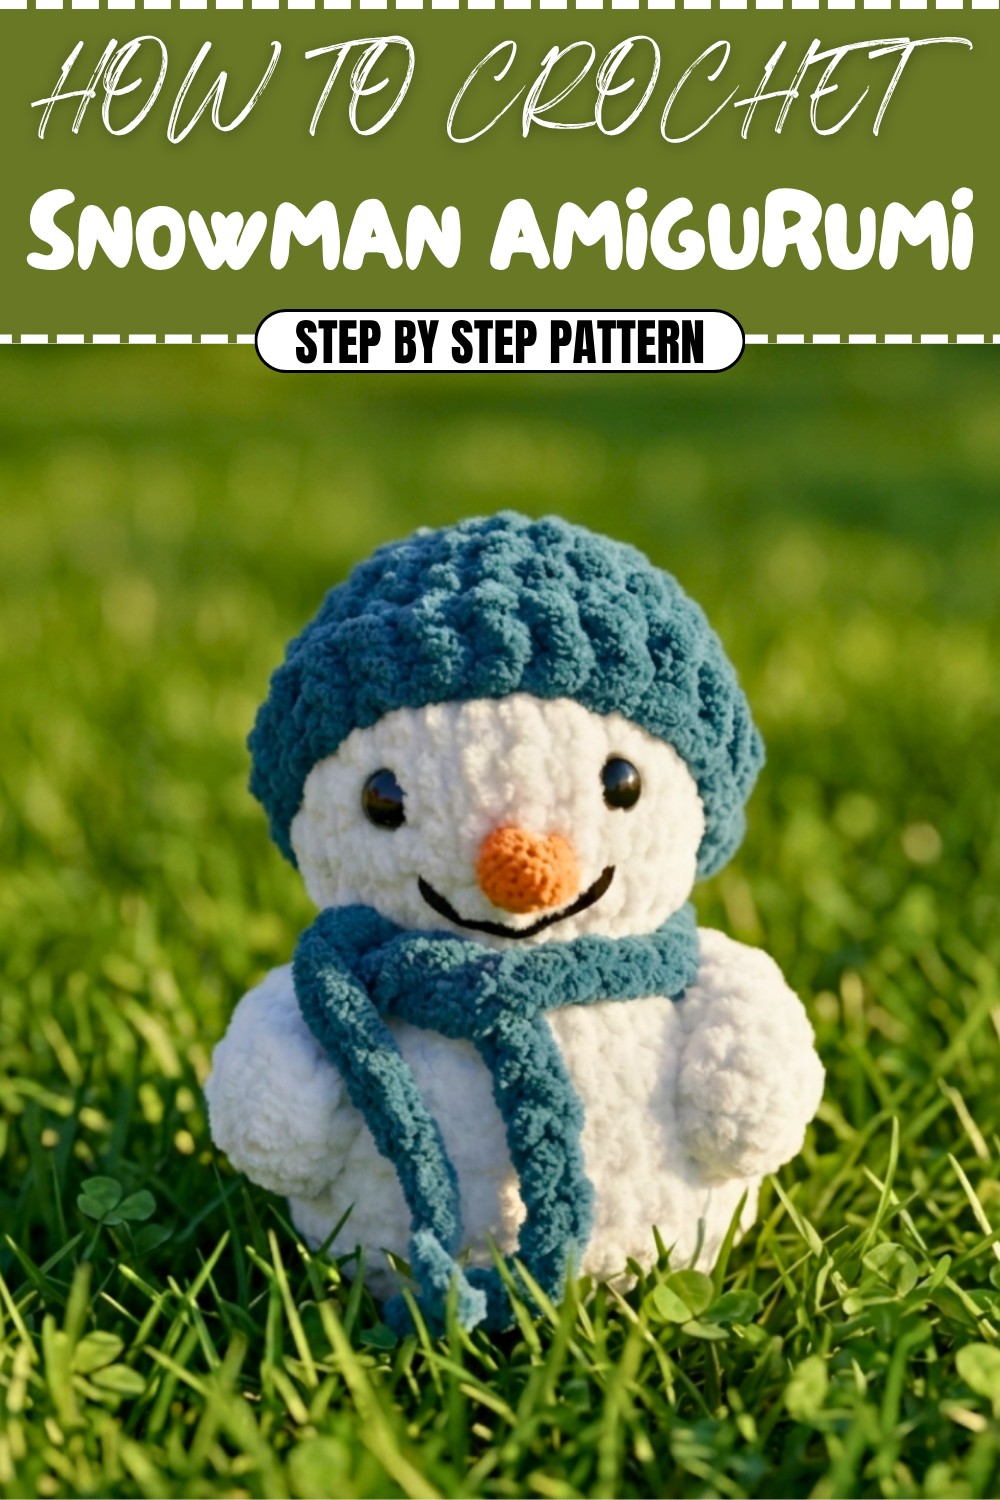
Crochet Snowman Amigurumi Pattern for Unique Winter Moments
Spark winter smiles quickly with a Free Crochet Snowman Amigurumi Pattern, perfect for easy festive gifts and playful seasonal decor.
There’s something so cozy and cheerful about making handmade toys during the winter season. Crocheting a tiny snowman Amigurumi is a warm way to add charm to your home or give as a thoughtful gift. Using soft yarn and a medium-sized crochet hook, this pattern walks you through creating a sweet little snowman with a rounded body, a cute carrot nose, and a cheerful smile. Throughout the project, you’ll master important stitches like the magic ring, single crochet, invisible decrease, and double crochet, which all help shape the snowman into a lovely, 3D figure.
Charming Free Crochet Snowman Amigurumi Pattern for Playful Keepsakes

Starting with a small circle of stitches made with the magic ring, you increase and decrease stitches to build the rounded shapes of the head and body. The invisible decrease is perfect for closing the body neatly without gaps, giving a polished look that makes your amigurumi extra adorable. Adding details like safety eyes and embroidering the smile bring the snowman to life, while crochet chains are used cleverly to form arms and accessories like a scarf and hat. These stitches are not only fun to learn but also open doors to many other crochet creations such as animals, dolls, and decorative pieces.
Once you know these basic stitches and techniques, you can easily crochet more winter and holiday-themed pieces using the same skills. From cozy hats and scarves to tiny mittens or even other festive characters like reindeer and elves, this pattern gives you a solid foundation in shaping and detailing amigurumi toys. Plus, the small size means these make sweet gifts or decorations that fit anywhere. It’s a wonderful project for beginners or anyone wanting to spread a bit of handmade holiday joy!
Crochet Snowman - "Marry the Snowman" Pattern
Welcome to this delightful step-by-step crochet pattern for Marry the Snowman, a quick and festive project perfect for the holiday season! This adorable Snowman pattern can take under an hour for experienced crocheters or approximately two hours for beginners. With simple stitches, fun details like a scarf, hat, and carrot nose, and easy assembly steps, this is the perfect pattern to add a cheerful touch to your winter creations.
Skill Level & Terminology
- Skill Level: Beginner to Intermediate
- Terminology: US Crochet Terms
This project uses basic crochet techniques (magic ring, single crochet, decreases, and double crochet) and is well-suited for crocheters ready to try shaping in rounds and fun finishing details.
Materials & Tools
- Yarn (Size 6, Super Bulky Weight):
- White: For the snowman’s body and head.
- Orange: For the carrot nose.
- Black (Thinner Yarn): For the smile embroidery.
- Optional: Your preferred yarn colors for the hat and scarf.
- Crochet Hook: 6.5 mm hook.
- Safety Eyes: Two 12 mm safety eyes (or embroider eyes if desired).
- Polyester Stuffing: Toy stuffing for the body and head.
- Pom-Pom: Preassembled pom-pom for the hat (optional).
- Stitch Marker: To mark the beginning of each round.
- Scissors.
- Tapestry Needle: For sewing and weaving in ends.
- Optional Key Accessories: Ribbon, loops, or thread to add hanging or decorative details.
Gauge
Gauge is not critical for this pattern, but aim for tight stitches to prevent stuffing from showing.
Suggested: 6 sc x 6 rows = 2 x 2 inches (5 x 5 cm) with the 6.5 mm hook.
Abbreviations
| Abbreviation | Explanation |
|---|---|
| ch | Chain |
| sc | Single Crochet |
| dc | Double Crochet |
| inc | Increase (2 sc in one stitch) |
| dec | Decrease (single crochet 2 stitches together) |
| mr | Magic Ring/Magic Circle |
| sl st | Slip Stitch |
| st | Stitch |
Special Stitch Instructions
1. Magic Ring (mr)
Start by forming a loop, insert hook under the loop, and pull up a loop. Chain 1 to secure, then crochet the required number of stitches into the loop. Pull the ring tight to close.
2. Invisible Decrease (dec)
Insert hook into the front loop only of the first stitch, then into the front loop only of the next stitch. Yarn over and pull through both front loops. Yarn over again and pull through both loops on the hook. This creates a smooth decrease without gaps.
Finished Size
Approximately 5 inches (13 cm) tall when using bulky weight yarn and a 6.5 mm hook. Adjustments to yarn and hook size will affect the final dimensions.
The Pattern Itself
This pattern is divided into the following parts:
- Snowman Body and Head (worked in rounds).
- Facial Features (Nose and Smile).
- Hat.
- Scarf.
- Arms.
Part 1: Snowman Body and Head
Yarn: Start with white yarn for the body and head.
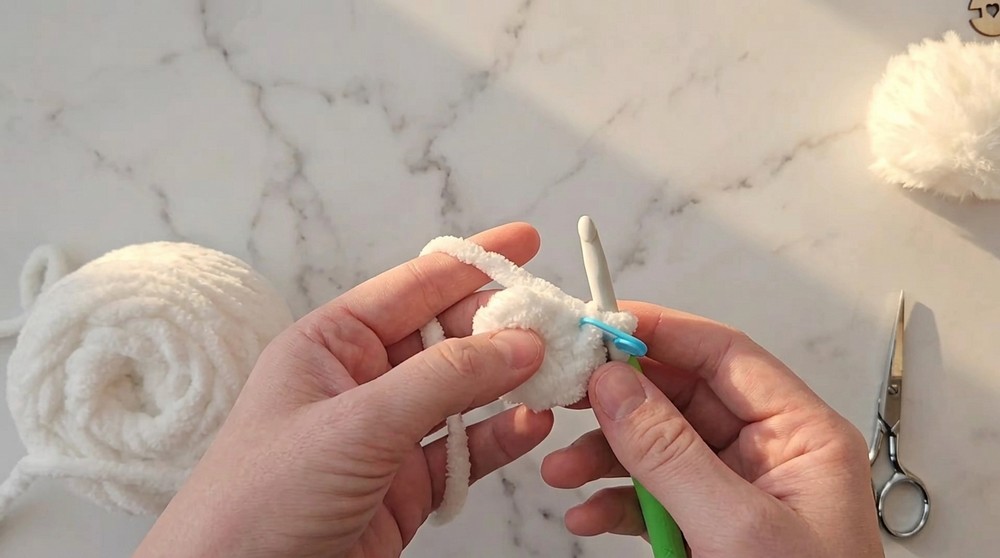
Round 1:
- Ch 2, or work into a magic ring.
- Work 8 sc into the first chain or magic ring (8).
- Place a stitch marker at the first st.
Round 2:
- Inc in every st around (2 sc in each st) → 16 sts total.
Round 3:
- (1 sc, 1 inc) repeat around → 24 sts total.
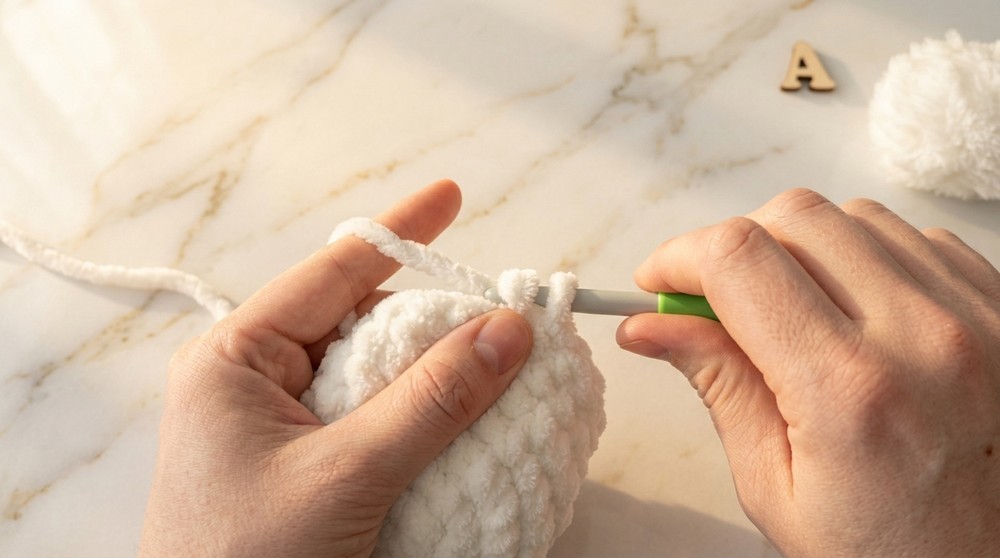
Rounds 4–7:
- 1 sc in every st around → 24 sts per round.
- (This forms the head’s height.)
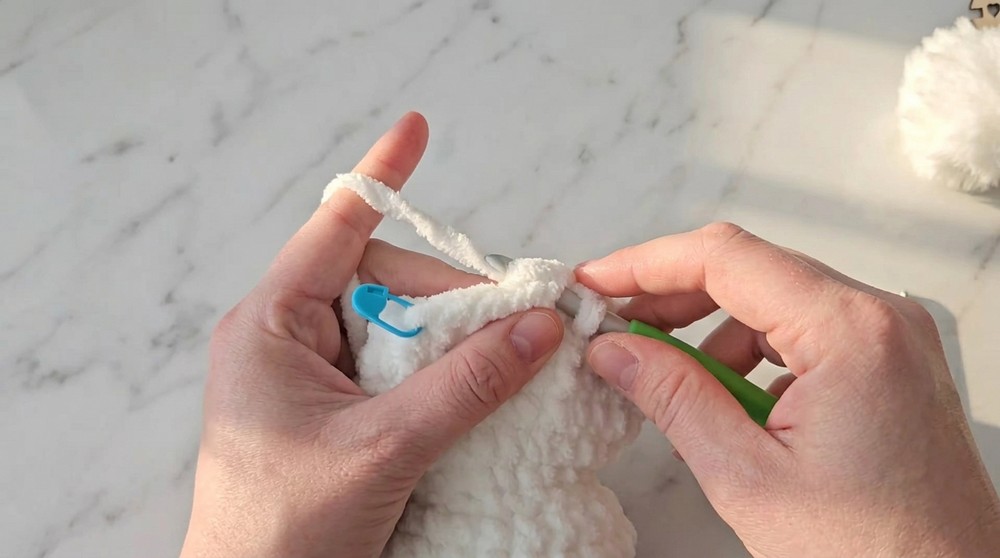
Round 8 (Decrease):
- (1 sc, 1 dec) repeat around → 16 sts total.
Stuff the head tightly before the opening gets too small.
Round 9 (Decrease):
- Dec in every st around → 8 sts total.
Switch to working on the body:
Round 10 (Body Start – Increase):
- Inc in every st around → 16 sts total.
Round 11:
- (1 sc, 1 inc) repeat around → 24 sts.
Rounds 12–16:
- 1 sc in every st around → 24 sts per round.
Round 17 (Decrease):
- (2 sc, 1 dec) repeat around → 18 sts.
Round 18 (Decrease):
- (1 sc, 1 dec) repeat around → 12 sts.
Round 19 (Final Decrease):
- Dec in every st around → 6 sts.
- Fasten off, leaving a long tail for sewing. Sew the hole closed with a tapestry needle.
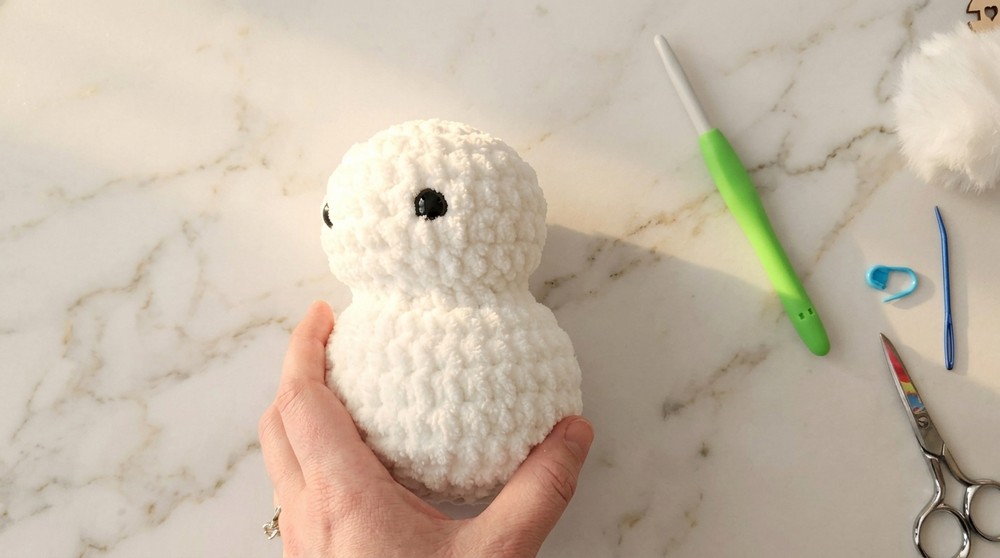
Summary: The body and head are worked as one piece starting with the head and leading into the body. The pattern alternates between increasing and decreasing to form spherical shapes.
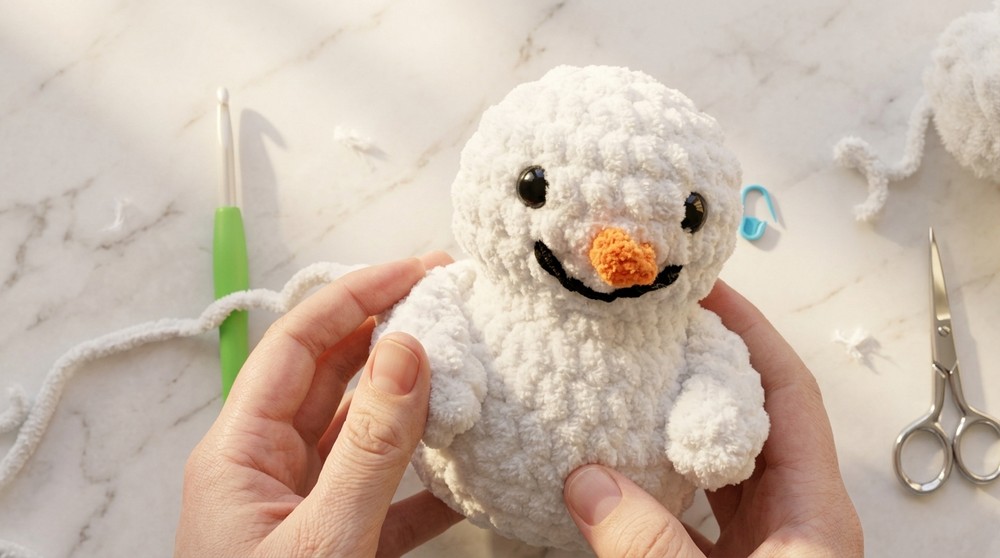
Part 2: Facial Features – Nose and Smile
Nose (Carrot):
Yarn: Orange.
- Insert hook into the center stitch between the eyes (below Round 5).
- Ch 2, then sl st back into the same stitch to form the carrot nose.
- Fasten off and weave in ends inside the head.
Smile:
Yarn: Black (thin).
- Use a tapestry needle to embroider a smile shape below the nose.
- Knot and weave in ends securely.
Summary: Small features like the carrot nose and embroidered smile give Marry the Snowman personality.
Part 3: Hat
Yarn: Color of choice with optional pom-pom.
Round 1:
- Ch 2, 8 sc into the first ch or mr (8).
Round 2:
- Inc in each st around → 16 sts.
Round 3:
- (1 sc, 1 inc) repeat around → 24 sts.
Rounds 4–5:
- 1 sc in every st around → 24 sts per round.
Switch to dc for brim:
Round 6:
- (5 dc, 1 dc-inc) repeat around → 28 sts.
Fasten off, attach the pom-pom (if desired), and sew the hat onto the snowman.
Summary: The hat is a straightforward cone shape widened into a brim with an optional decorative pom-pom for flair.
Part 4: Scarf
Yarn: Any festive color.
Instructions:
- Ch 42 (adjust the chain length for desired scarf size).
- Fasten off and weave in ends.
- Wrap the scarf around the snowman’s neck and loosely knot it.
Summary: The scarf is a simple chain that adorns the snowman, bringing warmth and color to the design.
Part 5: Arms
Yarn: White.
Round 1:
- Ch 2, 6 sc into the first chain or magic ring (6).
Rounds 2–6:
- 1 sc in every st around → 6 sts per round.
Round 7 (Closing):
- Pinch the top of the tube and sc across both sides to seal it (3 sc).
Fasten off, leaving a tail for sewing. Attach the arms to the body slightly toward the front to make it look like the snowman is “hugging” his belly.
Summary: The arms are small tubular shapes closed at the end and sewn on symmetrically to the body.
Assembly & Finishing
- Attach Eyes: Insert 12 mm safety eyes on Round 5, spaced about 4–5 stitches apart. Snap the backs into place securely.
- Sew Hat: Position the hat above the eyes and sew it directly onto the head.
- Attach Arms: Sew the arms to the sides of the body. Adjust placement to make the snowman look expressive.
- Wrap Scarf: Tie the scarf loosely around the neck to finish.
How to Start & Stitches Used
To begin this project, start with a magic ring or chain 2 and work the body and head as one continuous piece in rounds. The entire pattern uses single crochet, double crochet, increases, and decreases, which are perfect for mastering basic amigurumi techniques. The facial features and accessories allow freedom for creativity and experimentation.
Conclusion
Congratulations! Your charming Snowman Amigurumi is ready to add joy to your home or be gifted to a loved one. This pattern incorporates simple stitches, creative assembly, and fun accessories, making it a delightful winter crochet project.