
How to Crochet Christmas Tree Keychain Pattern for Festive Looks
Spruce up your keys effortlessly using this Free Crochet Christmas Tree Keychain Pattern and enjoy a cute, seasonal accent year-round.
There’s nothing quite like a handmade Christmas accessory to fill your heart with holiday cheer! In this easy and fun project, you’ll craft a delightful little Christmas tree keychain that’s both adorable and practical. Beginning with simple single crochet stitches and moving into double crochet rounds, you’ll shape a sturdy and textured tree that’s perfect for holding your keys or decorating your bag. These basic stitches are perfect for beginners and help you build confidence as you learn to increase stitches evenly to create that classic pine tree shape. Adding a cute star on top finishes off the look, making your keychain truly festive and unique.
Learn Free Crochet Christmas Tree Keychain Pattern for Easy Holiday Gifts
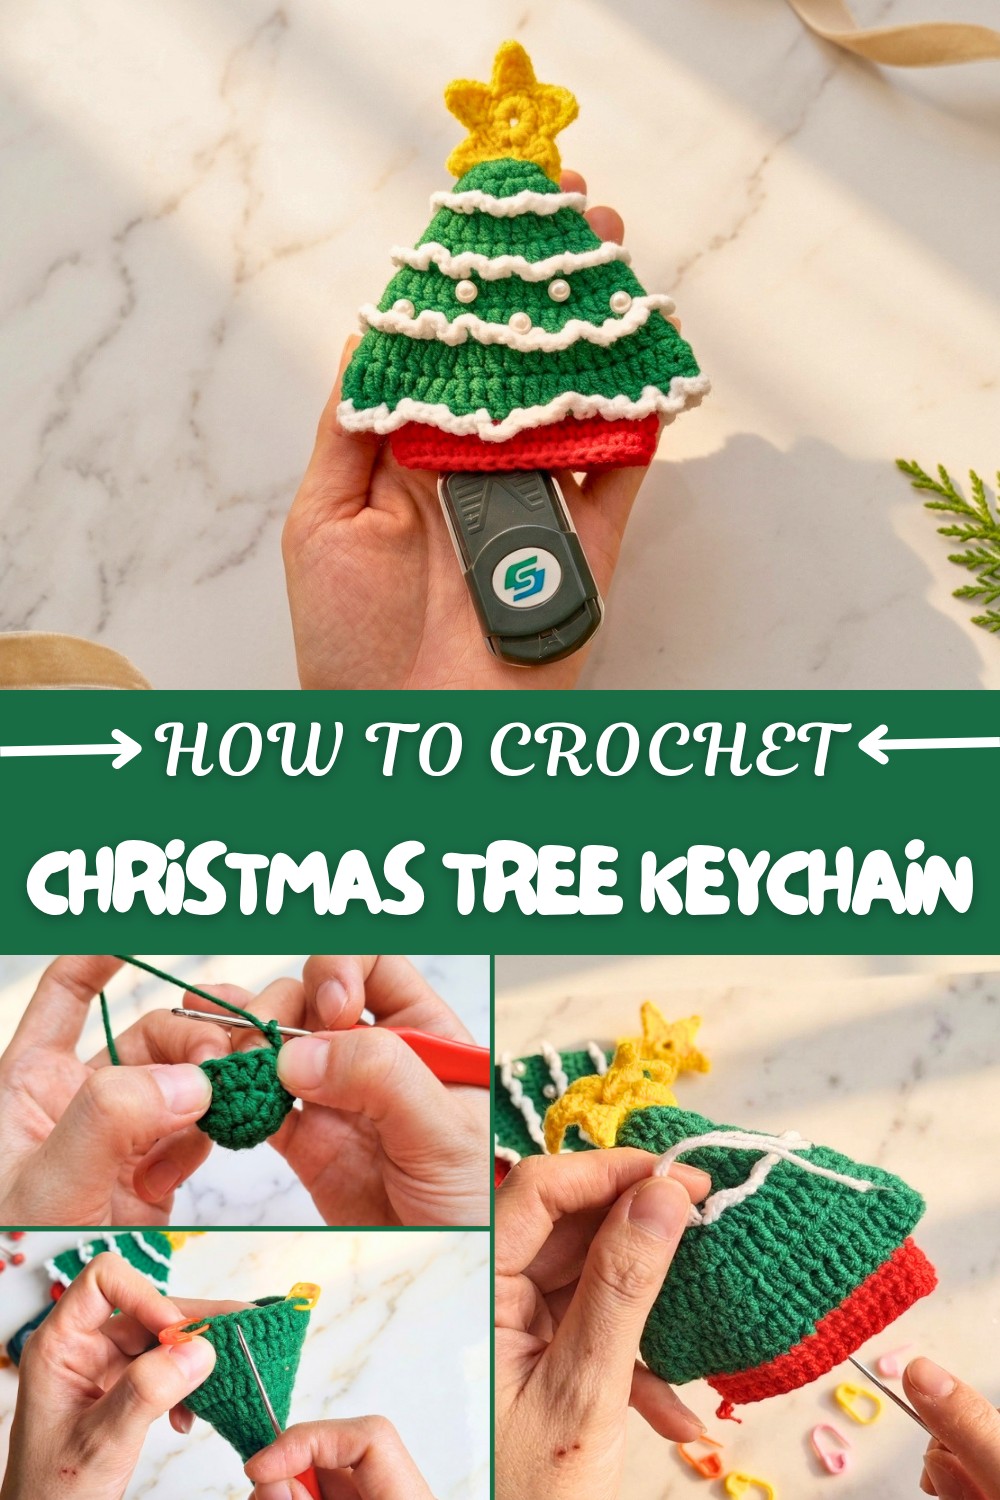
The clever pattern allows the key lock to slide neatly inside the tree, protecting it when not in use. Plus, the long strap attached makes it easy to carry or hang anywhere you like. Throughout the process, you’ll have fun creating patterns and changing colors to add lovely details like white edging that mimics snowy branches. This project teaches important crochet skills like working in rounds, increasing stitches, and finishing neatly—all while making something beautiful and useful.
What Else Can You Crochet?
After you’ve mastered this charming Christmas tree keychain, your new skills open the door to lots of other festive and creative projects! Use the same stitch techniques to make tiny ornaments, garlands, or even small holiday gifts like coasters and gift tags. You could also customize colors to create trees for different seasons or turn this pattern into cute appliques to decorate hats and scarves. This pattern is a wonderful way to bring handmade magic to your holidays and beyond!
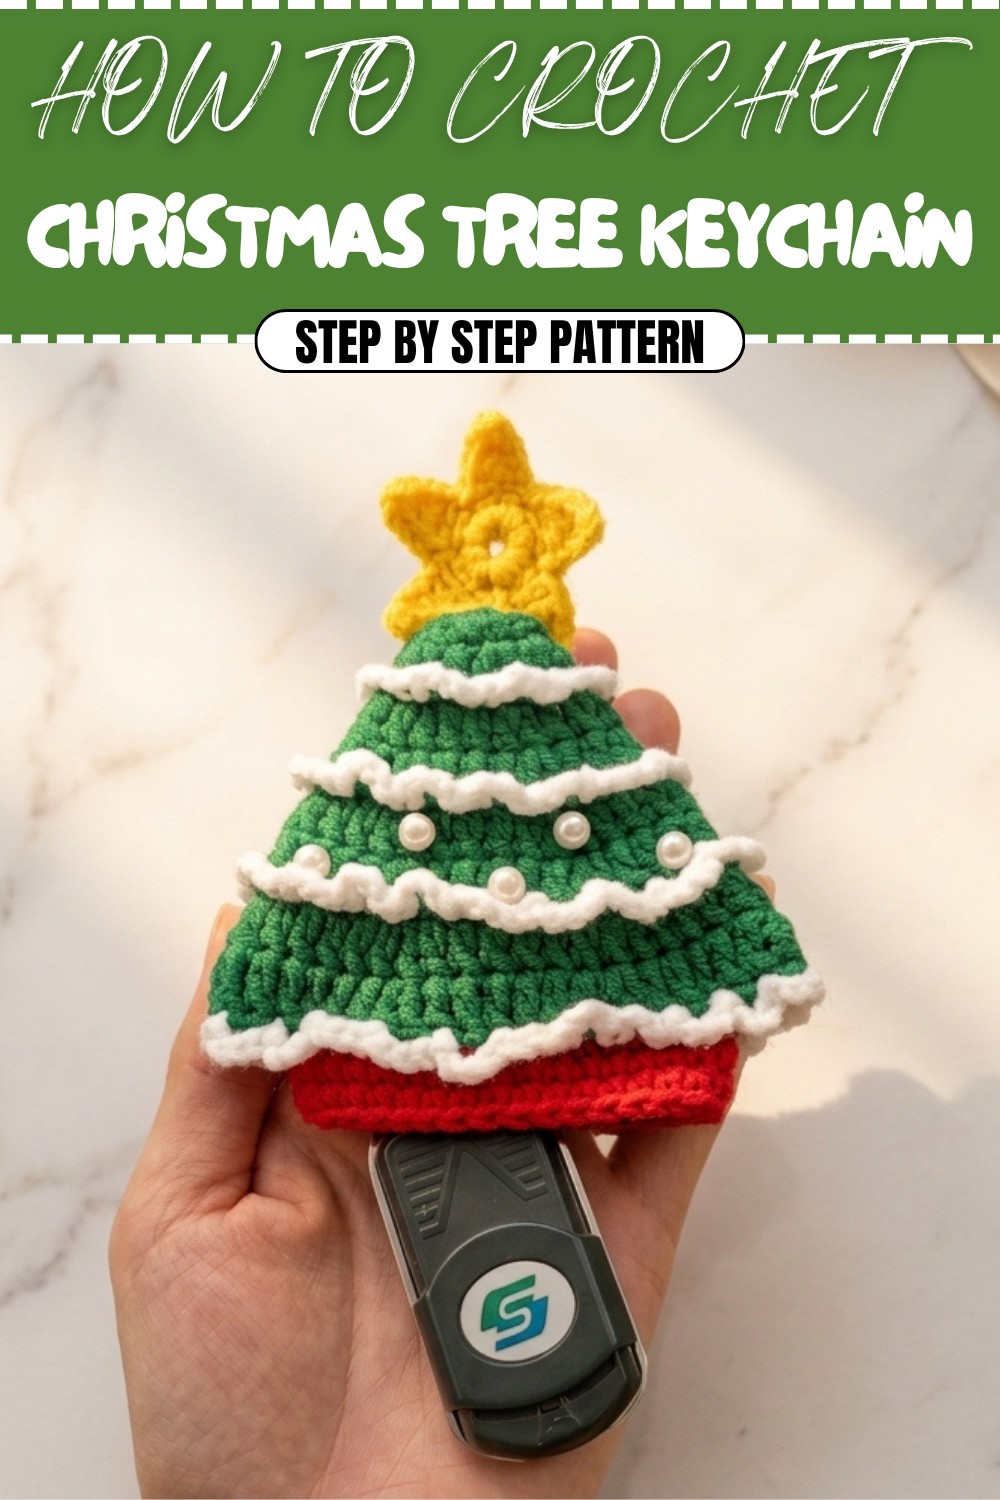
Crochet Pattern for a Christmas Tree Keychain
This pattern will guide you to crochet a cute and charming Christmas tree keychain. It's a multi-functional and decorative accessory perfect for gifts or personal use. The project incorporates simple techniques combined with some decorative touches, making it an engaging task for crochet enthusiasts. This best suits those familiar with basic crochet stitches.
Skill Level & Terminology
- Skill Level: Intermediate
- Terminology: US terms are used throughout the pattern.
Materials & Tools
- Yarn:
- Green yarn for the pine tree
- White yarn for decorative edging
- Yellow yarn for the star
- Red yarn for the base stem
- Hook: 2.5mm crochet hook
- Other Tools:
- Stitch markers
- Yarn needle
- Scissors
- Optional beads for decoration
- Keyring clasp
Gauge
- Gauge swatch: 5 single crochet (sc) = 1" (2.5 cm). Adjust hook size if necessary to match the gauge.
Abbreviations List
- ch = chain
- sc = single crochet
- dc = double crochet
- hdc = half double crochet
- sl st = slip stitch
- inc = increase (2 stitches in one)
Special Stitch Instructions
- Double Crochet Increase (dc inc): Crochet two double crochet stitches in the same stitch to increase.
- Single Crochet Increase (sc inc): Crochet two single crochet stitches in the same stitch.
Finished Size
- Finished size: Approximately 4 inches (10 cm) tall, excluding the chain attachment.
What You'll Learn From This Pattern
By following this pattern, you'll gain valuable skills and techniques, including:
- Working in the round: Starting with a magic ring and increasing stitches to create dimensional shapes like a cone.
- Pattern repetition: Learning how to repeat stitch patterns for decorative textures.
- Shaping components: Using increases and placement to shape distinct parts like the tree trunk and star.
- Adding embellishments: Incorporating decorative details like white borders, beads, and functional keyring attachments.
- Working with small details and fine yarns: Building comfort with tighter, smaller structures that require precision.
These skills are foundational for creating other crochet projects. By the end of this pattern, you'll not only crochet a beautiful item but also build confidence in handling multiple components and embellishments.
The Christmas Tree Keychain Pattern
Part 1: The Body of the Tree
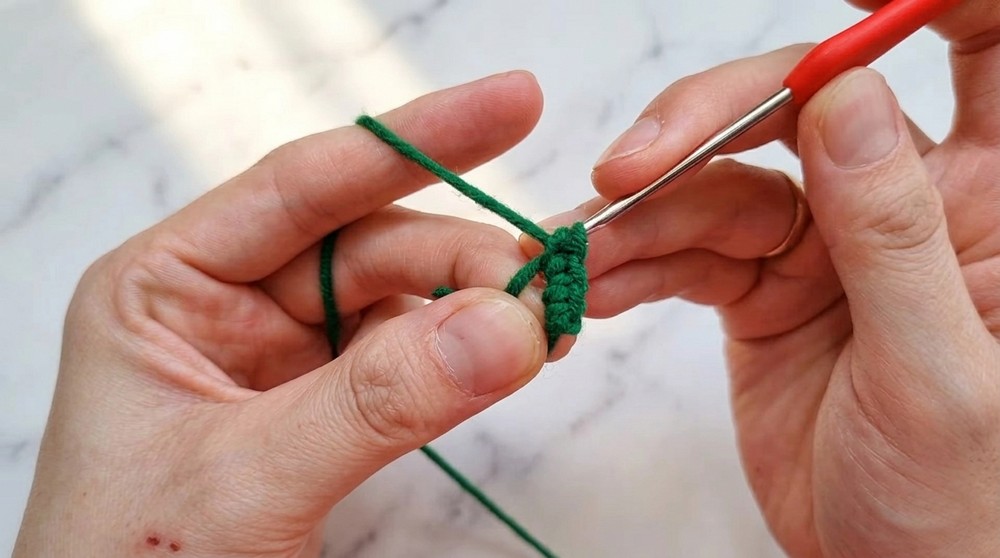
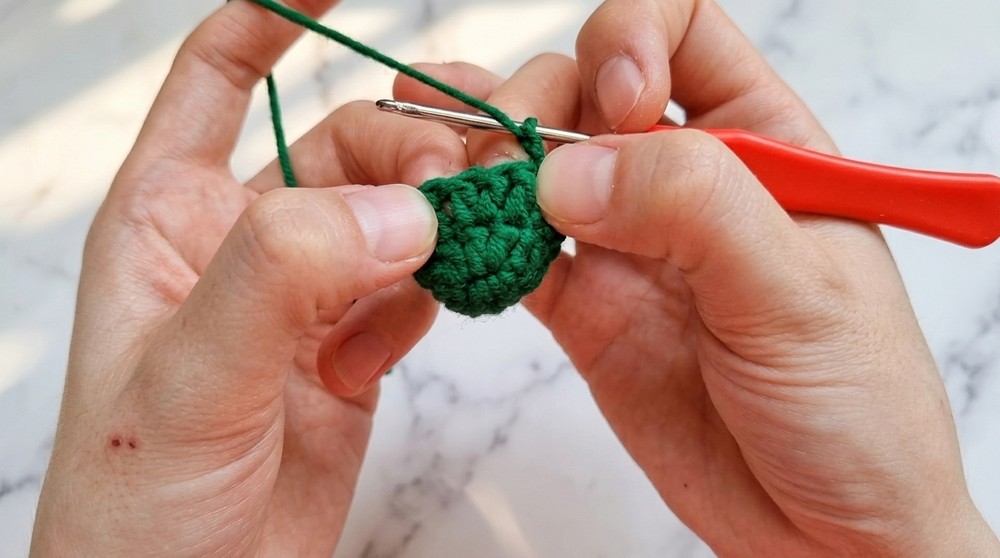
- Start with a magic ring, and work 5 sc into the loop. Sl st to the first sc to close the round.
- Round 2: Work 2 dc into each sc from the previous round (dc inc). Total: 10 stitches.
- Round 3: Work 1 dc into 1 stitch, then dc inc in the next stitch. Repeat around. Total: 15 stitches.
- Round 4: Work 2 dc, then dc inc around. Total: 20 stitches.
- Continue increasing in this manner (adding one extra dc between each increase) until the base of the tree measures your desired size or height (approximately 9 rounds, 45 stitches at the widest part).
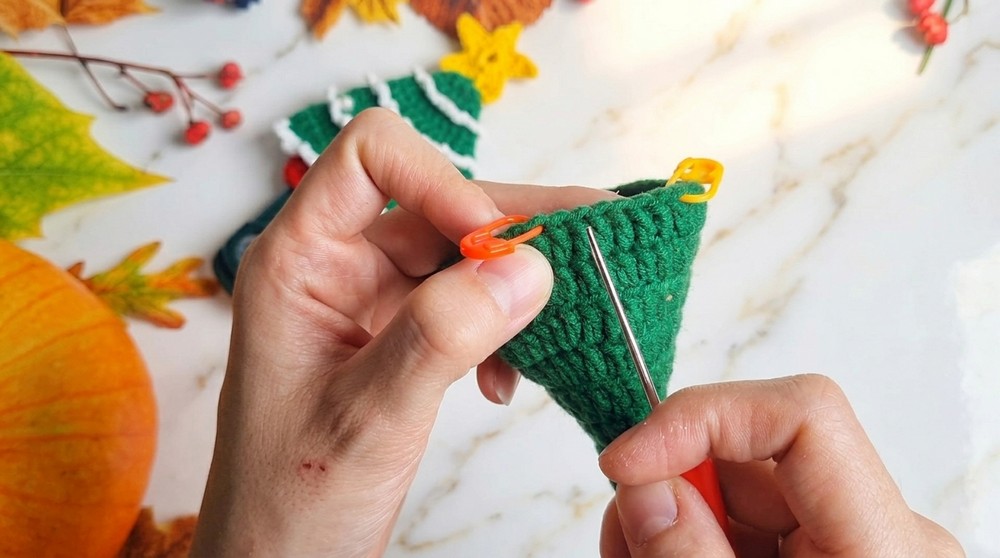
Pro Tip: As you work, ensure the tree shape forms a cone by moderately increasing; the wider base gives it stability.
Part 2: The Stem of the Tree
- With red yarn, locate the center of the base. Count 6 stitches across each side, marking them.
- Insert the red yarn into the marked central stitch. Work in rows, moving back and forth:
- Row 1: Work 17 sc across between the markers. Turn.
- Row 2 & 3: Repeat 17 sc per row, creating a rectangular base stem. Fasten off and weave in ends.
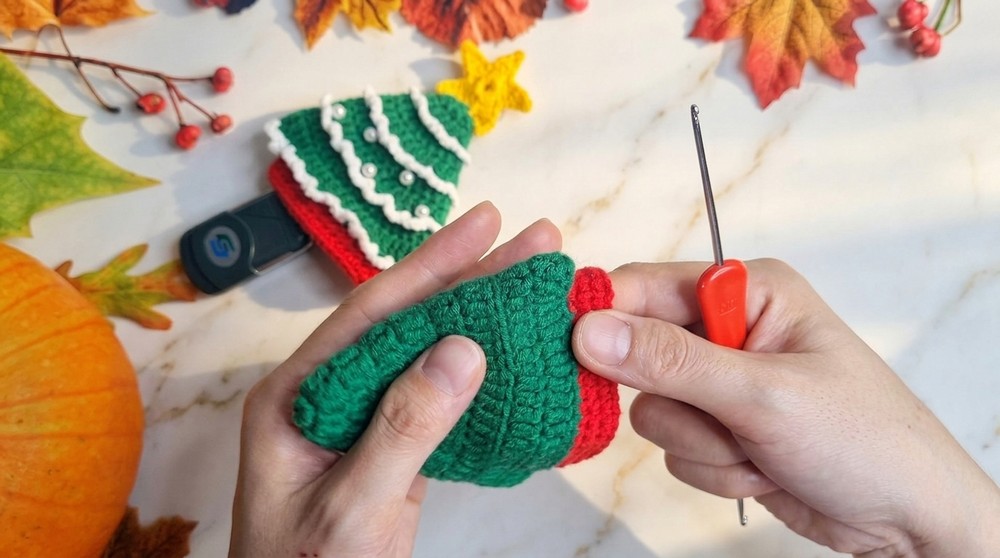
Optional: Make the base wider or longer based on your preferences!
Part 3: Adding White Decorations
- Use white yarn to crochet a decorative “G-shaped” curve around the exterior of the tree:
- Insert the yarn into a side stitch along the tree body.
- Work 4 ch, skip 1 stitch, and sl st into the next stitch.
- Repeat this “4-ch loop” pattern until you've circled the tree.
- Finish by fastening off the yarn and weaving in the ends.
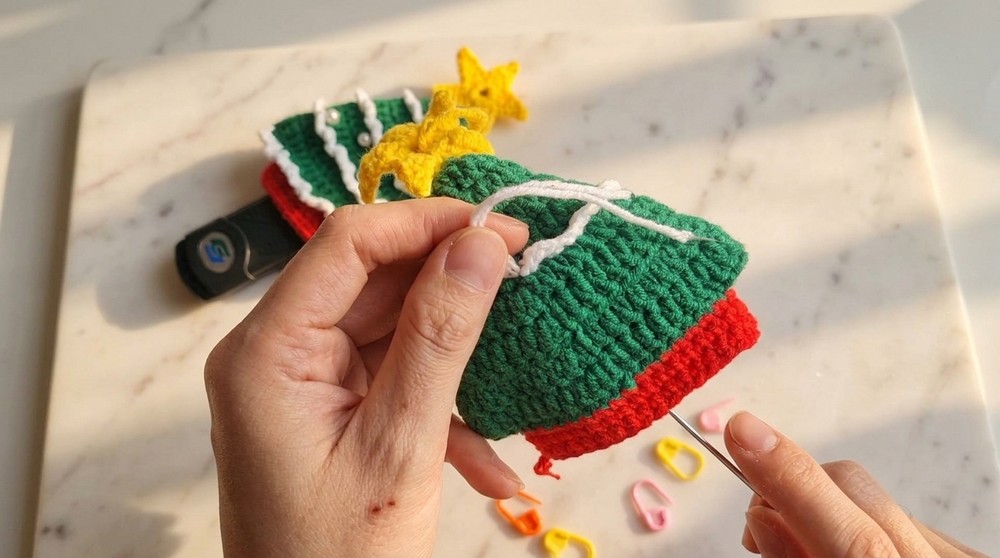
Note: Be sure to work evenly spaced loops for clean, rounded curves.
Part 4: Crocheting the Star
- Start with a magic ring and make 11 sc in the ring. Sl st to the first sc to close the round.
- To form the points of the star:
- Work 4 ch, then sl st into the second ch from the hook.
- Work 1 hdc into the third ch and 1 dc into the fourth ch.
- Skip the next stitch on the base circle, sl st into the following stitch.
- Repeat this process 5 times for 5 star points.
- Pull yarn to tighten and shape the star evenly. Fasten off and leave a long tail for sewing.
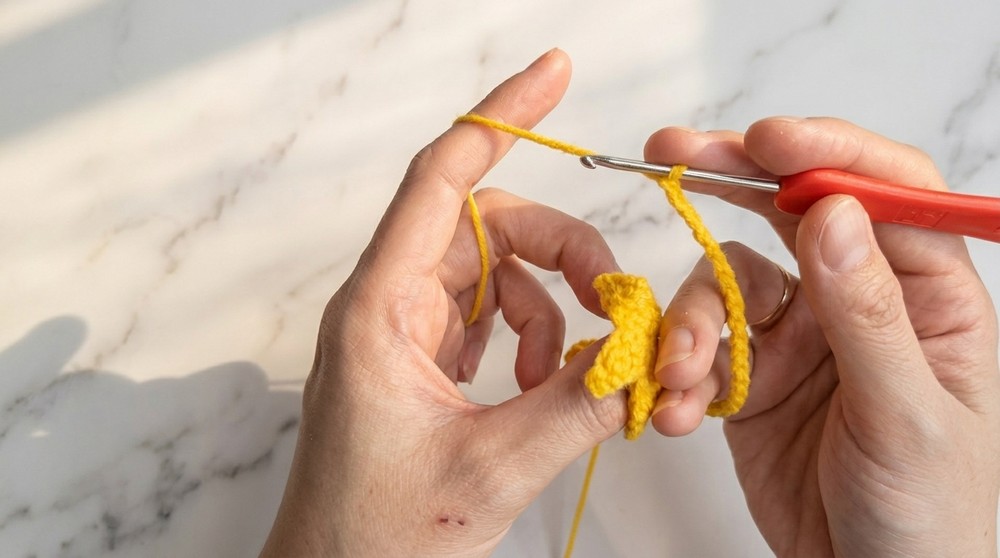
Tip: Experiment with tighter or looser stitches to adjust the size of your star.
Part 5: Attaching the Keyring
- Create a 45-chain loop with yellow yarn. Simply crochet 45 ch, then attach one end to the top of the tree and the other through the keyring clasp using a sl st.
- Weave in the excess yarn to secure the chain and prevent unraveling.
Hint: Adding a clasp allows the keychain's retractable portion to function securely and decoratively!
Finishing Touches
- After completing the tree and attaching the keyring, hide any loose yarn ends by weaving them into the body of the piece using your yarn needle.
- Optionally, sew small beads or pearls evenly across the body to mimic ornaments.
Maintenance: Regularly check the keychain clasp area to ensure durability with daily use.
Assembly & Overview
This pattern equips you to crochet every major component of the tree: the body, stem, star, and keychain loop. Assembly is minimal as the tree is crocheted seamlessly upwards. Adding the decorative stitching and clasp makes this functional creation ready for use or gifting.
Final Note on Stitches Used
This pattern uses basic stitches like single crochet (sc), double crochet (dc), and chain (ch), with some increases for tapering. Beginners can practice foundational tension and shaping techniques, while intermediate crocheters will enjoy the decorative details added in later steps.
Conclusion
Congratulations on completing your adorable Christmas tree keychain! This project is a compact yet detailed exercise in crocheting a small, functional decorative item. The combination of a tree, a brightly coloured star, and the decorative elements makes this an ideal holiday accessory.