
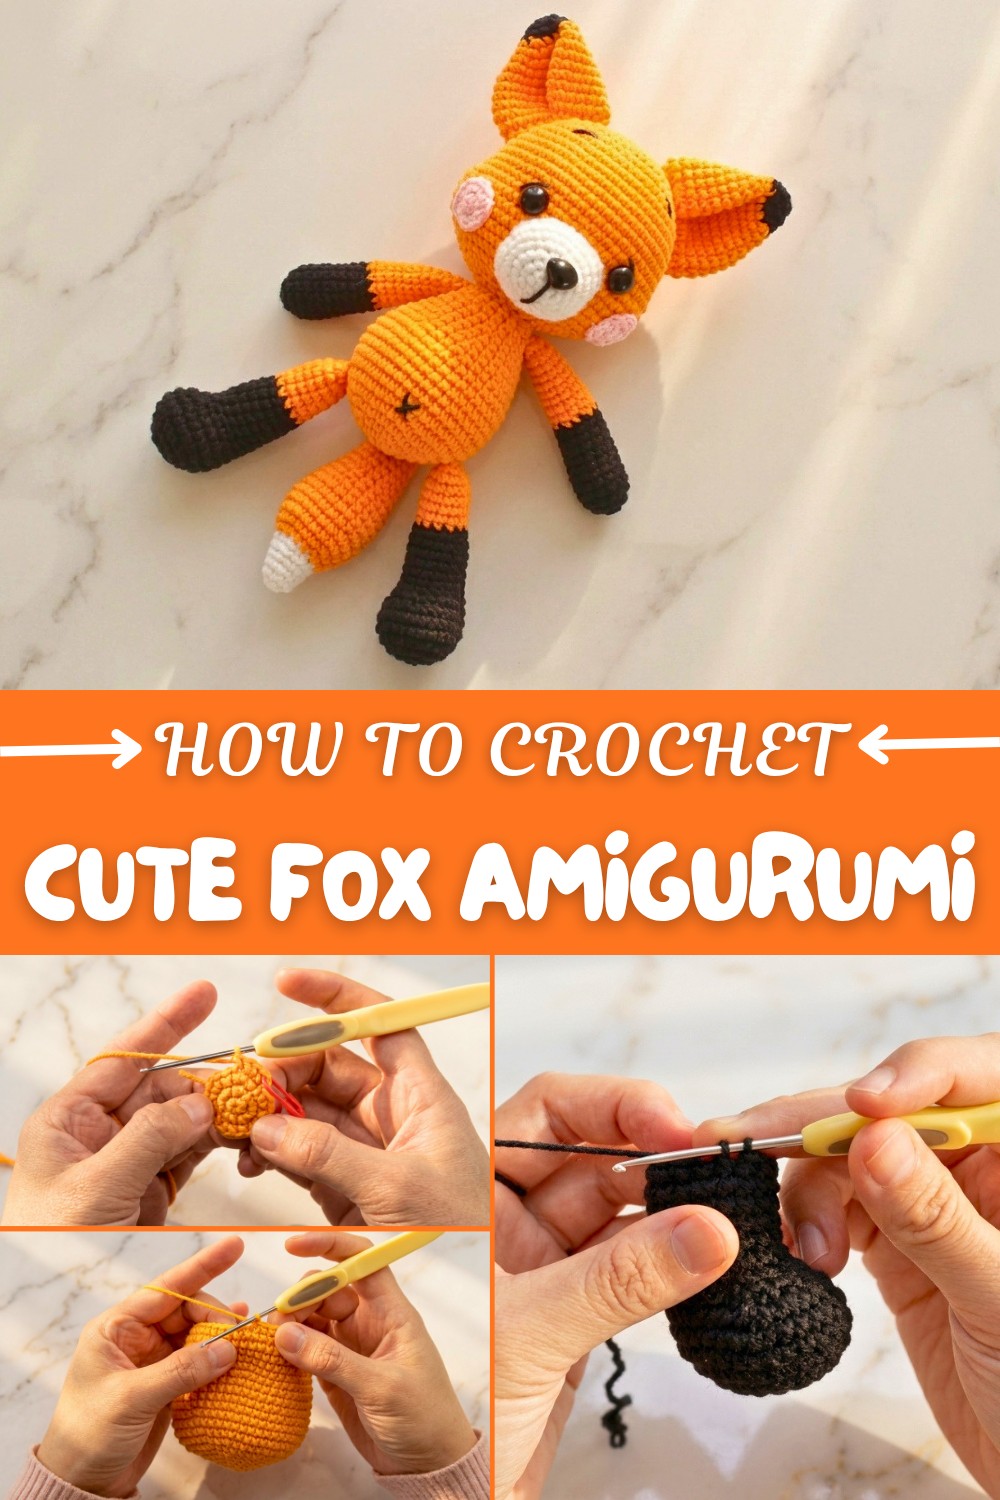
Cute Free Fox Amigurumi pattern for Animal Lovers
Cherish woodland charm with Free Crochet Fox Amigurumi Pattern featuring cute pointed ears fluffy details and lovable character for fun.
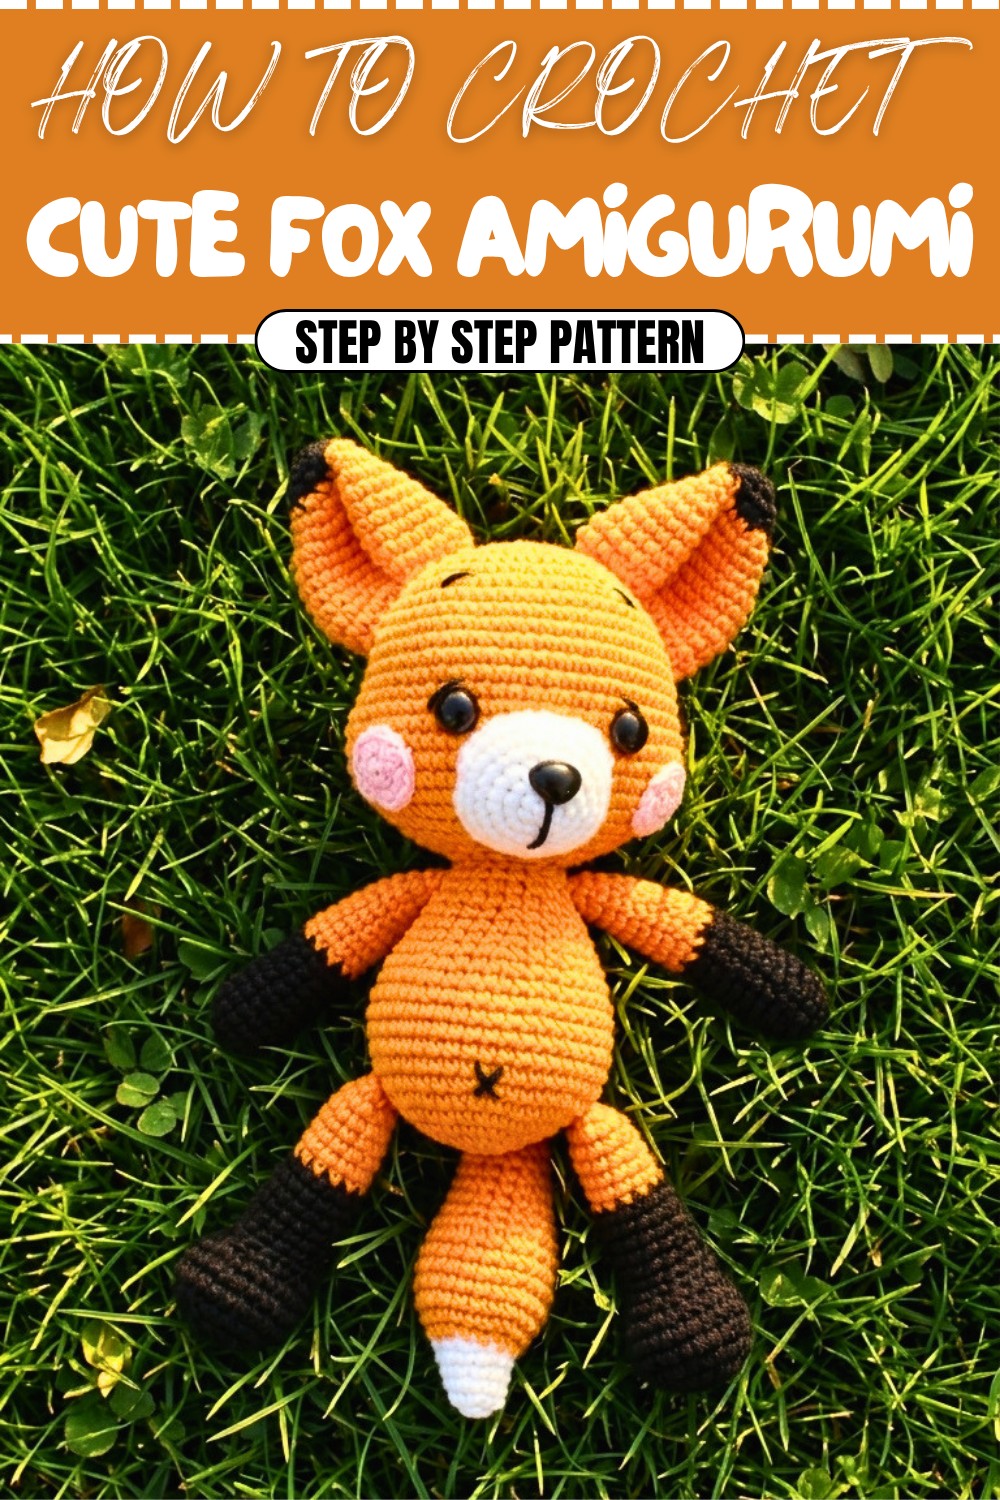
Have you ever wanted to crochet a little woodland friend that’s both adorable and fun to make? The free crochet fox amigurumi pattern is just the perfect project to bring that idea to life. This cute amigurumi fox features a rounded body, pointy ears, and a fluffy tail, capturing the playful spirit of these clever creatures. The texture is smooth yet defined, allowing the color changes and embroidered details to really pop, making it a charming piece to hold or gift.
Free Fox Amigurumi pattern for Nursery Decor
This pattern suits crocheters with some experience working in the round, handling increases and decreases, and changing colors. You’ll begin with a magic ring to create tight, seamless shapes, and build the fox’s form through careful stitch work. Using cotton or a cotton-blend yarn is ideal here, as its firmness helps the stuffed toy keep its shape and highlights the stitch texture beautifully.
Perfect as a handmade gift for kids, nature enthusiasts, or anyone who loves unique amigurumi, this fox can be customized in size by choosing different yarn weights or hook sizes. You can also add your personal touch with embroidery or a fluffy tail attachment. Whether for birthdays, holidays, or just a fun creative session, this pattern encourages you to explore and enjoy the process while making a sweet little keepsake you’ll be proud of.
Crochet Little Fox Amigurumi Pattern
Pattern Notes
- Worked in continuous rounds (spiral crochet) unless otherwise specified.
- Use a stitch marker to keep track of round starts and critical points.
- Stuff with polyester fiberfill (PP cotton) as you go to shape the body parts.
- Color changes occur primarily on the legs and tail; follow instructions carefully to ensure neat transitions.
- Embroidery details, including eyelash and belly button sketches, enhance the final look.
Skill Level
Intermediate — familiarity with magic ring, increases (inc), decreases (dec), half double crochet (hdc), and double crochet (dc) stitches recommended.
Materials
- Medium-weight acrylic or cotton yarn in:
- Main color (orange/red for fox body)
- Black yarn for details (nose, eyes, whiskers)
- White or cream (for blush and eye accents)
- Crochet hook appropriate for yarn (typically 2.5 mm to 3.5 mm)
- Stitch marker
- Polyester fiberfill stuffing
- Yarn needle for sewing and embroidery
- Scissors
Measurements / Finished Size
- Approximately 25 cm (10 inches) tall when completed and stuffed.
Gauge
- Gauge not strict, but aim for tight stitches to prevent stuffing from showing.
- Suggested: About 20 sts and 22 rows per 10 cm square in single crochet.
- Adjust hook as necessary.
Stitch Abbreviations
- ch: chain
- sl st: slip stitch
- sc: single crochet
- inc: 2 sc in the same stitch (increase)
- dec: single crochet two stitches together (decrease)
- hdc: half double crochet
- dc: double crochet
Special Stitches
Magic Ring
Form a loop, insert hook, pull yarn through loop, chain 1 to secure — provides a tight starting circle without holes.
Increase (inc)
Work 2 single crochets into one stitch.
Decrease (dec)
Insert hook into 2 stitches, yarn over, pull through all loops to combine stitches.
The Crochet Pattern
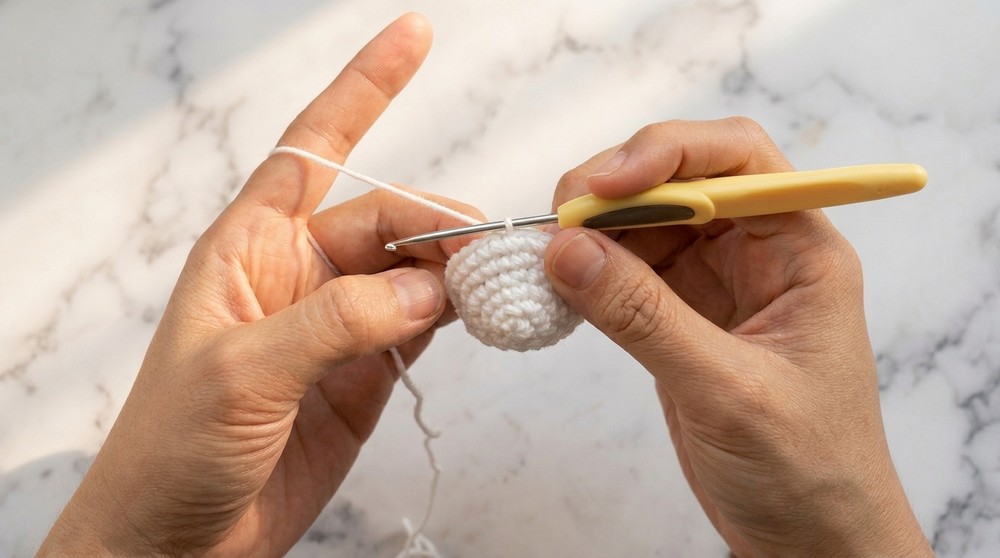
Head
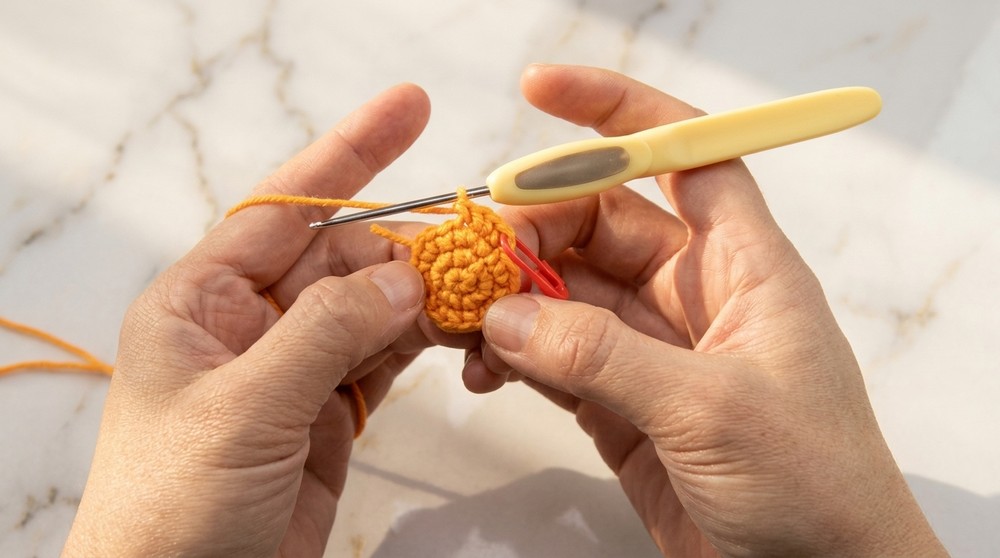
- Foundation:
- Make a magic ring and 6 single crochets (sc) into it.
- Close round with a slip stitch (sl st) into the first stitch.
- Round 2:
- Chain 1 to start.
- 6 increases (2 sc in each stitch) — 12 stitches total.
- Slip stitch to close.
- Round 3:
- Chain 1.
- 1 sc, 1 inc repeat 6 times (18 sts).
- Slip stitch to close.
- Round 4:
- Chain 1.
- 1 sc, 1 inc, 1 sc repeat 6 times (24 sts).
- Slip stitch to close.
- Round 5:
- Chain 1.
- 3 sc, 1 inc repeat 6 times (30 sts).
- Slip stitch to close.
- Round 6:
- Chain 1.
- 2 sc, 1 inc, 2 sc repeat 6 times (36 sts).
- Slip stitch to close.
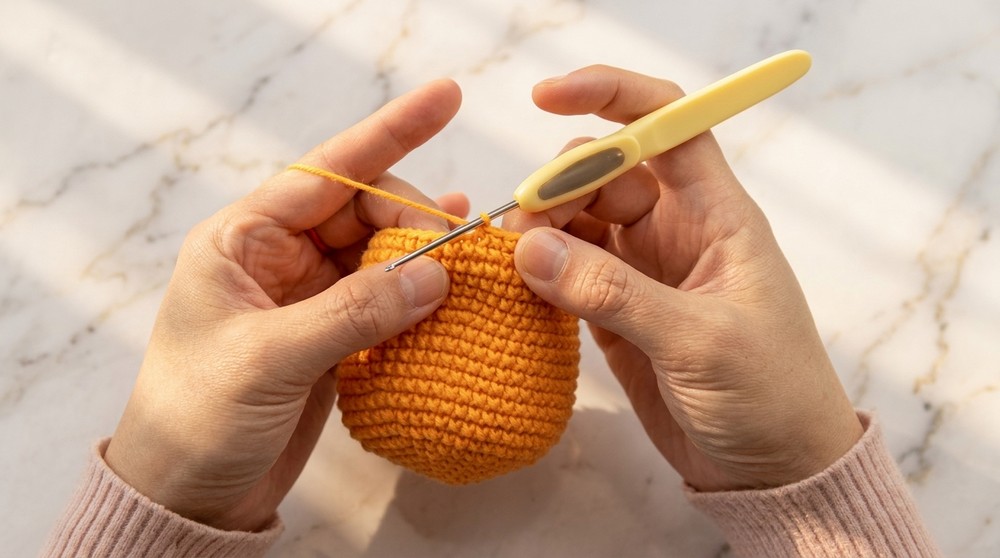
- Rounds 7 to 21:
- Follow diagram or continue with single crochet rounds, maintaining stitch count as per shaping.
- Stitch marker should be used for first stitch each round.
- Round 22 (Begin Decreases):
- Chain 1.
- Work 13 single crochets.
- Then 3 decreases (dec) evenly placed.
- Work remaining 24 sc to end.
- This reduces total stitches to 50.
- Rounds 23 - 27:
- Continue following diagram with decreases to taper.
- Slip stitch at the end of round 27.
- Closing Head:
- Leave a long yarn tail.
- Stuff head firmly with fiberfill.
- Use tapestry needle to close bottom using whip stitch or mattress stitch.
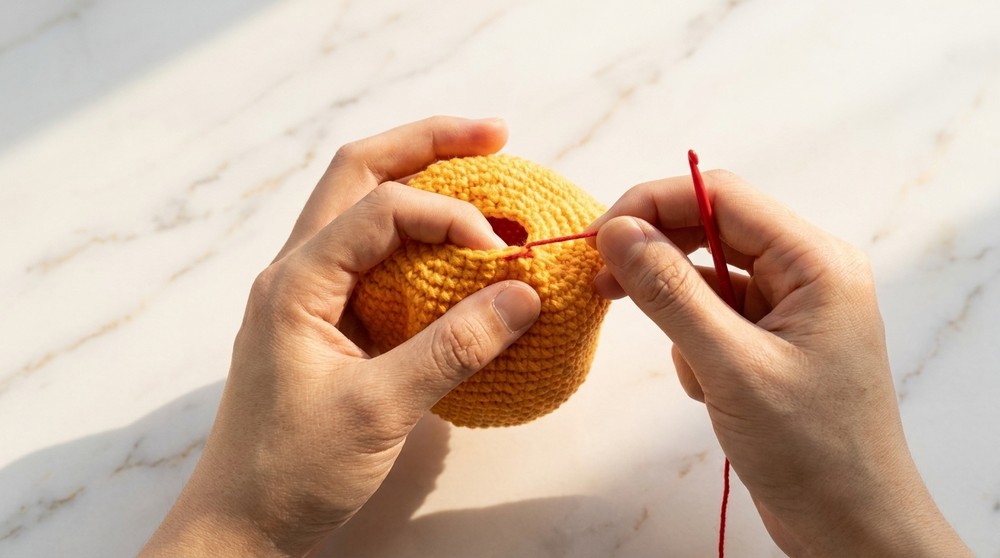
Nose
- Make a magic ring and crochet 6 single crochets (sc) into it, tighten and secure.
- Work rounds 2 to 4 according to diagram (similar in method to the head).
- Round 5:
- Chain 1.
- Work 2 increases (inc) with single crochets, separated by singles as instructed.
- Then crochet 9 half double crochets (hdc) in a row for texture.
- Complete round with increases as per pattern.
- Round 6:
- Work single crochets, increases, and 14 half double crochets as per instructions.
- Round 7:
- Begin with chain 2 (counts as first dc), work 8 double crochets (dc), followed by single crochets and half double crochets as detailed.
- Finish nose by leaving a long tail for sewing.
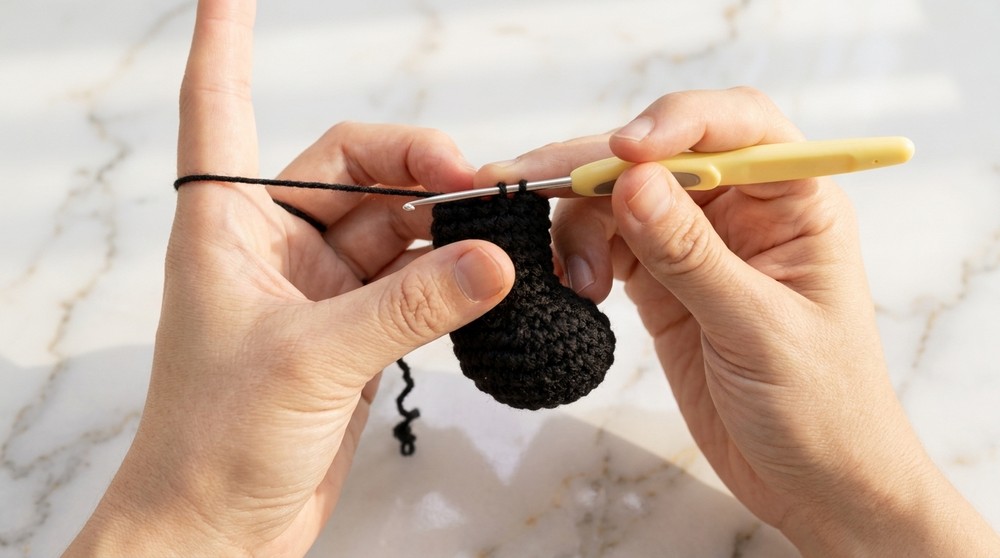
Legs (Make 2)
- Begin with 5 chain stitches (ch).
- Work back along the chains with single crochets (sc) in the specified stitch loops to form a flat, rounded leg shape.
- First round includes an increase (inc) to widen the leg.
- Follow diagram instructions for rounds 2 to 15, including decreases and color changes.
- Change to orange yarn at round 15 while stuffing with fiberfill.
- Slip stitch to close, leaving tail for sewing.
Arms (Make 2)
- Similar proceed as legs, crochet rounded narrow tubular shapes as per diagram.
- Stuff lightly.
- Color changes and decreases will shape the arm form.
Body
- Follow diagram and pattern notes to crochet the torso of the fox.
- Work in rounds, adding increases and decreases to sculpt the torso.
- Stuff firmly.
Ears (Make 2)
- Crochet small triangular shapes with the pattern provided in the video.
- Fold and sew edges to give shape.
- Attach to head as per positioning instructions.
Blush and Eyes
- Crocheted or embroidered blush pieces are sewn symmetrically on the face for a cute effect.
- Embroider eyes or attach safety eyes between rows 16 and 17.
Assembly
- Sew head to body aligning stitches carefully (approx. 18 stitches).
- Sew arms onto sides, positioning as shown in the tutorial.
- Sew legs onto body symmetrically with feet facing forward.
- Attach ears to the top of head.
- Sew muzzle (nose piece) onto face between rows 16 and 17.
- Embroider eyelashes, eyebrows, belly button, and mouth with black yarn per instructions.
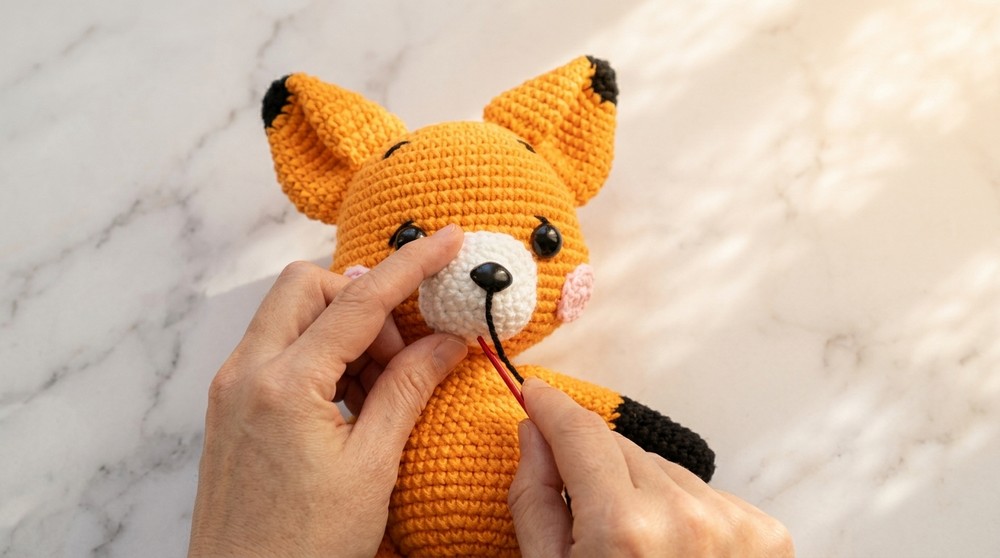
Embroidery Details
- Eyelashes and brows are embroidered with thin black yarn creating delicate diagonal lines around the eyes.
- Belly button is a simple crossed embroidery of two lines on the front body.
- Mouth is embroidered starting under the nose; adjust stitch tension for subtle smiles.
Assembly & Finished Size
- Stuff all pieces firmly but avoid overstuffing to ensure soft yet defined shapes.
- Use long yarn tails for secure sewing with mattress stitch or whip stitch.
- The fully assembled fox is approximately 25 cm tall.
- Your fox can stand or be posed seated depending on stuffing firmness.
Summary
This adorable little fox crochet pattern results in a cuddly amigurumi approximately 25 cm tall. Worked primarily with single crochet (sc) stitches in the round, this pattern uses increases and decreases to shape the head, body, and limbs. Additional features such as ears, nose, blush, and embroidered details bring this fox to life. The pattern is perfect for intermediate crocheters seeking a charming new project.
Conclusion
- This little fox is a perfect project for intermediate crocheters looking to learn shaping and amigurumi techniques.
- Adding facial embroidery and color changes enhances personality and character.
- Careful sewing and stuffing create a durable, adorable toy for gifts or home décor.
- Enjoy your crochet journey, and thank you for practicing with this charming fox pattern!