
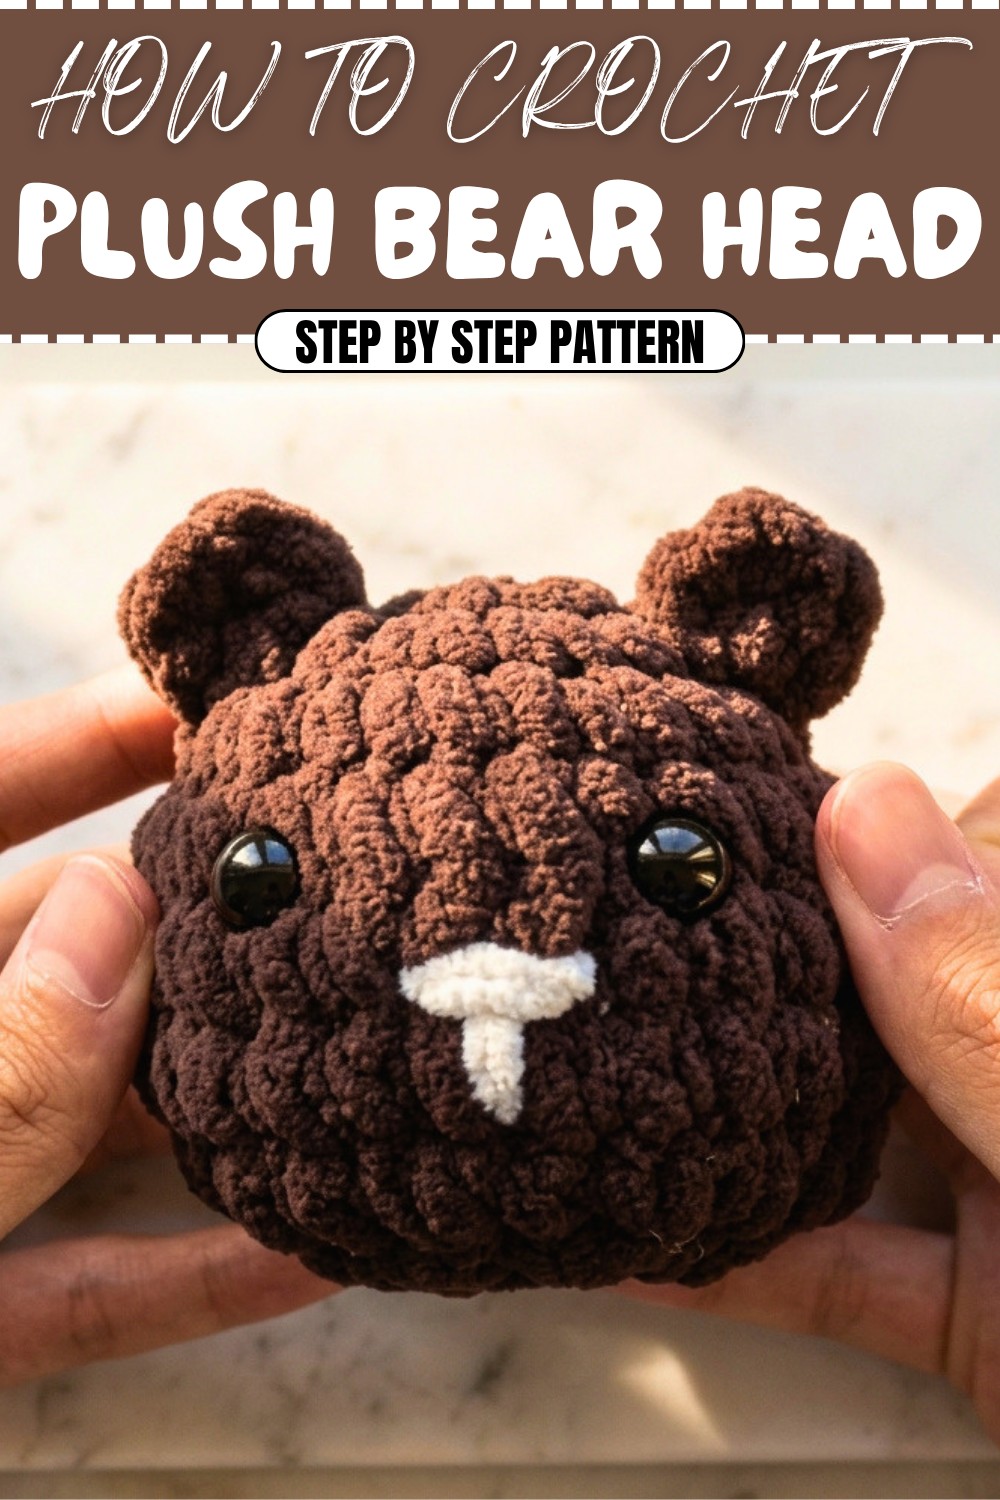
Soft Free Crochet Plush Bear Head Pattern for Whimsical Décor
Solve your gift list with a free crochet plush bear head pattern that's cute, innovative, and ideal for quick and memorable projects.
Creating something soft and cuddly with your own two hands is such a fulfilling experience, and this plush bear head crochet pattern is no exception. Designed with simplicity and charm in mind, this project lets you craft a huggable bear head that radiates warmth and sweetness. Whether you stick to classic warm tones like brown and beige for a natural look or experiment with playful hues like pastel pink or blue, this pattern is a canvas for your creativity. Perfect for nursery decorations, handmade gifts, or even quirky bag charms, the bear’s adorable rounded face and expressive features make it delightfully versatile.
Friendly Free Crochet Bear Head Plush Pattern for Cuddly Keepsakes
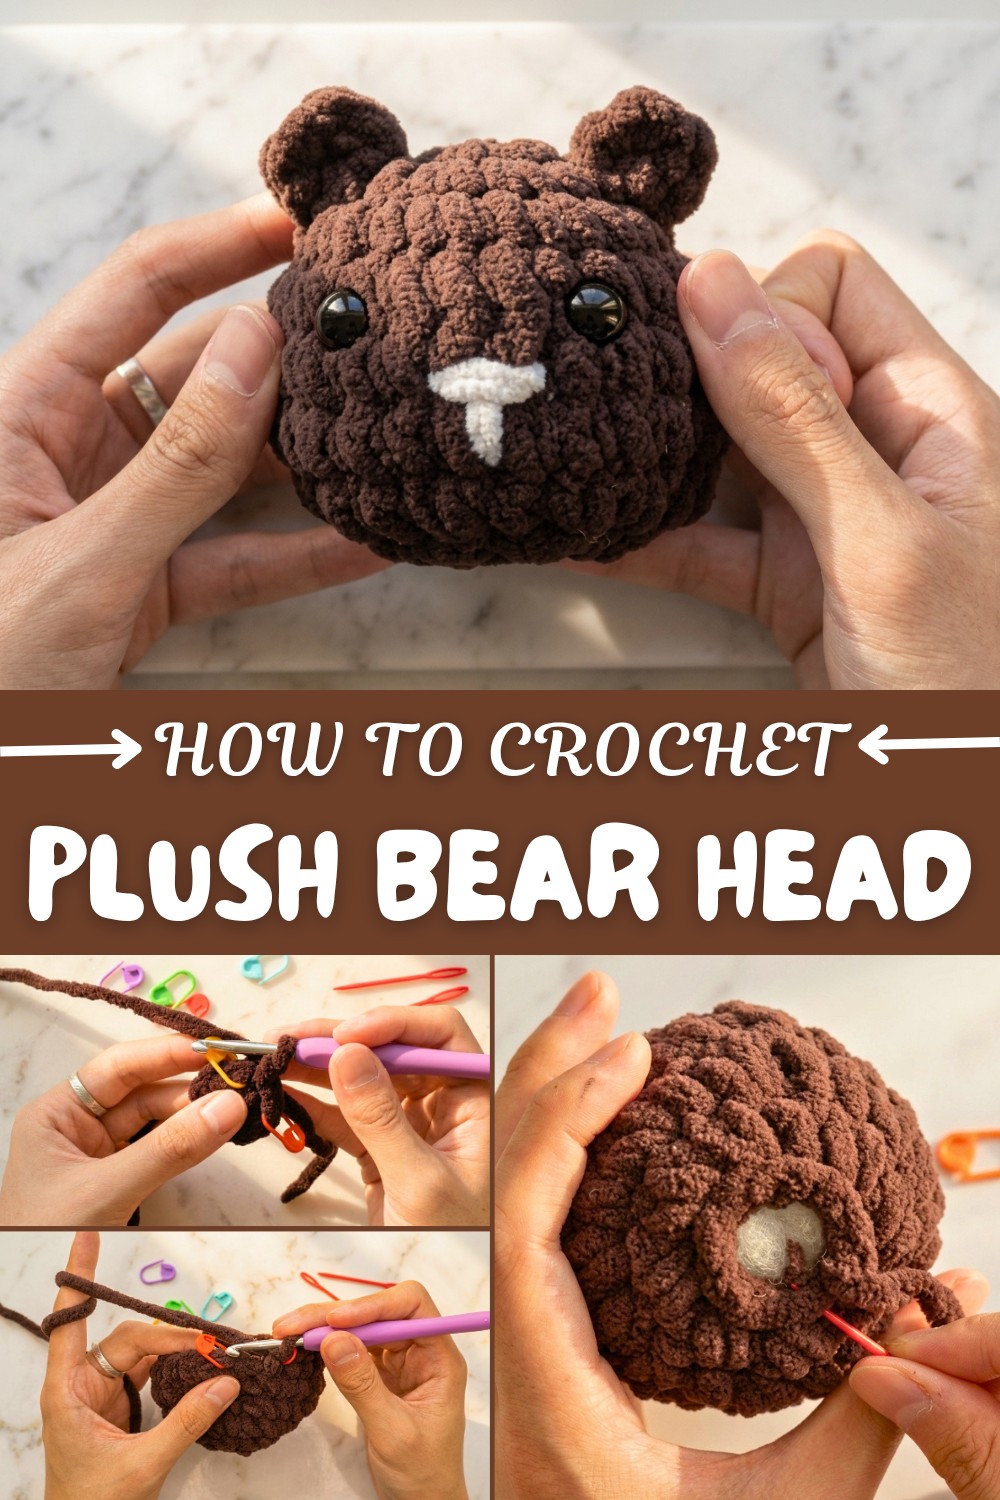
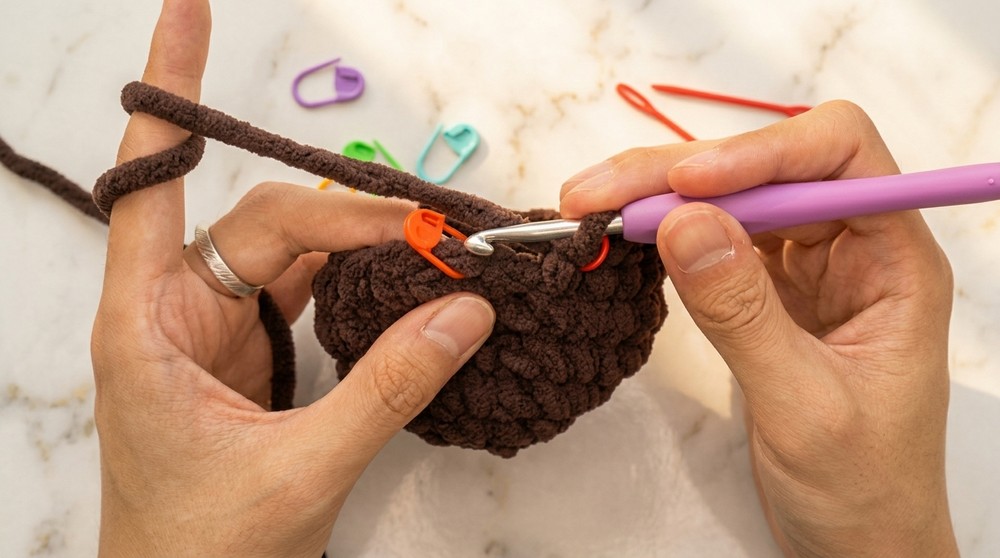
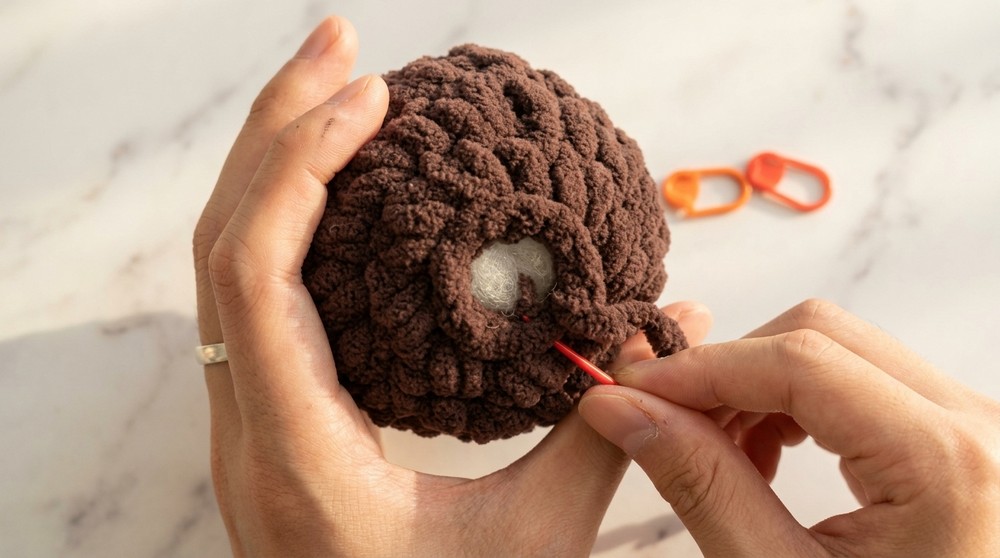
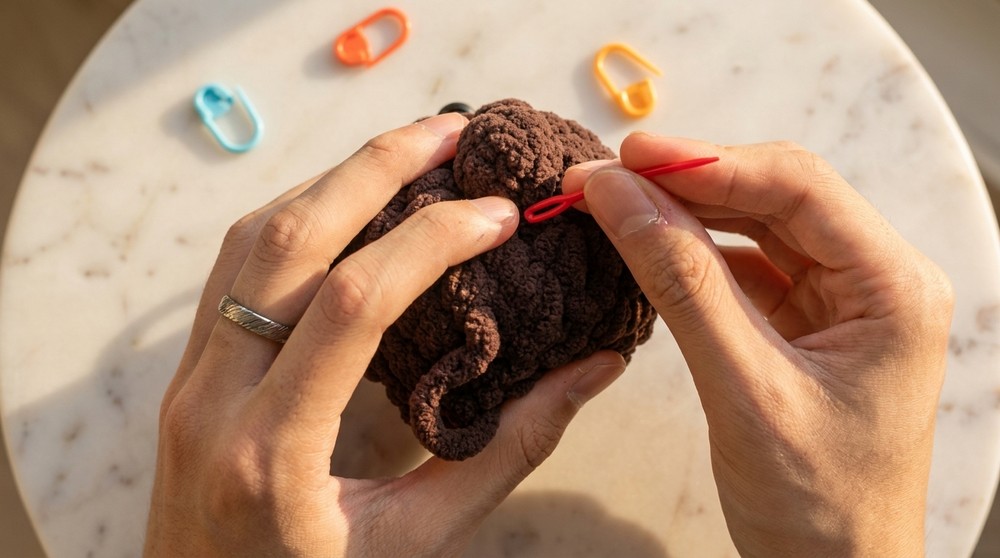
This pattern teaches you how to use basic crochet techniques to bring the bear head to life. You’ll begin with the magic ring, which creates a seamless start to circular shapes, and then use single crochet (SC) stitches, simple increases (INC), and decreases (DEC) to shape the head and ears. These stitches are not only essential for amigurumi but can also be applied to other creative projects like crochet coasters, stuffed animals, or textured appliqués. Finally, you’ll learn to attach safety eyes and embroider a sweet little snout that adds character to your plush bear.
Other Crochet Ideas Inspired by This Pattern
Use the knowledge you gain here to venture into even more fun creations like:
- Full plush bears by adding a body to your crocheted head.
- Animal-themed garlands featuring different-sized bear heads.
- Bag charms or keychains for thoughtful handmade gifts.
- Other amigurumi animals, like rabbits, cats, or foxes.
Why You’ll Enjoy This Pattern
- A quick and rewarding crochet project for all skill levels.
- Great for experimenting with colors and textures.
- Fun, customizable, and perfect for gift-making!
Crochet Soft Bear Toy Pattern
This detailed guide provides step-by-step instructions for creating a soft, adorable crochet bear. The pattern features three main parts: the body, ears, and facial details. Follow along to create a cuddly toy that’s perfect for children, gifts, or home décor. Be patient, and enjoy the process of crocheting this bear.
Introduction
Skill Level: Beginner/Intermediate
Terminology: This pattern uses US crochet terms.
Crocheting this bear involves learning foundational stitches such as single crochet (SC), slip stitch (SS), double crochet (DC), and decrease (DEC). Before beginning, ensure you familiarize yourself with these terms and techniques.
Materials & Tools
- Yarn:
- Brown yarn (body and ears).
- White yarn (nose and mouth embroidery).
- Crochet Hook: 3mm crochet hook.
- Eyes: Plastic safety eyes with backing pads (~8mm diameter).
- Fiber Fill: Stuffing for the bear.
- Markers/Pins: To mark stitches and track positions.
- Yarn Needle: For sewing and adding details.
- Scissors: For cutting excess yarn.
Gauge
Gauge is not crucial for this project. Work tightly to ensure no stuffing shows through.
Abbreviations
| Abbreviation | Meaning |
|---|---|
| SC | Single Crochet |
| SS | Slip Stitch |
| DC | Double Crochet |
| INC | Increase (2 SC in 1 stitch) |
| DEC | Decrease (merge 2 SC into 1) |
| CH | Chain Stitch |
Special Stitch Instructions
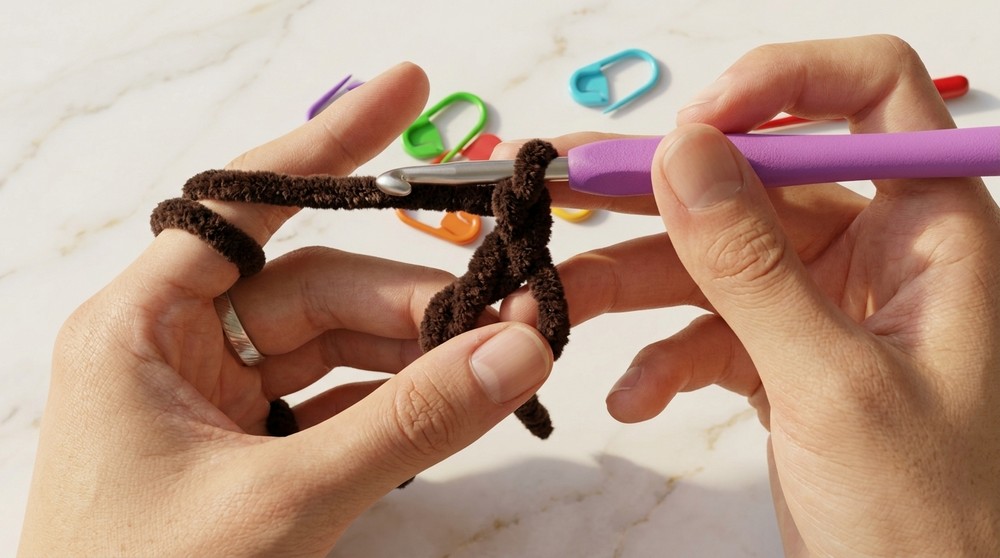
- Magic Ring (MR): Used to start circular crochet seamlessly.
- Increase (INC): Crochet two single crochets into the same stitch.
- Decrease (DEC): Combine two single crochets into one stitch.
Finished Size
The finished bear toy will measure approximately 4–5 inches tall, depending on tension and yarn used.
What You’ll Learn from This Pattern
- The fundamentals of creating 3D shapes with single crochet and shaping techniques.
- How to form a magic ring for seamless starts to any circular project.
- Embroidering simple facial features for added personality.
- Techniques for attaching and placing safety eyes securely.
The Pattern
Part 1: The Body
Round 1 (R1): Magic Ring with 8 SC
- Start with brown yarn.
- Wrap yarn around your left hand to make a magic ring (MR).
- Crochet 8 SC into the magic ring.
- Pull the yarn tail tight to close the ring.
- Join with a slip stitch (SS) into the first SC.
Completion Tip: You’ve created the base of the bear's body. The magic ring should be tightly closed with no gaps.
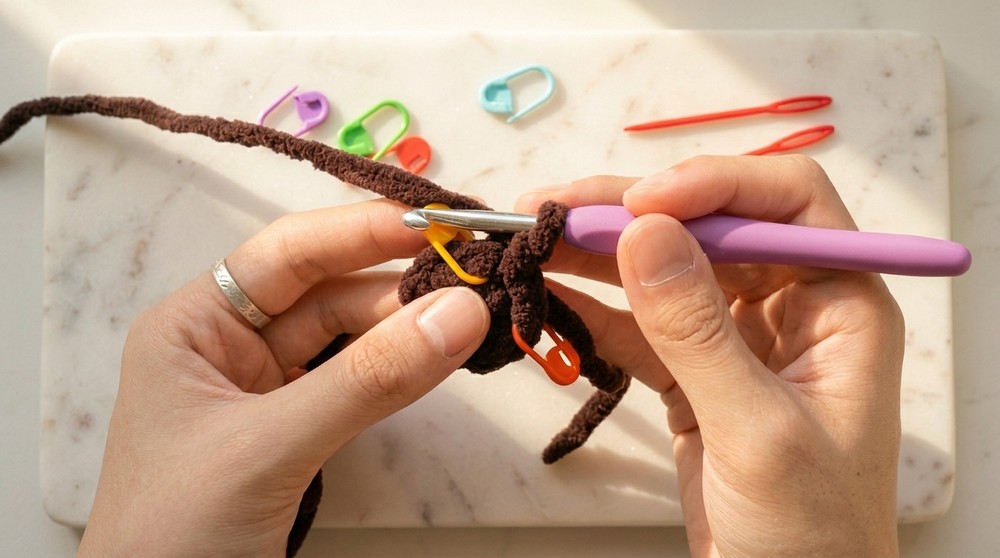
Round 2 (R2): 8 Increases (Total: 16 SC)
- Start with 1 CH (chain stitch).
- Crochet 2 SC in each stitch around (16 SC total).
- Use markers to mark the first and last stitches.
Completion Tip: This round expands the shape evenly. Track your stitches carefully to avoid missing increases.
Round 3 (R3): 1 SC, 1 INC (Repeat x8)
- Begin with 1 CH.
- Crochet 1 SC in the first stitch, and 2 SC in the next stitch (INC). Repeat the 1 SC, 1 INC pattern around (24 SC total).
Completion Tip: The bear’s body begins forming a more rounded shape. Ensure each INC is correctly spaced.
Rounds 4–6 (R4–R6): 1 SC in Each Stitch
- Crochet 1 SC in each stitch (24 SC) for three consecutive rounds.
Completion Tip: These rounds add height and structure to the bear’s body. Mark your first and last stitches for accuracy.
Round 7 (R7): 1 SC, 1 DEC (Repeat x8)
- Start with 1 CH.
- Crochet 1 SC, then decrease (DEC) by merging two SCs into one SC, and repeat the pattern for a total of 16 stitches.
Completion Tip: Round 7 narrows the shape for the bear’s neck. Practice slowly if you're new to decreases.
Round 8 (R8): 8 Decreases
- Crochet 8 consecutive decreases (DEC) to close the top of the bear’s body.
- Leave a yarn tail for sewing later.
Completion Tip: This concludes the circular base of the bear’s body. It should resemble a stuffed oval when filled.
Part 2: The Ears
Ear Placement
- Locate points between rounds 2 and 3, aligned with the bear’s safety eyes. Use pins to mark two symmetrical positions.
Ear Shape
- Step 1: Attach brown yarn at the marked position using a slip stitch (SS).
- Step 2: Crochet 1 chain stitch (CH).
- Step 3: Crochet 2 double crochets (DC) into the same stitch.
- Step 4: Crochet 1 chain stitch (CH).
- Step 5: Finish with a slip stitch (SS).
Completion Tip: Repeat for the second ear on the opposite side. Once completed, each ear will appear rounded and soft.
Embroidery: Nose and Mouth
Facial Details
- Use white yarn to outline the bear’s nose and mouth.
- Begin from the center point below the eyes and stitch the outline in a triangular shape for the nose, followed by a downward curve for the mouth.
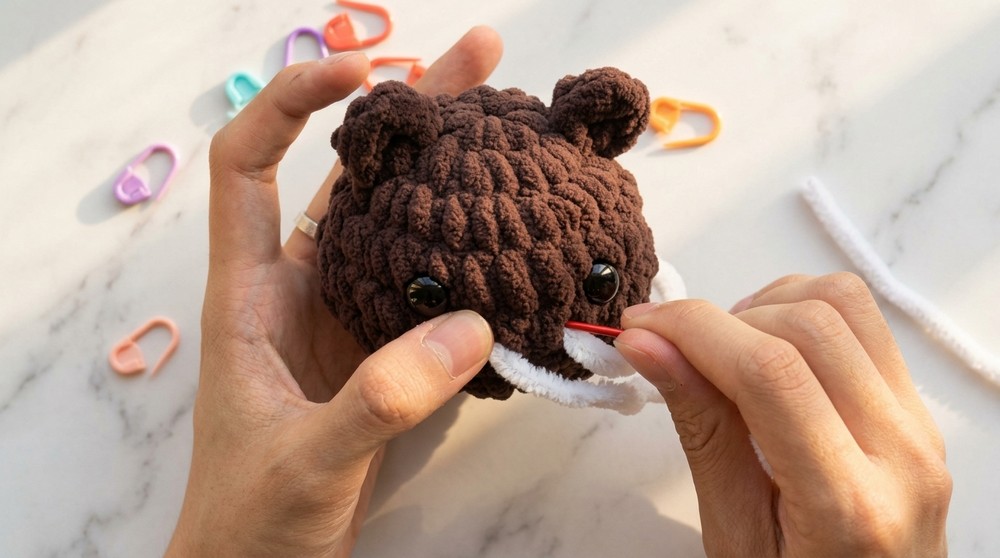
Completion Tip: These simple details give the bear personality. Take your time to stitch evenly.
Assembly & Finishing
Step 1: Install Safety Eyes
- Place eyes between rounds 4 and 5, spaced five stitches apart.
- Secure with a safety pad on the back of each eye.
Step 2: Stuff the Body
- Fill the bear’s body with fiber fill. Do not overfill to maintain softness.
Step 3: Close the Bottom
- Thread the yarn tail through a suture needle.
- Pass through the front loops of each stitch at the bottom in succession.
- Pull tight to close the gap, then knot and hide the excess yarn inside the body.
Final Words
Congratulations! Your crochet bear toy is now complete. This beginner-friendly project uses simple stitches to craft a versatile and heartwarming handmade item. Experiment with different yarn colors or add accessories to give your bear unique character.