
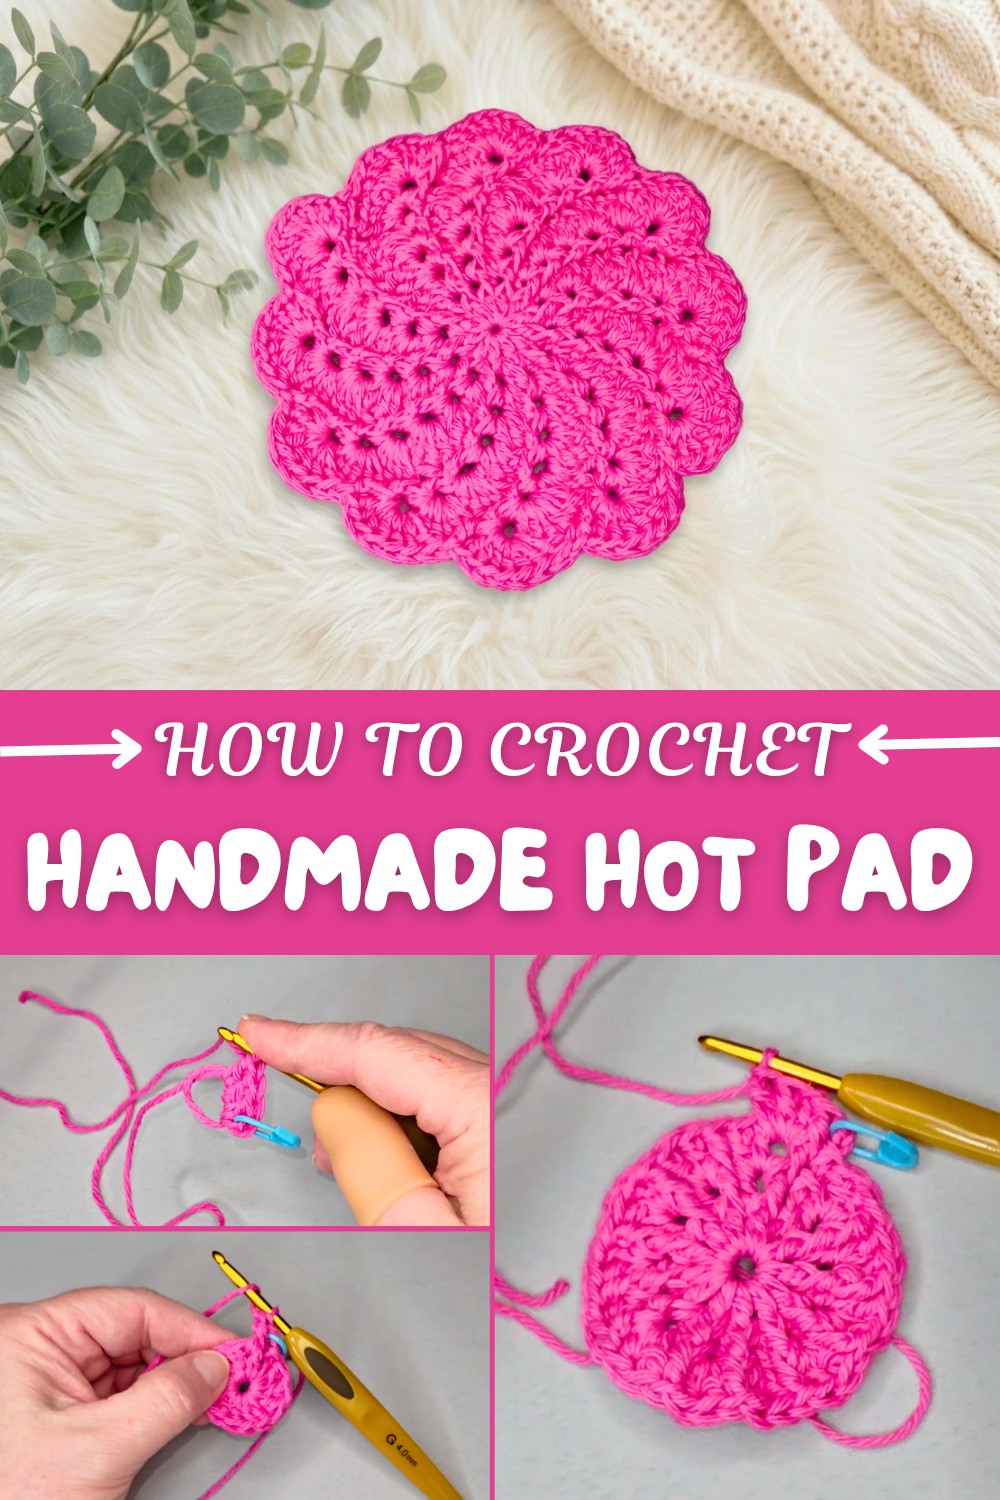
Crochet Hot Pad Free Pattern for Unique Home Decor
Protect your surfaces from heat with this free crochet hot pad pattern using 100 percent cotton yarn that is beginner friendly and quick to stitch for practical kitchen use.
Adding style and function to the kitchen becomes easier with handmade accessories. Using the Free Hot Pad Pattern, crocheters can crochet a spiral coaster that not only protects surfaces from hot dishes but also enhances kitchen décor. Made with 100% cotton yarn, this pattern offers durability and heat-resistance, making it a reliable choice for everyday use.
Free Crochet Hot Pad Pattern for Your Kitchen
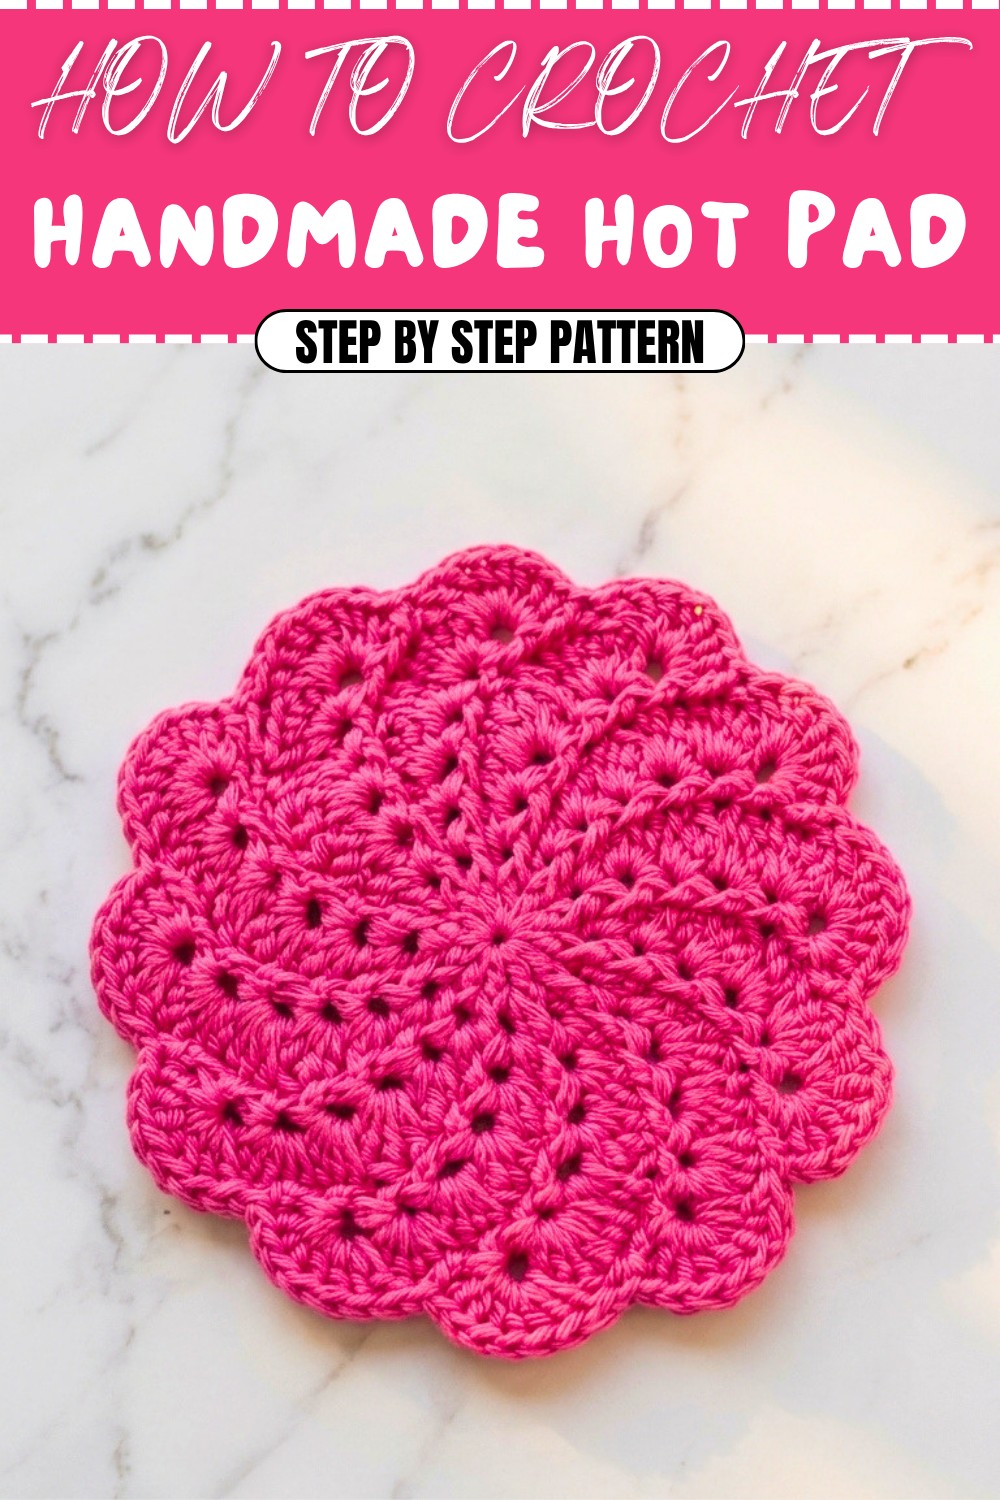
The spiral design paired with scalloped edges creates a unique look, and the combination of front post double crochet stitches with regular double crochets forms a pad that’s both visually appealing and sturdy. With every round, the gradual increase in stitches shapes the shell-like curves and emphasizes the spiral pattern. Choosing bright, solid-colored cotton yarn lets the intricate details stand out and brings a cheerful accent to the kitchen.
Designed with beginners in mind, the pattern features a magic ring or chain-four start and guides users on utilizing stitch markers for accuracy. Step-by-step instructions simplify techniques such as front post stitches, making the process easy to follow and quick to finish, whether new to crochet or experienced.
Before You Start
- Review the full pattern and instructions before beginning.
- Use 100% cotton yarn for heat resistance—acrylic will melt if exposed to hot cookware!
- Set aside quiet, focused time as working with front post stitches may be new for beginners.
- Gather the correct hook size for your chosen yarn.
- Have a stitch marker handy; it’s very helpful for marking the start of rounds.
Practical and personal, the finished hot pad works well as a housewarming gift or a thoughtful addition to a friend’s kitchen. The Free Hot Pad Pattern delivers a combination of functionality, creativity, and color, making it a worthwhile project for anyone interested in handmade home accessories.
Spiral Shell Hot Pad / Trivet Crochet Pattern
This beautiful spiral hot pad (or trivet) is a beginner-friendly, highly textured kitchen project that's as functional as it is stylish. Written in a thoroughly explained and sequential format for all crocheters.
Special Notes
- Pattern is worked in joined, not continuous rounds.
- Chains at the beginning of the round do not count as a stitch, but must be marked to identify round starting points.
- Each round increases the number of “standing” (regular) double crochets in each shell section.
- The post stitches create an overlapping, scalloped "spiral shell" appearance.
- For best results, maintain consistent tension.
- The hot pad is worked from center out; no separate edging or border required.
Process To Crochet Pattern?
- Began with a magic ring and basic center of double crochets.
- Built a spiral shell look by alternating post and standing double crochets with increases each round.
- Used a marked chain to guide round starts—critical for a tidy, even pattern.
- Simple joining and weaving in ends for professional finishing.
Skill Level
Beginner (adventurous beginner; some comfort with double crochet and post stitches will help)
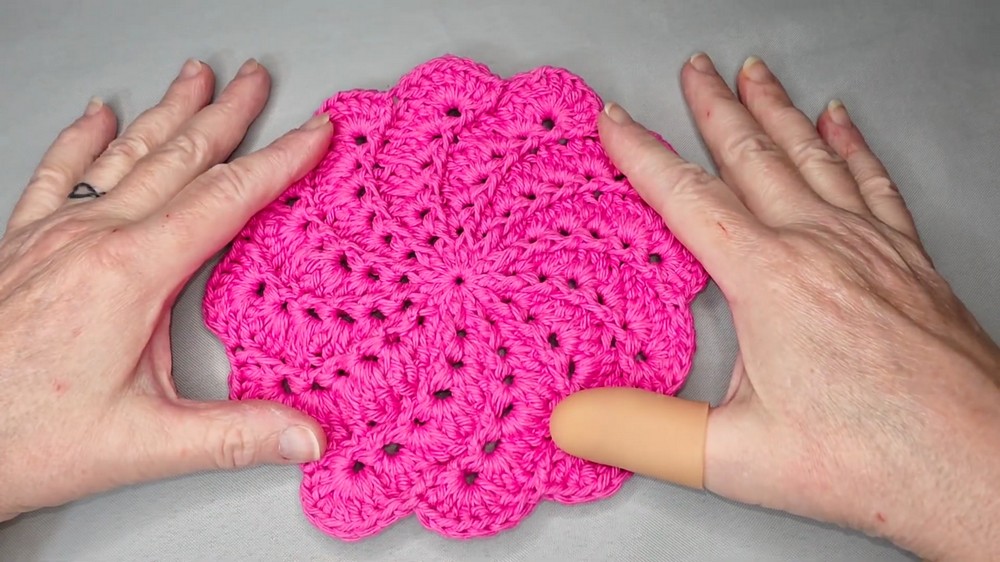
Finished Size
- Approximately 7”–8” (18–20 cm) across when worked in worsted cotton and 4mm hook.
Materials
- Worsted weight 100% cotton yarn (Loops & Threads Cotton "Fuchsia" as shown, or color of your choice)
- Approx. 120 yards for one pad
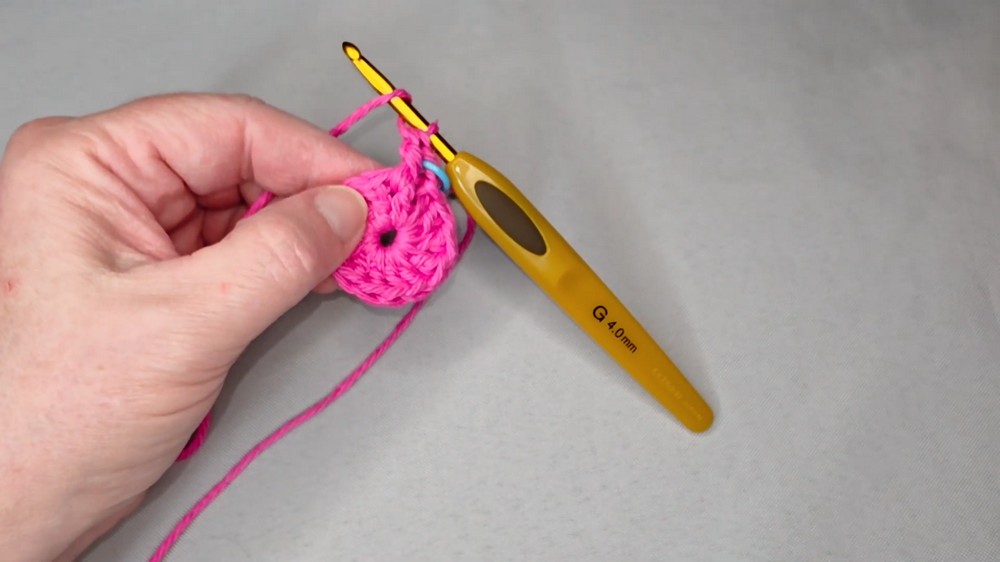
- 4 mm crochet hook (G size)
- Stitch marker
- Scissors
- Yarn needle
Measurements / Sizing
- One hot pad is about 7–8 inches (18–20 cm) in diameter
Gauge
- Gauge is not critical. For reference only:
- 4 rounds = approx. 4” diameter
Stitch Abbreviations
- ch – chain
- dc – double crochet
- fpdc – front post double crochet
- sl st – slip stitch
- st – stitch
- mr – magic ring
Special Stitches
Front Post Double Crochet (fpdc):
Yarn over, insert hook from front to back around the post of the stitch indicated (instead of into the top two loops), yarn over and pull up loop (3 loops on hook), [yarn over, pull through two] twice.
Magic Ring (mr):
Make a loop; hold with thumb and finger, insert hook and draw up loop, ch 1 to secure, then work stitches into the loop.
The Pattern!
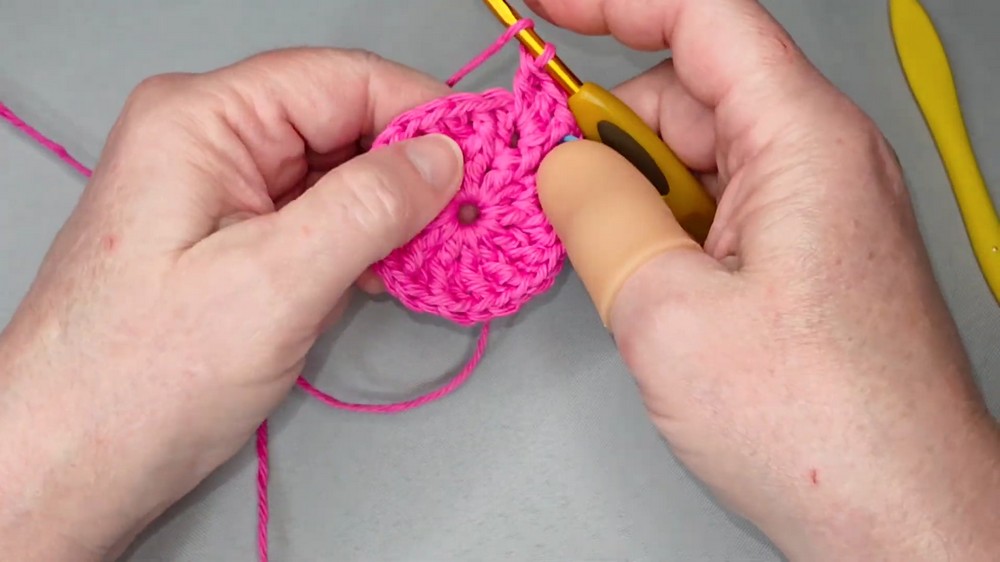
Round 1: Center
- Make magic ring (or ch 4, sl st to first ch to form a ring).
- Ch 2 (does NOT count as a stitch; mark this chain with a stitch marker).
- 12 dc into the ring.
- Pull ring tight to close the center.
- Sl st into the space just in front of the ch-2 to join the round.
- Remove marker.
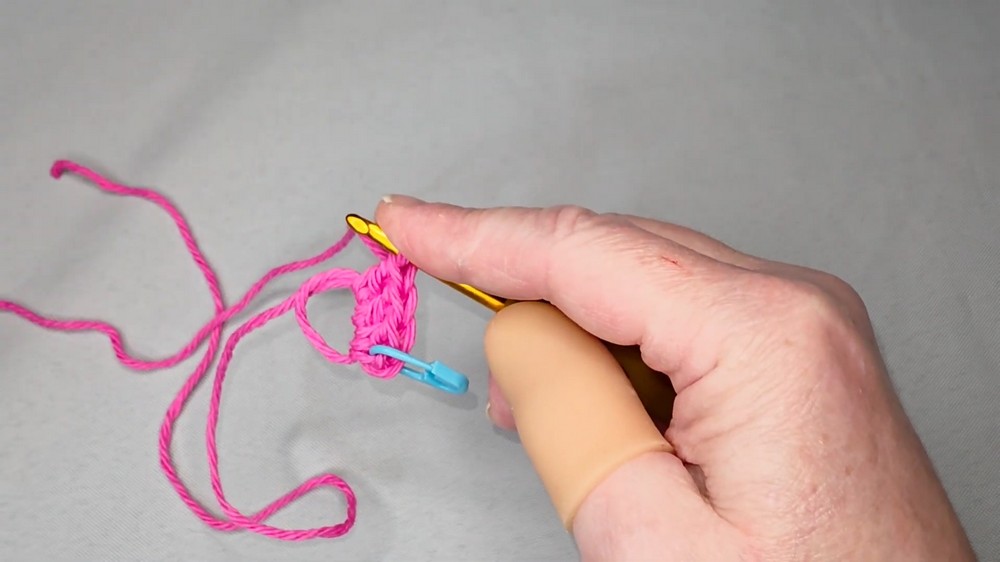
You have created a classic double crochet circle. The ch-2 is your visual guide but not a "real" stitch for counting.
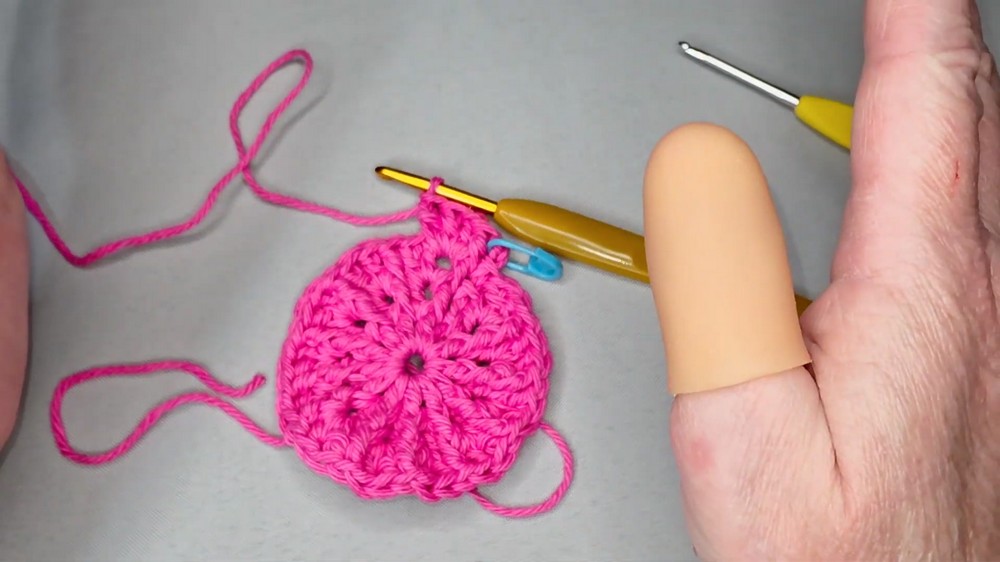
Round 2: Begin Spiral Shell Pattern
- Ch 2 (mark with stitch marker).
- [Fpdc around next dc, dc in the space after this stitch]—repeat around (12 times in total).
- Sl st in the ch-2 space at the start of round to join.
- Remove marker.
You are alternating wrapping your stitch around the post (fpdc) and then working a double crochet into the space beside it, which will build the initial shell spiral. Verify you have 12 fpdc and 12 dc total in this round.
Round 3: Add to the Shell
- Ch 2 (mark with stitch marker).
- [Fpdc around next fpdc, 2 dc in the next open space]—repeat around (12 shell sections).
- Sl st into ch-2 at start of round to join.
- Remove marker.
Here you’re building the texture: each round increases the number of standing double crochets between the front post stitches. Your round should end with 12 fpdc and 24 dc.
Round 4: Continue Spiral Growth
- Ch 2 (mark with marker).
- [Fpdc around next fpdc, 3 dc in the space after fpdc], repeat around.
- Sl st in ch-2 to join.
Notice each shell "fan" grows by one dc each round. The shells will swirl as the spaces get wider and taller.
Subsequent Rounds (Rounds 5–9): Growing the Spiral
- Repeat as established:
- Ch 2 (mark as usual).
- Fpdc around next fpdc, then work one more dc in each space than previous round. (I.e., Round 5 has 4 dc in each space, Round 6 has 5 dc, … up to Round 9 having 7 dc between each fpdc).
- Sl st at round end, remove marker, and ch 2 (replace marker for next round).
Continue this pattern, increasing the standing dc in each section by one every round, until you reach 7 dc in each shell/fan.
Pattern in Plain English:
Start with a flat circle, then alternate fpdc and dcs in the spaces between them. Each time you go around, you put one more dc in each "fan" section, so the shells grow and the whole piece gets wider and more beautifully scalloped. Always mark your chain 2 so your rounds stay even!
Assembly & Finishing
- Fasten off after completing your final round (after 7 dc per shell/fan).
- Use the yarn needle to weave in ends securely into the back of the work.
- Gently hand block to shape if needed (spritz lightly with water, pat flat).
- Optional: Add a loop to hang, by chaining 10 with leftover yarn at a shell tip and securing back to the trivet.
Solution of Problem
- Problem: Hot pad curls or cups instead of lying flat.
Solution: Check your stitch count: skipping a dc or fpdc makes it ruffle. Provide consistent tension and block to flatten. If it continues to curl, try a larger hook size for a looser fit. - Problem: Center has a hole or gap.
Solution: Pull the magic ring tail firmly before weaving in. If a hole remains, thread the yarn tail through the base stitches, pull, and secure. - Problem: Lost track of round start or chain two area.
Solution: Always use a stitch marker in your chain-2 space at round start—move it up each round.
What You Can Make by Using These Stitches
- Kitchen hot pads (trivets)
- Large, flat table mats or platters
- Decorative wall hangings
- Unique cushion covers (by making a pair and seaming)
- Thick coasters (smaller size)
- Spiral dishcloths or spa cloths (with softer cotton)