
Free Crochet Rose Bouquet Coaster Pattern Perfect for Gifts
Try this Free Crochet Rose Bouquet Coaster Pattern to add a simple and pretty touch to your table, perfect for any occasion.
If you adore pretty and practical crochet projects, the Free Crochet Rose Bouquet Coaster Pattern is perfect for you. This pattern is a wonderful way to bring both beauty and usefulness to your living space, combining lovely floral design with something you can use every day.
Crochet Rose Bouquet Coasters for Spring – Free Pattern
One thing that makes this crochet coaster so special is its charming rose bouquet design. Each coaster is shaped like a cluster of blooming roses with delicate leaves tucked around the edges. The roses have a gentle, three-dimensional look, which adds a soft and elegant texture to the coaster. You can make the flowers in classic red, soft pinks, yellows, or even use your favorite colors for a bright and cheerful look.
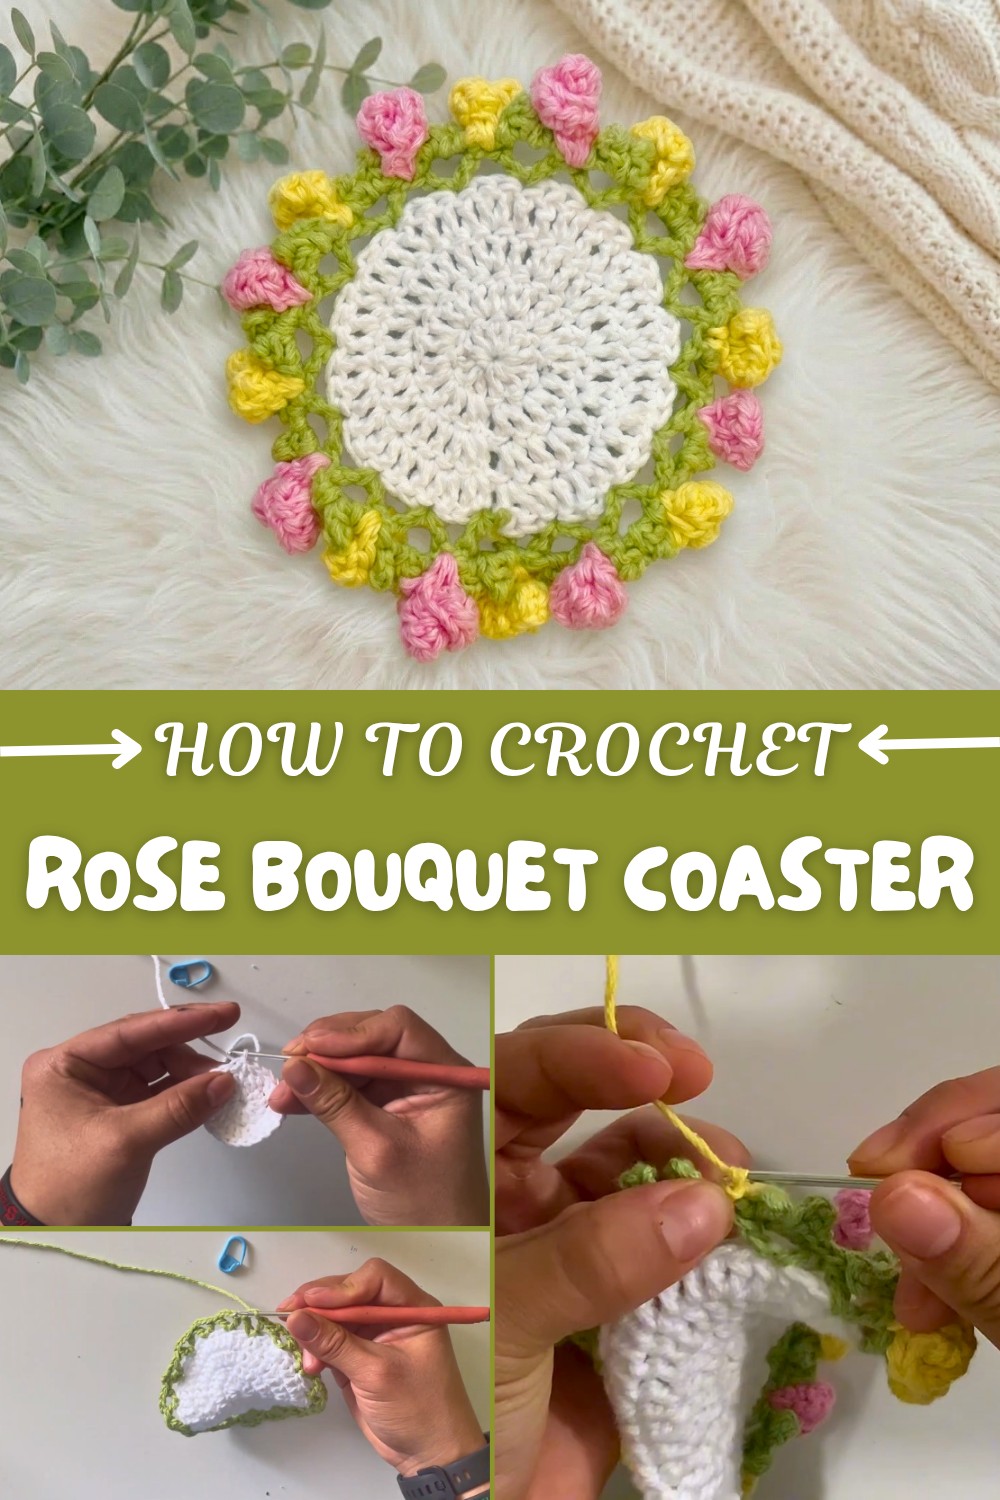
The size is just right for mugs, cups, or even small bowls, so these coasters are very practical for your kitchen or coffee table. They help protect your furniture from heat and water spots, while also adding a handmade touch of style. The flower petals are slightly raised, and the leaves have a gentle curve, making every coaster feel unique and special.
Another wonderful thing about this pattern is how easy it is to personalize. You can mix and match yarn colors to create bouquets for every season, fresh pastels for spring, bold colors for summer, or even deep reds and golds for a cozy fall vibe. Plus, these coasters make lovely gifts for friends, teachers, or anyone who loves flowers.
The Free Crochet Rose Bouquet Coaster Pattern is both pretty and practical. It's a quick project, but the detailed flower and leaf designs make each one look special. If you want to add a touch of crochet beauty to your home or your next gift, this is a great pattern to try.
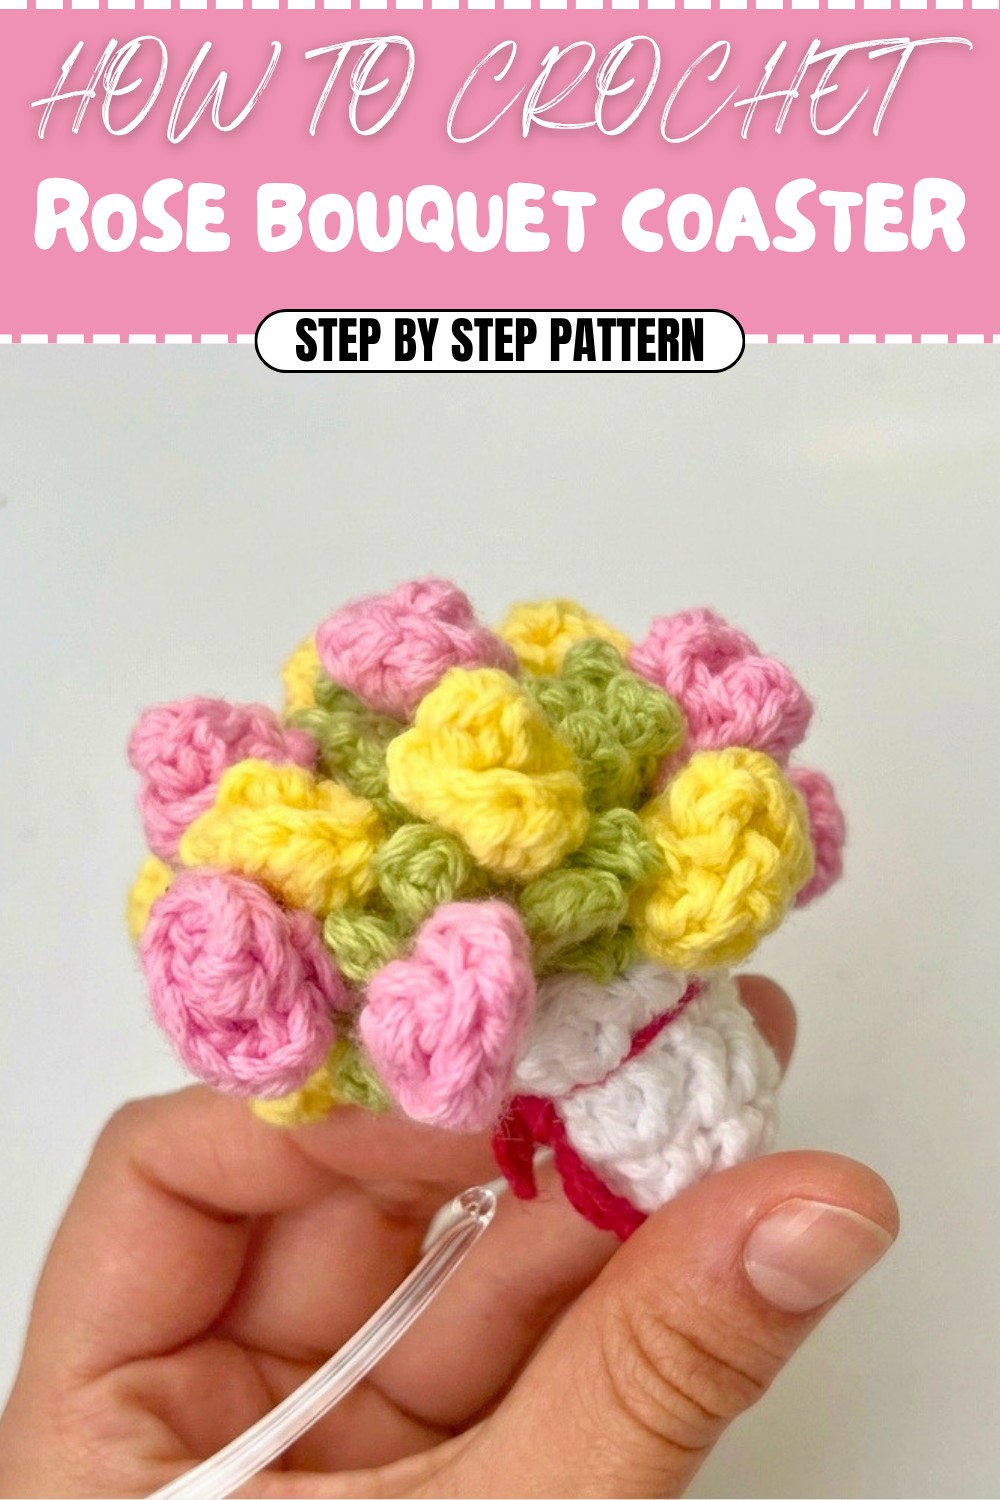
Crochet Mini Flower Bouquet – Step by Step Pattern
Pattern Notes
This tutorial shows you how to create a beautiful and charming mini bouquet of spiral flowers with a textured round base, perfect as a decorative element or an amigurumi accessory. The project uses continuous rounds and basic crochet stitches. Each part is followed by a plain explanation for those who prefer descriptions over standard pattern notation.
Skill Level
Beginner to Intermediate:
Familiarity with making a magic ring, crochet in the round, double crochet (dc), half double crochet (hdc), increases, and basic assembly is recommended.
Materials
- Yarn: Fine weight (e.g., Abuelita Delgado) in a variety of colors (white, green, yellow, pink, etc.) for the flowers and base.
- Crochet hook: 2.5 mm (adjust to match your yarn for tight stitches)
- Stitch marker (for marking rounds)
- Scissors
- Yarn needle
Measurements / Sizing
Finished bouquet base diameter: Approx. 5-6 cm.
Each spiral flower measures about 2-3 cm across (varies based on yarn and hook).
Gauge
Gauge is not crucial but stitches should be firm so the bouquet holds its shape.
Suggested: 10 dc x 6 rows = 5 cm square
Stitch Abbreviations
| Abbreviation | Meaning |
|---|---|
| ch | chain |
| sl st | slip stitch |
| sc | single crochet |
| hdc | half double crochet |
| dc | double crochet |
| inc | increase (2 sts in 1 st) |
| MR | magic ring |
| st(s) | stitch(es) |
| FO | fasten off |
Special Stitches
- Magic Ring (MR): Make a loop, work stitches into the loop, then pull closed for a tight circle.
- Double crochet (dc): Yarn over, insert hook into stitch, yarn over and pull up loop, yarn over, draw through 2 loops, yarn over, draw through remaining 2 loops.
- Half double crochet (hdc): Yarn over, insert hook, yarn over, pull up loop, yarn over, pull through all 3 loops on hook.
The Pattern
Bouquet Base (Basket/Flower Holder)
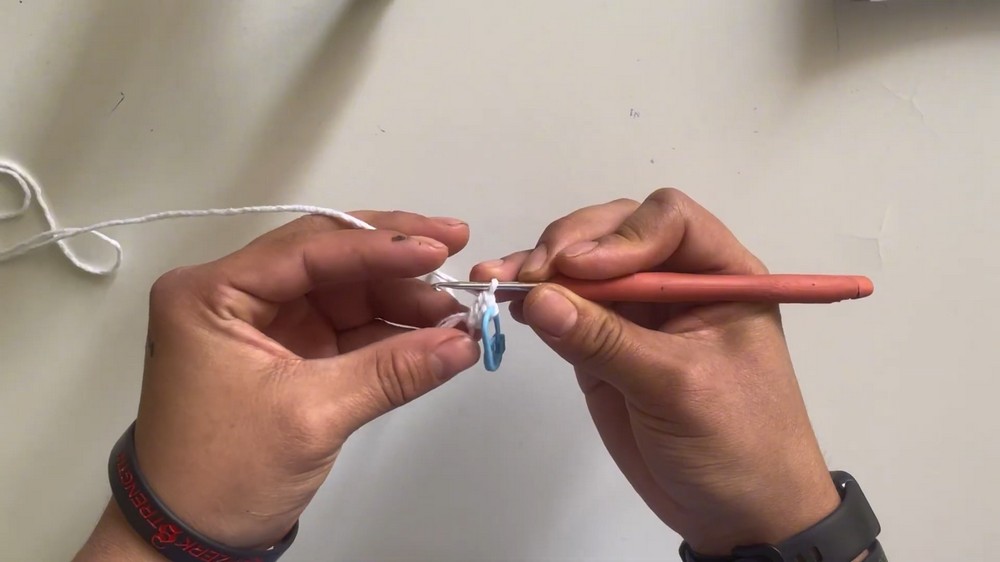
With white or base color yarn:
- Make a MR (magic ring), ch 2, 11 dc into ring (counting ch-2 as the first dc). (12 dc)
- Join with sl st in 2nd ch of starting ch-2. Place marker.
- Ch 2, dc inc in each dc around. (24 dc)
- Join, ch 2, [dc, dc inc] around. (36 dc)
(1 dc in next st, 2 dc in next st, repeat around) - Join, ch 2, [2 dc, dc inc] around. (48 dc)

Fasten off and weave in all ends on the back side.
Plain explanation:
You begin with a magic ring and work several rounds of increasing double crochets, creating a flat, round base like a mini doily or coaster. You increase the number of stitches each round for a smooth-growing circle.
Lacy Edge and Leaf Round
With green yarn:
- Join yarn in any stitch, ch 2 (counts as dc),
[dc in same st, ch 3, dc in same st] (V-stitch made),
Skip 2, in next st work V-stitch (dc, ch 3, dc).
Continue [skip 2 sts, V-stitch in next st] around.
Sl st to 2nd ch of first V-stitch to close.

You will have multiple V-stitches evenly spaced around.
Leaves:
7. Sl st into first ch-3 space of any V-stitch. Ch 3. In first and second chs, work 1 sc, sl st into V-stitch space. Repeat [ch 3, 1 sc in first ch, 1 sc in second ch, sl st to V-stitch space] in each ch-3 space around.
Fasten off and hide ends.
Plain explanation:
Switch to green and work "V" shapes (dc, ch 3, dc) evenly around the edge to make holes. In each hole, chain up and make two single crochets to create tiny leaves, giving a natural look to the edge.
Spiral Flowers (Make as many as you like in assorted colors)
With flower color:
- Fasten yarn into any space between leaves on bouquet base with a sl st.
- Ch 7. Turn, hdc inc in 2nd ch from hook and in each chain across (2 hdc in each ch) (12 hdc).
- After last hdc inc, roll the strip into a spiral (flower shape). Insert hook into base at the center of spiral, sl st to secure flower to base.
- Sl st again to back of flower for secure join, ch 1, FO and weave in end.
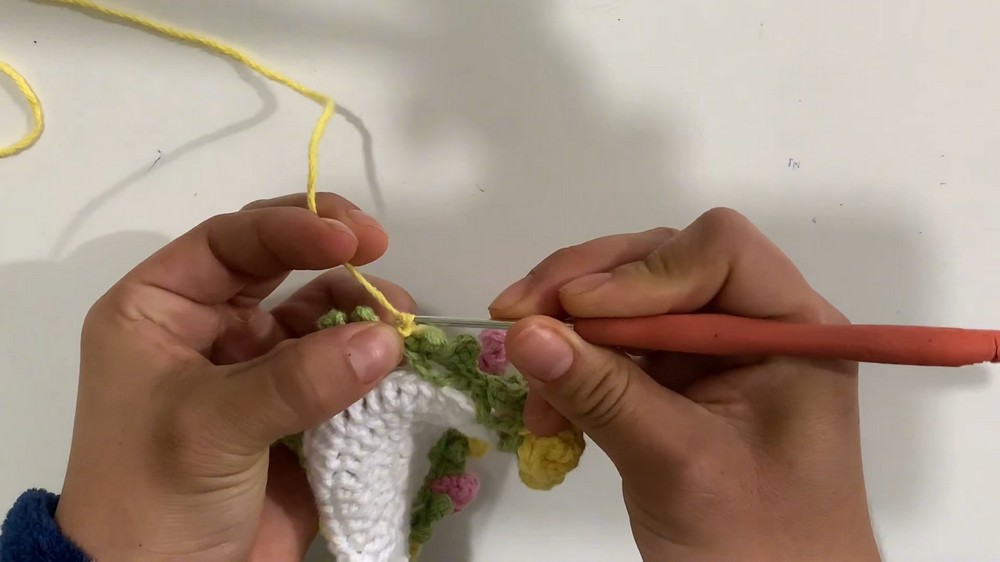
Repeat in adjacent leaf-space with a new color for each flower.
Plain explanation:
To create the flowers, work in each space between leaves. Chain 7, then do two half double crochets in each chain on the way back. This quickly forms a curled strip. Coil (spiral) the strip into a flower shape, attach it at the center by inserting the hook through the flower to the base, and slip stitch to join. Repeat with new colors until your bouquet is as full as you like.
Bouquet Assembly & Bow
- When all flowers are added, fold the bouquet base gently in half to create a natural "bunch" shape.
- With thin ribbon or matching yarn, tie a simple bow tightly around the center of the bouquet to secure. FO and trim tails neatly.
Plain explanation:
Gather the completed base with flowers, fold it slightly to make a compact bouquet, and tie a cute bow around the stems with yarn or ribbon. This holds the flowers tightly together for a finished look.
Conclusion
You now have a beautifully textured mini crochet bouquet with a scalloped leaf edge and cheerful spiral flowers. With easy rounds, V-stitches, and simple spirals, you can customize colors for every flower and use up small yarn scraps. Add more flowers for a fuller bouquet, or keep it simple for a delicate look. This project makes a charming gift or the perfect accessory for handmade dolls!