
Free Crochet Hanging Plant Pattern to Hang Beside a Shelf
Use this free easy crochet pattern to make a fun hanging plant that’s ideal for decorating your living space or gifting to a friend.
Hanging decor has never looked so adorable. With its charming shape and lush green vines, this crochet hanging plant instantly brightens any room. Its soft texture and intricate details bring a cozy yet stylish vibe to your space, making it a standout piece for home or car decor. The little pot, with its neat and sturdy base, holds soil and vines that cascade gracefully, adding a touch of natural beauty that doesn’t need watering.
Free Crochet Hanging Plant Pattern for Small Apartment Decor
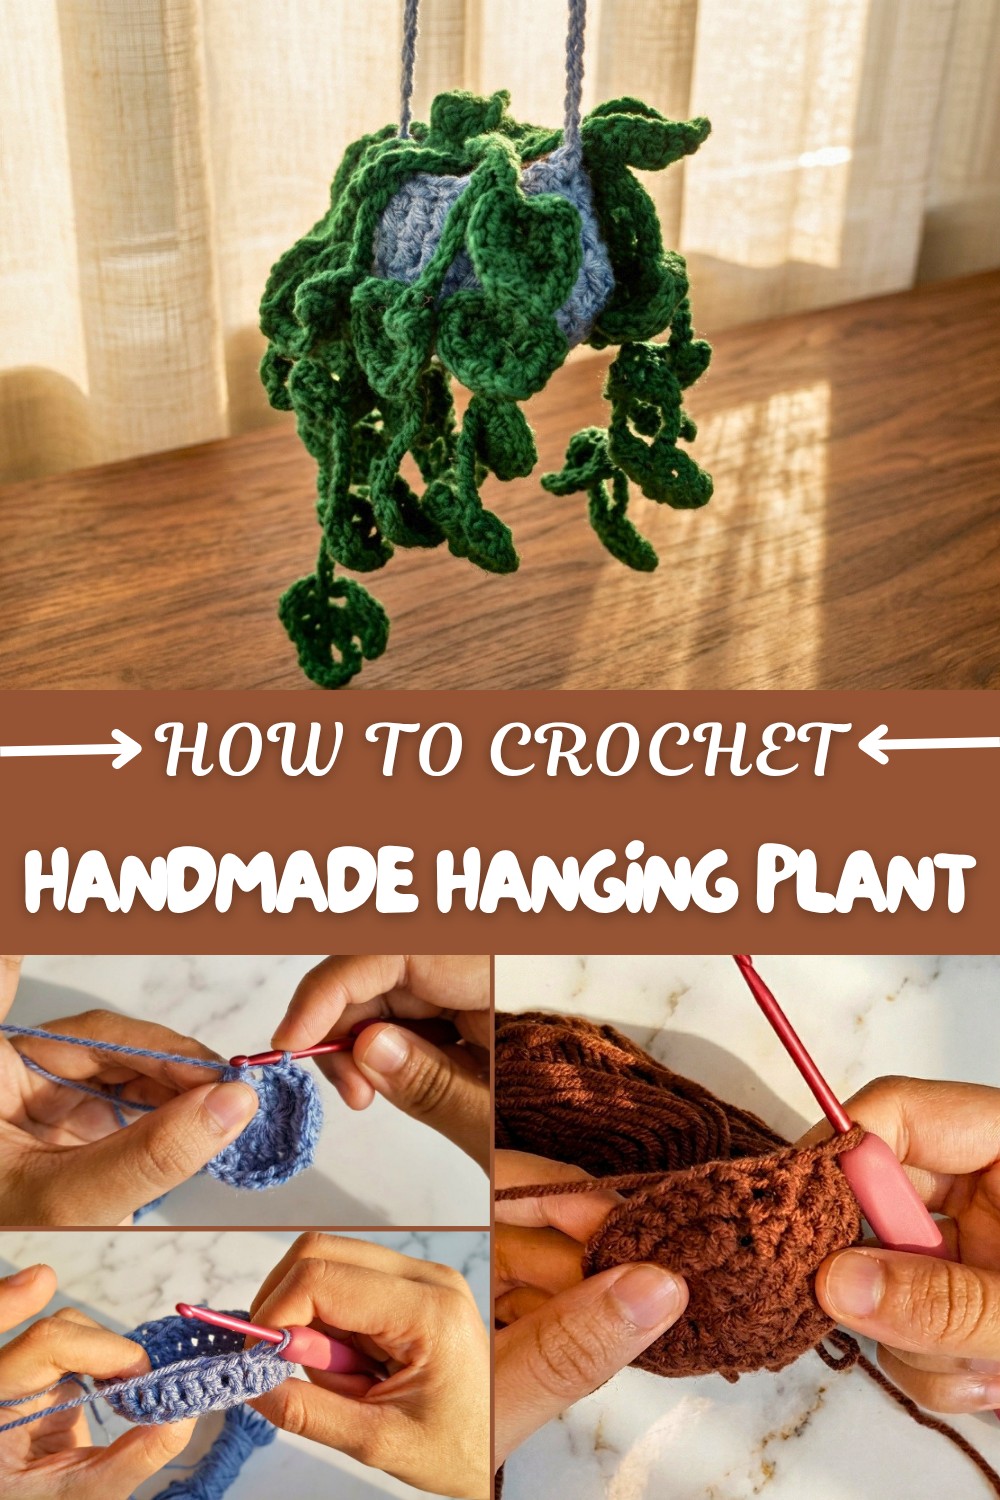
One of the most appealing aspects of this pattern is the combination of different yarn colors and textures. The earthy tones for the soil, vibrant greens for the vines, and a colorful pot come together to create an eye catching piece. The ability to customize your vines, whether long and flowing or short and simple, adds a personal touch to the finished product. And let’s not forget the satisfaction that comes with putting it all together, it’s like giving life to a little green friend to cheer up your space.
Pattern by
Lesha Crochets provides hands on tutorials for making functional and beautiful crochet projects. No matter your skill level, you’ll feel confident following her guidance in making a truly delightful project.
A handmade hanging plant is the perfect way to add greenery to places where real plants wouldn’t thrive, like your work desk, bathroom, or even as a thoughtful gift for someone special. This is your chance to bring a sense of cheerfulness and coziness to any corner of your life.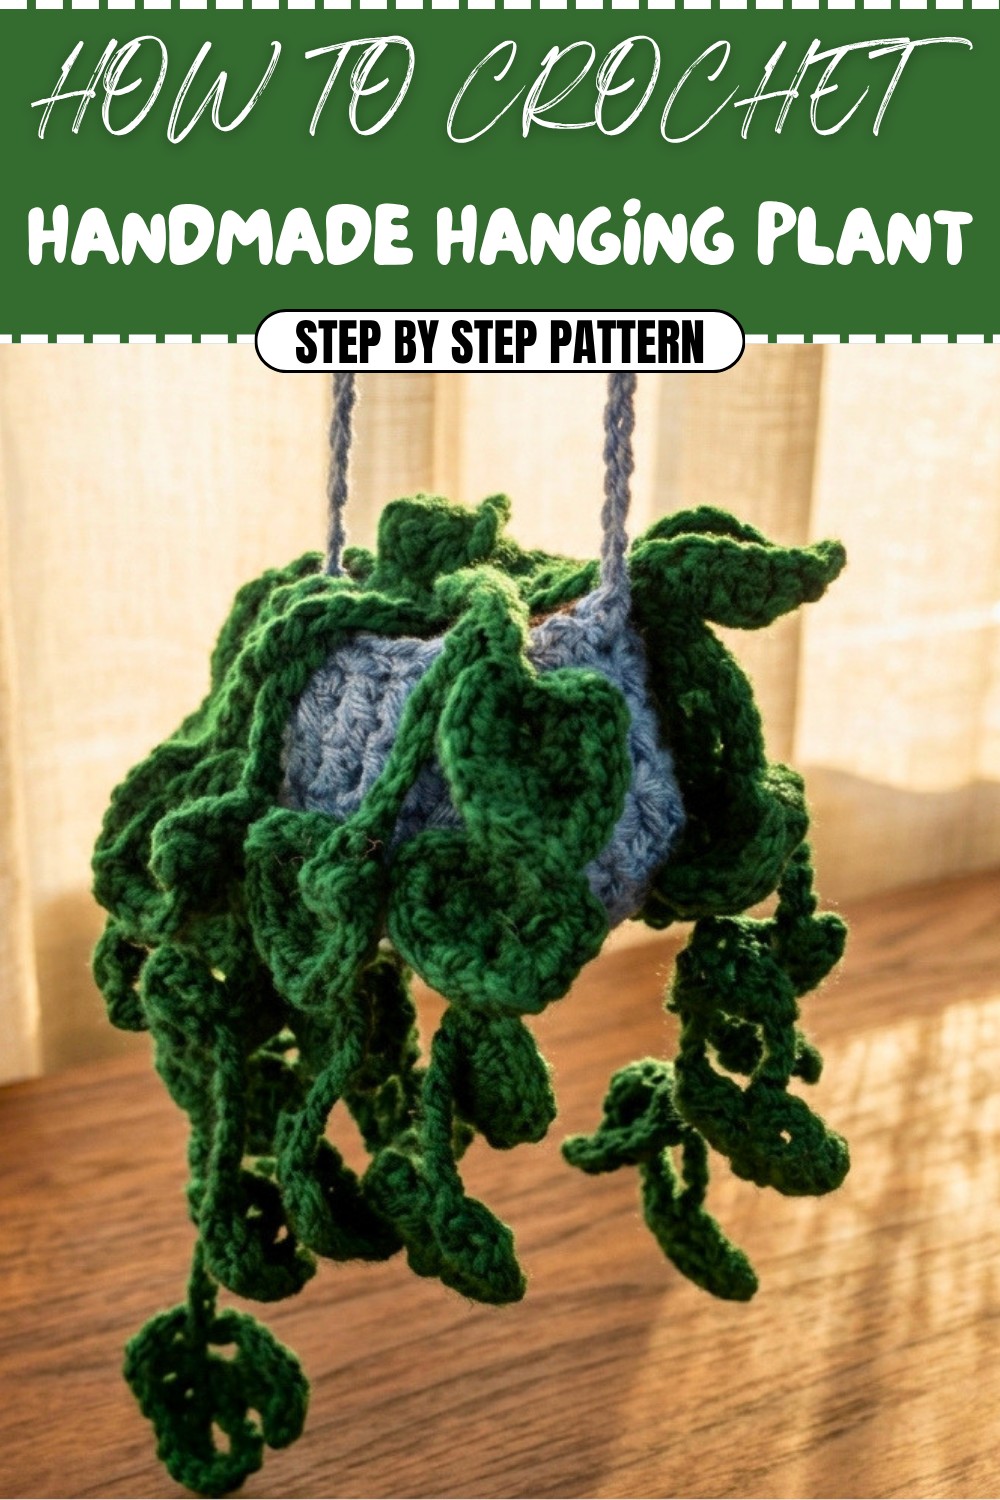
Free Crochet Pattern: Hanging Pot Planter
Quick Overview of Pattern
- Project: Crochet Hanging Pot Planter with soil and vines.
- Design: Includes a pot base, soil, and cascading vines with leaves for a natural look.
- Techniques Used: Magic circle, double crochet, standing double crochet, ladder stitching for assembly.
- Customization: You can adjust the size, handle length, number of vines, and choose different colors for a unique design.
Notes:
- The handle length and number of leaves on vines are customizable. Adjust these according to your desired aesthetic.
- For the soil and vines, reusing leftover yarn can be an eco friendly choice.
- Tighten your magic circle carefully to avoid any gaps in the center of the project.
- This project is perfect for beginners but provides details and slight challenges like back loop stitches for seasoned crocheters.
Skill Level:
Beginner to Intermediate
Materials:
- Crochet Hook: 3.0 mm crochet hook.
- Yarn:
- Brown yarn for soil.
- Green yarn for vines and leaves.
- Any color for the pot.
- Scissors: To cut yarn cleanly.
- Tapestry Needle: For weaving in ends and sewing pieces.
- Fiberfill: To stuff the pot for shape and firmness.
Measurements/Sizing:
- Pot Diameter (Following Pattern Size): Approx. 6–8 cm.
- Handle Length: 55 chains (adjustable based on preference).
- Vines: Customizable. Use the provided pattern for variation in leaf count per vine.
Gauge:
No strict gauge requirements for this project. Keep consistent tension to ensure neat stitches throughout.
Stitch Abbreviations:
- CH: Chain
- SC: Single Crochet
- DC: Double Crochet
- SL ST: Slip Stitch
- Standing DC: Standing Double Crochet (alternative starting method for rounds).
- Magic Circle: Starting method to create a closed circle base for projects.
Special Stitches:
Magic Circle:
- Wrap the yarn 3 times around your finger.
- Insert the hook under all loops and pull the third loop through the first two loops.
- Chain 1 to secure and tighten the circle.
Standing Double Crochet:
- Pull the loop apart.
- Hold the loop with your index finger.
- Yarn over and pull through the loop to form 2 loops on the hook.
- Yarn over again and pull through both loops to complete.
The Crochet Pattern:
Part 1: Creating the Pot
Round 1
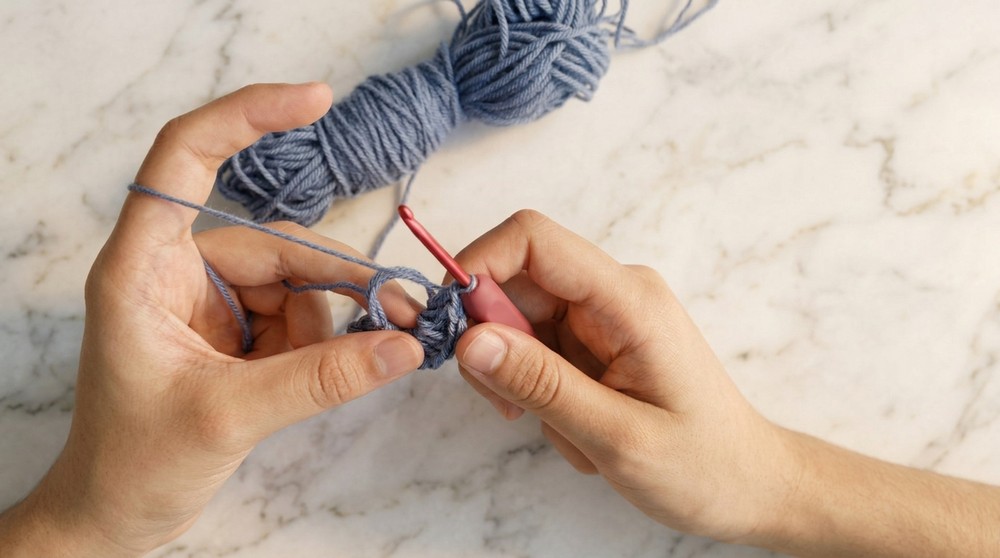
- Start by creating a magic circle.
- CH 5 (counts as 1 DC + CH 2 for the corner gap).
- Into the magic circle, create 12 DCs in total:
- Alternate between DC → CH 2 → 3 DC, until 12 DCs are completed.
- Slip stitch into the third chain of the first CH 5, then tighten the circle to close.
Round 2
- Attach the yarn color for the next round.
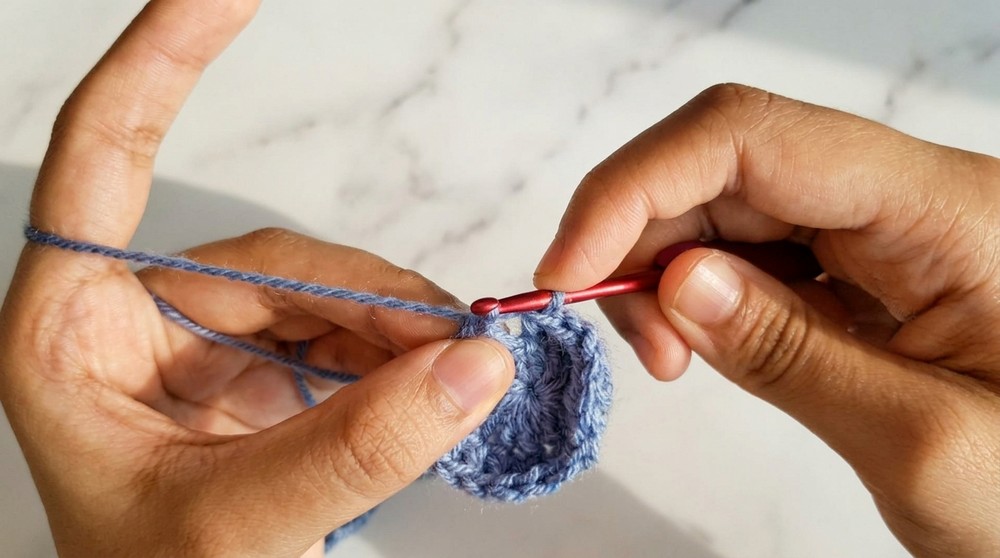
- Start with CH 5 (counts as 1 DC + CH 2).
- Follow this pattern for the second round:
- Corners: DC x 2 → CH 2 → DC x 2 into corner spaces.
- Gaps: DC → DC → skip next CH → DC x 2.
- Slip stitch and close the round, ensuring 18 stitches in total.
Round 3
- Begin with a Standing DC.
- Skip the stitch where the last slip stitch was and work into the next stitch:
- DC → DC increase (two DC in the same stitch).
- Follow the pattern sequence: DC → DC → DC increase → repeat.
- By the end of the round, you should have 24 stitches in total. Slip stitch to finish.
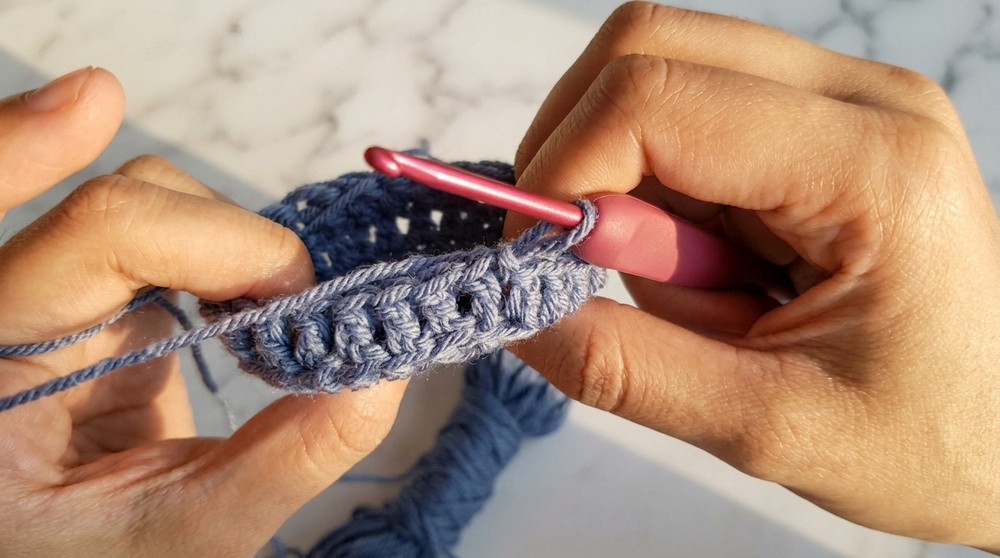
Round 4–7
- Work into back loops only for a textured look:
- Skip the slip stitch location (do not work into it).
- Work DCs across the back loops in each stitch for rounds 4, 5, 6, and 7.
- Continue rounds until the pot reaches your desired height.
Adding Neat Finish
- Chain 1, and work SC stitches into each stitch around to create a neat border edge.
- No increases or decreases; focus on creating smooth and even stitches.
Part 2: Creating the Handle
- Complete the SC border for the pot.
- CH 55 (or preferred length).
- Determine where the handle will attach and SL ST into the 12th stitch (or eyeball alignment).
- Slip stitch into the chosen stitch, securing the handle to one side of the pot.
Part 3: Creating the Soil
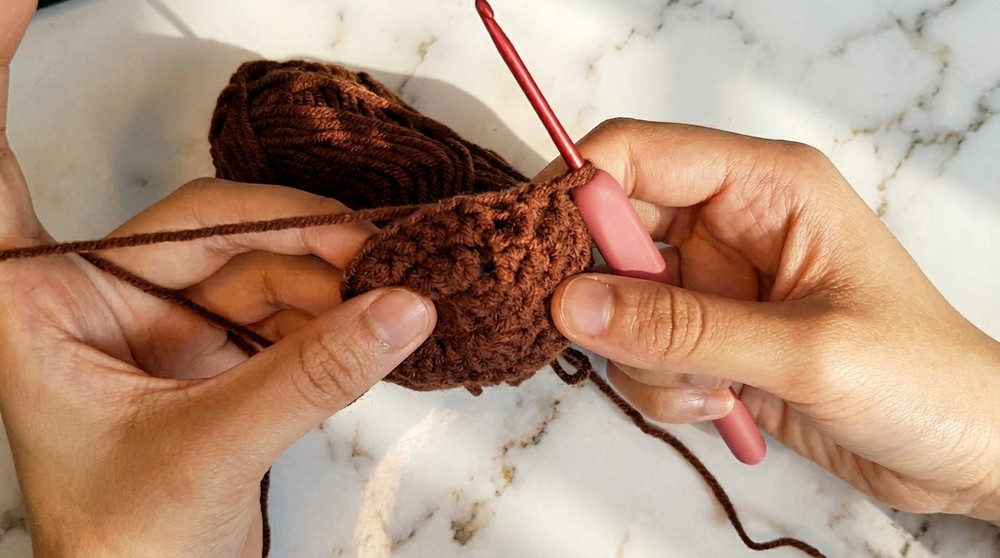
- Repeat Rounds 1–3 of the pot pattern using brown yarn.
- Keep the number of stitches consistent with the pot base: 12, 18, and then 24 stitches per round.
- Set aside once complete.
Part 4: Creating the Vines
Leaf & Vine Pattern:
- Begin with a slip knot. CH 5.
- In the fifth chain from the hook:
- Work DC → CH 4 → DC (forms one leaf).
- CH 1, SC into the first chain from the hook.
- CH 2, TR (Yarn over twice before inserting the hook) into the same chain:
- Yarn over, pull through first two loops, then second two loops, then final two loops.
- Repeat the vine leaf pattern for desired number of leaves (e.g., 3, 4, or 5 leaves). Each vine can be different to create a natural look.
Part 5: Pulling vines through soil
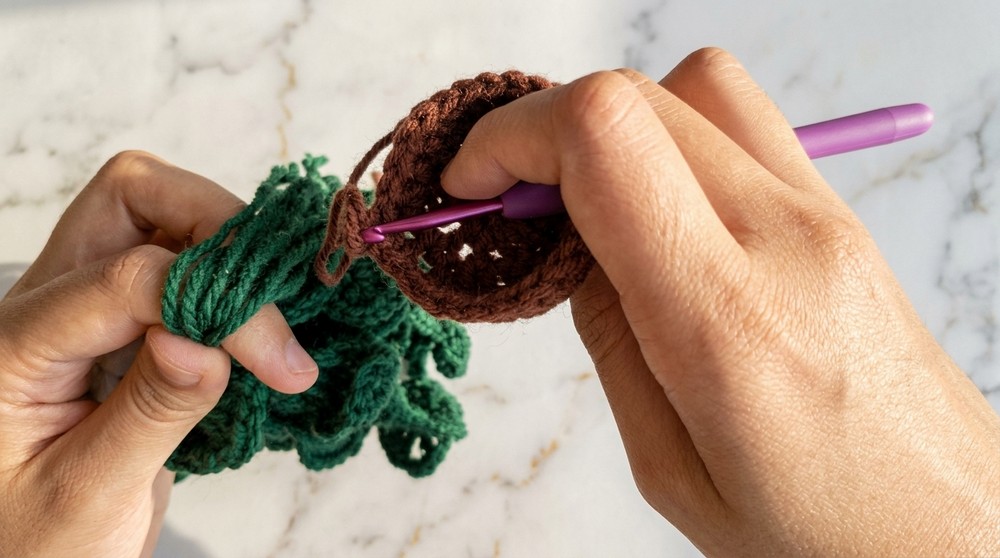
- Insert hook from the back of the soil and pull the yarn ends of finished vines through the soil piece.
- Once all vine ends are pulled through, tug the yarn endings individually to ensure each vine is snug against the soil piece.
- Tie a single knot to secure the vines in place.
Assembly & Finished Size:
- Use the plant pot color yarn and thread it through a darning needle.
- Sew the soil piece into the pot using the ladder stitch (up down alternating).
- Leave a small opening to insert fiberfill stuffing until the pot is firm and not overfilled.
- Use the same sewing technique to fully attach the soil piece once stuffing is complete.
- Finish by tying a double knot to secure stitches and weave in all loose ends properly for a neat finish.
Conclusion and Final Words
Congratulations, Your beautiful hanging crochet pot has been completed. Add final touches by arranging the vines as desired to create a natural, flowing aesthetic. The finished planter makes an amazing gift or a gorgeous addition to your home or car decor.
Enjoy crocheting and keep experimenting with color combinations and designs to make your hanging pot planter even more unique.