
Crochet Christmas Wreath Keychain Pattern to Decorate Bags
Make a crochet Christmas wreath keychain with this amazing pattern that’s fun, festive, and perfect for spreading holiday joy with handmade charm.
When the festive season rolls around, there’s nothing quite like blending creativity with the holiday spirit. One of my favorite ways to celebrate is by making small, handmade treasures that spread cheer wherever they go. A crochet Christmas wreath keychain is one such project that brings together the joy of crocheting and the beauty of Christmas, all while being practical enough to clip onto your keys, backpack, or give as gifts. Its adorable circular shape, paired with delicate touches of bows and holiday colors, turns a simple accessory into a heartwarming keepsake.
This project is beginner friendly and uses basic stitches like single crochet and double crochet, but the magic lies in how these stitches are arranged to form the wreath shape. Once you master this pattern, you can use the same stitches to make ornaments, garlands, or even tiny coasters for the holidays. The versatility of these stitches opens the door to endless possibilities, making this a valuable pattern for anyone learning crochet basics.
Crochet Christmas Wreath Keychain Pattern for Stocking Gifts
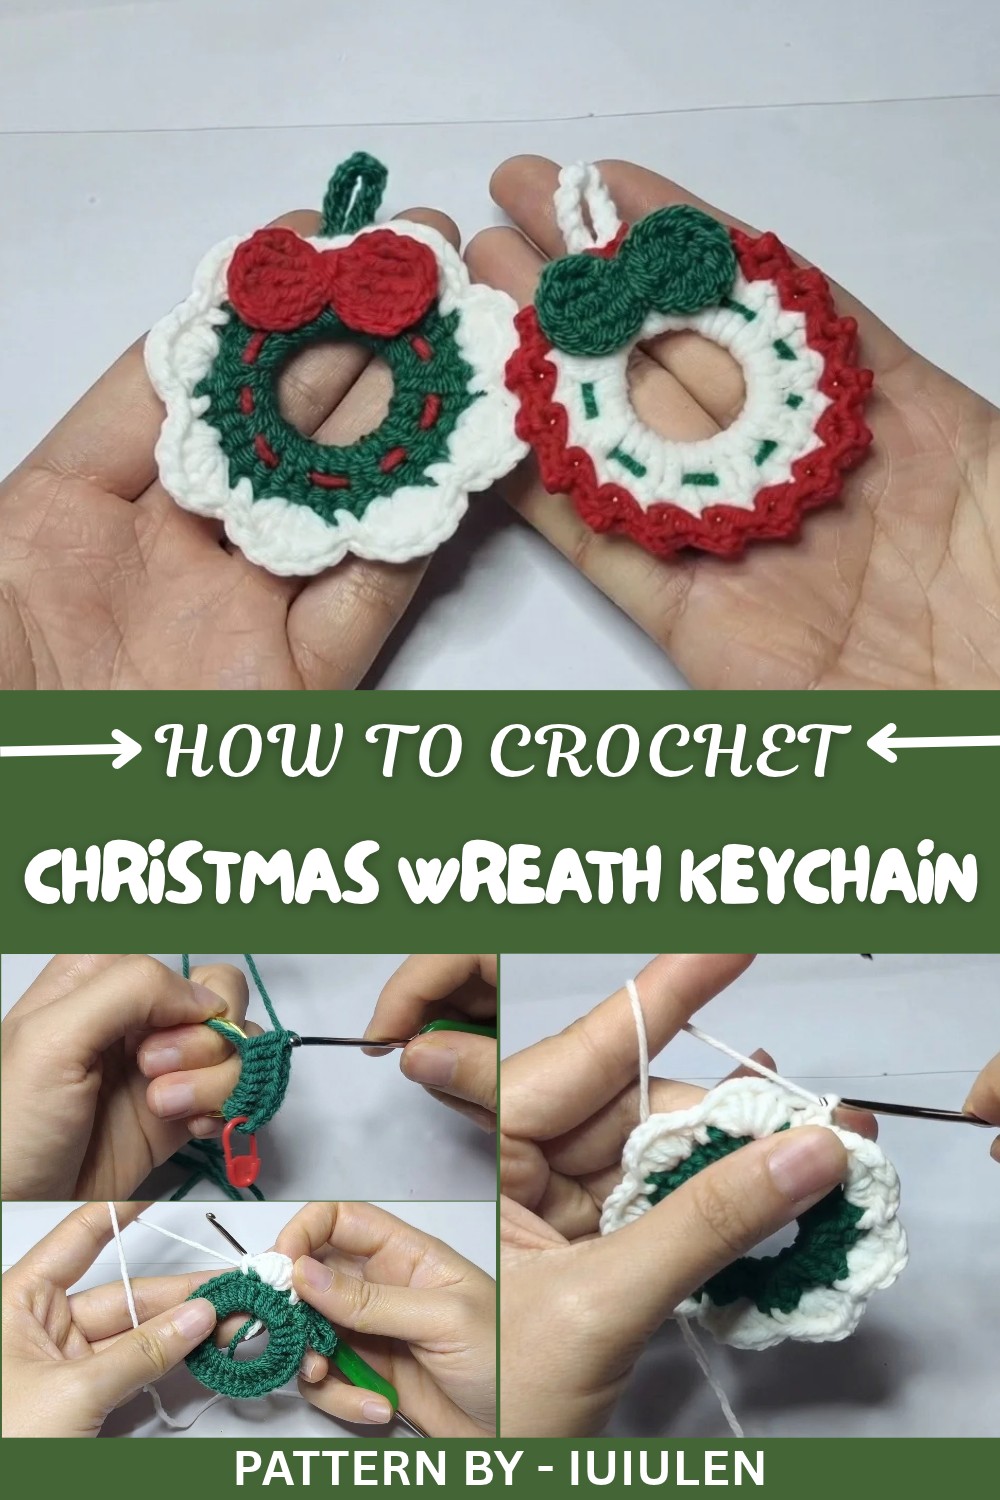
From this pattern, you’ll learn how to create a neat circular base, add texture with stitches, and finish with decorative details like bows. You’ll also discover how simple techniques can produce beautiful shapes, giving you confidence in your abilities. If you’re just starting out, it’s a great way to practice working in the round while mastering your grip and tension.
Pattern By iuiulen
Once you’ve mastered the Christmas wreath, the same stitches can be used to make mini holiday ornaments, dreamcatchers, or other seasonal keychains. You could even adjust the colors to create items for different holidays, an autumn wreath keychain or even a pastel spring version. This project is perfect for flexing your creative muscles while creating charming gifts for family and friends.
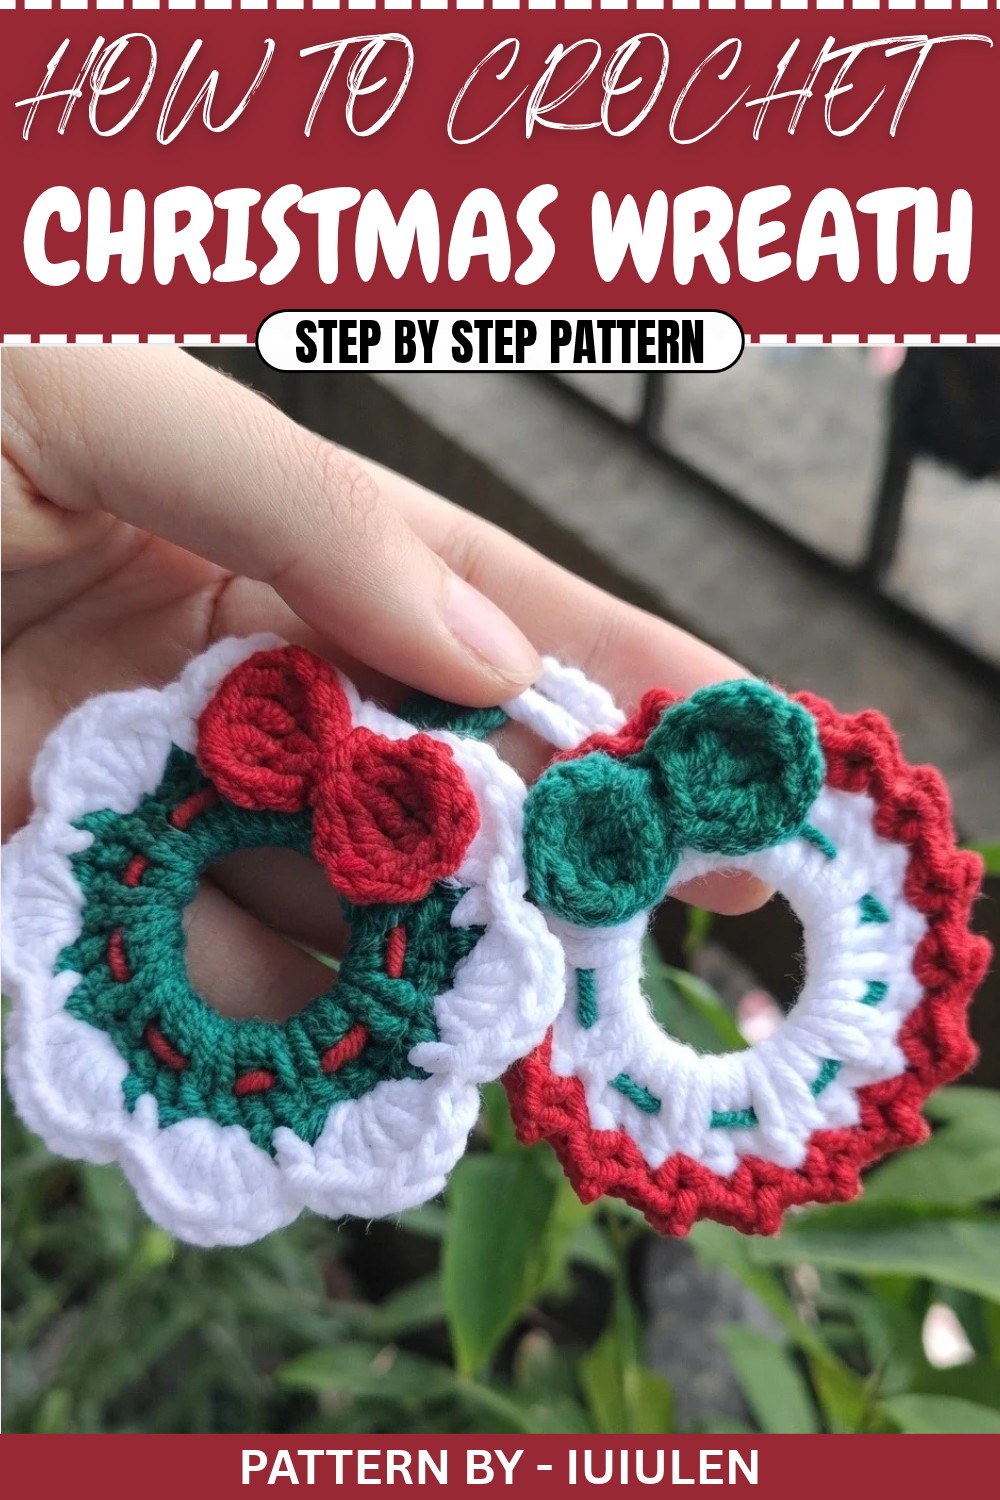
Crochet Christmas Wreath Keychain Pattern
Today, I’ll guide you on how to make these two beautiful crochet wreath. This project is incredibly simple and beginner friendly, perfect for crocheting as a decorative piece or even turning it into a gift. These colorful crescent rings can brighten any space and add a handmade touch of charm.
Quick Overview of Pattern
- Project Name: Crochet Wreath Pattern
- Primary Stitches: Single Crochet (SC), Half Double Crochet (HDC), Double Crochet (DC), Double Treble Crochet (DTR).
- Skill Level: Beginner friendly.
- Hook Size: 3mm crochet hook.
- Special Features: Includes two decorative crescent ring designs featuring scalloped edges and bow details.
Notes
- This project is perfect for beginners looking to practice basic crochet stitches and create a decorative accessory.
- Use metal or wooden rings for the base structure of the crescent shape.
- Experiment with different colors for a vibrant, festive decoration.
- For better structural stability, tighten your stitches and securely knot or glue loose ends.
Skill Level
Beginner.
Materials
- Metal or Wooden Rings (base for two crescents).
- Yarn:
- Lightweight to medium weight cotton yarn in various colors. Amigo cotton, Happy yarn, or similar is recommended.
- Hook: 3mm crochet hook.
- Other Tools:
- Yarn needle for weaving in ends.
- Scissors.
- Hot glue gun for attaching the bows.
Measurements / Sizing
The size of the final crescent ring will depend on the dimensions of your metal or wooden ring. The pattern can be adjusted to fit different sizes, but this tutorial is based on a standard sized ring (approximately 4–6 cm diameter).
Gauge
Gauge is not crucial for this project, as the stitches will be tightly grouped around the ring for texture and coverage.
Stitch Abbreviations
- MR: Magic Ring
- CH: Chain
- SC: Single Crochet
- DC: Double Crochet
- DTR: Double Treble Crochet (kép đôi)
- SL ST: Slip Stitch
Special Stitches
- Double Treble Crochet (DTR):
- Wrap the yarn around the hook twice (for three loops on the hook).
- Insert hook into the indicated stitch, yarn over, and pull through (4 loops on the hook).
- Yarn over, pull through the first two loops (3 loops on hook).
- Yarn over, pull through the next two loops (2 loops on hook).
- Yarn over and pull through the final two loops.
The Crochet Pattern
First Crescent Ring
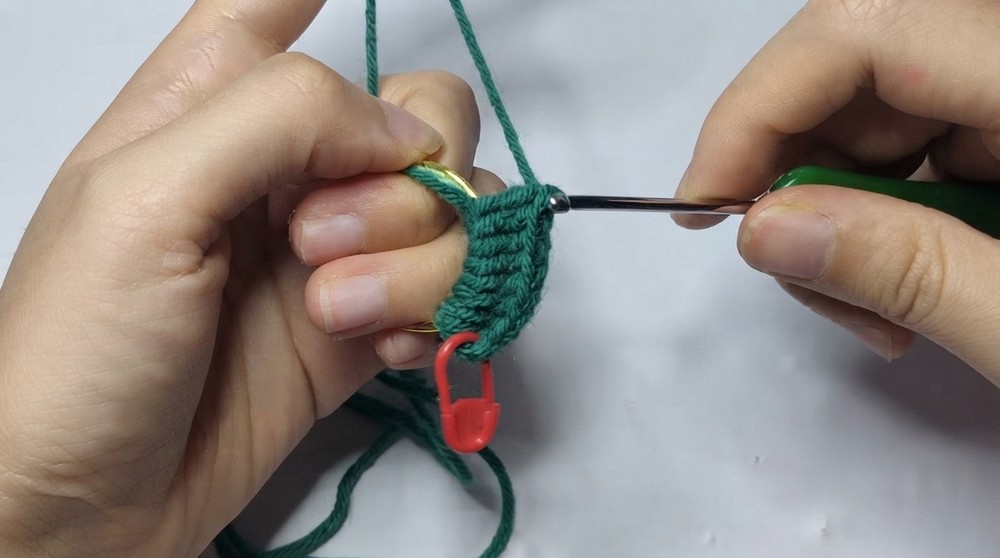
- Foundation:
- Choose your first yarn color (e.g., green).
- Take a metal or wooden ring as your base.
- Insert your crochet hook into the ring and knot the yarn securely by tying it twice.
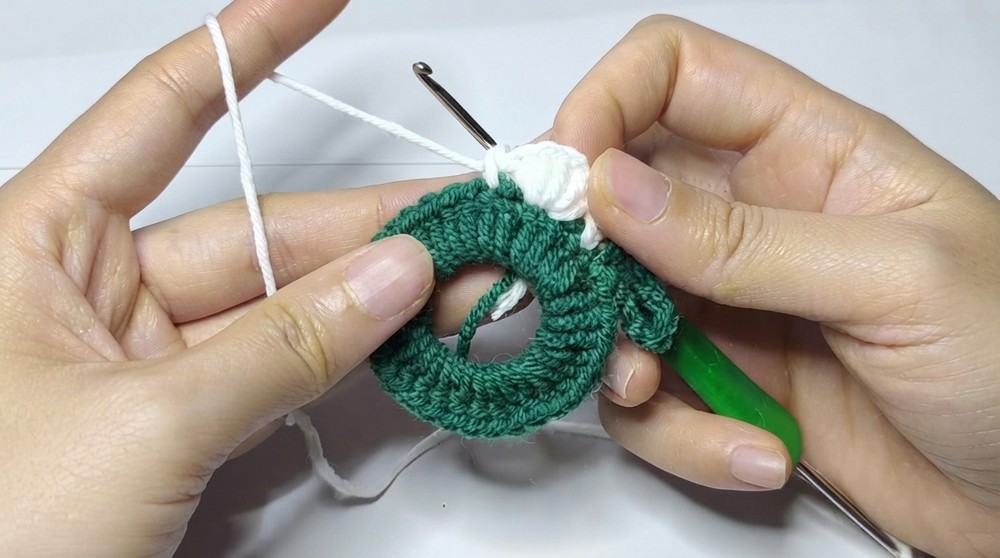
- Round 1: SC Around the Ring
- CH 2 (does not count as a stitch).
- Work 34 DC stitches evenly around the ring.
- Join to the first stitch of the round with a SL ST.
- You should have 34 DC in total.
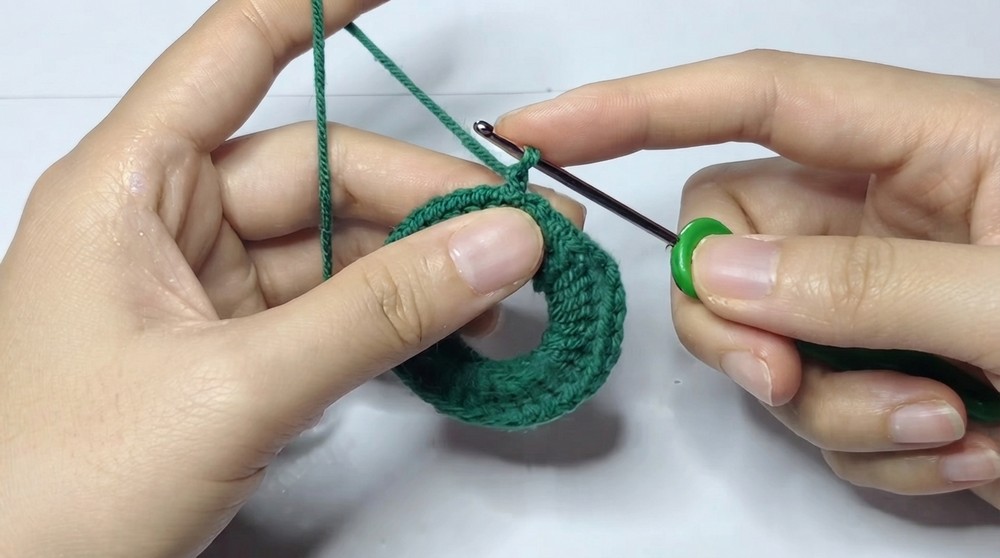
- Round 2: Chain Loops
- CH 12 to create a loop, and then join with a SL ST into the first stitch.
- Continue working CH 12 and slip stitching into the next stitch around until you have completed all loops.
- Once completed, join with a SL ST, pull the yarn through, and trim the excess yarn.
- This completes the first crescent ring with chain loops.
Second Crescent Ring
- Foundation:
- Change yarn to your second color (e.g., red or any contrasting color).
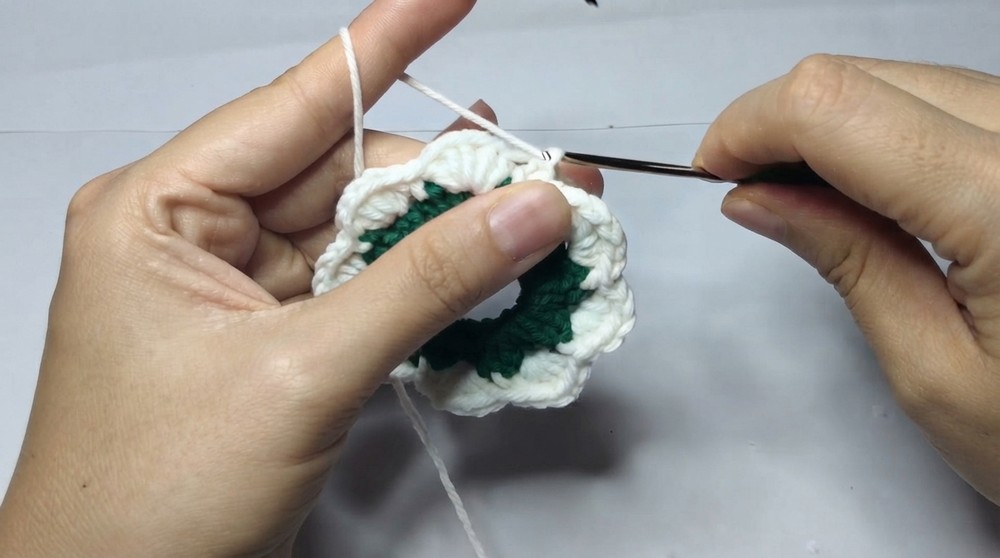
- Insert your hook into one of the stitches from the previous crescent base ring. Pull the yarn through and secure it tightly.
- Round 1:
- CH 1. SC into the same stitch.
- Skip one stitch, and in the next, work 5 DC stitches into the same stitch.
- Round 2:
- Skip the next stitch again, and work 1 SC into the following stitch.
- Repeat the pattern: [1 SC], skip 1 stitch, [5 DC] all the way around the ring.
- Make sure to keep a consistent spacing for even scallops.
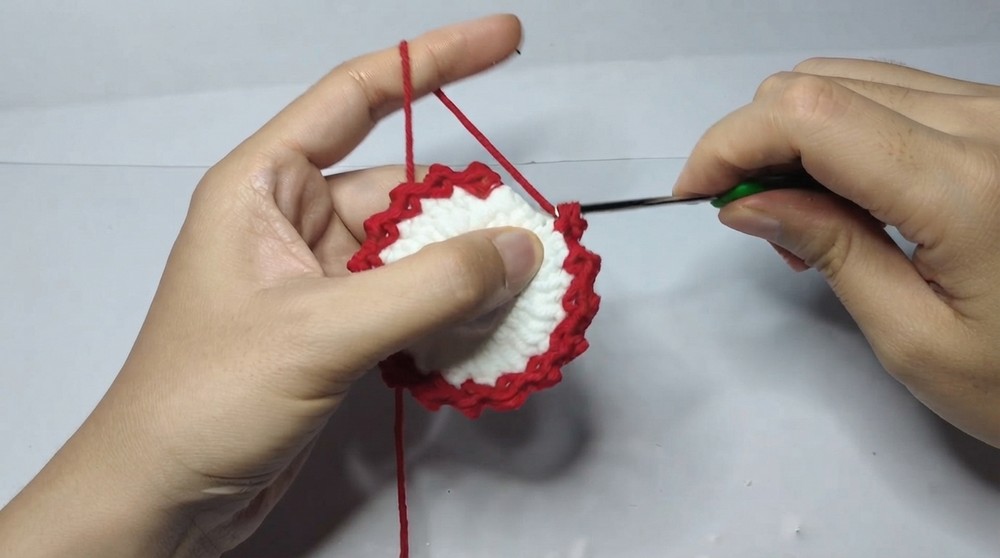
- Finishing Round:
- When you reach the end of the round, finish by slip stitching into the starting stitch.
- CH 1 to secure, pull the yarn tail through, and trim off the excess yarn.
- Use a yarn needle to tuck in and secure the loose ends.
Creating the Bow
- Magic Ring Bow Base:
- Start with a magic ring.
- Into the magic ring:
- CH 3, then crochet 3 DTR stitches into the loop.
- CH 3 and join with a SL ST into the magic ring to form one bow loop.
- Second Bow Loop:
- Again, CH 3 and crochet 3 DTR stitches into the loop.
- CH 3 and join with a SL ST into the magic ring.
- Shape the Bow:
- Pull the magic ring tail to close the center of the bow tightly. Wrap the tail yarn around the center of the bow several times to form a neat knot.
- Secure the tail with a double knot at the back of the bow and trim the yarn ends.
Edge Stitching
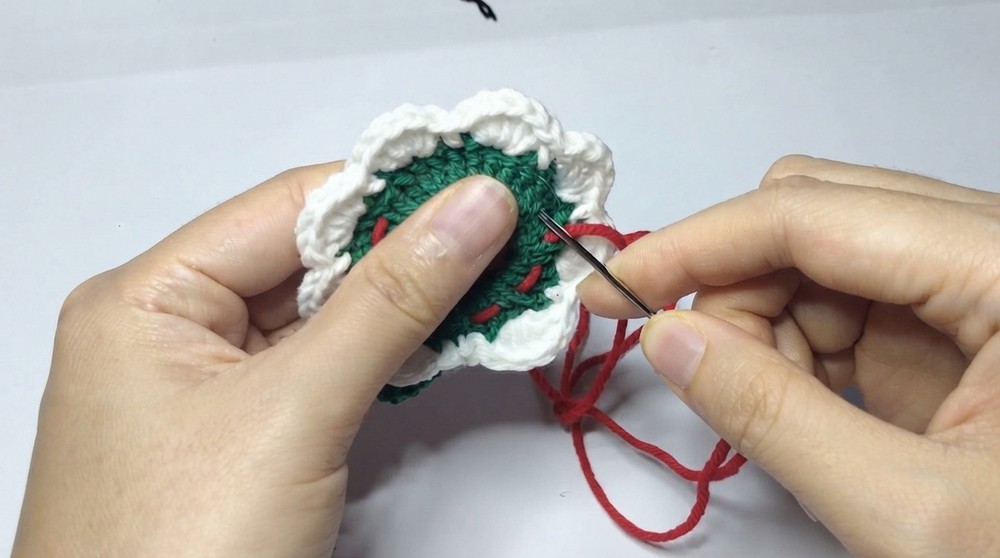
- Using a contrasting yarn color (e.g., red or green), thread the needle and weave running stitches along the edges of both crescent rings.
- This step adds a decorative pop of color and a handmade touch to your project.
Assembly Steps
- Once both crescents and the bow are complete, use a hot glue gun or sewing thread to attach the bow to the middle of one of the crescents.
- If applicable, add decorative beads or embellishments for extra flair. Ensure they are firmly secured to avoid any detachment.
Assembly & Finished Size
Once completed and assembled, each wreath keychain measures roughly 6 to8 cm in diameter. The completed wreath makes a charming and festive accessory, perfect for any occasion.
Conclusion
Congratulations, you have successfully created two lovely crochet wreath pattern. These easy and adorable decorations are fun to make and perfect for personal use, gifting, or for creative business ventures. They are customizable to suit different occasions and color themes and are a great use of leftover yarn.