
Simple Crochet Dragon Amigurumi Free Pattern for Fantasy Lovers
Brighten your day with a soft Crochet Dragon that adds charm and warmth, making it ideal for gifting, decorating, or cuddling anytime.
Have you ever wished for a small, friendly dragon to brighten your day? The Crochet Dragon Amigurumi is a colorful, soft little dragon with tiny wings and big, gentle eyes. It looks happy and cute, making it a great toy for kids, a cheerful decoration for any room, or a sweet gift for someone you care about.
Cute Crochet Dragon Amigurumi Free Pattern for Plush Toys
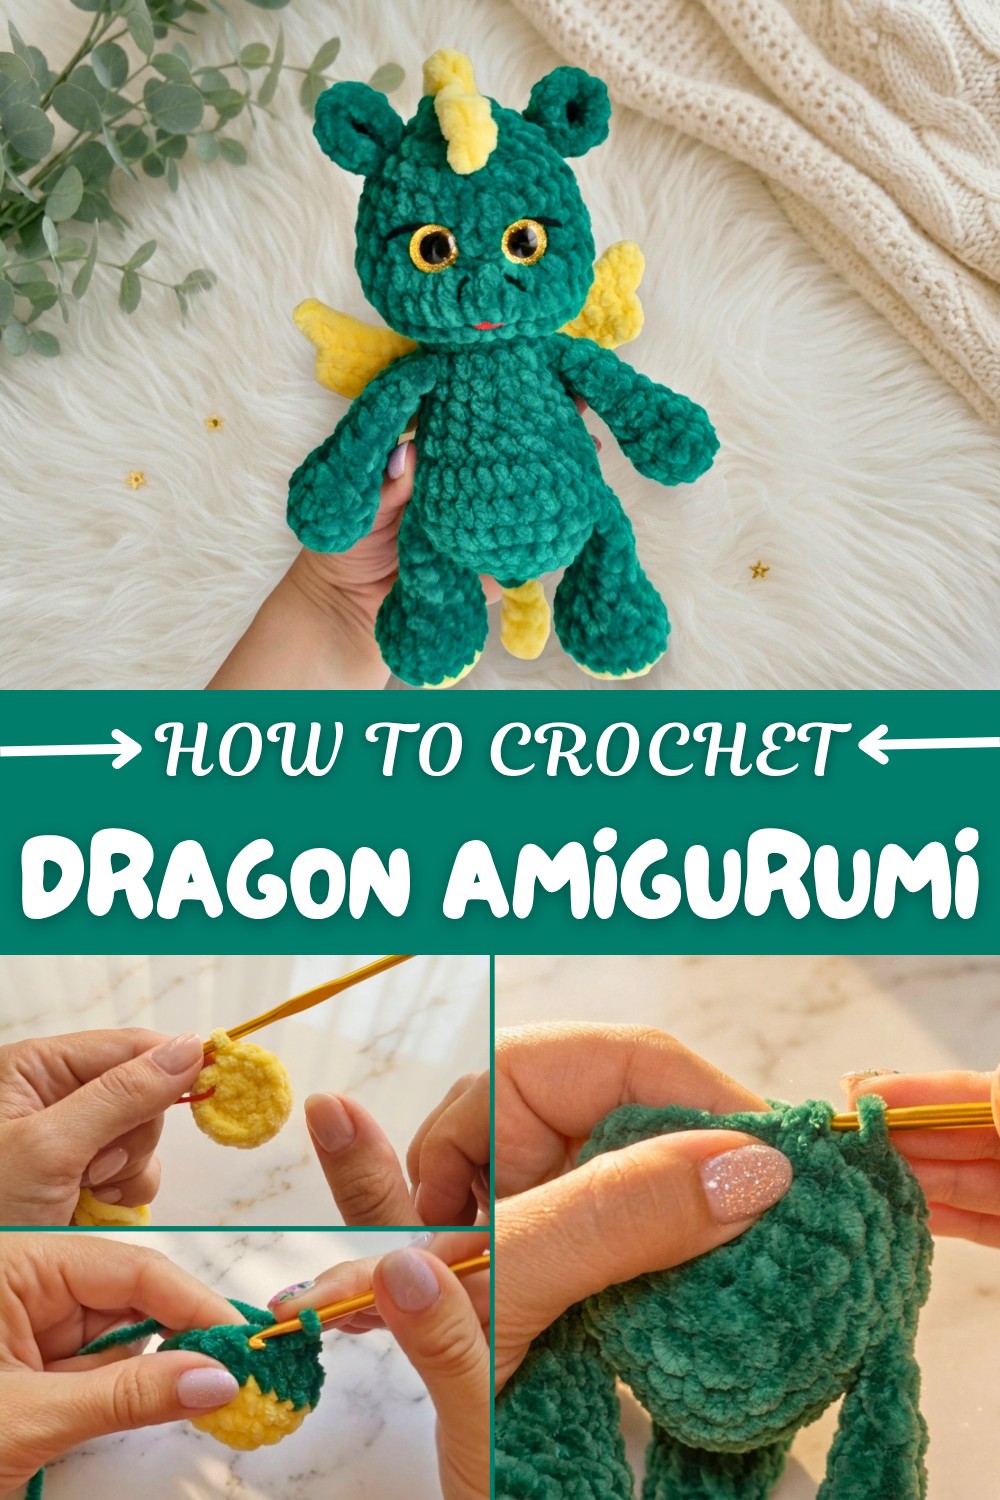
This crochet dragon amigurumi is soft to the touch and fits comfortably in your hands. Its small size means you can take it with you anywhere, whether to school, a friend’s house, or on a trip. Kids will love hugging it at bedtime, and adults can place it on a shelf or desk to bring a bit of fun and warmth to any space.
The pattern for this dragon is easy to follow, clear instructions. People who are new to crochet will find it simple and enjoyable to work on. Making this dragon is a nice way to spend time and end up with a lovely handmade toy.
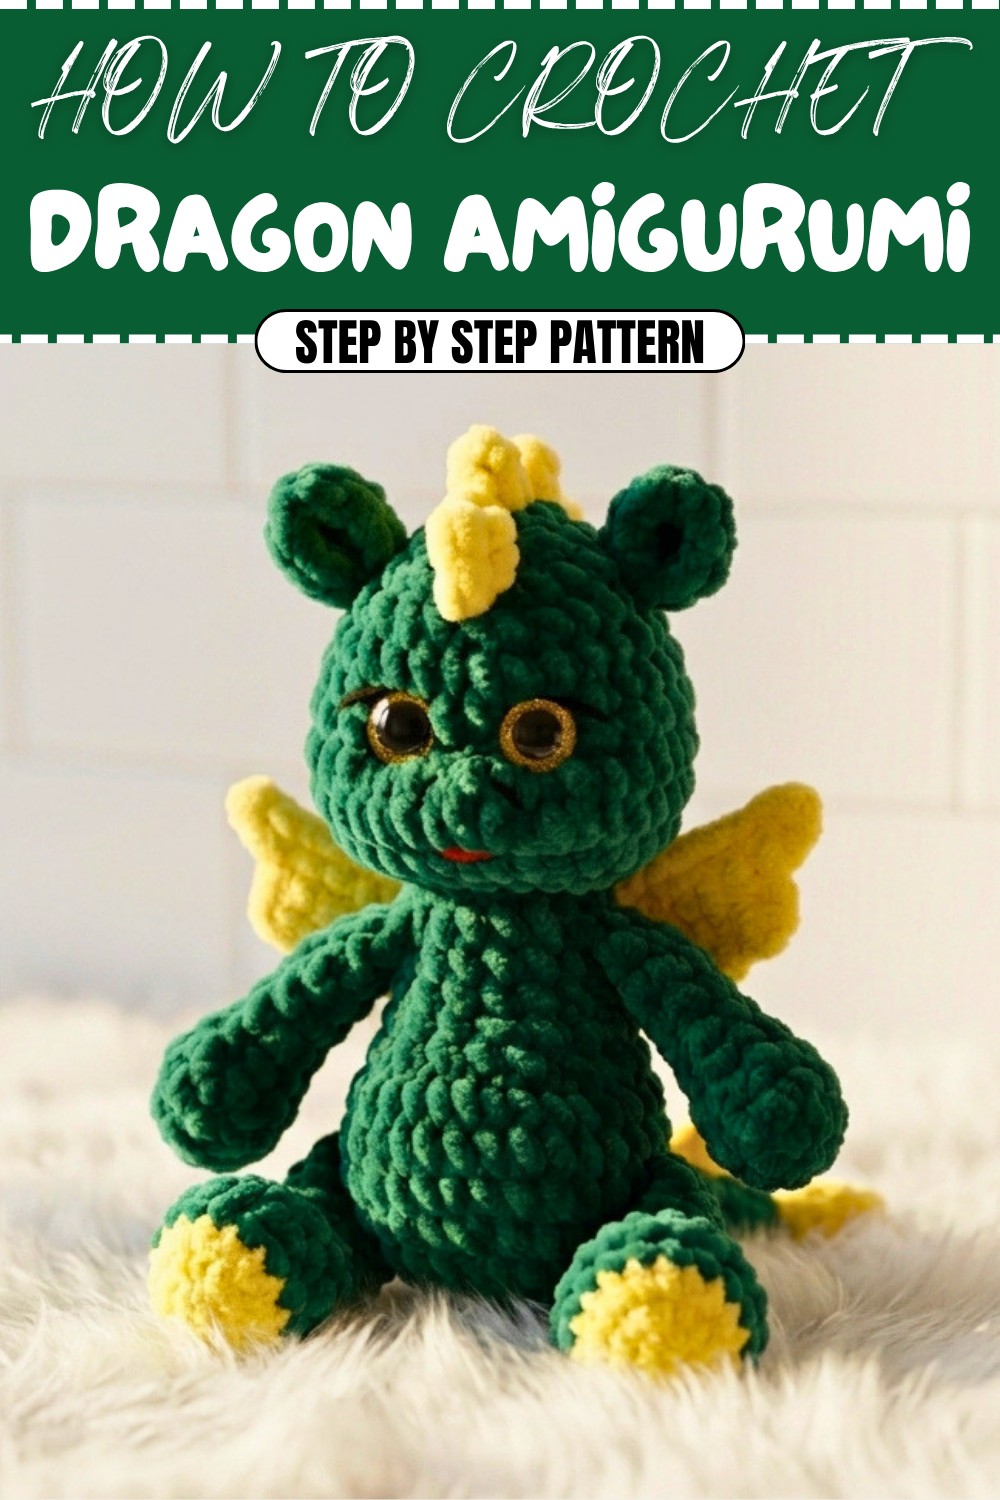
If you want a cute and cozy dragon friend, look for the free pattern online. It’s a great chance to add some magic and happiness to your day with this sweet Crochet Dragon Amigurumi.
Plush Baby Dragon Amigurumi Pattern
This adorable dragon is crafted with plush yarn, featuring small wings, a whimsical tail, arms, legs, and decorative details, all for a magical, huggable toy. The body, legs, arms, and tail are crocheted seamlessly with minimal sewing required, making this pattern suitable for confident beginners and seasoned amigurumi enthusiasts alike. Let’s bring your little dragon to life!
Quick Overview Of Pattern
- Plush baby dragon, about 20 cm tall
- All main body parts worked in one piece, with ears and wings sewn on
- Legs, arms, and tail are crocheted seamlessly into the body
- Detailed head and body shaping for a charming, chubby appearance
- Decorative spikes (“scallops”) and facial features added at the end
Notes
- Use plush yarn for maximum cuddliness and safety for children.
- Maintain consistent gauge for matching pieces.
- Colorwork: Main color (e.g., green), contrast (e.g., yellow) for wings, tail tip, and spikes.
- Safety eyes are used, but embroidery is also an option for child safety.
- The instructions specify exact rounds and seamless attachment for legs/arms.
Skill Level
Advanced Beginner / Intermediate
Familiarity with working in rounds, increases, decreases, sewing amigurumi parts, and color changes is needed.
Materials
- Plush yarn: Himalaya Dolphin Baby or any similar plush yarn (Main color: Green; Contrast color: Yellow)
- Approximate consumption: Just over ½ skein main color, small amount of yellow
- Crochet hook: 4 mm
- Stuffing: Polyester fiberfill
- Safety eyes: 14 mm (or embroidery thread)
- Notions: Stitch marker, tapestry needle, scissors, pins
Measurements / Sizing
- Height: Approximately 20 cm (from legs to ears)
- Width: Varies by stuffing and wing position
Gauge
Not critical, but ensure stitches are tight enough to not let stuffing show.
Stitch Abbreviations
| Abbreviation | Meaning |
|---|---|
| MR | Magic Ring |
| ch | Chain |
| sc | Single Crochet |
| inc | Increase (2 sc in same stitch) |
| dec | Decrease (single crochet decrease) |
| sl st | Slip Stitch |
| dc | Double Crochet |
| BLO | Back Loop Only |
Special Stitches
Invisible Decrease (inv dec):
Insert hook into front loops of next two sts, yarn over, pull through both, yarn over, pull through 2.
Attaching limbs in rounds:
Hold piece to main body, insert hook through both layers, and complete stated stitches together.
Compelete Crochet Pattern
LEGS (Make 2, start with contrast; e.g., yellow)
Rnd 1: MR, 6 sc (6)
Rnd 2: (inc) repeat 6x (12)
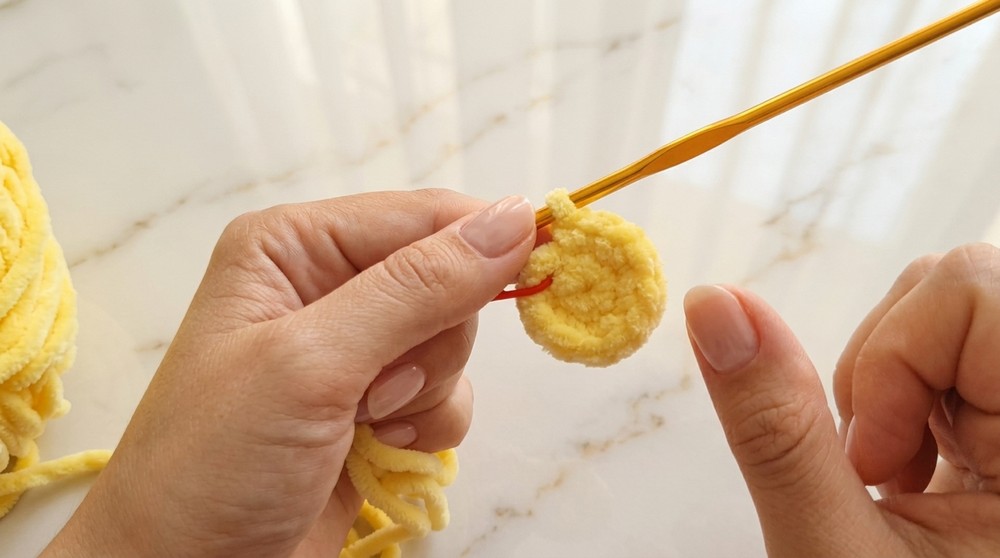
Rnd 3: (sc, inc) repeat 6x (18)
Rnd 4: Change to main color (green). Sc in each st (18)
Rnd 5: Sc in each st (18)
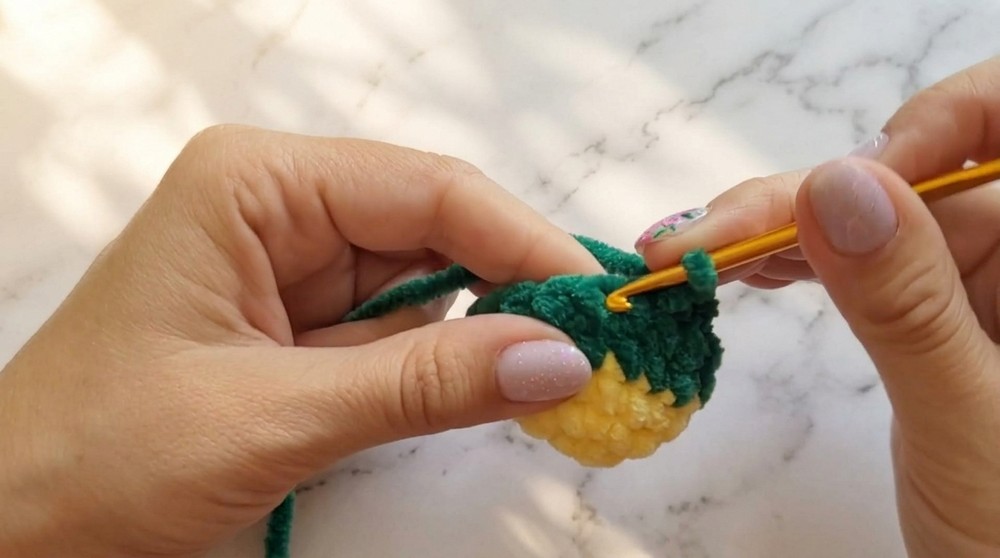
Rnd 6: Sc 3, dec 6x, sc 3 (12)
Stuff leg with fiberfill
Rnd 7: Sc 4, dec 2x, sc 4 (10)
Rnd 8-9: Sc in each st (10)
Rnd 10: (sc 3, dec) repeat 2x (8)
Fold in half, sc through both layers to close (4 sc). Fasten off, leave short tail.
Repeat for 2nd leg.
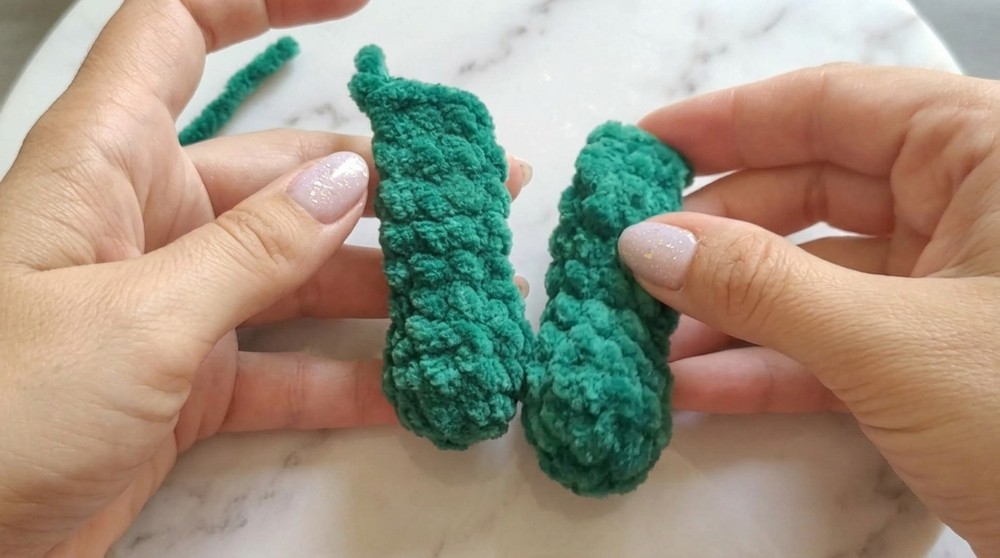
ARMS (Make 2, main color, green)
Rnd 1: MR, 6 sc (6)
Rnd 2: (inc) repeat 6x (12)
Rnd 3: Sc in each st (12)
Rnd 4: (sc, dec) repeat 4x (8)
Stuff lower part
Rnd 5-8: Sc in each st (8)
Rnd 9: (sc 2, dec) repeat 2x (6)
Fold in half, sc through both layers to close (3 sc). Fasten off, leave a short tail.
TAIL TIP (Contrast color, yellow)
Rnd 1: MR, 3 sc (3)
Rnd 2: (inc) repeat 3x (6)
Rnd 3-4: Sc in each st (6)
Rnd 5: 3 dec (3)
Switch to main color.
Rnd 6: (inc) repeat 3x (6)
Rnd 7-8: Sc in each st (6)
Rnd 9: (sc, inc) repeat 3x (9)
Rnd 10-13: Sc in each st (9)
Fasten off, leave tail.
TAIL BASE (Main color)
Rnd 1: MR, 6 sc (6)
Rnd 2: (inc) repeat 6x (12)
Rnd 3: (sc, inc) repeat 6x (18)
Rnd 4: (sc 2, inc) repeat 6x (24)
Rnd 5: (sc 3, inc) repeat 6x (30)
Rnd 6: Sc 5, take one leg and attach by sc through 4 both layers; sc 12, attach 2nd leg in same way; sc last 3 (30)
Rnd 7: Attach tail tip, join as for leg for approx. 4 sc, continue sc to end (30)
Rnd 8: Sc in each st (30)
Rnd 9: Sc 9, dec 6x, sc 9 (24)
BODY (Continue seamlessly)
Rnd 10: (sc 2, dec) repeat 6x (18)
Rnd 11-12: Sc in each st (18)
Rnd 13: Sc 3, attach one arm over next 3 sts; sc 6, attach second arm over next 3 sts, sc 3 (18)
Stuff body and begin stuffing head as you go
BODY TO HEAD TRANSITION
Rnd 14: (sc, dec) repeat 6x (12)
Rnd 15: (inc) repeat 12x (24)
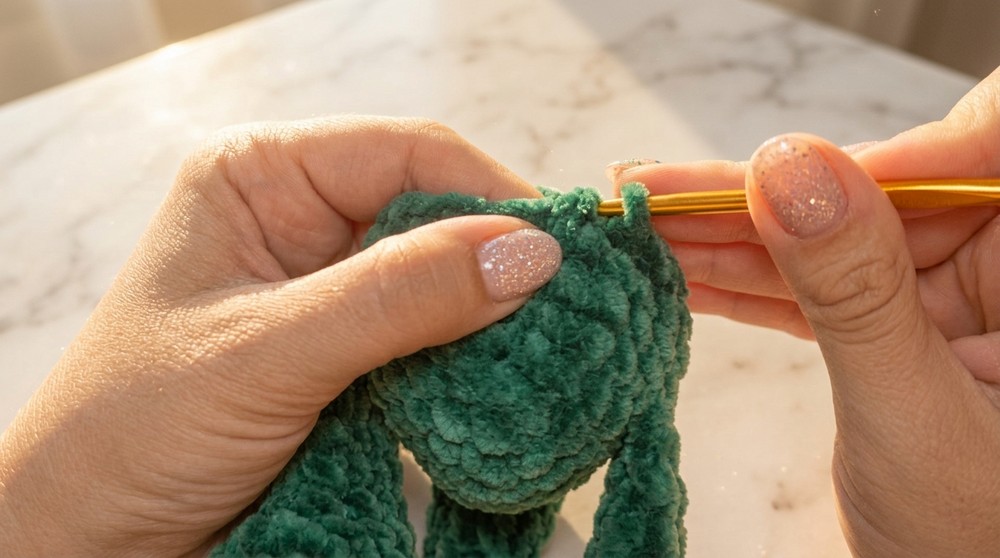
Rnd 16: (sc 3, inc) repeat 6x (30)
Rnd 17: (sc 4, inc) repeat 6x (36)
Rnd 18-19: Sc in each st (36)
Rnd 20: Sc 13, (sc, dec) repeat 6x, sc 5 (30)
Rnd 21-22: Sc in each st (30)
Rnd 23: (sc 3, dec) repeat 6x (24)
Insert safety eyes between rounds 20 and 21, about 4-5 sts apart.
Rnd 24: (sc 2, dec) repeat 6x (18)
Stuff head firmly
Rnd 25: (sc, dec) repeat 6x (12)
Rnd 26: 6 dec (6)
Leave a long tail, close remaining hole by weaving through front loops, pull tight and weave in.
EARS (Make 2, main color)
Rnd 1: MR, 6 sc (6)
Rnd 2: (sc, inc) repeat 3x (9)
sl st to close, leave long tail for sewing.
WINGS (Make 2, contrast color)
Ch 10. Starting from 2nd ch from hook, sc 9.
ch 1, turn.
Sc 7.
ch 1, turn.
Sc 7.
ch 1, turn.
Sc 5.
ch 1, turn.
Sc 5.
Fasten off, leave tail for sewing.
For rounded edge: insert hook between rows, pull up loop, sc around edge to round off.
SCALLOPS (Spikes, contrast color, optional)
Attach yarn at top head, sc in st, 2 dc in next st, sc in next st, sl st across midline from head down to tail.
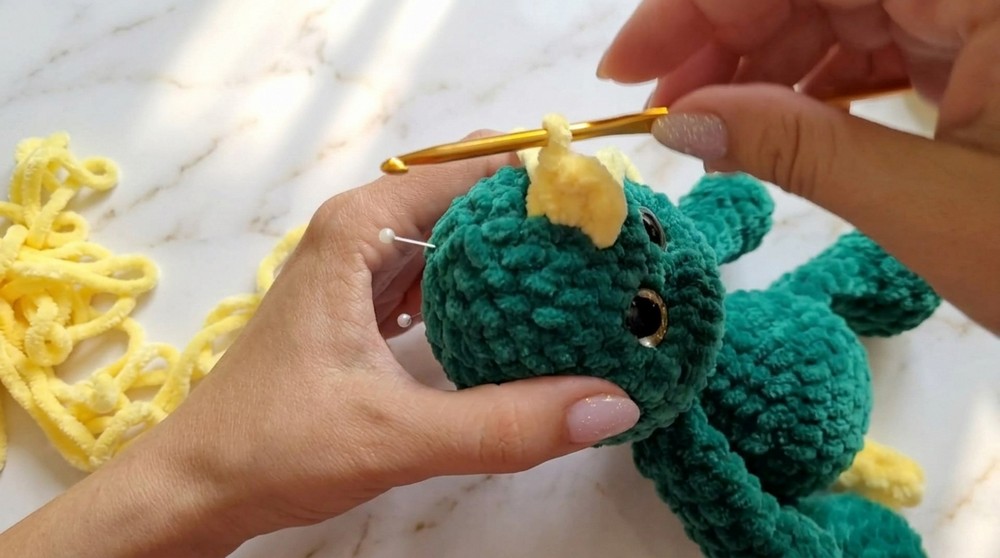
Fasten off, weave in end.
Assembly & Finishing
- Close head hole: Weave tail through front loops and pull tight, weave in.
- Face shaping: Optional—use tail to pull eye area in slightly for cuteness.
- Sew ears: Fold ear, sew on either side of head just behind eyes.
- Sew wings: Pin, then sew onto sides of body behind arms.
- Add spikes: Crochet scallops along the dragon’s back and tail.
- Finishing touches: Embroider nostrils, mouth, or other features if desired.
Finished Size
About 20 cm tall (from feet to ear tip).
Conclusion
Congratulations! You have now created a plush and enchanting baby dragon. These dragons are perfect for snuggles, gifts, or as a cherished handmade toy. Personalize your dragon with different colors, embroidery, or even tiny accessories. Don’t forget to share your adorable creation with friends or online. Happy crocheting!