
Cute Amigurumi Free Crochet Hello Kitty Frog Pattern
Create a cute Hello Kitty Frog design with this free crochet pattern, offering simple instructions to help you make a fun and delightful project with ease.
There’s something truly sweet and fun about the Free Crochet Hello Kitty Frog Pattern. This adorable design brings together two cute worlds, the famous Hello Kitty and the lovable frog costume. The result is a small, round plushie that is an instant mood-lifter. One of the most beautiful parts of this pattern is the face, Hello Kitty’s familiar white head is perfectly round and soft, with little black eyes and an embroidered yellow nose.
Free Hello Kitty Frog Crochet Pattern – Beginner-Friendly
Delicate little whiskers add so much charm. The magic happens with the frog hat that fits right over her head! The hat is bright green, with tall, shiny frog eyes fixed on top. This gives the plushie such a playful, joyful look.
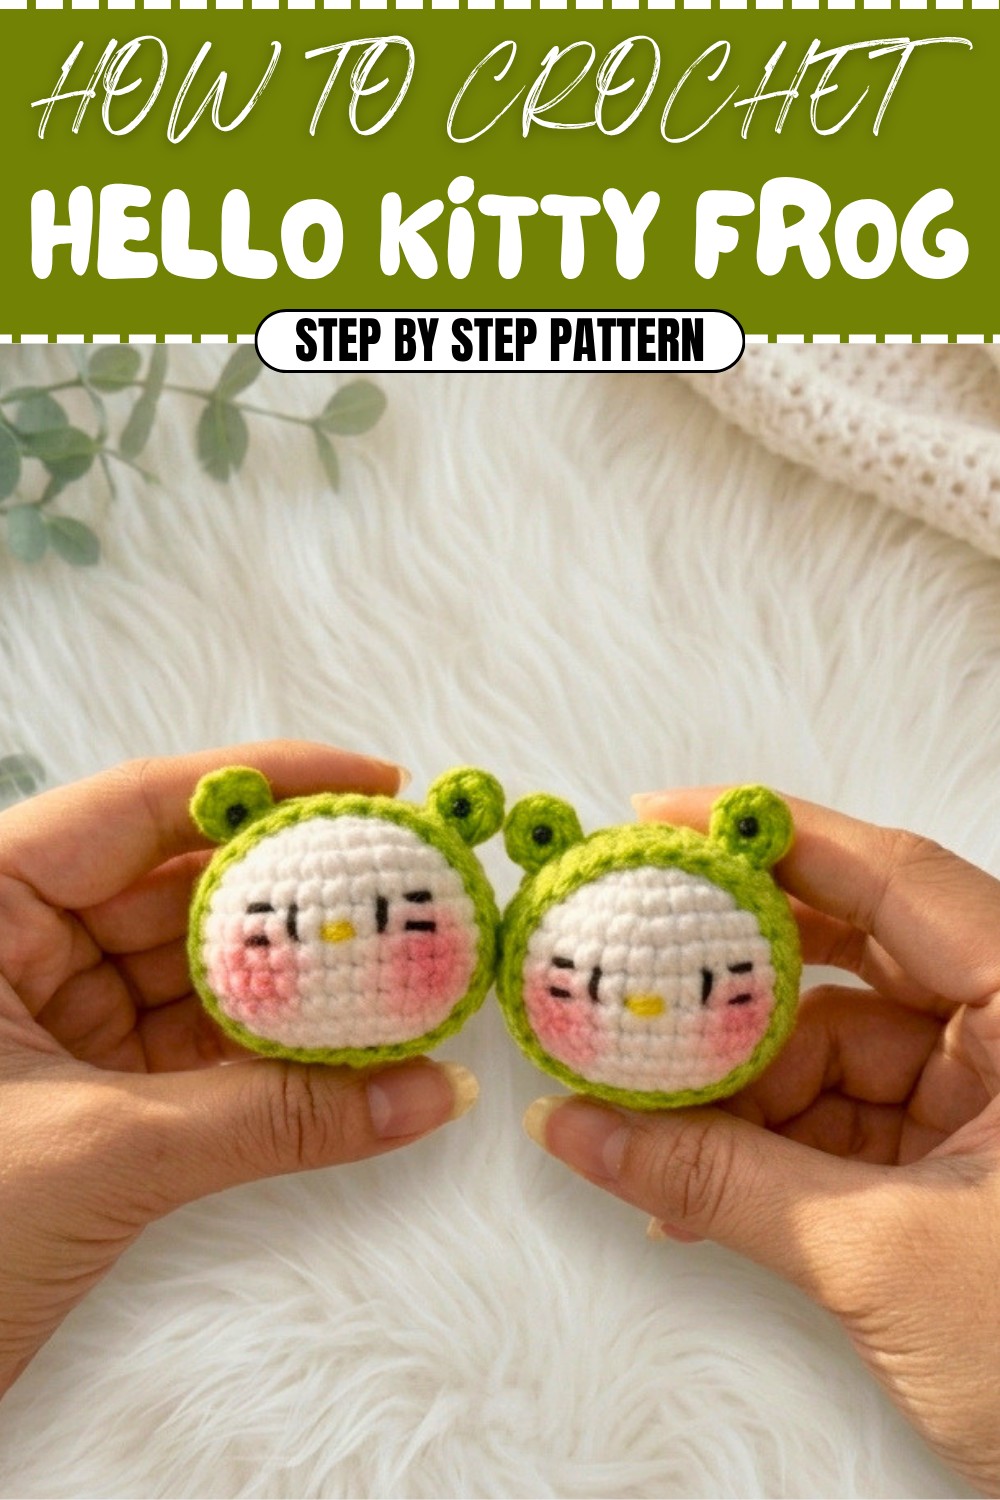
This lovely Hello Kitty Frog can be used as a keychain, a bag charm, or a sweet desk decoration. It is also perfect for gifting to Hello Kitty fans and children. With this pattern, every stitch brings a smile!
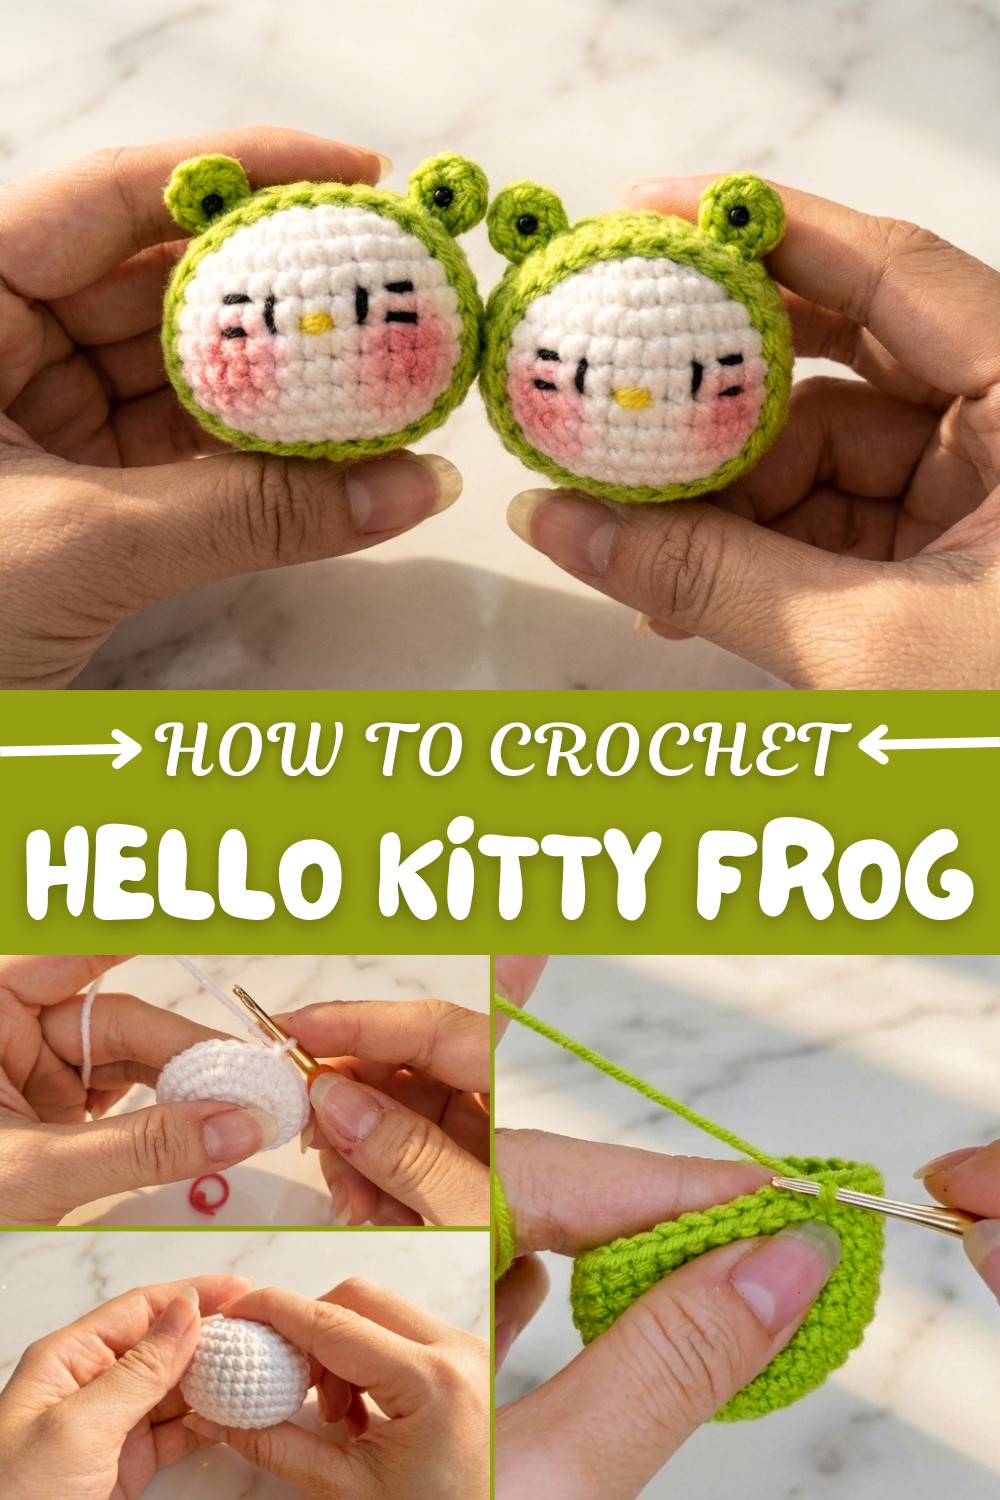
The texture is soft and neat, thanks to tight single crochet stitches. The shaping is simple but clever; you end up with a smooth and snuggly toy that feels just right in your hand. The little ears of Hello Kitty peek out from her frog hat, making the design even more charming.
Crocheters will love how fun and straightforward this project is. It uses easy stitches, and you build each part separately then sew them together. Because it’s made of small pieces, you can finish it quickly and even use leftover yarns. If you want to try something new, you can slightly change the color of the frog hat, or make the face a little bigger or smaller, and create a whole group of cute critters.
Hello Kitty in Frog Hat Amigurumi - Crochet Pattern
This step-by-step crochet pattern creates an adorable baby Hello Kitty cat wearing a cute frog hat. The design features a round head, frog-themed cap with large eyes, simple facial embroidery, and all the sweet details classic to Hello Kitty.
This project is perfect as a gift for kids or as a fun collectible for fans. The pattern is beginner-friendly and features basic amigurumi techniques, color changes, and simple embroidery details for the face.
Skill Level & Terminology
- Skill Level: Beginner/Advanced Beginner
- Terminology: Pattern is written in US crochet terms.
Materials & Tools
- Yarn: Worsted (medium #4) weight in white (Kitty), green (frog hat), blue (hat base), yellow (nose), pink (cheeks/face details), black (eyes), and small bits for face embroidery.
- Crochet Hook: 2.5-3.0 mm recommended (adjust hook size based on your yarn for a tight, amigurumi fabric).
- Stuffing: Polyfill stuffing or yarn scraps.
- Tapestry/Yarn Needle: For sewing and embroidery.
- Small scissors
Gauge
Gauge is not critical for this amigurumi, but your stitches should be tight so stuffing does not show between stitches. As a reference, after round 5 of the Kitty's head, the circle should be about 3.5–4 cm (~1.5 in) across.
Abbreviations List
| Abbrev. | Stitch/Instruction |
|---|---|
| mc | magic circle |
| ch | chain |
| sc | single crochet |
| inc | increase (2 sc in next st) |
| dec | decrease (sc 2 together) |
| st(s) | stitch(es) |
| sl st | slip stitch |
| FO | fasten off |
Special Stitch Instructions
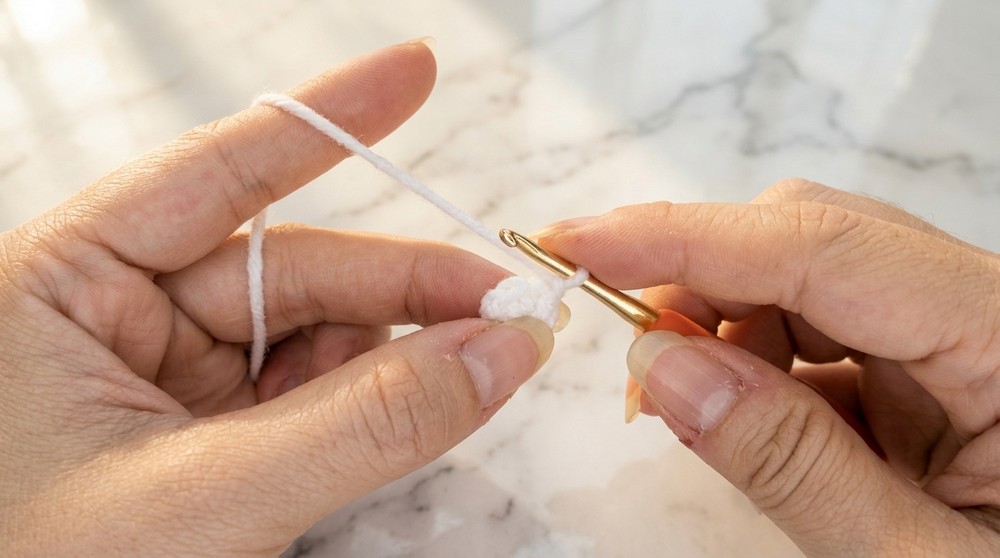
- Magic Circle: Wrap yarn into a loop; work sc stitches into the center for a seamless start.
- Increase (inc): Work 2 sc in the next stitch.
- Decrease (dec): Single crochet 2 stitches together.
- Invisible Finish: When closing, weave yarn through front loops of remaining stitches and pull tight.
Finished Size
Finished Hello Kitty stands about 8–10 cm (3–4 in) tall when made with recommended yarn and hook.
The Pattern
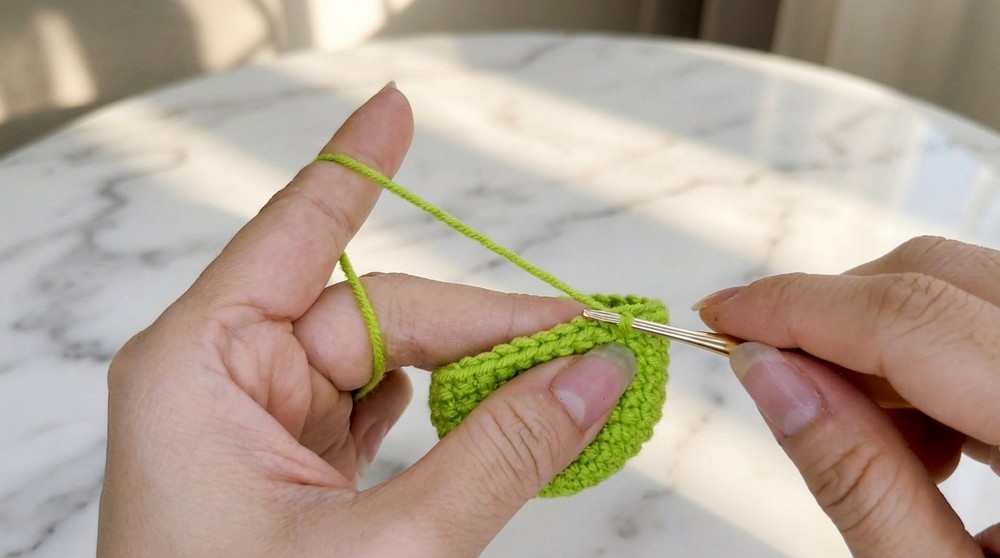
At the start of this pattern, you’ll begin by making the basic shapes of Hello Kitty’s head and hat using simple stitches like single crochet and the magic circle. This part lays the foundation for your project and helps you get comfortable with the steps you’ll use throughout. Taking your time here sets you up for a cute and well-shaped amigurumi at the end.
Kitty's Head (White Yarn)
- Round 1:
- 6 sc in a mc. (6 sts)
- Round 2:
- Inc in each st (2 sc in each) around. (12 sts)
- Round 3:
- (sc in next st, inc in next st) 6x. (18 sts)
- Round 4:
- (sc in next st, inc in next st, sc in next st) repeat around (1 sc, inc, 1 sc). (24 sts)
- Round 5:
- (sc in next 3 sts, inc in next st) 6x. (30 sts)
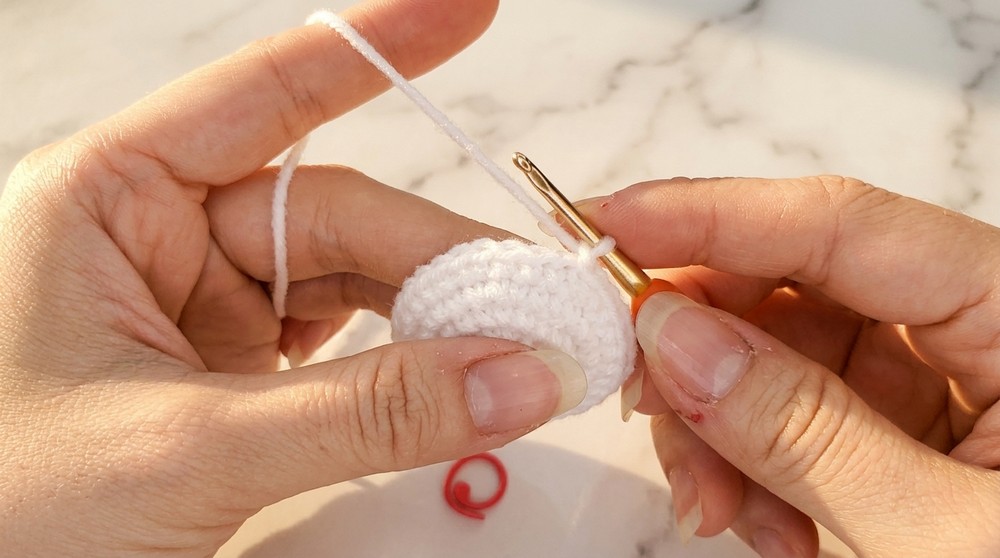
- Rounds 6-10:
- Sc in each st around. (5 rounds of 30 sts)
- Round 11:
- (sc in next 3 sts, dec in next st) 6x. (24 sts)
- Round 12:
- (sc, dec, sc) repeat around. (18 sts)
- Round 13:
- (sc in next st, dec in next st) repeat around. (12 sts)
- Finish:
- FO, leaving a long tail for sewing.
- Stuff head firmly.
- Using tapestry needle, weave yarn through front loops of final 12 sts and pull tight to close the top.

For those not used to reading patterns: Make a ball by starting small, increasing outward in rounds, working even, then decreasing and stuffing as you go. Shape and close tightly.
In the middle of the pattern, you’ll work on the details that bring Hello Kitty to life, such as embroidering her face and making the frog hat eyes. You’ll also begin to assemble some of the pieces together. This stage is where you’ll see your project start to look like Hello Kitty in a frog hat, which is always fun and motivating.
Frog Hat Base (Blue or Green Yarn)
- Round 1:
- 6 sc in a mc. (6 sts)
- Round 2:
- Inc in each st around. (12 sts)
- Round 3:
- (sc, inc) repeat around. (18 sts)
- Round 4:
- (sc, inc, sc) repeat around. (24 sts)
- Round 5:
- (sc in next 3 sts, inc) repeat around. (30 sts)
- Rounds 6–11:
- Sc in each st around. (6 rounds of 30 sts)
- Round 12 (Brim):
- (sc in next 3 sts, dec) repeat around. (24 sts)
- FO, leaving a tail for sewing.
You’ve made a flat-topped dome to fit atop the Kitty’s head—do not stuff.
Frog Eyes (Green Yarn, Make 2)
- Round 1: 6 sc in a mc. Pull tight.
- FO, leave long tail for sewing.
These are the base “eyeball” domes that are sewn to the frog hat.
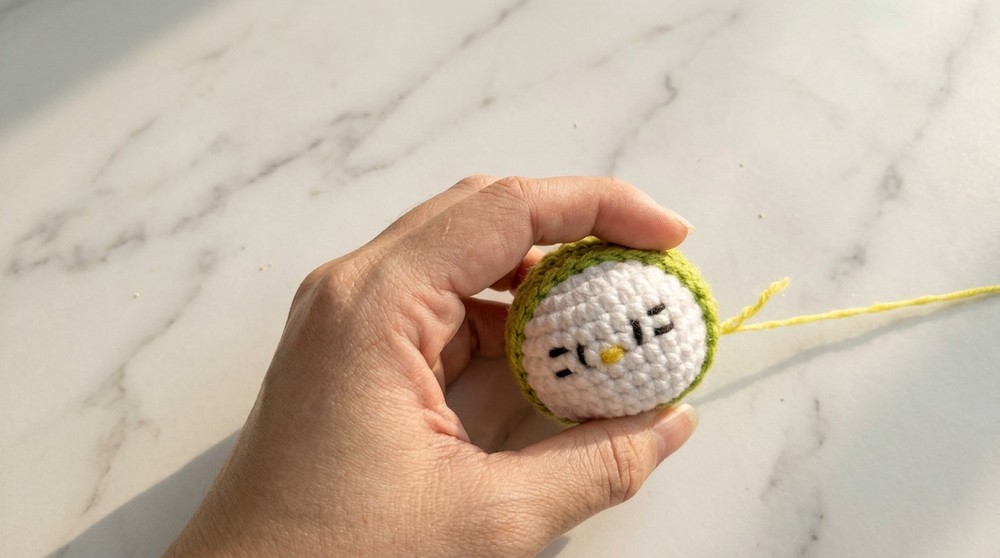
Assembly & Face Details
Embroider Kitty’s Face
- With black embroidery thread, stitch oval eyes between rounds 5–6, spacing them evenly.
- With yellow yarn, stitch a small horizontal oval for the nose centered between and just beneath the eyes.
- With pink yarn, add short lines for cheeks on either side below each eye.
- (Optional) Add signature Hello Kitty details like whiskers.
If you’re not comfortable with embroidery, you may use small felt or safety eyes/nose.
Attach Frog Eyes
- With green yarn, position frog eyes symmetrically on the hat, between rounds 3–4, slightly to each side.
- Sew in place.
- Optionally, embroider or glue a piece of black felt/yarn in the center of each frog eye for pupils.
- Add tiny pink felt/yarn “blush” circles if desired.
Assemble Kitty
- Fit and sew the brim of the frog hat onto Hello Kitty's head. Secure evenly, hiding all ends.
- Make sure the hat sits snug around the top and slightly back for the best “frog” effect.
At the end of the pattern, you’ll add the final touches, sew all the parts together, and make sure everything is secure. This is when your Hello Kitty amigurumi truly comes to life! You’ll have a finished, adorable toy to keep or gift, and you can feel proud of the work you’ve done.
Conclusion
Congratulations! Your adorable Hello Kitty in a frog hat is complete. The pattern uses only basic stitches: magic circle, single crochet, increase, decrease, and simple embroidery. You start with the head’s ball shape, crochet the flat-topped rounded hat, add two small round eyes, and finish with embroidered or felt features.
If you are new to amigurumi, just remember:
- Make small spheres for head and hat, join with simple sewing, and decorate with easy embroidery or glue.
- The total time for crocheting and assembly is 2–3 hours.
Have fun gifting, collecting, or displaying your new handmade Hello Kitty! Adjust the yarn colors and hat decorations for variety. Happy crocheting!
Stitches used: Chain, single crochet, increase, decrease, slip stitch, embroidery (for face).