
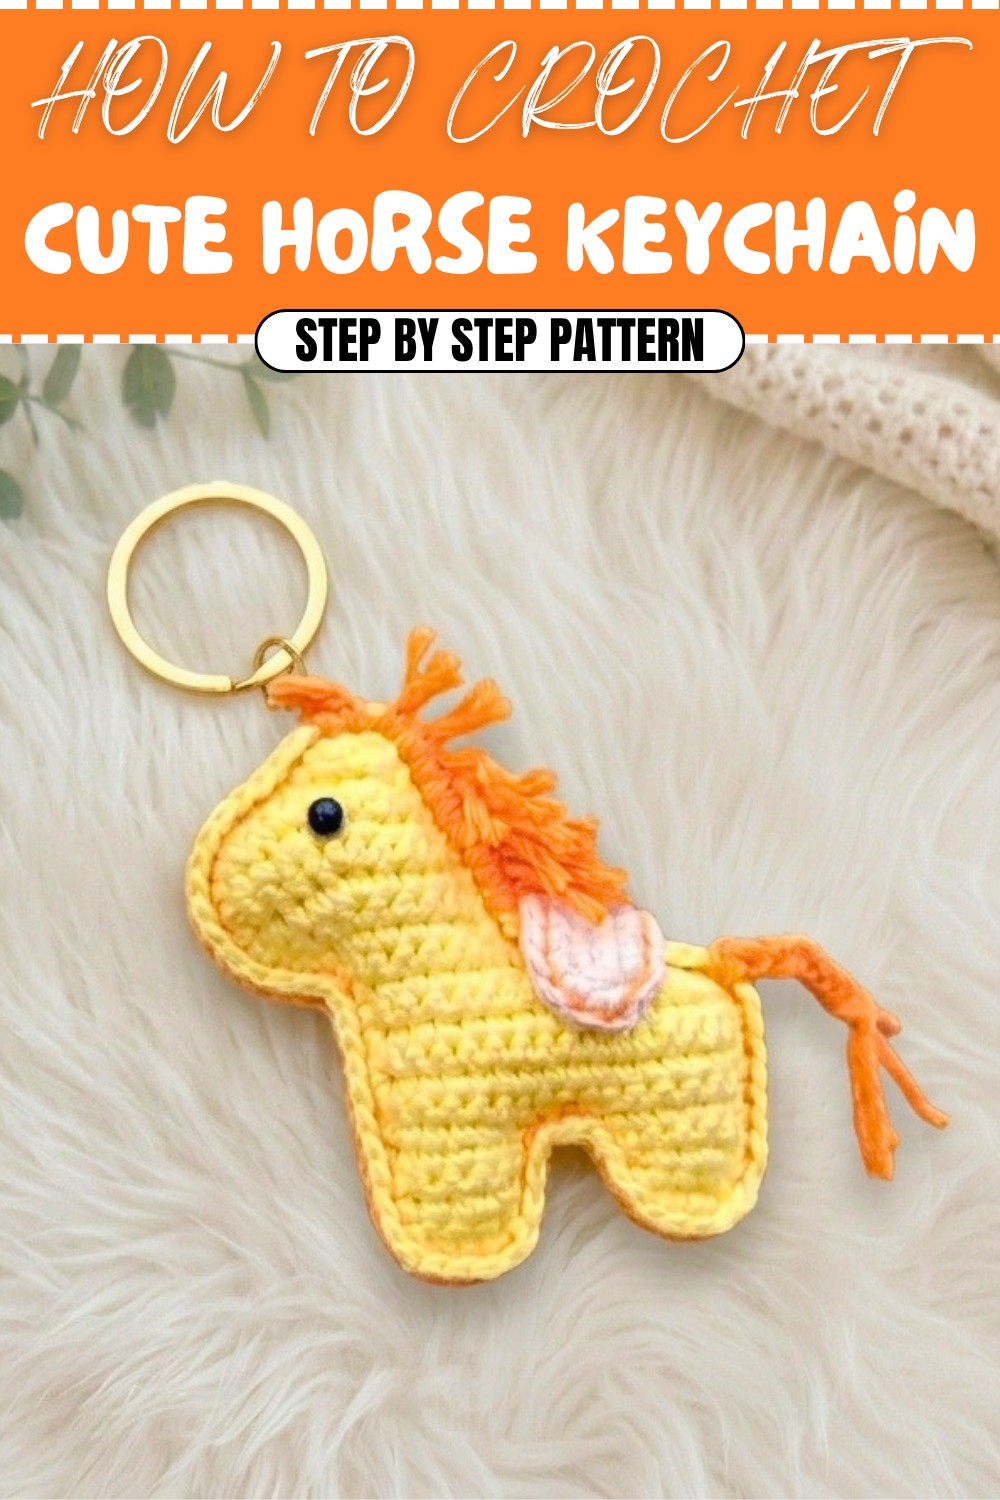
Crochet Horse Keychain With Mane & Tail – Free Pattern
Easily stitch a horse keychain with this free crochet guide, offering clear steps to help you make a durable and charming accessory for everyday use.
If you are looking for a small project to brighten your day, the free crochet horse keychain pattern is the perfect little make. This charming horse stands out with its cute shape and soft texture. The pattern gives you an adorable horse with lovely details—big, friendly eyes, a sweet muzzle, and tiny ears that make the face so expressive. The mane is playful and adds a fun touch, making every keychain unique and full of character.
Crochet Horse Keychain Pattern– Simple & Quick
The stitches used make the keychain feel soft yet sturdy, just right for holding in your hand or hanging on your bag. The shape is small and easy to carry, but the little horse still feels special and eye-catching. Crocheters will enjoy making this pattern because it is simple but lets you be creative, with the colors for the body, mane, and muzzle, you can make your horse personal for yourself or as a thoughtful gift. It’s fun to add a tiny bow or change the mane color, making each horse different.

If you want to try something new, you can easily adapt the pattern. With minor changes, you can create a unicorn keychain by adding a horn, or make a zebra with a striped mane and body. But stick to the pattern for a classic horse that fits everywhere.
You can use this horse keychain to organize your keys, hang it on your backpack, or even add it as a decorative charm to your purse. It also makes a sweet gift for friends who love animals or handmade crochets. This small horse brings a touch of joy and warmth wherever you use it.
Mini Crochet Horse Keychain Pattern
Create your own adorable tiny horse keychain with this clear, beginner-friendly crochet pattern! This sweet horse is crafted in a flat, slightly stuffed style and includes a playful mane, braided tail, and decorative details for a charming, professional finish.
Choose your favorite colors to personalize your pony, and watch your skills—and your finished keychain—shine! This project is perfect for gifting, accessories, or as a fun introduction to amigurumi techniques.
Skill Level & Terminology
- Skill Level: Beginner/Advanced Beginner
- Terminology: US crochet terms are used throughout the pattern.
Materials & Tools
- Yarn: Worsted weight (or light DK for a smaller keychain)
- Main color (e.g., yellow for the body)
- Accent colors (e.g., orange for mane/tail/embroidery; brown for saddle)
- Crochet Hook: 2.5 mm (or size to achieve a tight, amigurumi fabric)
- Stuffing: Polyester fiberfill or yarn scraps
- Needle: For sewing and embroidery
- Scissors
- Strong glue: Hot glue or fabric glue for eyes and saddle
- Safety eyes: 5–6 mm (or small black beads or embroidery for eyes)
- Stitch marker (optional)
Gauge
Gauge is not critical for this pattern; simply work tightly so stuffing doesn’t show. After rows 1–4, your strip should measure about 1–1.5 cm wide.
Abbreviations List
| Abbreviation | Meaning |
|---|---|
| ch | chain |
| sc | single crochet |
| inc | single crochet increase (2 sc in same st) |
| dec | single crochet decrease (sc 2 together) |
| sl st | slip stitch |
| st(s) | stitch(es) |
| FO | fasten off |
Special Stitch Instructions
- Single Crochet Increase (inc): Work 2 single crochet stitches into the same stitch.
- Single Crochet Decrease (dec): Insert hook in next stitch, yarn over and pull up a loop, insert hook in next st, yarn over, pull up a loop. Yarn over, pull through all loops on hook.
Finished Size
Approximately 7–8 cm (3 in) tall, not including mane or tail, when made with listed materials.
Pattern Overview
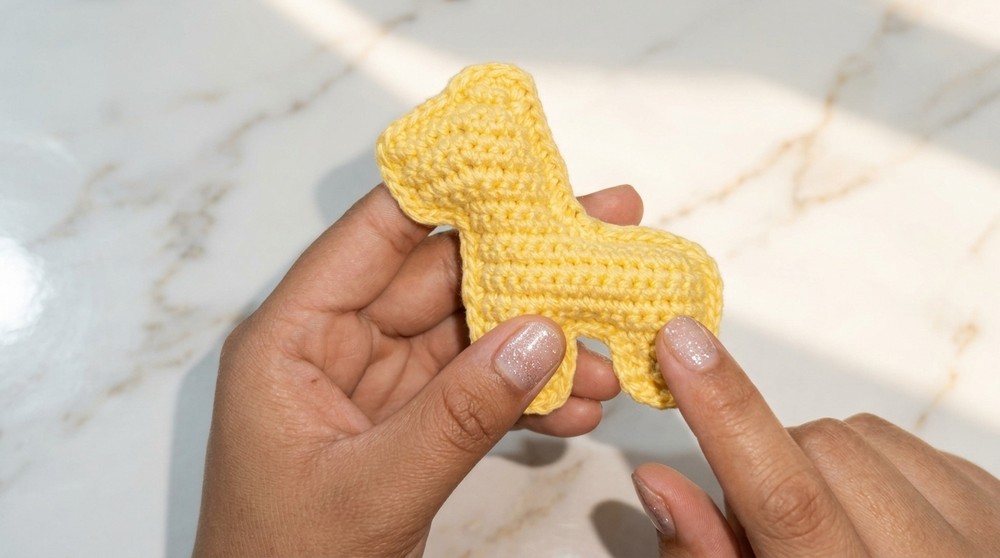
This horse is worked in two flat panels, joined and lightly stuffed for a plush look. Starting with the legs and working upward, you’ll use simple single crochet, increases, and decreases. Strands create the mane and tail, and easy slip stitching outlines the body and defines details. All stitches are single crochet, so this pattern is ideal for beginners!
The Pattern
Body Panels (Make 2)
Main Color (e.g., Yellow):
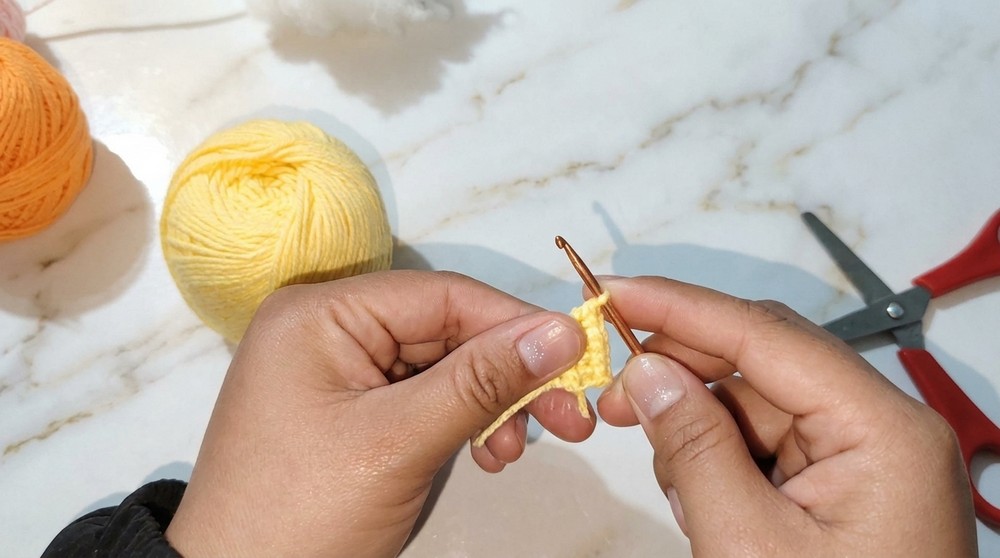
- Row 1:
Ch 5, sc in second ch from hook and in each st across. (4 sts)
Ch 1, turn. - Row 2:
Sc in first st, inc in next st (2 sc), sc in next 2 sts. (5 sts)
Ch 1, turn. - Row 3:
Sc across (5 sts).
Ch 1, turn. - Row 4:
Sc in next 4 sts, inc in last st (2 sc in same st). (6 sts)
Ch 1, turn.
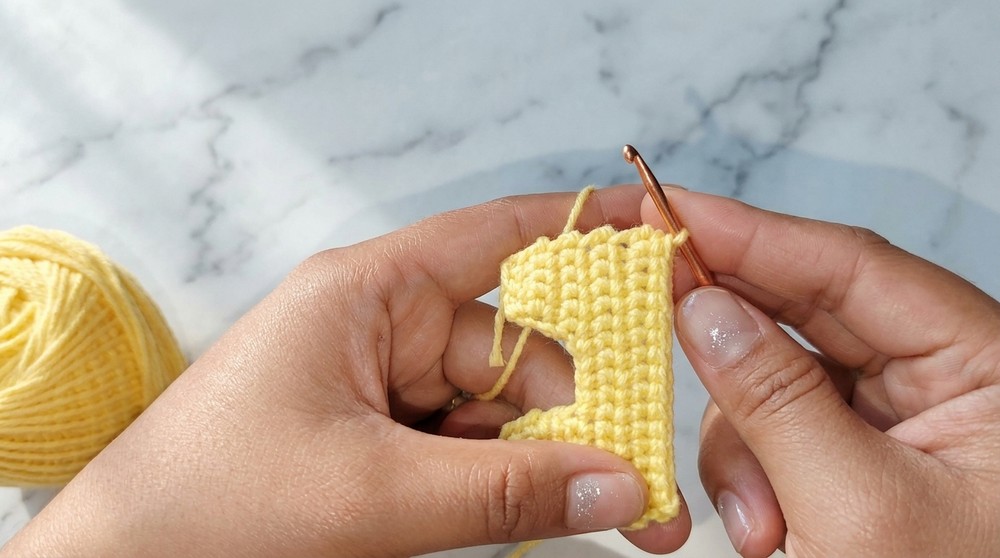
Repeat Rows 1–4 to create a second identical piece. Leave the yarn attached on the second piece; cut yarn and weave in ends for the first.
If you don’t read patterns: Start with two separate rectangles with an increase at one end, so you have two slightly L-shaped pieces to join together.
Join Legs
- Using the working yarn from your second piece:
- Ch 4.
- Attach to one edge of your first panel with sc.
- Sc across the first panel’s edge, sc into each ch across the bridge, and continue sc across the second panel.
- Ch 1 and turn.
Here, you're forming the body by bridging the two panels and working them as one larger shape—this is the body and legs.
Main Body (Rows 5–8)
Rows 5-8
Sc in each st across (including leg bridge)—work 4 rows even, pausing to work through the foundation chs as you go.
Ch 1 and turn at the end of each row.
If you don’t read patterns: Work evenly in single crochet across all stitches to make the horse’s midsection, turning at the end of each row.
Shaping the Head and Neck
Row 9:
Ch 1, turn.
Sc in next 14 sts, dec next 2 sts at the end (sc2tog). (13 sts)
Row 10:
Ch 1, turn.
Dec first 2 sts, sc in next 13 sts. (13 sts)
Row 11:
Ch 1, turn.
Inc in first st, sc in next 4, dec next 2, sc in next st, inc in last st. (Count 11 sts)
Row 12:
Ch 1, turn.
Dec first 2 sts, sc in next 4 sts, inc in last st (2 sc in same st). (Count 9 sts)
Row 13:
Ch 3, turn.
Starting from the second ch from hook:
Sc 3, inc in next st, sc 5. (Count as you go—should match the base as per video’s procedure)
Row 14:
Ch 1, turn.
Dec first 2 sts, sc 3, inc next st, sc 4. (9 sts)
Row 15:
Ch 1, turn.
Sc 4, inc next st, sc 2, dec last 2.(8 sts)
Row 16:
Ch 1, turn.
Dec first 2 sts, sc 3, inc next st, sc 2. (7 sts)
Row 17:
Ch 1, turn.
Sc 5, inc in next st, sc 2, dec last 2. (8 sts)
Row 18:
Ch 1, turn.
Dec first 2 sts, sc 3, dec next 2. (6 sts)
Row 19:
Ch 1, turn.
Dec first 2 sts, dec next 2 sts. (4 sts). FO.
Make a second identical piece. Weave in ends.
You’ve now made two mirrored panels for your horse! If you’re new to reading patterns, assemble two identical “horse” shapes with stubby neck and head.
Assembly
- Join Panels:
- Place panels together, matching body shapes.
- Using main color, sc or sew around the edge, stuffing lightly as you go.
- Leave an opening for the tail.
- Outline:
- With accent yarn (e.g., orange), sl st around the entire horse, working from the back to make a neat border. FO and weave in.
If you do not read patterns, lay the two flat pieces together and sew or crochet around, adding stuffing as you go. Use another color to outline the horse in slip stitch for definition.
Saddle (Brown Yarn)
- Ch 10.
- Row 1:
Sc in second ch from hook, and in next 8 chs. (8 sts) - Row 2:
Turn, sc across 8 sts.
In final st, work 3 sc (to round the end), continue sc down the other long side.
Work 2 sc in last st. FO, hide ends. - Attach saddle:
- Place on horse’s back, secure with glue or sew in place.
The saddle is a simple brown oval/rectangle you sew or glue atop the horse body.
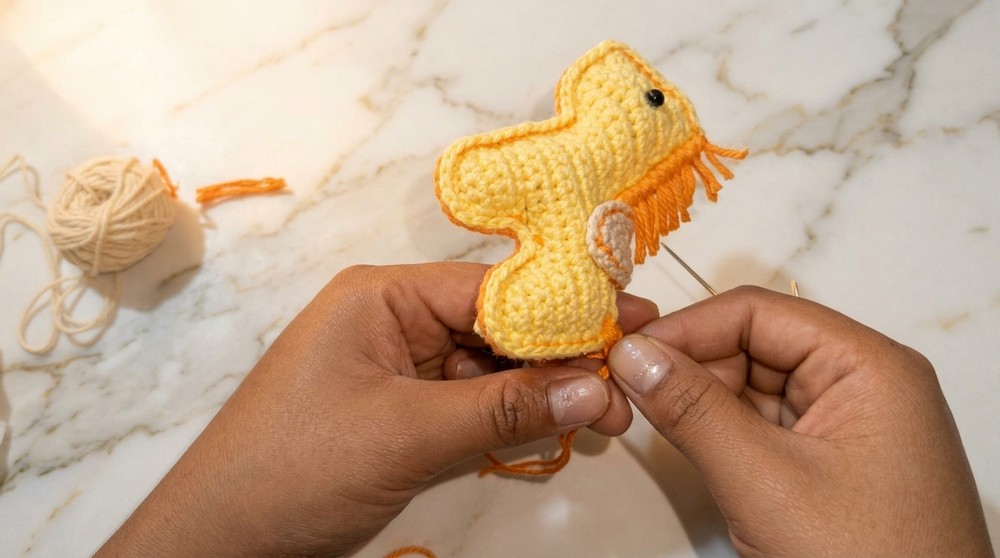
Mane, Tail and Details
Mane:
- Cut 5 pieces of yarn (main or accent color), about 10 cm.
- Fold each in half, use a hook to pull through neck/head, and pull ends through loop to secure (latch hook method).
- Trim to desired length.
Tail:
- Cut 5 pieces of yarn, about 20 cm.
- Attach at hindquarters as for mane.
- Divide into three groups and braid.
- Secure with a knot, wrap an extra strand around the base if desired. Trim to length.
For those not reading patterns: Tie yarn strands at the head and body for mane/tail, braid the tail, and trim both as you like.
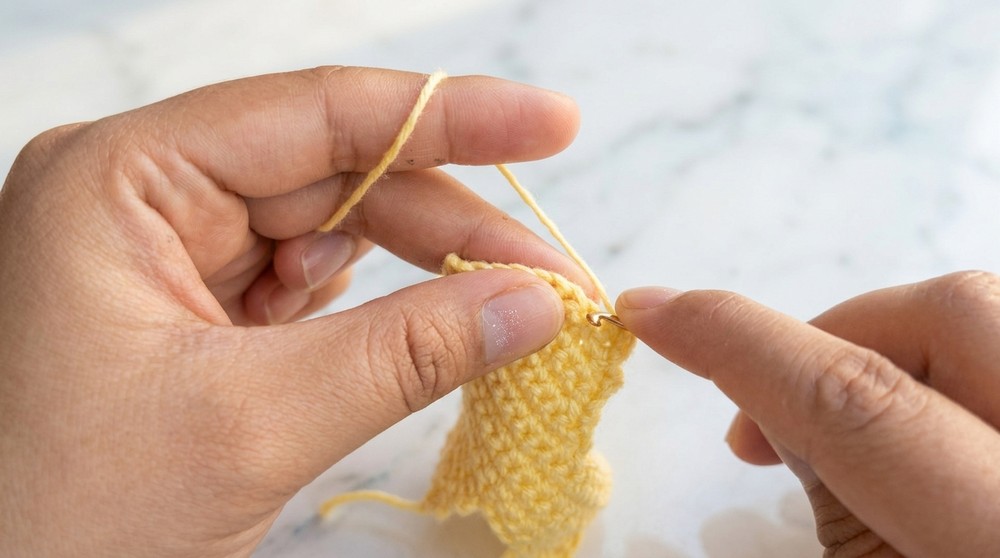
Eyes
- Attach safety eyes or glue small beads as shown in the video, using glue for durability.
- Place above the “neck,” about 2 rounds down from the tip of the head.
Hanging Cord
- At the top of the horse, attach yarn with a slip knot.
- Ch 5–10 for a small loop, sl st to base, FO.
- Hide all ends.
Conclusion
Congratulations! You have finished your adorable crochet horse keychain! This project uses only simple stitches—single crochet, increases, and decreases—making it perfect for beginners. You’ll practice crocheting flat panels, joining, light shaping, and basic embroidery or glueing for details. Take your time to assemble, stuff, and add all the special touches—a professional result is all in the details.
Feel free to customize your horse’s color, mane style, and saddle to match your own taste. This keychain makes a wonderful gift or a cheerful addition to your bag or keys. Remember, each piece you make is unique and grows your skills—enjoy every stitch.