
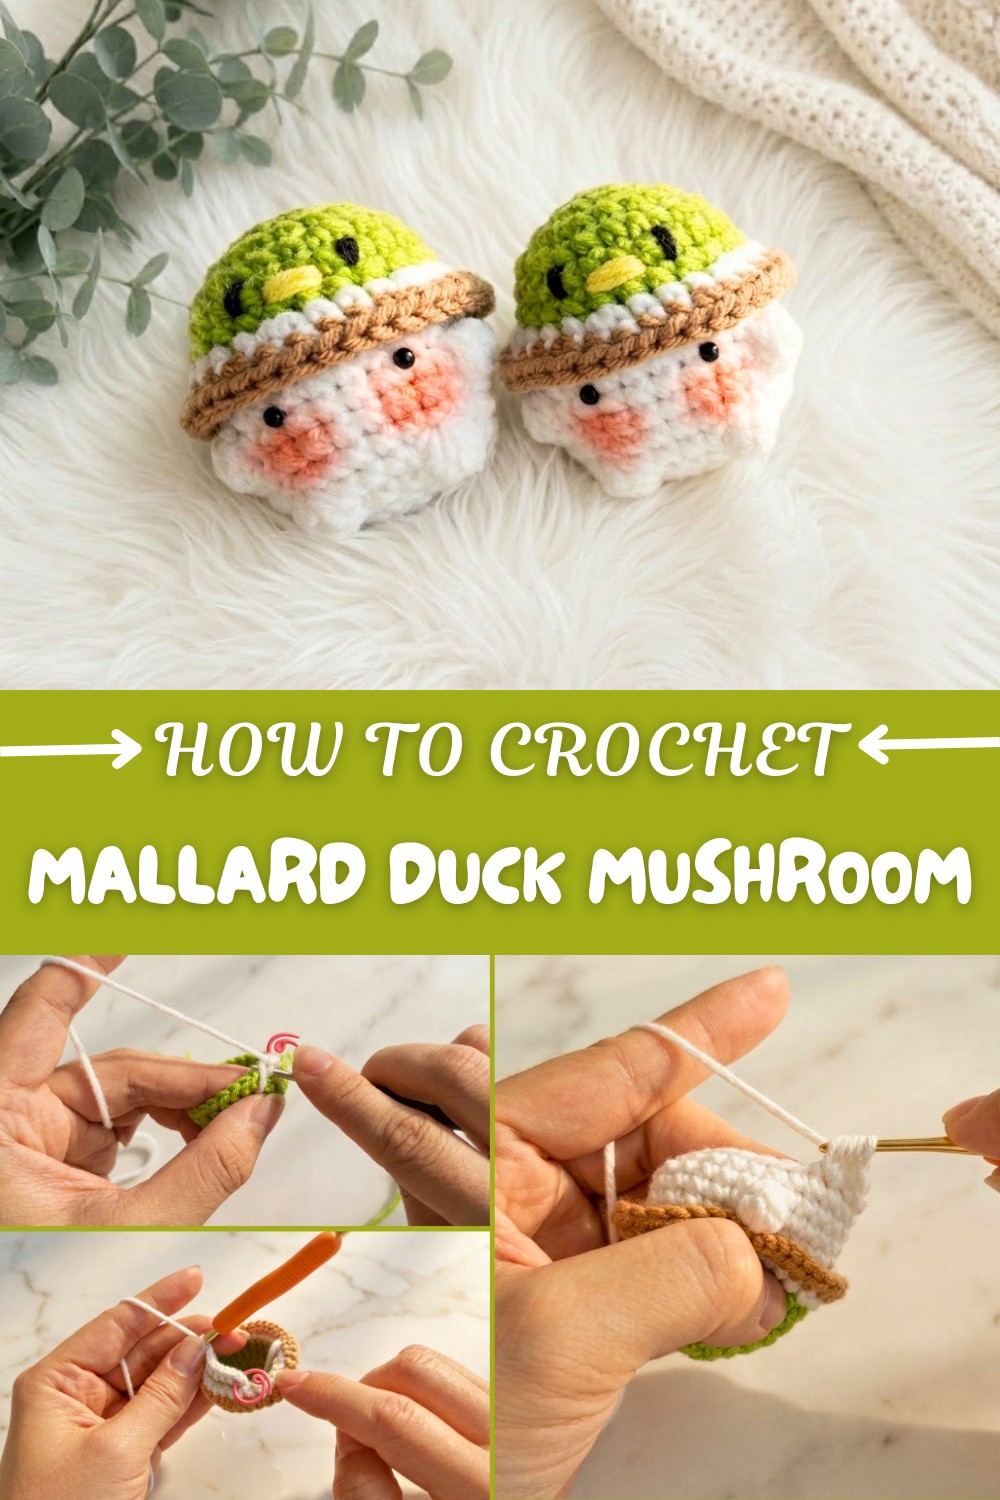
Free Crochet Mallard Duck Mushroom With Easy Pattern
Crochet a unique mallard duck mushroom with this free guide, combining nature-inspired artistry and fun for a delightful addition to your handmade collection.
Small enough to crochet in a short time yet detailed enough to be eye-catching, this project offers the best of both worlds. The Free Crochet Mallard Duck Mushroom Pattern is a fun and unique way to mix nature and creativity. This pattern is simple to follow, so even beginners can enjoy making it, but the results are always adorable and lively.
Simple Crochet Mallard Duck Mushroom Free Pattern
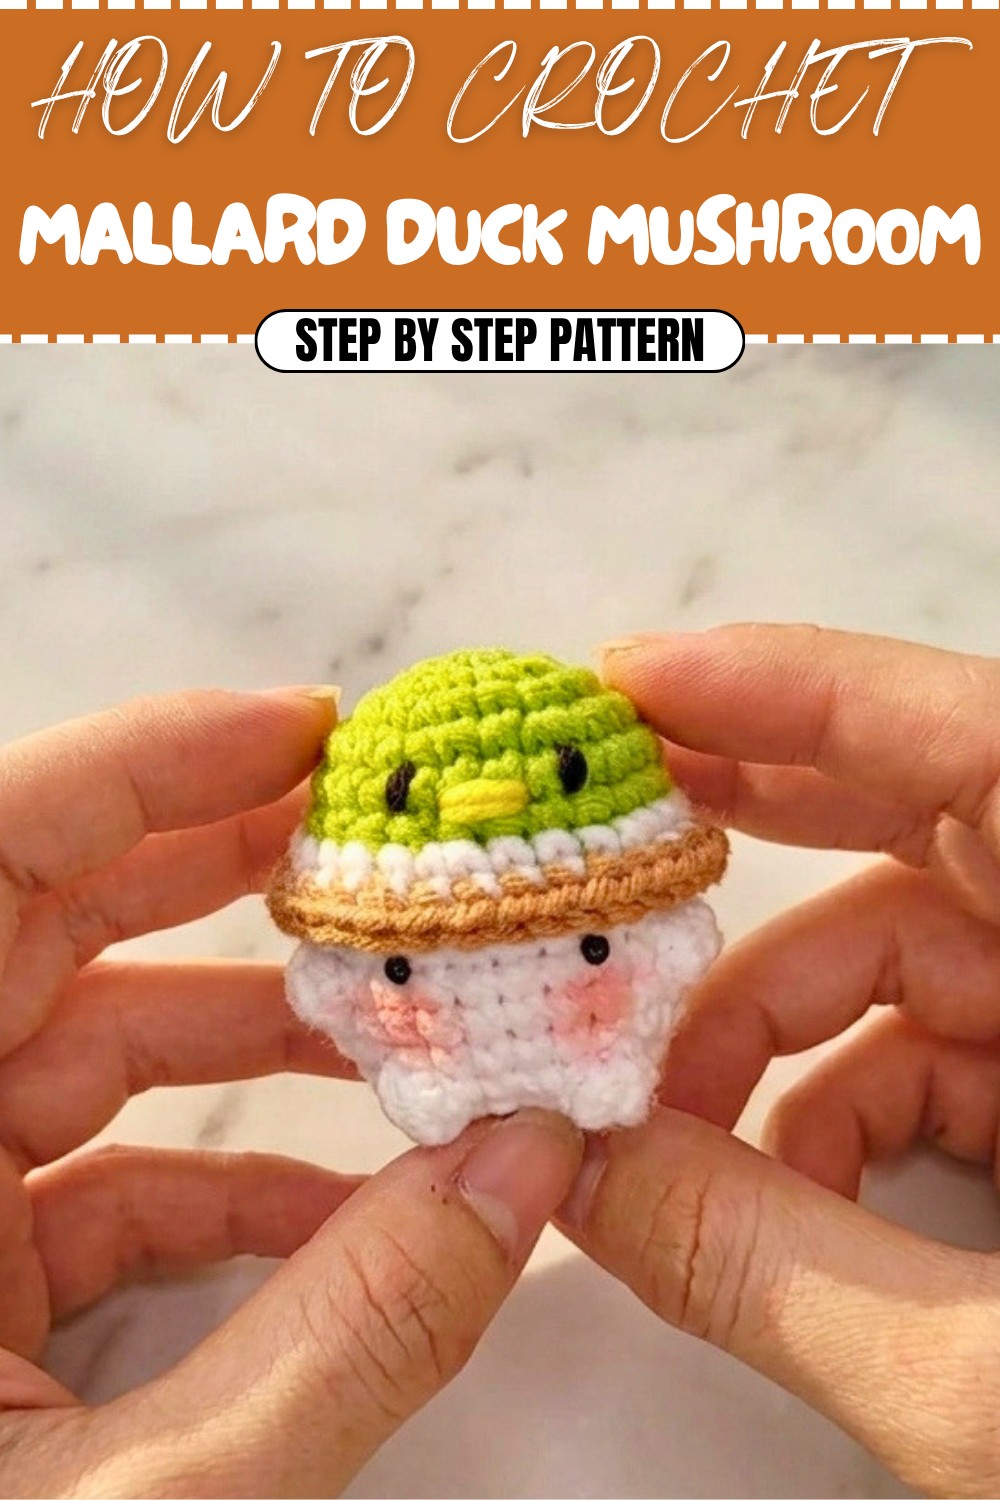
One of the prettiest things about this pattern is how it looks like both a duck and a mushroom at the same time. The mushroom cap is made with green and brown yarn, just like the head of a real mallard duck. Often, a yellow or orange touch is added to look like the duck’s beak, a small detail that makes the mushroom extra cute! The stem is white or tan, and it’s nice and sturdy so your mushroom will stand up well wherever you put it.
The texture is soft and bumpy, making it feel very pleasant in your hand. The colors and shape are bright and friendly, which makes this pattern perfect for decorating your home. You can place your finished mushroom on your desk, on a shelf, or give it as a gift to someone who loves birds or cute piece. Some people like to attach a keychain ring or a string so they can hang their duck mushroom on their bag, backpack, or even Christmas tree.
This pattern does not take much yarn or time, so you can make several in a day if you want. It’s a good way to practice your crochet skills and get creative with color combinations. If you’re looking for a small, cheerful project that stands out, I really suggest trying this pattern. It’s easy, fun, and adds a splash of nature to anything.
Duck Hat Amigurumi Crochet Pattern
Pattern Notes
This charming “Duck Hat Amigurumi” pattern guides you in making a cute, character-inspired doll with a removable duck hat, puff-stitched body for texture, and simple facial embroidery. The pattern uses continuous spirals (do not join at the end of each round) and basic color changes.
Tip: Use a stitch marker or contrast thread to mark the start of each round.
Skill Level
Confident Beginner
You should be comfortable working in the round, using basic increases and decreases, color change, and basic sewing. Some experience with simple embroidery or attaching safety eyes is helpful.
Materials
- Yarn (Sport or DK Weight):
- Green (duck hat top)
- White (body and hat brim)
- Brown (duck beak accent on hat)
- Black (for facial features)
- Yellow (for beak embroidery)
- 2.5mm crochet hook (or size for a dense fabric with your yarn)
- Stuffing (polyester fiberfill)
- Tapestry needle (for sewing and embroidery)
- Safety eyes (optional, 6–8mm)
- Stitch marker or scrap yarn
- Scissors
Measurements / Sizing
Approximate finished size: 8–10 cm tall (varies by yarn, hook, and personal tension).
Gauge
Not critical for amigurumi, but stitches must be tight enough that stuffing does not show.
Suggested: 8 sc x 8 rows = 4 cm square.
Stitch Abbreviations
| Abbreviation | Meaning |
|---|---|
| MR | magic ring |
| ch | chain |
| sc | single crochet |
| inc | increase (2 sc in 1 st) |
| dec | decrease (sc 2 together) |
| sl st | slip stitch |
| BLO | back loop only |
| FLO | front loop only |
| st(s) | stitch(es) |
| FO | fasten off |
Special Stitches
- Corn Kernel/Puff Stitch:
[Yarn over, insert hook in stitch, yarn over and pull up a loop, yarn over, pull through two loops] four times into same stitch. You will have five loops on the hook. Yarn over, pull through all five loops at once.
The Pattern!
Duck Hat
Green Duck Hat Top
- MR, 6 sc in circle (6)
- 6 inc (2 sc in each st) (12)
- [1 sc, 1 inc] x6 (18)
- [1 sc, 1 inc, 1 sc] x6 (24)
- sc in each st (24)
- sc in each st (24)
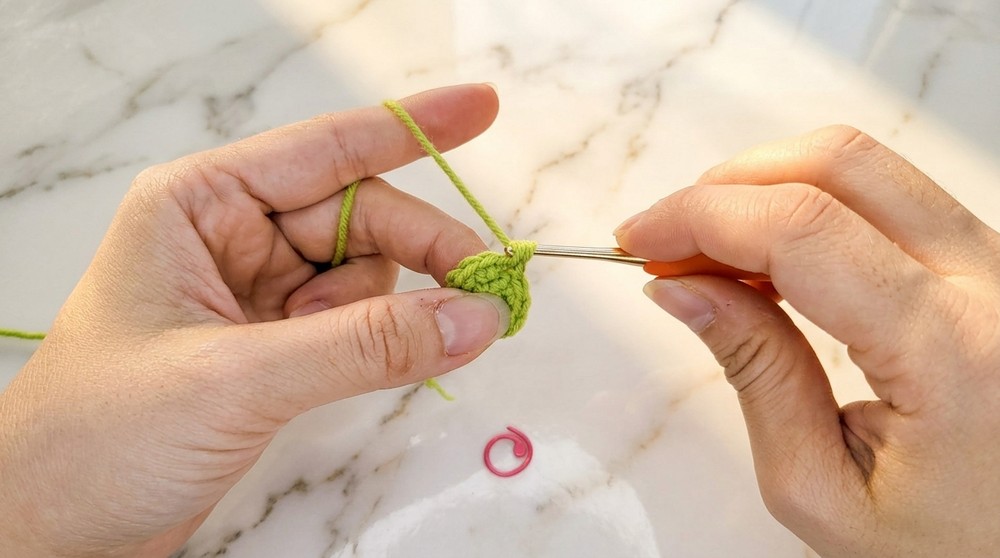
After these rounds, you’ll have a neat, shallow green cap as the top of your duck hat. The increases create a rounded, bowl shape.
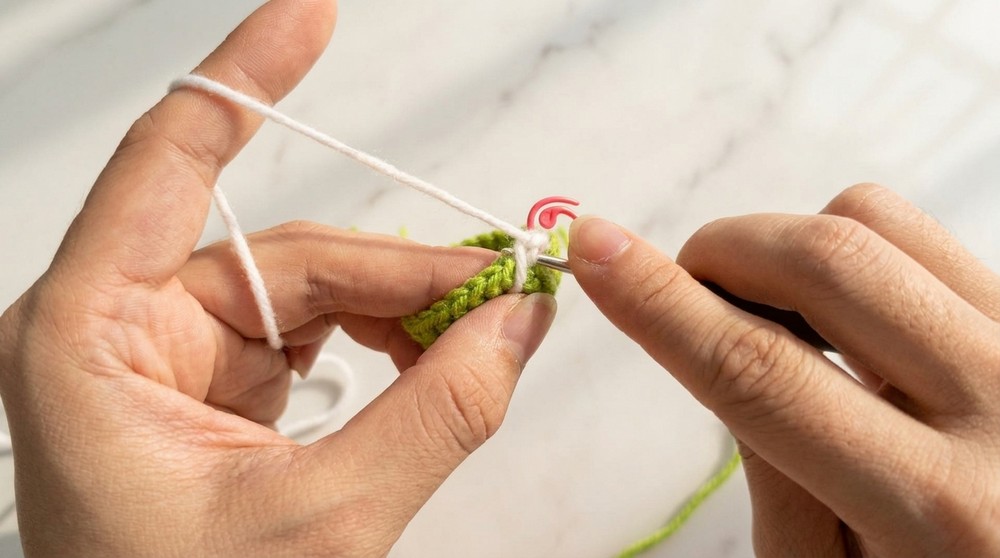
Hat Brim (White) and Beak (Brown)
- (Change to White, FLO) [3 sc, 1 inc] x6 (30)
- (Change to Brown, FLO) [2 sc, 1 inc, 2 sc] x6 (36)
FO and hide all loose ends.
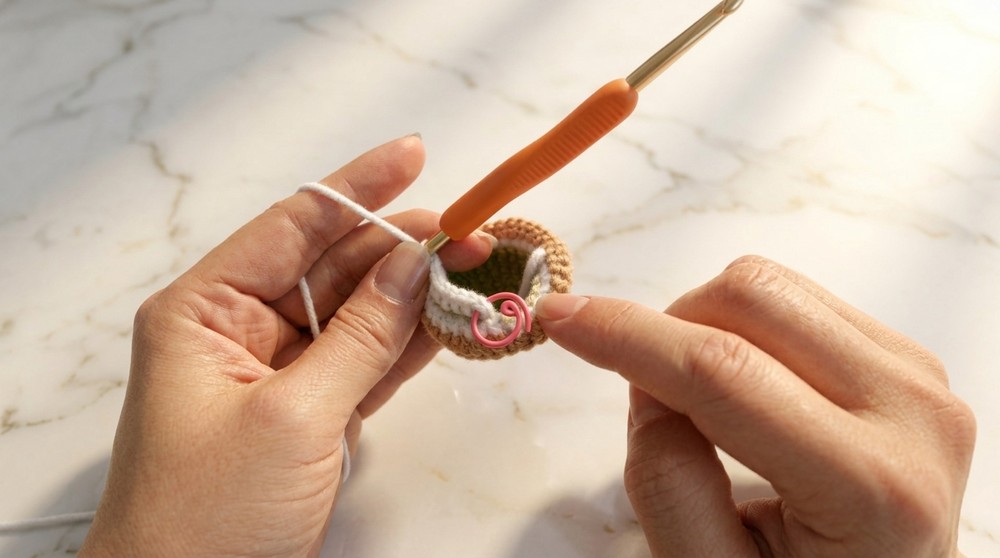
The color changes create the iconic hat band and beak accent. Using front loop only (FLO) makes a crisp band. The increasing stitches produce a flared rim.
You start with green, making a flat disc by working more into each round. Switch to white for the hat brim, using only the front loop to make the edge stand out. Switch again to brown for the lower hat/brim accent, flaring out as you go. Finish off, hiding the ends neatly.
Body (worked from base of Hat)
Joining Body to Hat
Attach White yarn into the BLO of Round 6 (where green ends).
- sc around in each back loop only (24)
- sc in each st (24)
- sc in each st (24)
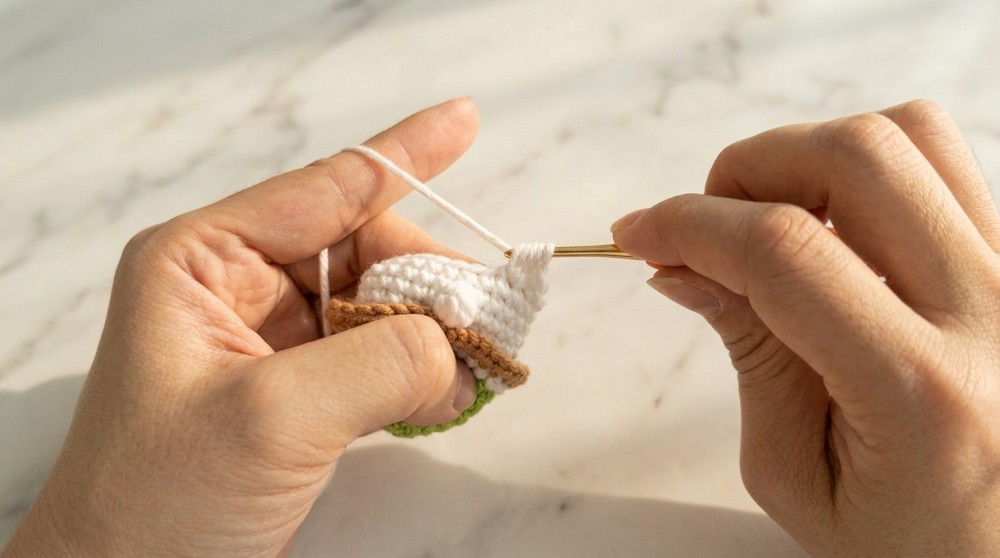
Joining in the unused back loops beneath the hat forms a hidden “ridge” between the white body and the green hat.
Shaping and Texture
- 7 sc, 1 corn kernel/puff stitch, 8 sc, 1 puff, 7 sc (24)
You’ve just made the first set of “duck down” lumps on the body with special puff stitches for texture.
- sc in each st (24)
- sc in each st (24)
- 9 sc, 1 puff, 4 sc, 1 puff, 9 sc (24)
The two rows of puff stitches create the whimsical “fluffy” duck body look.
Closing Shaping
- 12 dec (sc 2 together, use FLO for neater finish) (12)
- 6 dec (6)
FO with long tail, stuff body, then sew closed.
These decrease rounds rapidly narrow and close the base of the body. Stuff gently before final closure for round shape.
After the hat, you begin the body by attaching white into unused loops of the green. Work even in white, then start adding the corn kernel/puff stitch for feathery texture. Use decreases to close up the end, stuffing before final closure.
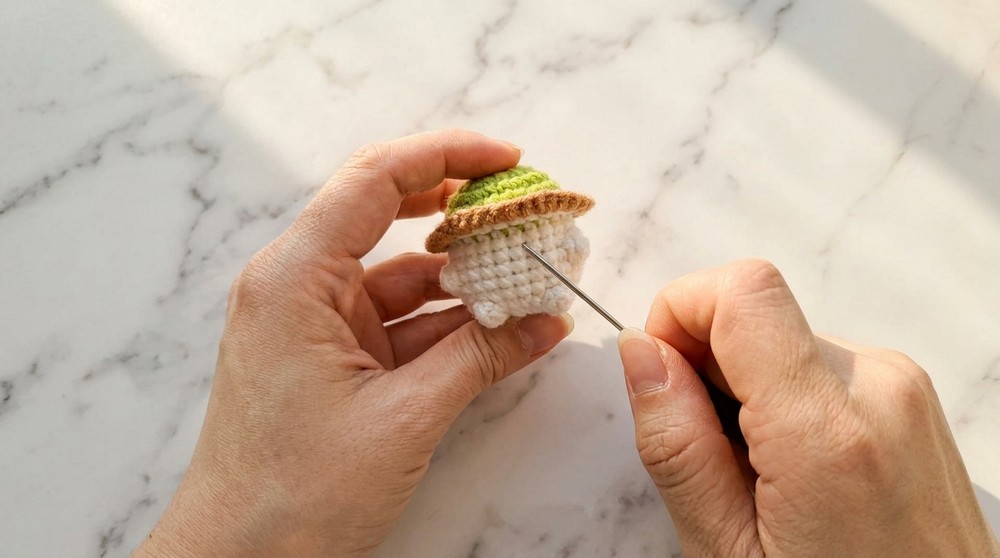
Face Details & Finishing
Attaching Eyes
- Place safety eyes or sew black ovals between rounds 11 and 12 on the white body, 4 stitches apart.
Duck Eye Embroidery
- With black thread, make horizontal lines or ovals for stylized cartoon eyes on row 5 of the body, above the puff stitches.
Duck Beak Embroidery
- With yellow yarn or floss, stitch a wide horizontal “V” just under or between the eyes, centered, between rounds 5 and 6.
These steps create the signature “duck face”—the amigurumi’s most whimsical part.
Once the stuffed body is securely closed, assemble the face by attaching eyes and embroidering the details: wide set for a comical effect. Place and fix the hat in place with a few stitches at the base if you wish. Make sure all threads are neatly hidden inside.
Assembly
- Attach duck hat to top of body if you desire, or leave removable.
- Add safety eyes or embroider eyes for a kawaii touch.
- Sew or embroider yellow beak and black eye lines.
- Hide all threads and make final adjustments to hat and face (move hat slightly forward for a cute tilt).
Conclusion
Congratulations—you’ve crocheted an adorable Duck Hat Amigurumi! By following this structured pattern, you’ve practiced working in spirals, color changes, special stitches (puffs), and embroidery. The combination of simple stitches, whimsical shaping, and character details ensures your creation is playful and full of personality.