
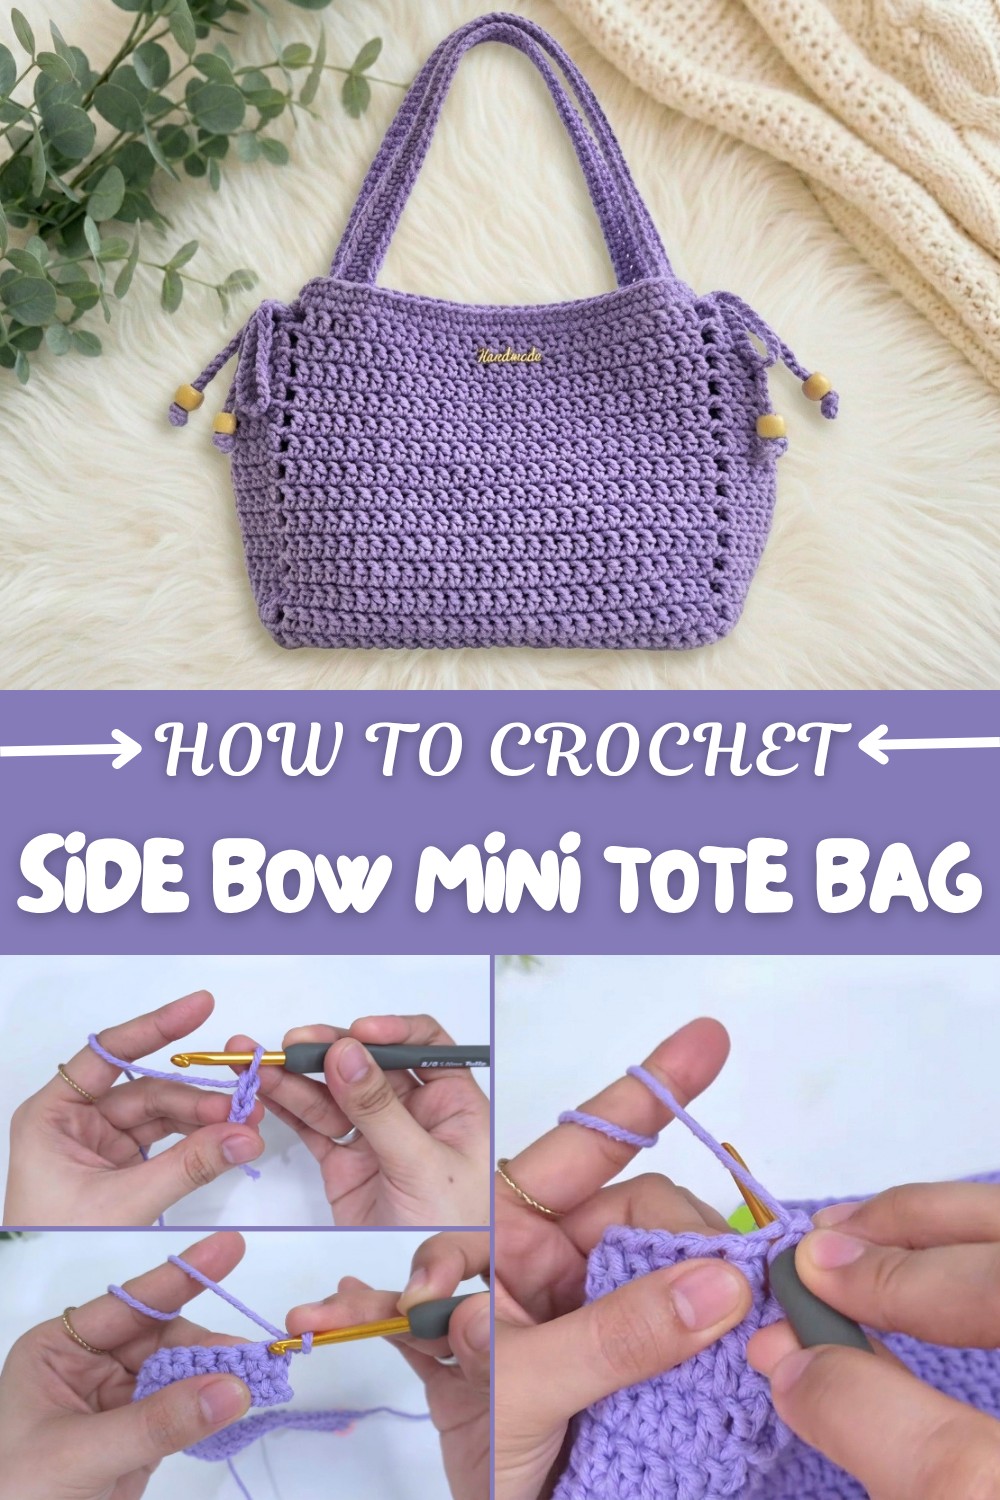
Free Crochet Side Bow Mini Tote Bag Pattern for Everyday Use
Soft, neat, and full of charm, this mini tote bag with side bow ties can be made by anyone, even children new to yarn crafts. Each bag shines with pretty bows on each side, making it both cute and stylish for any occasion. You can carry it to school, to the park, or use it to keep little treasures safe.
This beautiful bag starts with a sturdy base worked in single crochet, then the sides and body are built up in double crochet, which gives it a lovely shape and makes the bag stronger. The clever design uses corner stitch markers to keep everything neat and tidy, so stitches are easy to count and track.
Crochet a Cute Side Bow Mini Tote with This Free Pattern
Let your imagination go wild when picking colours. You might choose soft pinks, bright blues, creamy whites, or even rainbow yarn for your very own look. If you want your bag bigger or smaller, just add or take away rows in the base—a simple trick for all sizes. Handles are made with strong single crochet rows and can be as long or short as you like.
At the end, the two side bow ties are made from long chains, finished with beads or knotted ends. These bows are the highlight of the bag, making it playful and special. A magnetic button and a shiny tag add the last touch of magic.
With this pattern, you can make things like mini purses, gift bags, art supply holders, toy totes, or party pouches, so many possibilities.

Mina Tote Bag with Bow Tie Sides – Crochet Pattern
Create your own beautiful, beginner-friendly Mina Tote Bag with smart vertical lines, trendy bow tie side details, and easy double crochet construction. The Mina Tote is a charming and practical project, perfectly sized for daily use or gifting, and easy to personalize. This pattern is structured for clarity and contains detailed, step-by-step instructions—including guidance for customizing size and finishing.
Skill Level & Terminology
- Skill Level: Beginner
- Terminology: US Crochet Terms
This pattern only uses basic stitches: chain, single crochet, double crochet, and slip stitch. Suitable for those who are new to bag-making or want a stress-free, stylish project.
Materials & Tools
- Yarn: 400g (approx. 1.25 skeins) Size 4 (worsted/medium weight) cotton macramé yarn or equivalent (2mm diameter), twisted is preferred, but any soft cotton or acrylic can work
- Hooks:
- 5.0 mm (for the base chain)
- 4.0 mm (for remaining bag and bow ties)
- Other Notions:
- 18mm sew-on magnetic button
- Metal “handmade” tag (optional)
- Four wooden beads for bows (optional)
- Sewing needle and thread, yarn needle
- Stitch markers
- Scissors, pliers (tag fixing)
Gauge
Gauge is not essential for this design, but for reference, the base with 28 stitches and 14 rows (single crochet, worked firmly) measures about 30 cm long and 8 cm wide.
Abbreviations
| Abbr. | Meaning |
|---|---|
| ch | Chain |
| sc | Single Crochet |
| dc | Double Crochet |
| sl st | Slip Stitch |
| st(s) | Stitch(es) |
| rep | Repeat |
| RS | Right Side |
| WS | Wrong Side |
Special Stitch Instructions
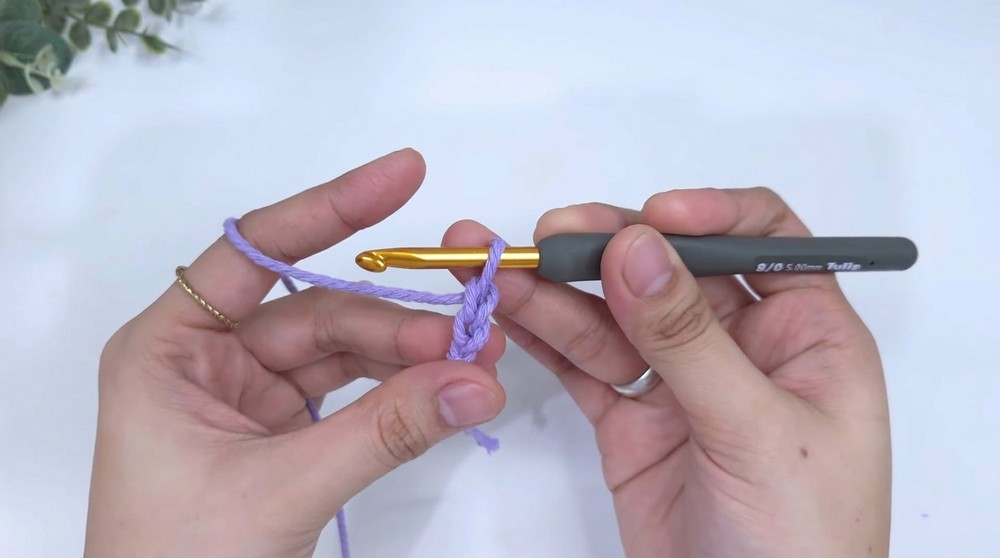
- Back Bump of Chain: Turn your chain so the “bump” or ridge is facing. Insert hook here to make a neater foundation.
- Double Crochet (dc): Yarn over, insert into stitch, yarn over, pull up loop (3 loops), yarn over, pull through 2, yarn over, pull through 2.
- Single Crochet (sc): Insert hook, yarn over, pull through (2 loops), yarn over, pull through 2.
- Slip Stitch (sl st): Insert hook, yarn over, pull through stitch and loop.
Finished Size
- Body: 30 cm (length) x 20 cm (height) unblocked
- Handles: 52–58 cm (adjustable)
- Bow Ties: 100 ch each (x2), plus beads (optional)
You may adjust base and row count to modify finished size. Always use an even stitch count for the base.
How to Start & Stitches Used
- Start: Make the base in rows of single crochet, then transition to working in the round with double crochet for the body.
- Stitches Used: single crochet, double crochet, chain, slip stitch.
- Handles & Bows: Single crochet worked around a foundation chain.
Pattern
PART 1: Base
With 5 mm hook:
- Ch 29.
- Switch to 4 mm hook.
- Row 1: Working into the “back bump,” sc into 2nd ch from hook and each across (28 sc).
- Place a stitch marker in the first st.
- Rows 2–14: Ch 1, turn, sc in each st across (28 sc). Mark first st of every row.
Count the dotted lines on the side for row counting—7 lines should equal 14 rows. The base should measure approx. 30 cm x 8 cm.
Beginner note:
Work single crochets in straight rows for a sturdy, even base.
PART 2: Body
Mark all 4 corners with stitch markers.
- Rotate base to work around (not across) all 4 sides.

SETUP ROUND
- Join yarn to first side “space” and sl st to join.
- Ch 3 (counts as first dc), mark 3rd ch.
- Dc in each “side space” along the edge, alternating on top of dotted lines and straight lines, reaching the corner (total: 1 ch-3, 12 dc on Side 1).
- At each corner: chain 1 before rotating to the next side.
- Sides 2–4: Continue working dc in side spaces, making sure to chain 1 at each corner, and finish each side as described above. At the final corner, sl st into the starting chain-3 to close.
BODY ROUNDS
- Rounds 2–14:
- Ch 3, mark the 3rd ch. Dc into each st until the next corner space.
- At each corner: ch 1, skip corner space, dc in next.
- Continue around, always ch 1 and skip in corners to maintain shape.
- At end of round, sl st into starting chain to close.
- Repeat (dc in all stitches; chain 1 at corners) for next 13 rounds.

You should have a sturdy rectangular body with vertical lines accenting each corner.
Beginner note:
You are now working in the round; at each corner, chain 1 to keep the edges neat and crisp.
PART 3: Edging
- Round 1 (Edging):
- Ch 1, sc in same st, mark.
- Sc in each st, including 1 sc in each corner space.
- Continue all around; at end, sl st into the marked st.
- Round 2:
- Ch 1, sc in same st, mark.
- Sc in every st (including corners), sl st to close.


Fasten off, weave in yarn ends inside the bag neatly.
Beginner note:
Two rounds of single crochet make the bag edge strong and tidy.
PART 4: Handles (Make 2)
- With 4 mm hook, leave a 50 cm tail for sewing.
- Ch 80 (about 52–58 cm finished, adjust for preference).
- Row 1: Sc in 2nd ch from hook and each across (79 sc). Mark first sc.
- In last st: work 4 sc for a rounded end.
- Rotate to work into unused loops of starting ch on the other side. Sc in each st back to start (79 sc).
- In last st: work 3 sc for 2nd rounded end.
- Fasten off, leaving long tail for sewing (50 cm).
- Pull yarn tails to back, weave them into base of handle.

Repeat for second handle.
Handles should be even and flat, with rounded ends for easier installation.
Beginner note:
Handles are strong and uniform with two rounded ends for sewing.
PART 5: Attaching Handles & Assembly
- Turn bag WS out.
- Pin or mark handle ends at/just beside the corner spaces, ensuring no twisting.
- Thread tail with needle; sew flat edge of handle to WS of bag with strong backstitches, under every stitch and loop. Sew both ends of both handles.
- Run thread through a few stitches for extra security, then trim.
Turn bag RS out.
Beginner note:
Take your time sewing handles for even distribution and durability.
PART 6: Tag & Closure
- Position metal tag between two final rounds of double crochet on the bag front. Push prongs through from RS to WS, bend with pliers to fix.
- For magnetic button:
- Attach front piece above tag, inside the bag, centering and sewing with a thread and needle through all holes.
- Put back piece directly behind, aligning with front, and sew as for front part.
- Be sure button closes smoothly.
Beginner note:
Tag and button are optional, but give a polished touch!
PART 7: Bow Ties (Make 2, Optional)
- With 4 mm hook, ch 100. Cut and secure tail.
- Weave ribbon through double crochet stitches beside both side corner spaces, with ends exiting at corners.
- Tie neat bow: right tail makes loop, left tail wraps over and through to form a knot.
- Slide wooden beads on ends and knot to secure, or just knot tightly and trim.
Beginner note:
Bows add a fun or elegant detail; easily omit if a simpler tote is desired.
Assembly & Finishing
- Stretch and shape bag gently.
- Weave in all loose ends inside the bag.
- Double-check that everything is secure, handles are even, and bow ties are neat.
Conclusion
You’ve made your own stylish Mina Tote—congratulations! This tote uses only beginner stitches but looks elegant and trendy, perfect for all seasons. Personalize with color changes, contrast bows, or beads. The vertical corner accents and sweet bows are unique but very easy, great for gifting or market sales!