
Easy Free Crochet Demogorgon Amigurumi Pattern
Create a fun and spooky project with this Free Crochet Demogorgon Pattern, perfect for fans of Stranger Things and unique handmade creations.
Ready to grow your crochet skills and create something truly unique? The Free Crochet Demogorgon Pattern is a fantastic way to practice new techniques while making a cool, eye-catching piece. This project gives you the opportunity to work on shaping, adding texture, and even joining different parts, so it's a great experience for anyone wanting to learn a bit more as they crochet.
Free Crochet Demogorgon No Sew Pattern
Inspired by the famous creature from the “Stranger Things” series, the Demogorgon design stands out for its bold and interesting details. The star of the pattern is the dramatic, flower-like mouth made of layered petals, each lined with tiny “teeth.” Creating these petals not only looks amazing, but also lets you practice working in the round and changing colors or textures with your yarn. The main shape is oddly beautiful, with a mix of spookiness and charm that grabs attention.
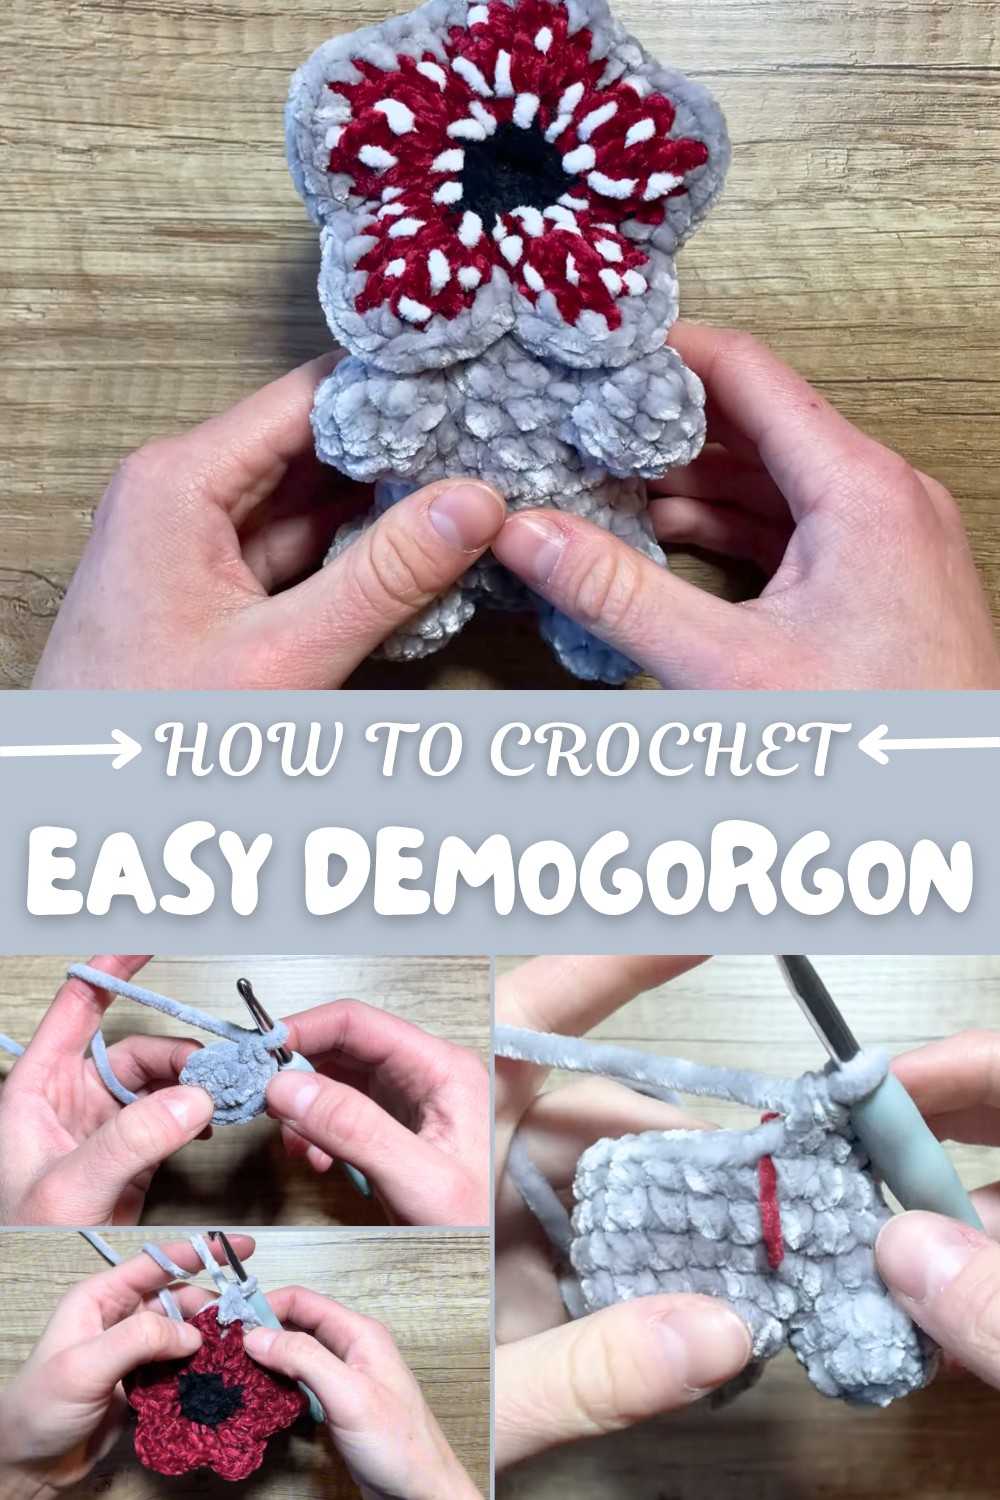
The texture of the finished piece is pleasantly bumpy and firm, so it holds its shape well. Using deep red, brown, and gray yarns gives it a striking and realistic look. The Demogorgon is just the right size to display on a shelf, add to your Halloween decorations, or keep as a fun desk accessory. Many people also like to attach it to a keychain or bag for a quirky, conversation-starting accessory.
As a bonus, this pattern doesn’t take a huge amount of yarn or time, so it’s friendly for both beginners ready to try new skills and experienced crocheters looking for a trendy challenge. The Free Crochet Demogorgon Pattern is a wonderful project for anyone who wants to sharpen their crochet abilities and end up with a finished piece that’s full of personality and style.

Demogorgon Amigurumi Pattern
Pattern Notes
This pattern creates a plush demogorgon inspired by Stranger Things. The body, head, and paws use single crochet in the round, with petals worked in rows. The mouth is worked in two pieces then sewn together to create depth and structure. Use soft chenille or velvet yarn for a squishy, cuddly character. Each main part is followed by a plain-language paragraph for readers who prefer that style.
Skill Level
Adventurous Beginner to Intermediate
This project uses basic stitches (sc, hdc, dc, tr), increases, and color changes, with simple seaming and some hand-sewing/embroidery for the teeth.
Finished Size
With chenille yarn (120m/100g) and 5mm hook:
Approx. 18–22 cm tall (depending on yarn, hook, and personal tension)
Materials
- Chenille yarn, 120 m/100 g, or similar.
- Gray (body, head back)
- Black (head, paws)
- Red (mouth/petals)
- White (teeth, embroidery)
- Stuffing (polyester fiberfill)
- 5mm crochet hook
- Tapestry/wool needle
- Stitch marker or piece of contrasting yarn
- Scissors
Gauge
Gauge is not critical; use a hook size that produces firm, dense stitches so stuffing does not show.
Stitch Abbreviations
| Abbreviation | Meaning |
|---|---|
| ch | chain |
| sc | single crochet |
| hdc | half double crochet |
| dc | double crochet |
| tr | triple (treble) crochet |
| inc | increase (2 sc in one st) |
| dec | decrease (sc 2 together) |
| sl st | slip stitch |
| st(s) | stitch(es) |
| FO | fasten off |
Special Stitches
- tr (Triple Crochet): Yarn over twice. Insert hook into stitch, yarn over, pull up a loop (4 loops on hook), [yarn over, pull through 2 loops] three times.
- inc: Two stitches in next st.
- dec: Single crochet two together.
The Pattern
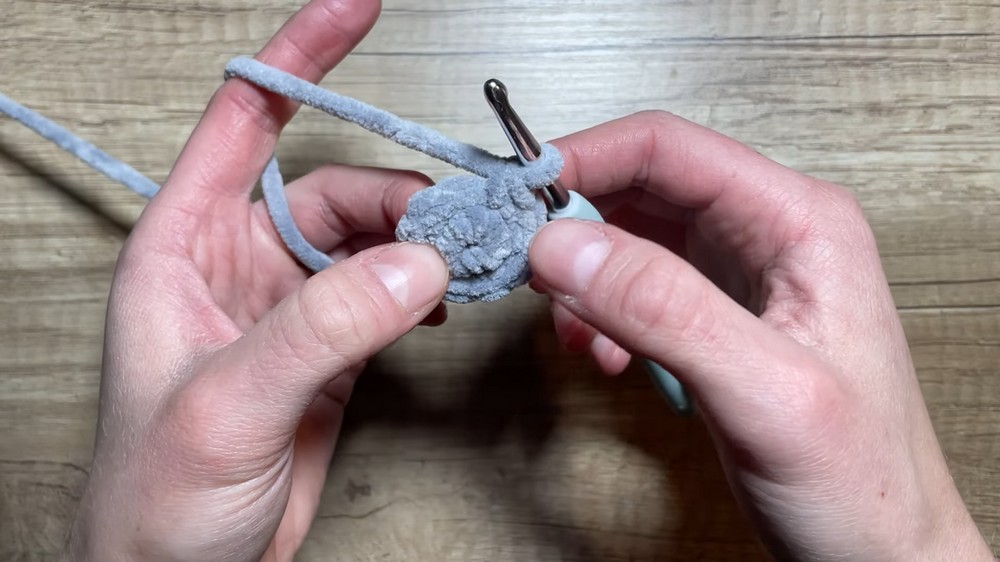
PAWS/FEET (Make 4 in Black)
- Ch 2.
- 5 sc in 1st ch (5)
- 2 sc in each st around (10)
- sc in each st (10)
- FO, leave tail.
Make 4 paws. These serve as feet and hands. Weave in short ends if desired.
Plain language:
Start with a tiny chain, and work in rounds to create a small oval. Increase for the paw pad, then work even for a neat finish. Make four.
HEAD (Make 2: One in Black for front, one in Gray for back; the mouth/petals in Red)
Each petal side is made as follows:
- Ch 2.
- 5 sc in 1st ch (5)
- Inc in each st (10)
- Switch to Red at end of last st (for mouth side) or use all Gray (for back).
- Mark 1st st of next round for orientation.
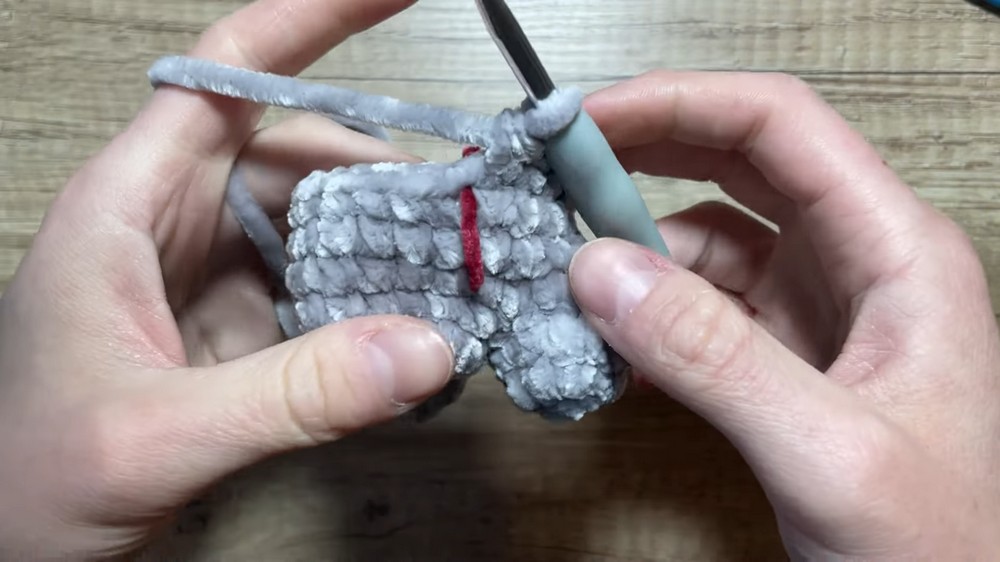
With Red yarn:
6. (sc, inc) in next st, repeat around (15)
- (sc in next st, hdc, dc, tr) in next st; ch 1; (tr, dc, hdc) in next st; sc in next st — repeat 5 times around (forms 5 “petals” with a ch-1 space at each tip).
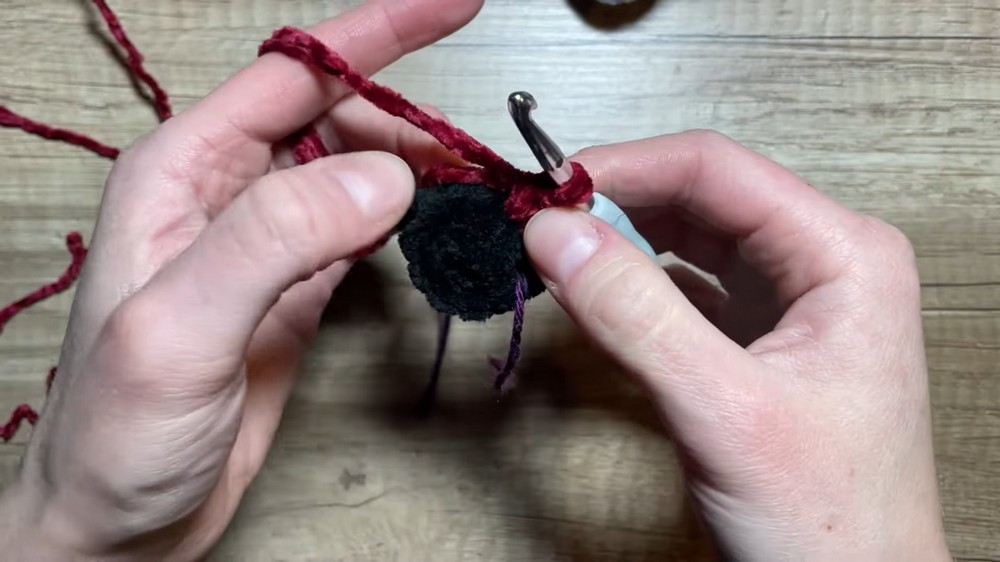
FO Red after front. FO Gray after back. Do NOT cut yarn on Gray side of head back — you'll need it to seam.
Plain language:
Begin the head in black (and also make a second in gray for the back). Work a small circle, increase out, change to red for the mouth petals, and alternate different stitches to create shape. Work the gray in the base pattern for the rear of the head. The “petals” are made by mixing stitch heights which gives the mouth its shape.
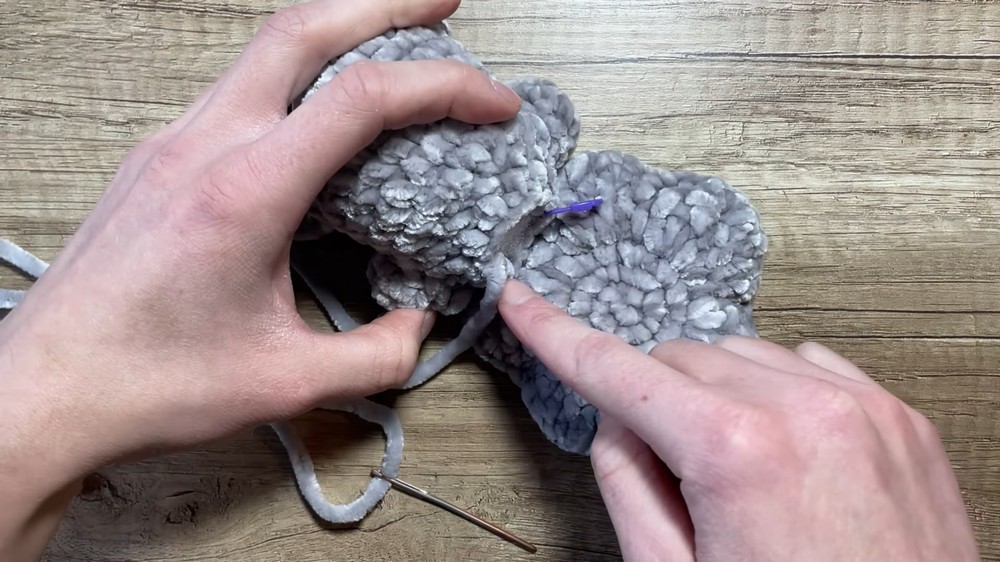
JOINING HEAD PIECES
Place the red petal (front) and gray circle (back) wrong sides together; with gray yarn, single crochet evenly around the edge, joining front and back. Place 2 sc into each petal tip/ch-1 space. FO and weave in ends.
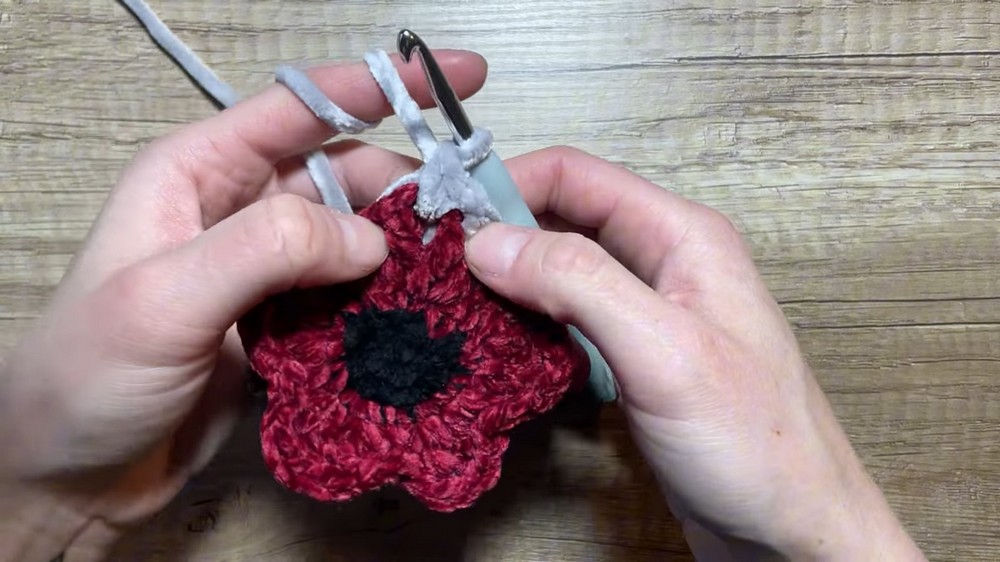
Plain language:
Match up the edges of both pieces and join with simple, even stitches for a firm shape. No need to stuff as the chenille will keep it plush. The “teeth” are added later.
BODY (Gray)
- Ch 4.
- sc in 2nd ch from hook, sc in next ch (2 sc), 3 sc in last ch; (Now work around other side of starting chain) 2 sc in next ch, 2 sc in final ch (9)
- sc in 1st st; 2 sc in next st; sc in next; 2 sc in next; sc in next; 2 sc in next; (For last: sc+attach paw together); repeat for all 4 paws/legs as described
- sc rounds on body as constructed (see assembly for attaching)
Continue working the body as established:
- Add feet at appropriate points; join as per video, crocheting around attached feet (or paws) as you go, using inc, sc, and dec as necessary for shape.
- sc rounds for 5-7—work even (no increases/decreases).
Begin shaping:
7. Row 8: 9 sc, attach paw, 3 sc in leg, 3 sc, (attach paw 3 sc), 3 sc to end.
- Row 9: 9 sc, (attach/decrease with leg 3 times), 3 sc, attach/decrease with paw 3 times, 2 sc.
- Row 10: (2 sc, dec) repeat around.
- Row 11: 4 dec, 8 sc, dec.
- Row 12: 6 hdc, 5 sc, hdc, sc.
- Sl st to finish. FO with long tail for sewing.
Stuff the body before closing, placing extra stuffing in the lower part for roundness.
Plain language:
The body is created as a long oval, with increases and decreases to give it a realistic, slightly hunched Demogorgon posture. Paws are joined directly to the oval, either as you crochet or sewn after. Work even rounds before closing up.
ASSEMBLY & FINISHING
- Stuff body firmly and sew gap closed if needed.
- Sew the complete head (petal front and gray back) to the top of the body:
- Use pins or stitch markers to hold in position.
- Attach around the top opening, overlapping over the front paws.
- Sew additional stitches over the top paws into the head, for secure placement.
- Embroider Teeth:
- With white yarn and a tapestry needle, stitch long “fangs/teeth” around the inner petal edges using straight or whip stitches.
- Pull thread ends through to the wrong side and trim/hide.
- Shape Petals:
- Bend petals open for full “Demogorgon” effect, or leave them cupped for a closed look.
For assembly in plain language:
Sew the head in place so the petals overlap the body. Fix the head firmly to the body and also attach petals if they need extra support. Embroider the white teeth around the petal edge—make them as thick or menacing as you like! Hide all yarn ends inside the work for a neat result.
Conclusion
You’ve now completed your plush Demogorgon! You explored joining parts with single crochets, constructing petals, and adding dimensional embroidery details. Enjoy shaping and posing your creature, and personalize with extra details or facial embroidery for a fun twist. This project is great for fans of Stranger Things or as a unique plush toy for horror fans.
Happy Crocheting! Share your results or gift your Demogorgon to a fellow fan!