
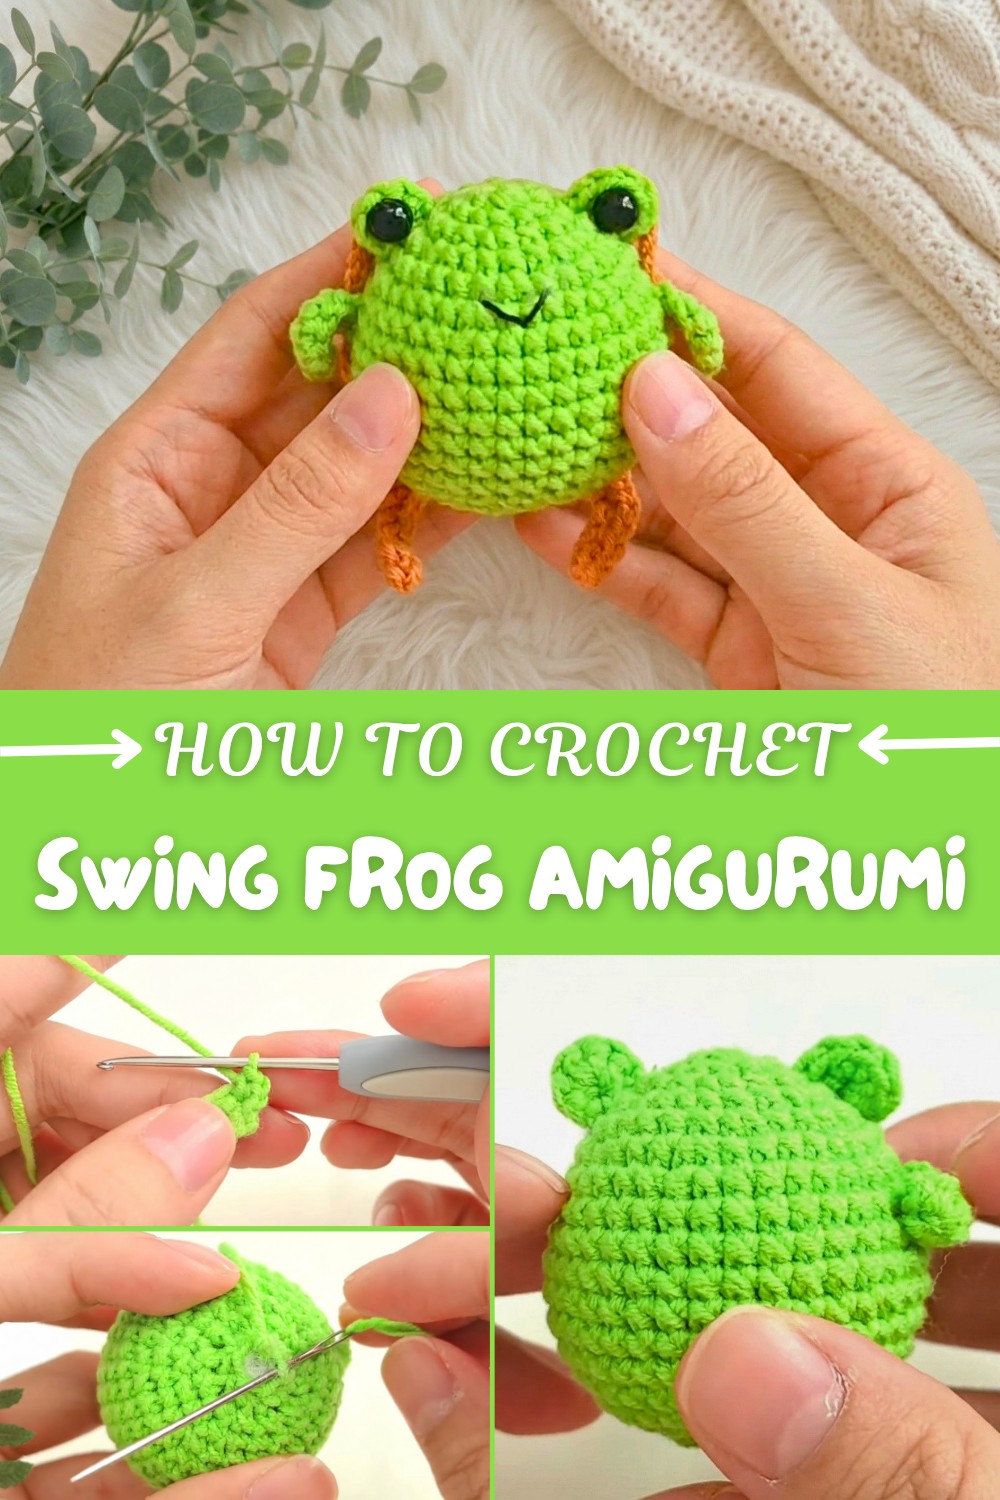
Crochet Swing Frog Amigurumi Free Pattern for Playful Projects
To jump into fun and creativity, try this free crochet swing frog amigurumi pattern and bring an adorable, playful frog to life.
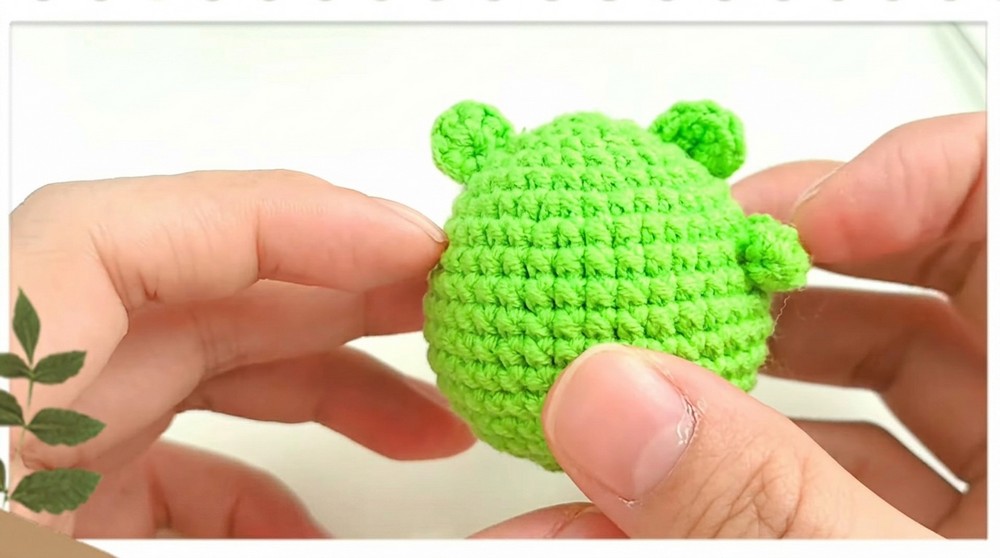
Bright, playful, and full of charm, this little crocheted frog is a true delight for anyone who enjoys adding a wholesome touch to their space. With its chubby round body, big eyes sitting right on top of its head, and a wide, stitched smile, the frog looks cheerful and full of personality. The red blush on its cheeks gives it extra cuteness and makes its friendly face stand out even more.
Adorable Free Crochet Swing Frog Amigurumi Pattern
Sitting proudly on its own adorable crochet swing, the frog creates a lively scene that feels both whimsical and comforting. The neat, soft texture of the yarn makes the frog pleasant to hold and gives the whole piece a cozy, handmade look. Gentle curves and a tidy finish mean the entire amigurumi looks smooth and carefully shaped, perfect for showing off your crochet skills.
This pattern is easy for beginners, yet fun enough for experienced crocheters who want a quick and happy project. Each part, from the body to the plump little limbs and the swing itself, uses simple techniques and comes together quickly. Crocheters can easily customize the frog by changing the size of the eyes, adding a different color for the blush cheeks, or shortening the swing ropes to turn it into a handy keychain or bag charm.
Not just a toy, this crochet swing frog fits as a desk ornament, window decoration, children’s room accent, or even a car mirror hanger. Its playful look and gentle swing add a joyful feeling wherever it sits, making it a wonderful handmade gift or a special treat for yourself. Crocheters will enjoy seeing their work transform into such a lovable and quirky decoration.

Crochet Swing Frog Amigurumi Pattern
This quirky frog features a round body, big eyes, and is completed with hands, feet, and a customizable swing. It’s adorable as a decorative toy, keychain, bag charm, or to brighten up your home.
The project is constructed in simple rounds (worked in a spiral) and uses basic amigurumi techniques. Detailed step-by-step instructions and beginner tips are included throughout for accessibility. Let’s hop in!
Skill Level & Terminology
Skill Level: Beginner
Terminology: US Standard Crochet Terms
If you know how to make a magic ring, single crochet, increase, decrease, and chain, you can make this swing frog!
Materials & Tools
- Yarn: Worsted weight cotton or acrylic in green (frog body), white (eyes), black (pupils), and any color for the swing
- Crochet Hook: 2.5mm–3mm (adjust for your yarn and preferred tension)
- Stuffing: Polyester fiberfill
- Tapestry Needle: For sewing parts and weaving ends
- Scissors
- (Optional): Safety eyes or black embroidery thread if not crocheting pupils
- Stitch marker
- Measuring tape
Gauge
Gauge is not crucial for amigurumi, but stitches should be tight.
Approximate: 8 single crochets = 1 inch using 2.5mm hook and worsted yarn.
Abbreviations List
| Abbreviation | Meaning |
|---|---|
| MR | Magic Ring |
| ch | Chain |
| sc | Single Crochet |
| inc | Increase (2 sc in st) |
| dec | Decrease (sc2tog) |
| st(s) | Stitch(es) |
| FO | Fasten Off |
| sl st | Slip Stitch |
Special Stitch Instructions
- Magic Ring (MR): Create a loop and crochet the first round’s stitches into it, then pull tight.
- Increase (inc): Crochet two single crochets into the same stitch.
- Decrease (dec): Crochet two stitches together to reduce the stitch count by inserting the hook into the next two stitches and crocheting them as one.
- Single Crochet (sc): Insert hook, yarn over, pull up a loop, yarn over, pull through both loops on hook.
Finished Size
Using listed materials, body measures approx. 6–7 cm (2.5–2.75 in) in diameter. Finished frog with swing measures 15–17 cm high depending on swing length.
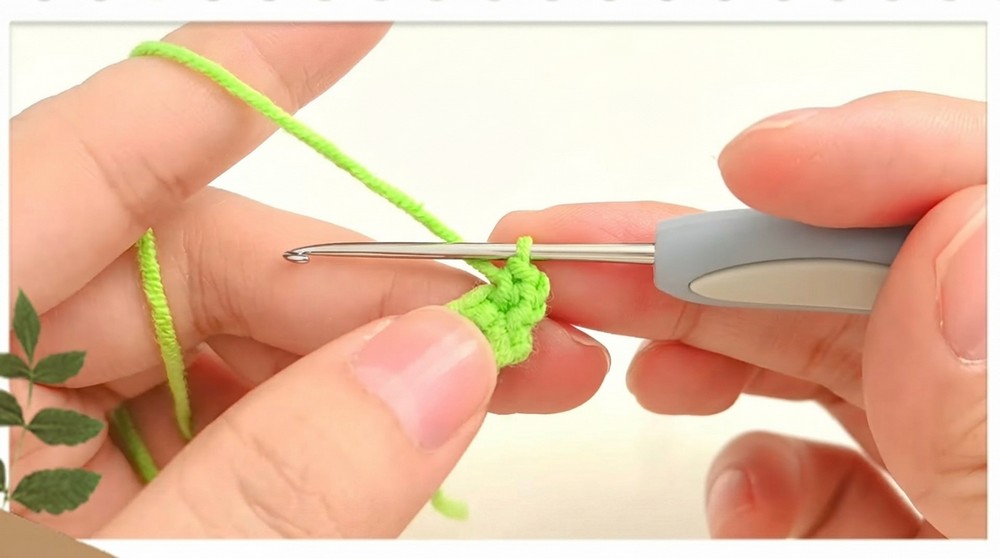
How to Start & Stitches Used
You will begin most parts with a magic ring and work in continuous spirals using single crochet. Increases and decreases are used for shaping, and simple chains make up the swing, hands, and feet.
The Pattern
A. Frog Body (Work in continuous rounds, do not join unless stated)
- R1: MR, 6 sc into ring. (6)
- R2: 6 inc (2 sc in each st around). (12)
- R3: (sc, inc) around x6. (18)
- R4: (2 sc, inc) around x6. (24)
- R5: (3 sc, inc) around x6. (30)
- R6: (4 sc, inc) around x6. (36)
- R7–13: sc in each st around. (36 per round)
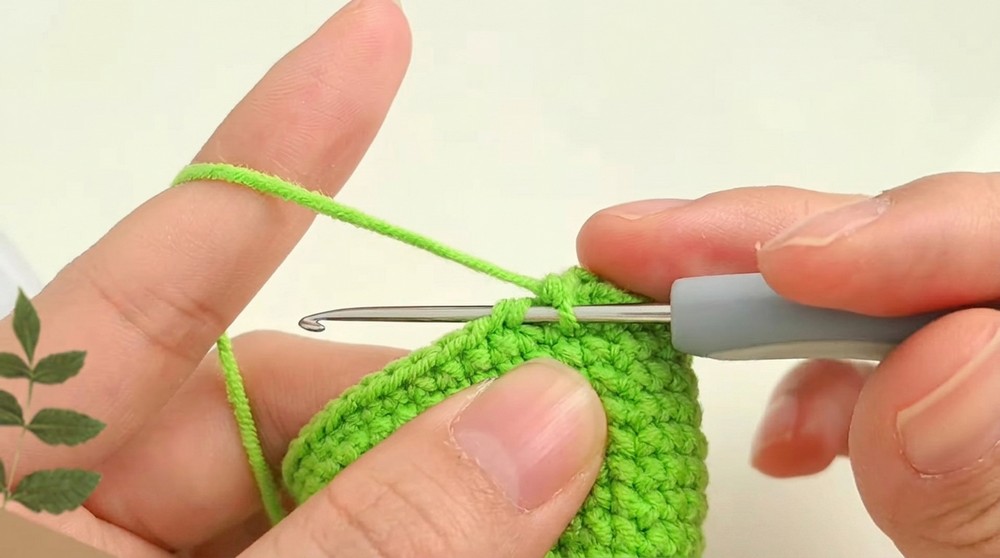
This forms the plump body. Just keep working in rounds, using a stitch marker to help keep your place!
- R14: (4 sc, dec) around x6. (30)
- R15: (3 sc, dec) around x6. (24)
- R16: (2 sc, dec) around x6. (18)
- R17: (sc, dec) around x6. (12)
- R18: dec in each st around x6. (6)
- Stuff body firmly before fully closing.
- FO, weave tail through last 6 sts, pull tight to close.
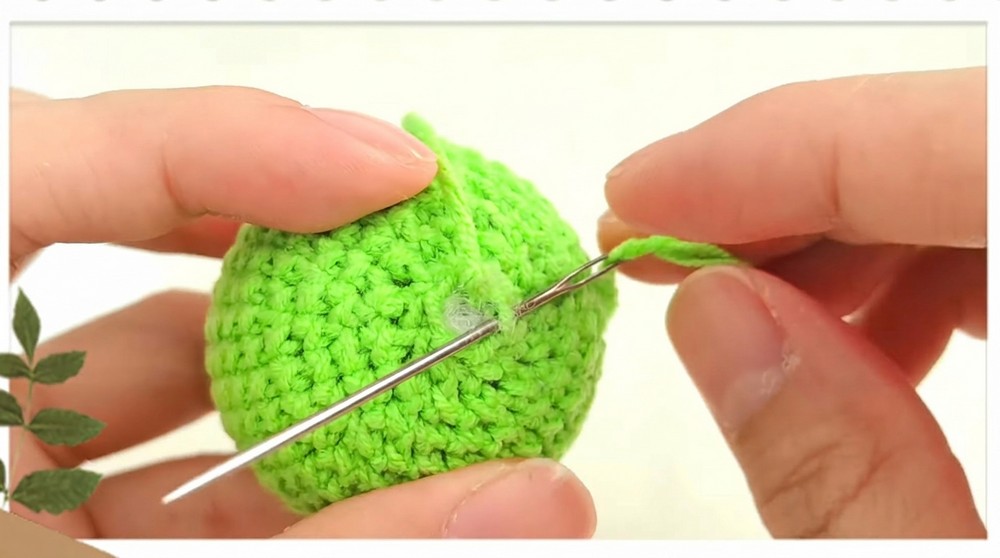
Decrease rounds gently close up the body. Pause before the last round to stuff firmly for a smooth finish.
B. Eyes (Make 2)
- R1: With white, MR, 6 sc. (6)
- FO, leaving a tail for sewing.
(Optional: embroider or glue a small black circle for the pupil in center, or use safety eye.)
Simple magic ring with single crochets forms a round eye. Secure a pupil for a frog-like gaze!
C. Feet and Hands (Make 4 — 2 feet, 2 hands)
For each:
- Ch 8.
- Starting in 2nd ch from hook, sc in each ch across (7 sc total).
- FO with a long tail for sewing.
Flat chains with sc create oval-shaped hands or feet. Make the toes curl slightly for cuteness!
D. Swing
- Base/Seat:
Ch 60–85 (depending on desired swing length and where it will hang).
FO and weave in ends. If desired, crochet back along the chain for a thicker swing seat (sc in each ch), or braid two chains for strength. - Assembly:
Make two equal-length “ropes” for either side of the swing, if desired.
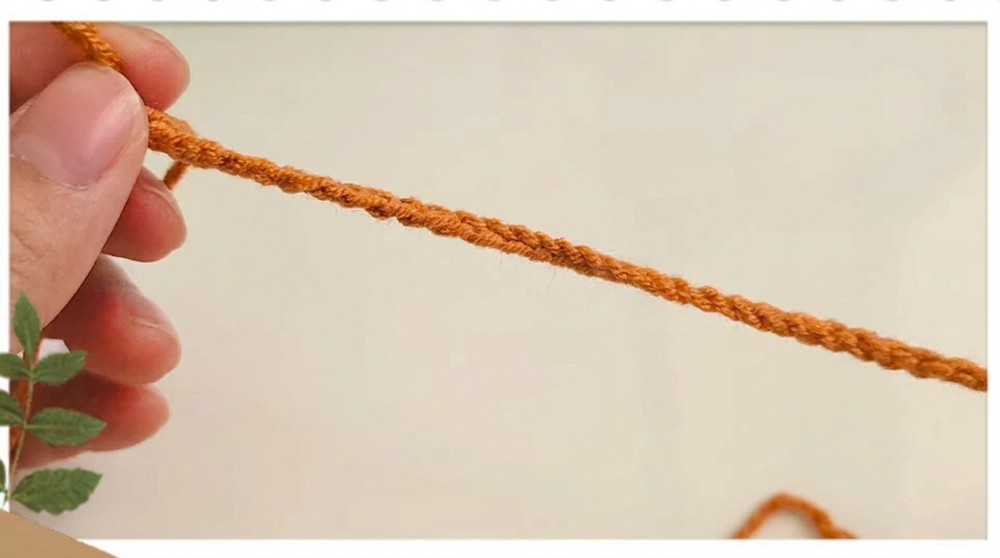
Swing length is up to you—just make sure it’s long enough to hang and “swing” your frog!
For Beginners After Each Section
- Body: A round ball is made by increasing each round, then several even rounds, then closing with decreases. Mark your round starts!
- Eyes: Start with a magic ring and single crochet for a flat round. Finish with a black circle/safety eye for the pupil.
- Feet/Hands: Make short chains and sc back, producing a little strip. Repeat for limbs.
- Swing: Make a chain as long as you’d like for swinging/hanging the frog.
Assembly & Finishing
- Attach Feet: Sew two feet to the bottom of the frog’s body (evenly spaced).
- Attach Hands: Sew two hands just above where feet were attached or at the sides, depending on desired pose.
- Attach Eyes: Sew eyes on top of body, spaced about ⅓ apart for cuteness. Use black thread or glue to add a black pupil, unless using safety eyes.
- Attach Swing:
- Position the swing across the base of the frog’s body and sew or weave the chain(s) to the sides, through the “hands” if you want the frog to look like it’s holding the ropes.
- Secure all knots and weave in ends.
- Finishing Touches:
- Embroider nostrils or a small mouth with black thread/yarn.
- Double check all parts are secure and ends are woven in.
Carefully sew all parts with a tapestry needle. Best to secure limbs before you add the swing for correct frog posture!
Conclusion
Congratulations, your cute crochet swing frog amigurumi is ready! You’ve practiced the essentials of amigurumi: working in the round, shaping with increases/decreases, and basic assembly. Adjust the swing’s length, body color, or add a smile to customize your frog. Great as a playful decor piece, children’s gift, or as a charm.