
Crochet Mushroom Keychain Free Pattern with Easy Steps
Learn how to create a cute and simple mushroom keychain with this free crochet pattern using step-by-step instructions perfect for all skill levels.
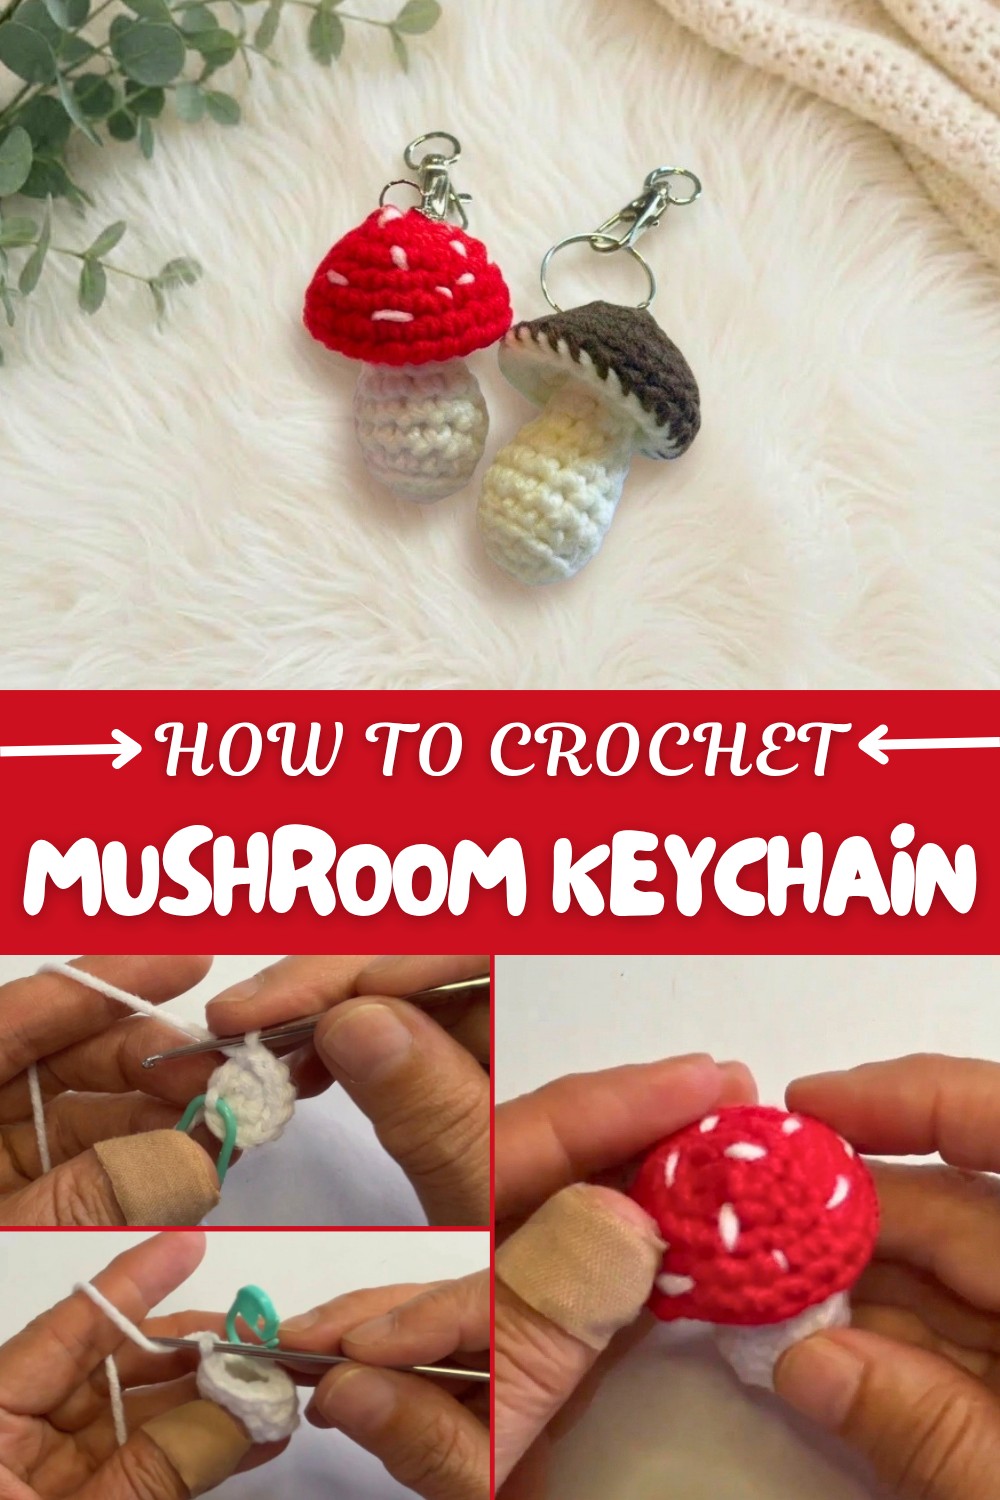
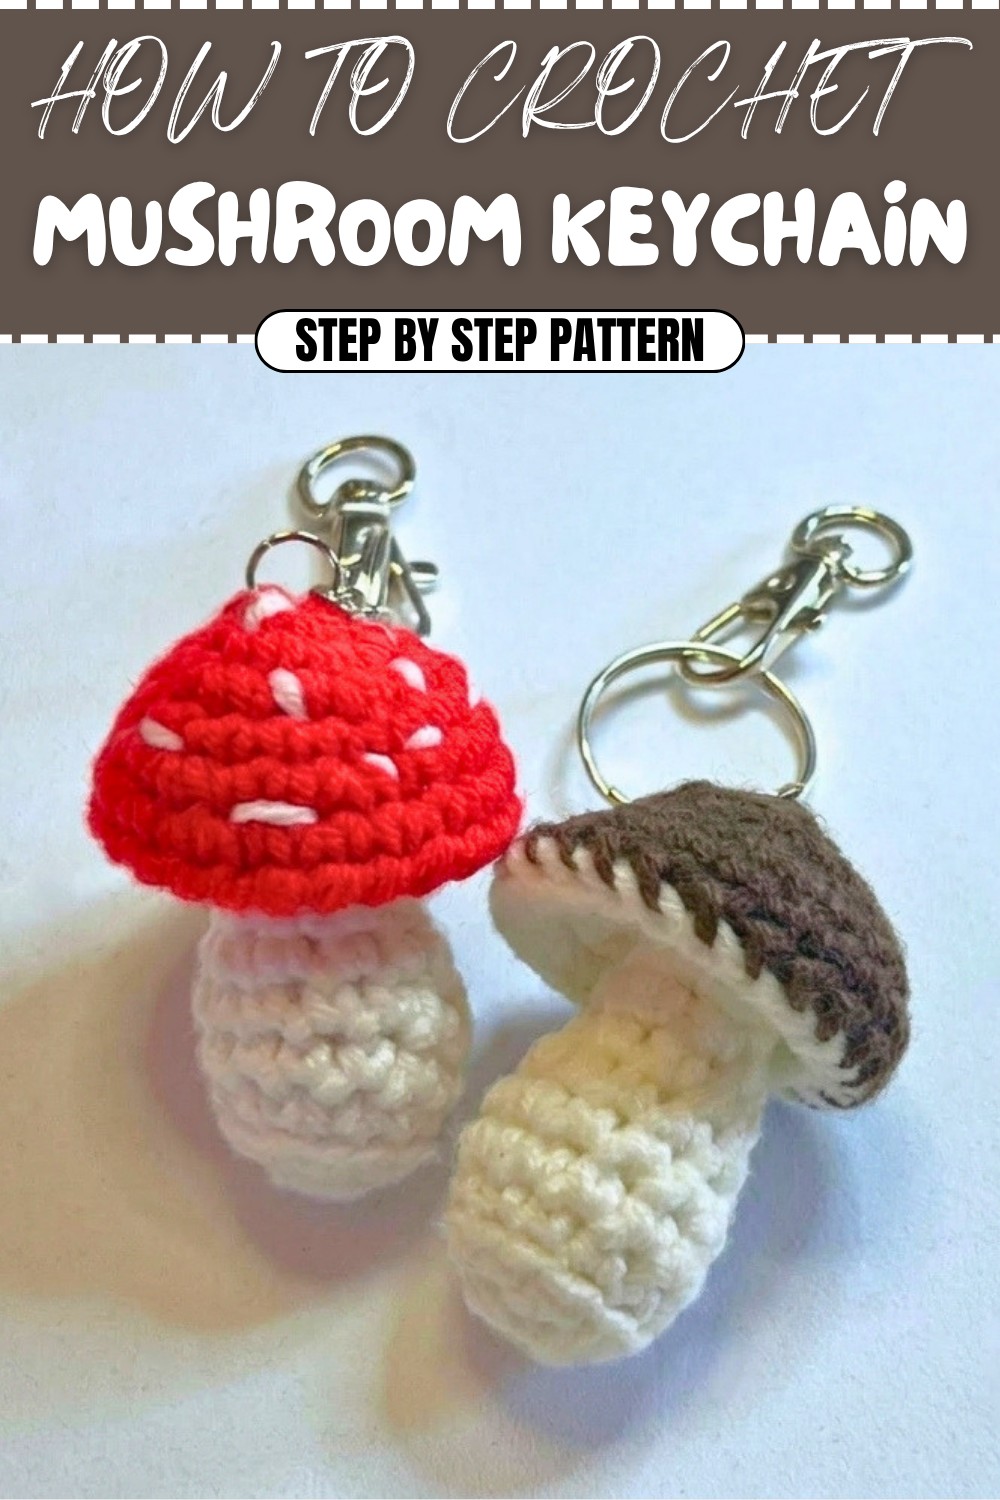
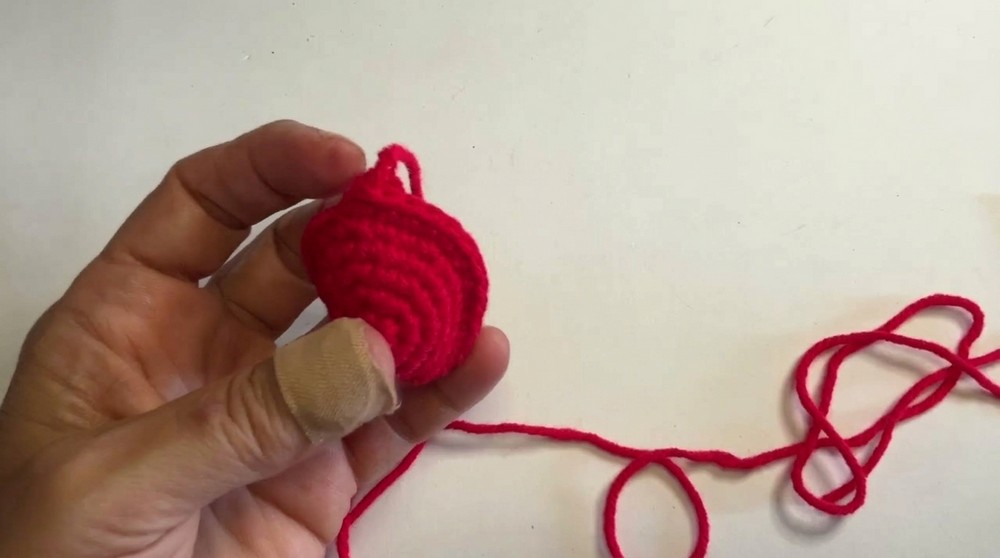
Looking for a crochet project that’s adorable and easy to make? This mushroom keychain stands out with its cute round cap and neat white stem, making it a favorite for anyone who loves fun accessories. The bright red cap, decorated with cheerful white spots, is the most eye-catching part. It gives the finished piece a playful, fairy-tale look that always brings a smile.
Free Crochet Mushroom Keychain Pattern for Fun Accessories
The pattern is friendly for all skill levels. Simple stitches and clear steps guide you through creating the shape. Using Milk Cotton yarn keeps the texture soft and comfortable, while just a little stuffing inside adds that squishy, pleasant feel. Each part fits together smoothly, you’ll see your mushroom come to life quickly, and it feels great in the hand.
Making these keychains is enjoyable since they work up fast and allow for creative changes. Maybe try a different color for the cap, or add extra spots and make a toadstool just by swapping colors, it’s easy to personalize and have fun. The pattern can also be used to create tiny mushroom charms for gifts or decorations, with only small adjustments needed.
Finished mushrooms have so many uses. Clip one to your keys for a cute companion, brighten up your backpack, or hang it from a pencil pouch. They also look great as little hanging decorations or as a thoughtful handmade gift for friends and family. This fun project turns a simple idea into something cheerful and practical that brightens up any day.

Mushroom & Toadstool Keychain Crochet Pattern
In this step-by-step pattern, you'll learn how to crochet a charming mushroom or toadstool keychain. This design is compact, perfect for using as a keychain, bag charm, or a whimsical accent for gifts. Both the mushroom and the toadstool are made identically, with only different color choices and optional cap spots. The pattern’s instructions are clear and easy to follow, with helpful explanations after each main section.
Skill Level & Terminology
Skill Level: Confident Beginner
Terminology: US Crochet Terms
You’ll use the magic ring, single crochet (sc), increasing, decreasing (sc2tog), and basic seaming skills. This is a great introduction to amigurumi and shaping small objects in the round.
Materials & Tools
- Milk Cotton yarn or similar, in 4 colors (suggested: white, red, brown, green, yellow)
- 2.0 mm crochet hook
- Scissors
- Stitch marker or scrap yarn
- Tapestry (yarn) needle
- Keyring(s)
- Polyester fiberfill stuffing
- Pliers (optional, for attaching keyring)
Gauge
Gauge is not critical. Use a small enough hook so your stitches are tight and stuffing doesn’t show.
Abbreviations List
| Abbreviation | Meaning |
|---|---|
| mr | Magic ring |
| ch | Chain |
| sc | Single crochet |
| inc | Increase (2 sc in same st) |
| dec/sc2tog | Decrease (single crochet 2 together) |
| st(s) | Stitch(es) |
| BLO | Back loop only |
Special Stitch Instructions
- Magic Ring (mr): Form a ring, work the number of sc needed into it, pull tail to close.
- sc2tog (Decrease): Insert hook into next st, yarn over and pull up a loop, insert hook into next st, yarn over and pull up a loop, yarn over and pull through all 3 loops on hook.
- Back Loop Only (BLO): Instead of inserting hook under both loops of the stitch, insert only under the back loop.
- Seamless Finish: After last st, pull up a loop and sew into the first stitch for an invisible join.
Finished Size
- Height: Approx. 5–6 cm (excluding keyring)
- Width (cap): Approx. 3–4 cm
Getting Started
You’ll start by crocheting the stem, then make the cap separately. Spots are added for the toadstool by sewing or embroidering circles. Pieces are stuffed, sewn together, and attached to a keyring for a finished charm. All stitches are worked in the round unless indicated.
Stitches used: Magic ring, chain, single crochet, single crochet in back loop, increase, decrease, and simple sewing for assembly.
The Pattern Itself
STEM
Round 1:
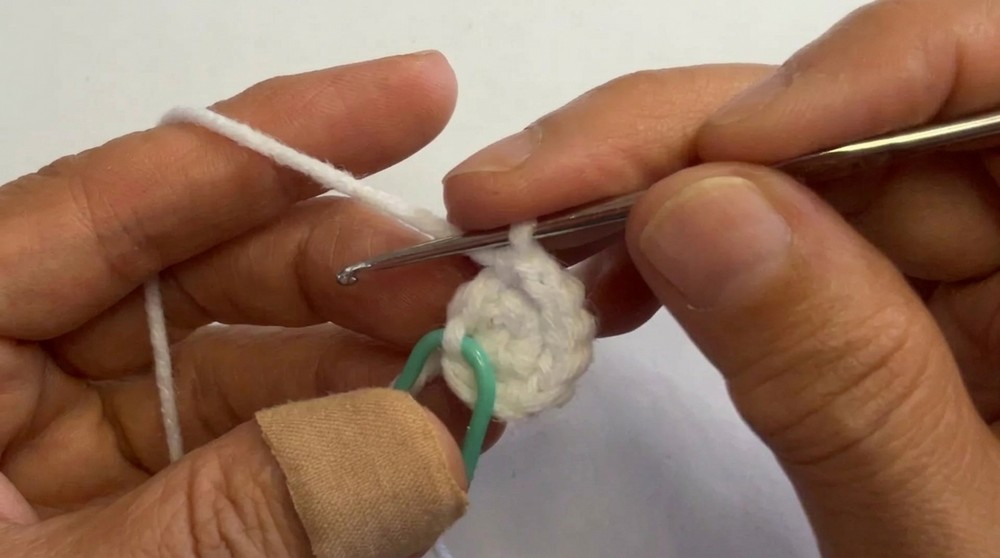
- In color of choice, mr, ch 1, 6 sc into ring (6)
After making the magic ring, you’ll have a base of 6 stitches. This will form the bottom of your stem.
Round 2:
- 1 sc to close round (optional for smoothness)
- Place a stitch marker.
- 1 sc in next st, inc in next st, repeat around (12)
Increase around the base. You should end up with 12 single crochets.
Round 3 (BLO):
- sc in the back loop only of each st around (12)
Working in the back loop creates a subtle ridge for shaping the stem’s base.
Rounds 4–5:
- sc in both loops of each st around (12 per round; 2 rounds)
Continue making the stem longer by crocheting evenly for 2 rounds.
Round 6:
- 4 sc, sc2tog, 4 sc, sc2tog (10)
Begin narrowing the stem by working decreases. Your stitch count reduces to 10.
Round 7:
- 3 sc, sc2tog, 3 sc, sc2tog (8)
Another round of decreasing for a slight taper near the top.
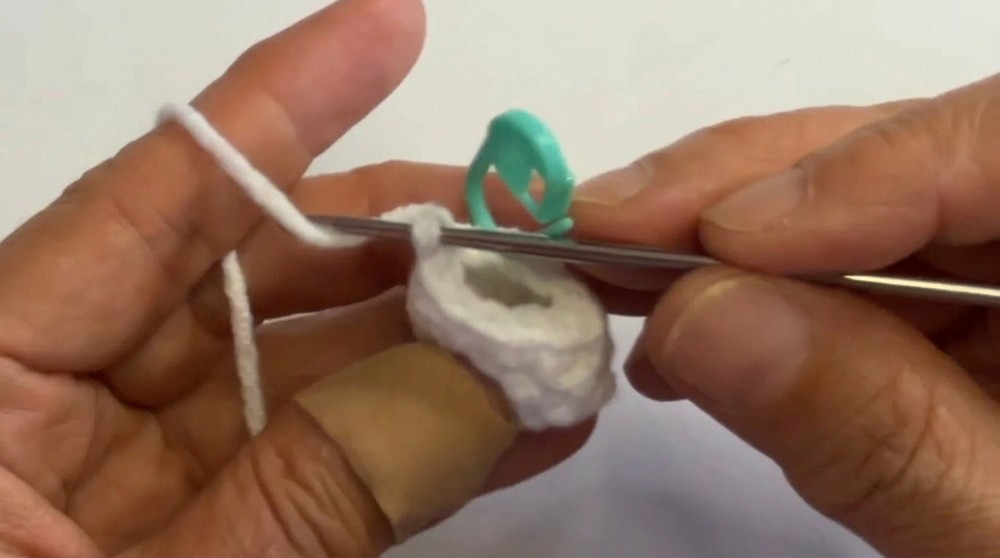
Rounds 8–10:
- sc in each st around (8 per round; 3 rounds)
Continue the stem with no changes. Now is a good time to stuff the stem with polyfil.
Round 11 (Increase):
- sc in next st, inc in next st, repeat around (12)
Widen the top opening of the stem to easily join the cap.
Round 12:
- sc in next st, inc in next st, repeat around (18)
Expand the top for a cap attachment area.
Round 13:
- sc in next 2 sts, inc in next st, repeat around (24)
This creates a slightly cupped edge for the cap to sit on.
Round 14:
- sc in each st around (24)
Finish the top with an even round. Pull up a long loop at end for seamless finish.
CAP
Round 1:
- In cap color, mr, ch 1, 6 sc into ring (6)
This forms the center of your toadstool’s cap. Use red for a classic look, or any color for variety.
Round 2:
- 1 sc to close round (optional), place marker
- 1 sc in next st, inc in next st, repeat around (12)
Increase evenly around the cap base.
Round 3:
- sc in next st, inc in next st, repeat around (18)
Continue expanding for a nice, round cap.
Round 4:
- sc in each st around (18)
Work evenly for shaped depth.
Round 5:
- sc in next 2 sts, inc in next st, repeat around (24)
This makes the cap the same diameter as the stem’s top.
Round 6:
- sc in each st around (24)
Crochet evenly for the final shaping round. Fasten off with a tail about 50 cm long for sewing.
SPOTS (optional, for toadstool)
- Using white yarn, embroider or sew small circles onto the cap with a yarn needle.
- You can make French knots, or crochet tiny circles (mr, 4–6 sc into ring, sl st join) and sew in place.
Embroider or sew on as many white spots as you like; this step is optional or can be customized.
ASSEMBLY & FINISHING
Stuff Stem:
- Firmly stuff stem with polyfil before attaching the cap.
Good stuffing gives your keychain plumpness and strength.
Sew Cap and Stem Together:
- Place open edges of cap and stem together, right sides facing out.
- Using the long yarn tail, sew through both loops of the cap and the first loop of the stem all the way around.
Stitch evenly to join cap and stem securely. Make sure there are no gaps for stuffing to leak through.
Final Touches:
- Attach keyring securely through top of cap. Use pliers if needed for jump ring or closed keyring.
- Hide all loose yarn ends with a tapestry needle.
Attach your keyring to the top center of the cap. Tidy up any remaining yarn ends for a neat finish.
Conclusion
Congratulations! Your mushroom or toadstool keychain is finished and ready to brighten up your keys, bag, or workspace. This easy and quick project uses simple, repetitive stitches and is perfect for using up leftover yarn. Express yourself with unique color and spot combinations, or make a matching set for friends and family.
Summary of Steps:
- Crochet stem in rounds, stuff firmly, shape top for cap.
- Crochet cap, embroider or sew on spots as desired.
- Sew together securely, attach keyring, and tidy up ends.
Getting Started:
Begin with a magic ring and work in spirals. The main stitches are single crochet, simple increases and decreases, and some easy sewing for assembly.
Keep practicing and experimenting, these little mushrooms and toadstools make great gifts and are wonderful for learning amigurumi basics.