
Charming Crochet Cat Applique Pattern Everyone Will Love
Grab a free crochet cat applique pattern and brighten up your projects with adorable kitties perfect for gifts or keepsakes.
Adding a little handmade desire to your belongings is always rewarding, and these sweet kitty cat appliques are the perfect way to do just that. Crocheted with simple stitches like magic ring, chain stitches, double crochet, half double crochet, and triple crochet, this pattern lets you create adorable cat faces with textured details in no time. Working in the magic ring helps give the applique a neat, circular base, while the variety of stitches adds dimension to the ears, face, and tail. The result is a cute, three-dimensional kitty that can bring a smile to anyone’s face.
Learn the Easy Free Crochet Cat Applique Pattern for Cute Projects
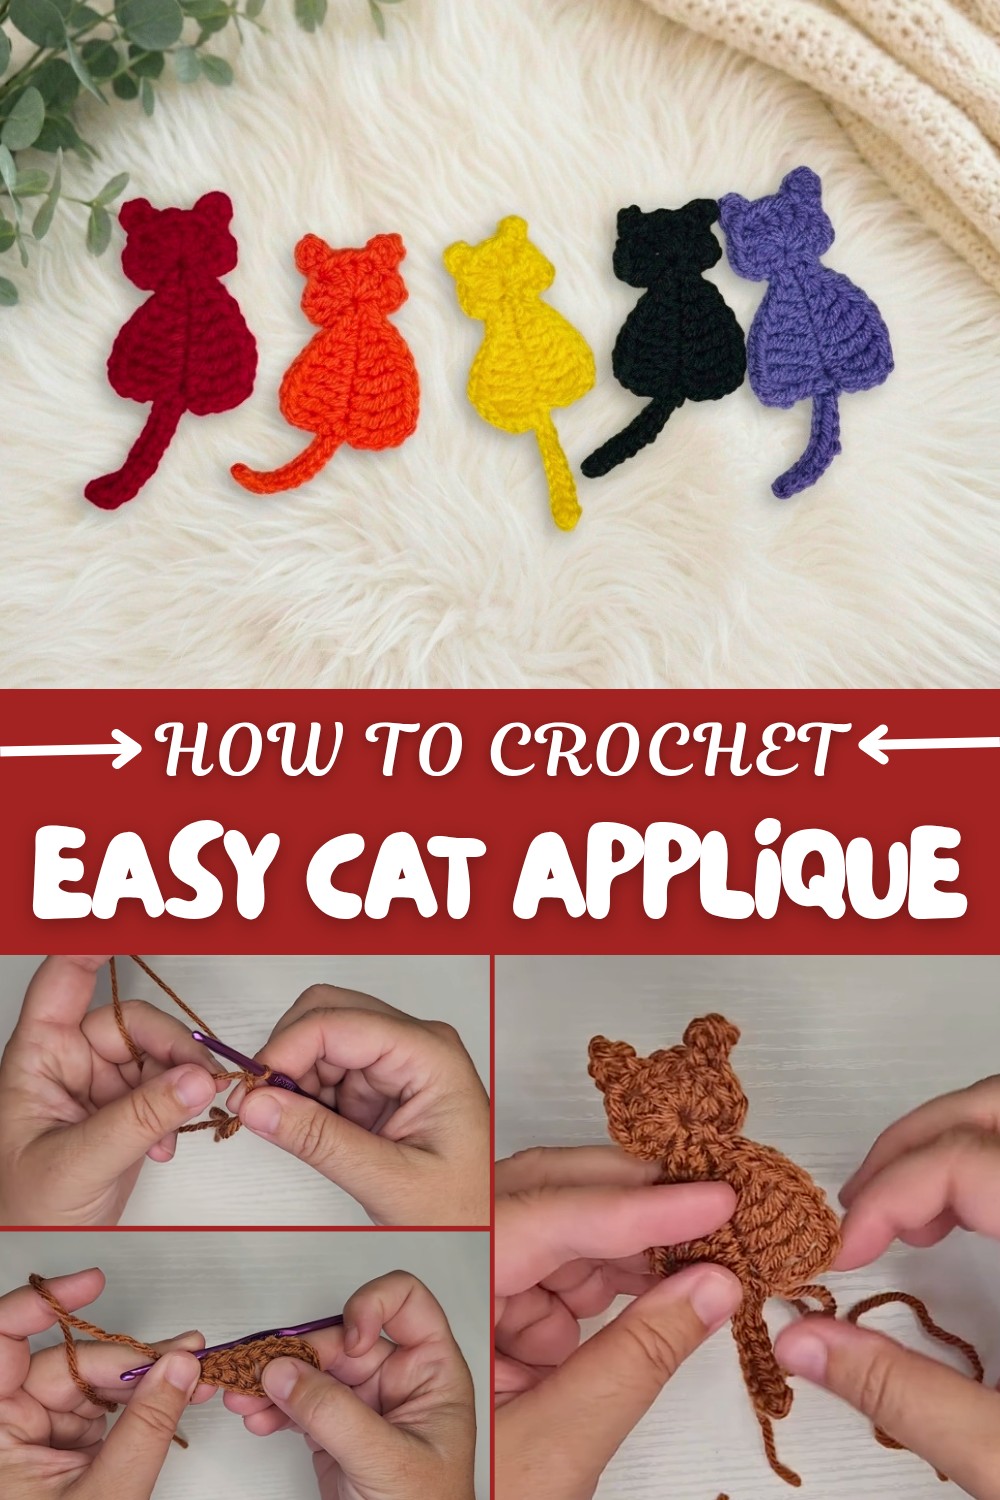
The beauty of this pattern lies in its versatility and quick finish. Each kitty can be completed in about 10 to 15 minutes, making it an ideal project for using up yarn scraps or creating handmade gifts. You can sew these appliques onto sweaters, hats, scarves, or even make fridge magnets by adding a small magnet at the back. The mix of basic and slightly more advanced stitches keeps the process interesting without being overwhelming, making it accessible for beginners looking to try new techniques. You’ll also learn how to weave in ends securely, especially important when using the magic ring, ensuring your applique stays neat and tidy.
More Creative Possibilities from This Pattern
Once you’re comfortable with this kitty cat applique, the skills you’ve gained can easily be applied to other fun projects. The magic ring and working different crochet stitches in a round form the foundation for many amigurumi animals and floral motifs. You might enjoy creating a whole collection of animal faces to decorate bags, cushions, or blankets. Experimenting with color changes and stitch variations can also help you design personalized gifts, keychains, or patches to customize your handmade creations. This pattern is a wonderful starting point to explore the endless charm that crochet can bring to everyday items.
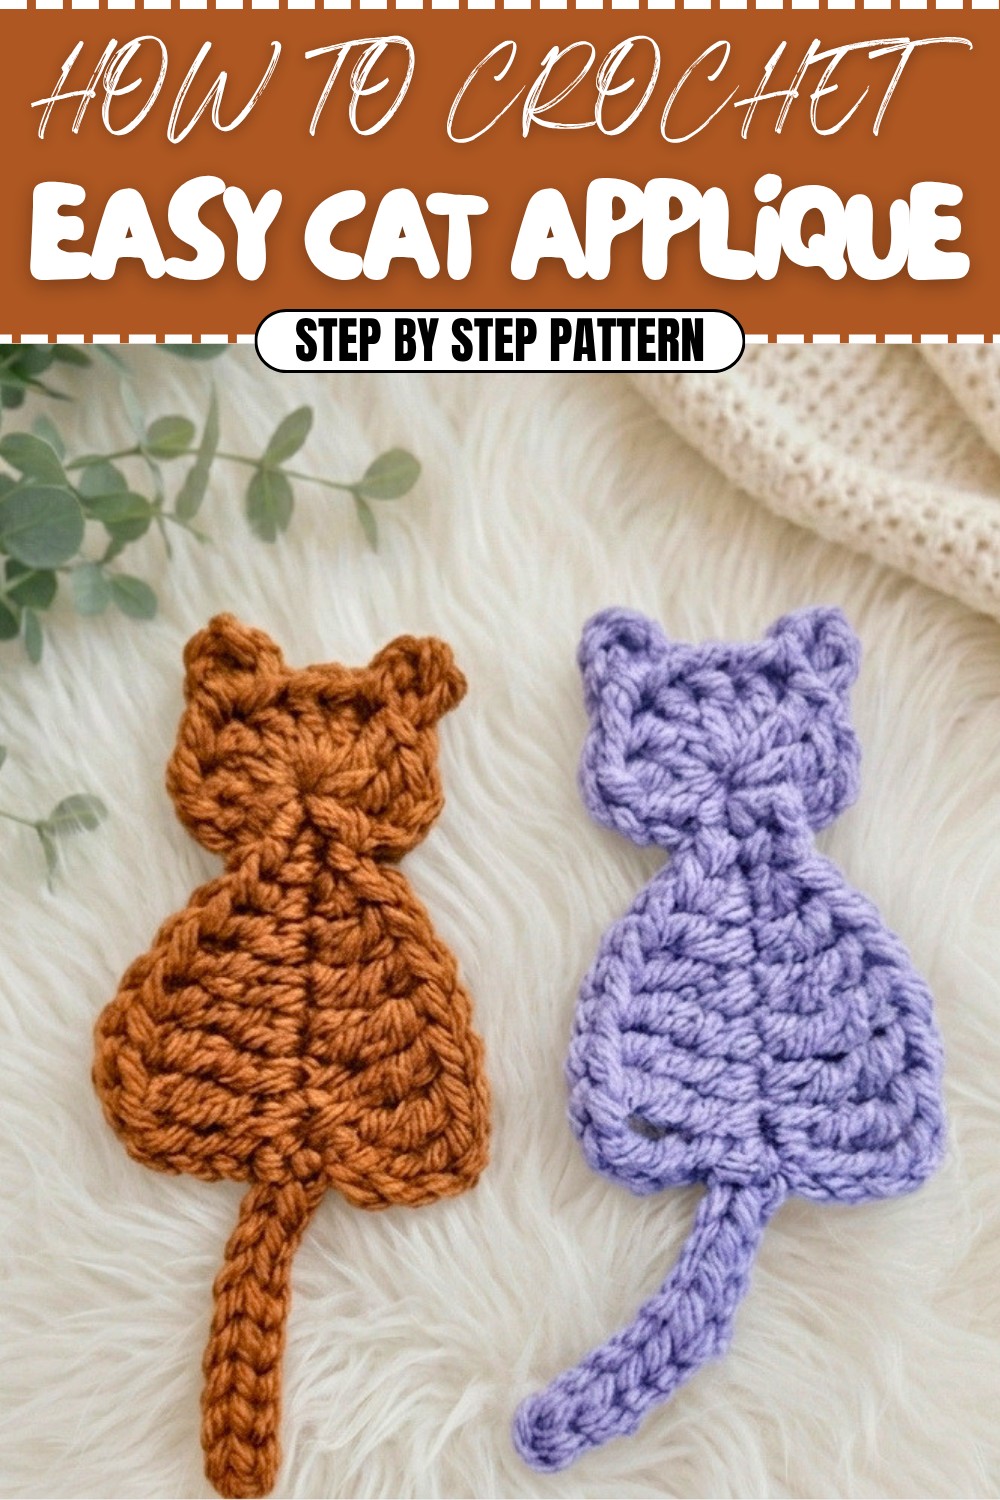
Crochet Pattern: Kitty Cat Appliqué
This pattern will guide you through creating a cute Kitty Cat Appliqué, a versatile little crochet project that can be used as a fridge magnet, appliqué on sweaters, gift toppers, or any other creative touch to your crochet projects. These kitties are quick to make and perfect for using up scrap yarn from your stash! This pattern uses basic crochet techniques, making it an enjoyable project for beginners or anyone who loves adorable creations.
Skill Level & Terminology
- Skill Level: Beginner
- Terminology: US Crochet Terms
This pattern includes simple and beginner-friendly stitches:
- Chains (ch)
- Single Crochet (sc)
- Half Double Crochet (hdc)
- Double Crochet (dc)
- Triple Crochet (tr)
- Slip Stitch (sl st)
- Magic Ring (mr)
Materials & Tools
- Yarn:
- Worsted weight yarn (small amounts).
- Any colors you prefer (brown is used in the tutorial for the body).
- Hook:
- 3.75 mm crochet hook (F5).
- Other Tools:
- Scissors.
- Tapestry needle for sewing in ends.
- Optional: Small magnets or fabric glue for customizations.
Gauge
Exact gauge is not critical for this project. However, for reference:
With a 3.75 mm hook and worsted weight yarn: 6 sc x 6 rows = approx. 1 inch square.
Abbreviations List
| Abbreviation | Meaning |
|---|---|
| ch | Chain |
| sc | Single Crochet |
| hdc | Half Double Crochet |
| dc | Double Crochet |
| tr | Triple Crochet |
| sl st | Slip Stitch |
| mr | Magic Ring (or Magic Loop) |
Special Stitch Instructions
Magic Ring (MR):
The magic ring creates a tight, adjustable starting loop often used for projects that begin in the round:
- Drape the yarn over three fingers and cross it behind the working yarn to form a loop.
- Secure the loop with your pinky finger.
- Insert the crochet hook under the front loop and over the back loop. Yarn over and pull through—twist your hook to secure.
- Yarn over again and pull through the loop to lock the ring.
Triple Crochet (TR):
A stitch taller than the double crochet:
- Yarn over twice, insert your hook into the designated stitch, and pull up a loop (4 loops on hook).
- Yarn over and pull through two loops at a time, repeating until only one loop remains on the hook.
Finished Size
- Height: ~2.5–3 inches (varies slightly with yarn and tension).
- Width: ~2 inches.
What You’ll Learn from This Pattern
- Crafting compact, decorative shapes using basic and intermediate stitches.
- Working controlled shaping with ascending and descending stitch heights.
- Adding creative finishing to appliqué using weaving techniques.
The Pattern Itself
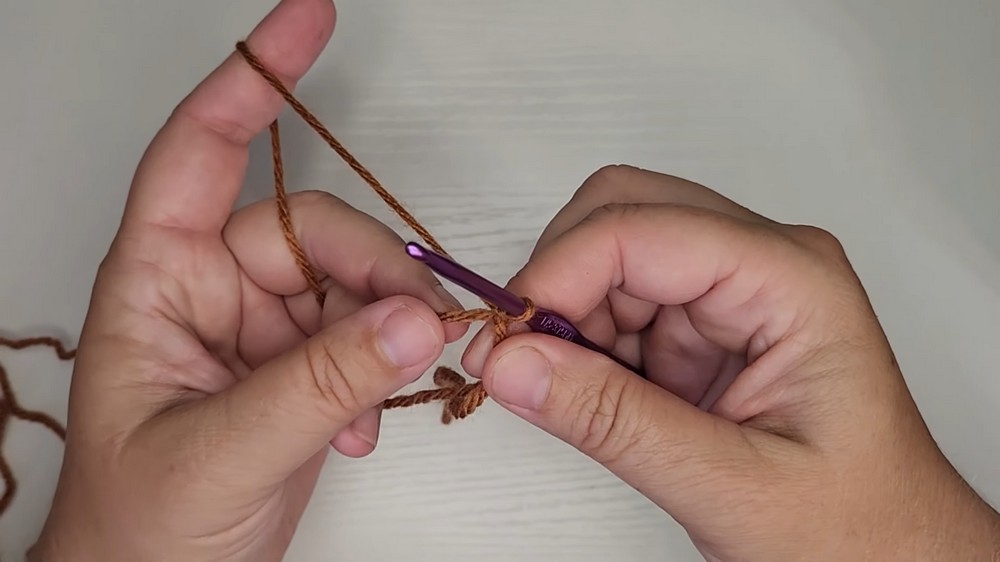
Step 1: Starting the Kitty Cat Body
Magic Ring and Initial Chains:
- Begin with a magic ring (mr) as described in the Special Stitch Instructions.
- Make 12 chains (ch 12).
The magic ring will form the base of the kitty, while the chain creates a smooth round shape for the body.
Step 2: Shaped Loop Section
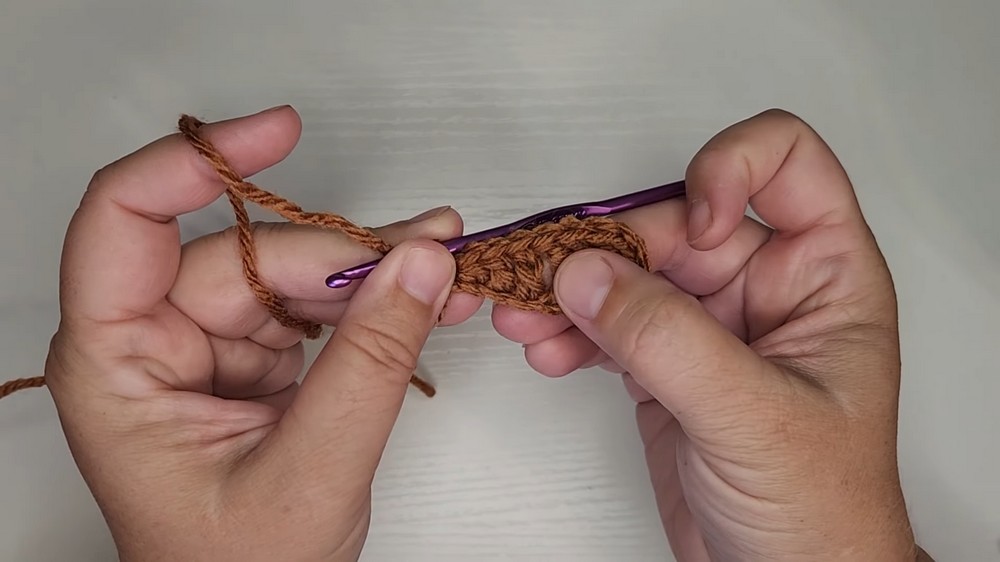
- Skip 5 chains from the hook.
- Into the 6th chain, work a triple crochet (tr):
- Yarn over twice, insert hook into the chain, pull through, and complete with pull through 2, pull through 2, pull through 2.
- Work 3 tr (one in each of the next 3 chains).
- Into the next chain, work an Extended Double Crochet (Edc):
- Yarn over, insert, pull through, yarn over pull through one loop, then complete as a dc.
- Next chain: Work 1 dc.
- Following chain: Work 1 hdc.
- Last chain in sequence: Work 1 sc.
This series of stitches shapes the rounded base of the kitty head and face with a gradual curve.
Step 3: Completing the Head and Ears
- Slip Stitch (sl st) into the magic ring, securing the bottom of the kitty’s face.
- Chain 3 (counts as 1 dc) into the magic ring.
- Work 2 dc into the magic ring for the side of the face.
- Ear 1: Chain 4, and sl st into the base of the last dc made to shape the ear.
- Work 3 dc into the magic ring for the top of the head.
You can use a gentle pull on the magic ring to cinch it up as you shape these features.
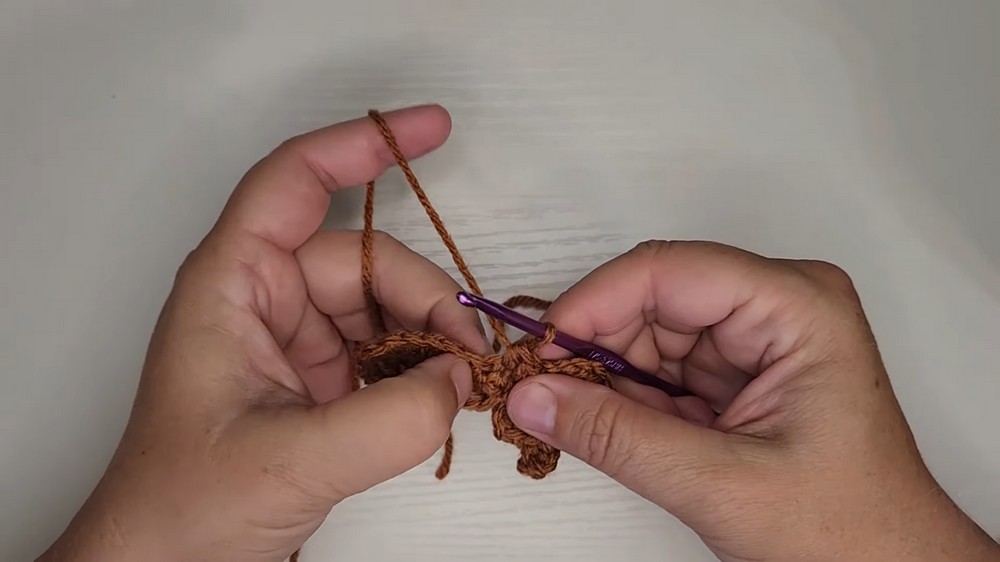
Step 4: Adding Second Ear and Rest of the Head
- Ear 2: Chain 4, and sl st into the base of the last dc made to form the second ear.
- Work 2 dc into the magic ring, followed by Chain 3.
- Sl st into the magic ring to mirror the other side of the face.
Adjust the magic ring to maintain a symmetrical, secure shape.
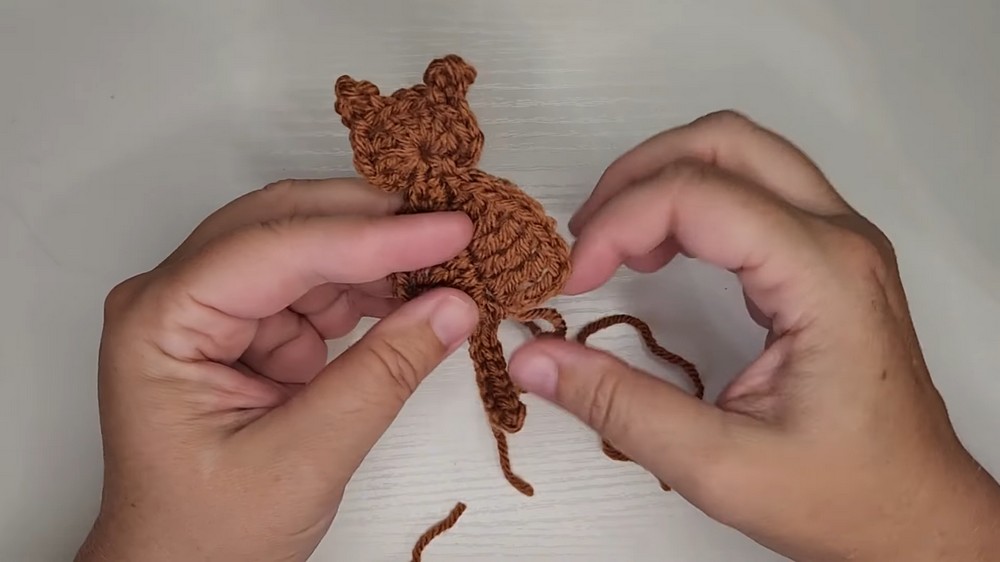
Step 5: Shaping the Tail
- Chain 10: This will serve as the kitty’s tail.
- Slip stitch down the chain to create the tail shape. Work one slip stitch into each chain until you return to the base.
- Sl st into the magic ring base to secure the tail.
The tail adds a playful feature to your appliqué and completes the kitty’s silhouette!
Assembly & Finishing
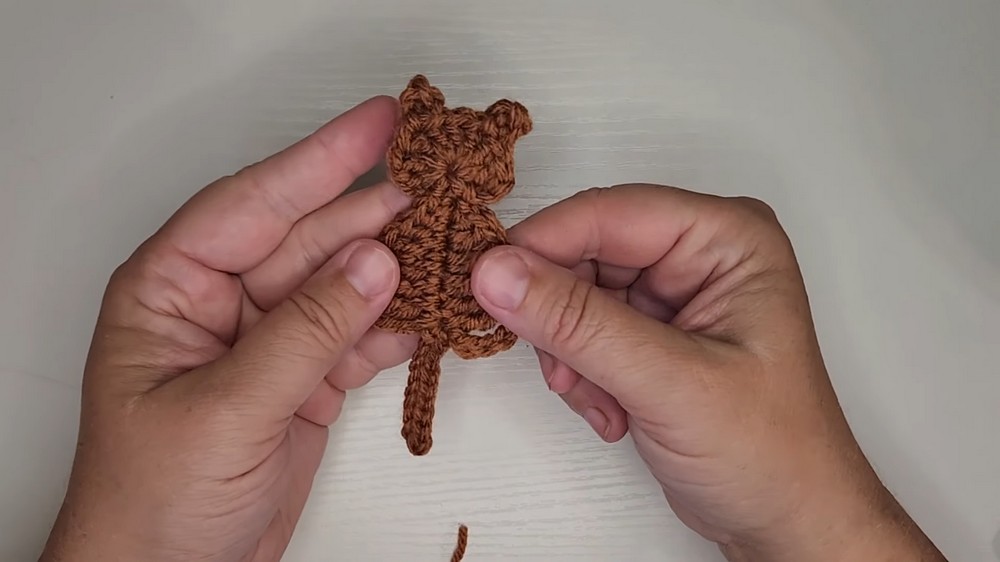
- Secure the Magic Ring: Tighten the magic ring by pulling the end of the yarn taut to close the opening.
- Weave Ends: Use a tapestry needle to weave in all loose ends. For extra security, weave the ends back and forth to ensure the magic ring does not loosen over time.
- Customize: Add optional finishing touches like a magnet, pin backing, or decorative details (e.g., embroidery for the face).
Why I Love This Pattern
This Kitty Cat Appliqué is delightfully easy to make and customizable with your choice of colors. The gradual increase and decrease in stitch heights create a unique design with a polished look. Whether you use them for crafting, gifting, or decoration, these playful appliqués are versatile and allow you to use up small yarn scraps from your stash.
Difficulties and Solutions
While this Kitty Cat Appliqué pattern is beginner-friendly, some parts may pose challenges for new crocheters. Working with the magic ring can be tricky, as it may come undone if not tightened and secured properly. To solve this, make sure to weave in the yarn tail securely and pull the ring gently while holding the stitches steady. Additionally, finding the correct stitch placement when descending (e.g., from extended double crochet to single crochet) on the body might feel confusing. A helpful tip is to rely on the natural spaces between stitches rather than overanalyzing the placement. Patience and practice will make these steps easier over time!