
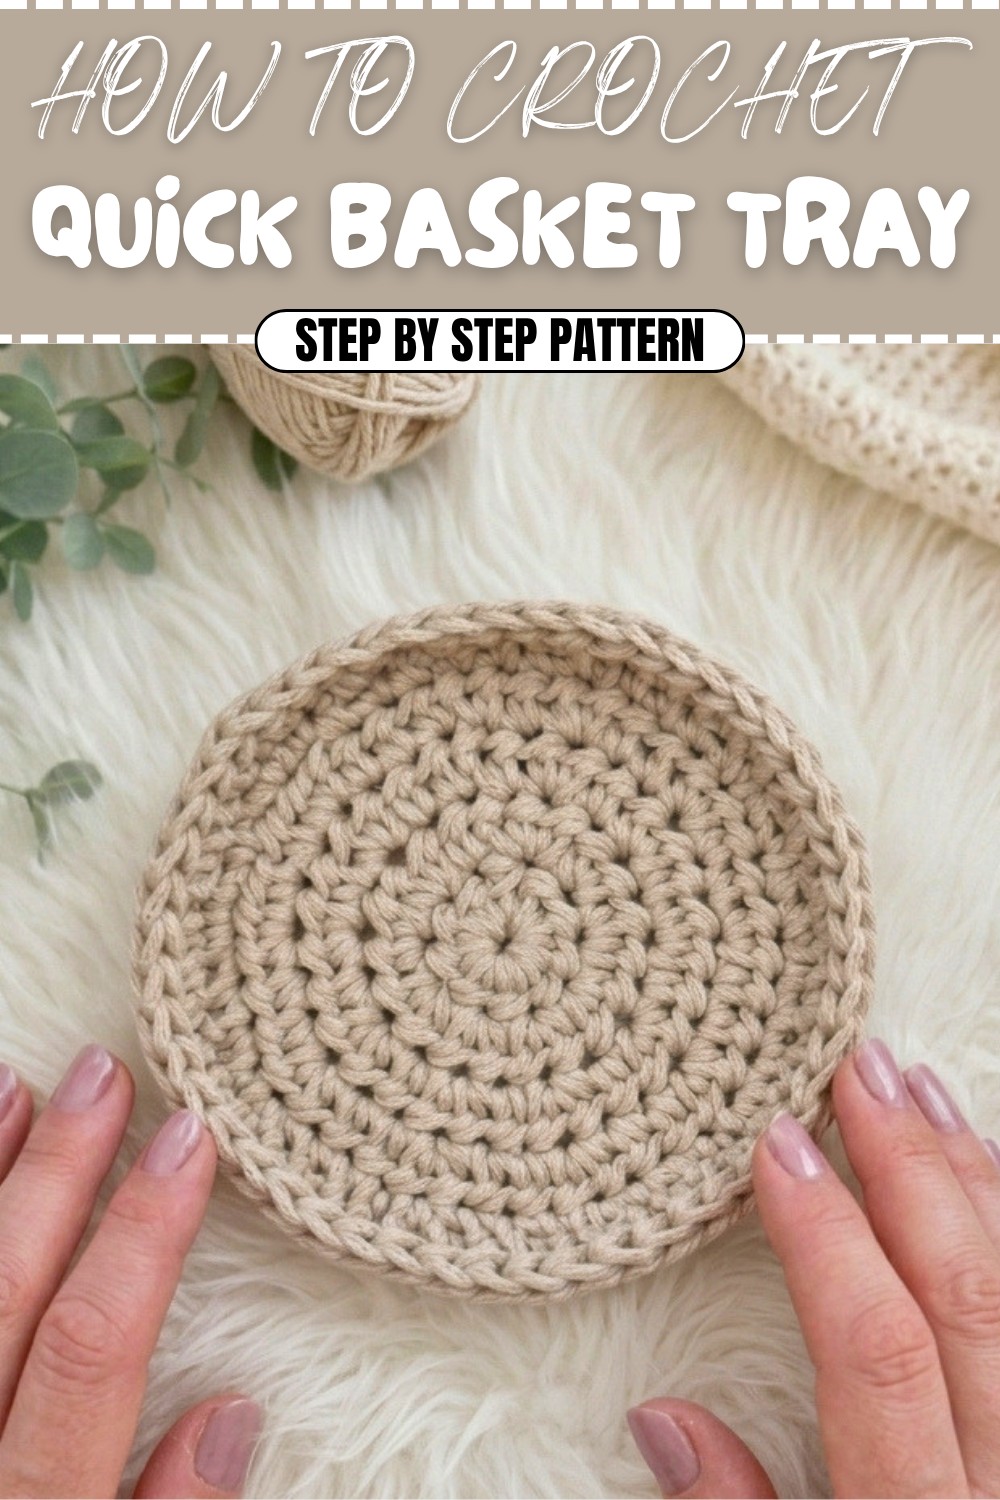
Crochet Basket Tray Free Pattern for Small Space Organization
Are you looking for a fun and creative way to add a touch of handmade charm to your home decor? The free crochet basket tray pattern is the perfect project for both beginners and seasoned crocheters. In this easy-to-follow tutorial, you’ll learn to make a lovely little tray, almost like a shallow basket, that is wonderfully versatile for any space. Whether you want a spot for Easter eggs, jewelry, keys, mini teapots, or a small plant, this basket tray brings beauty and function wherever you place it.
Easy Free Crochet Basket Tray Pattern for Stylish Home
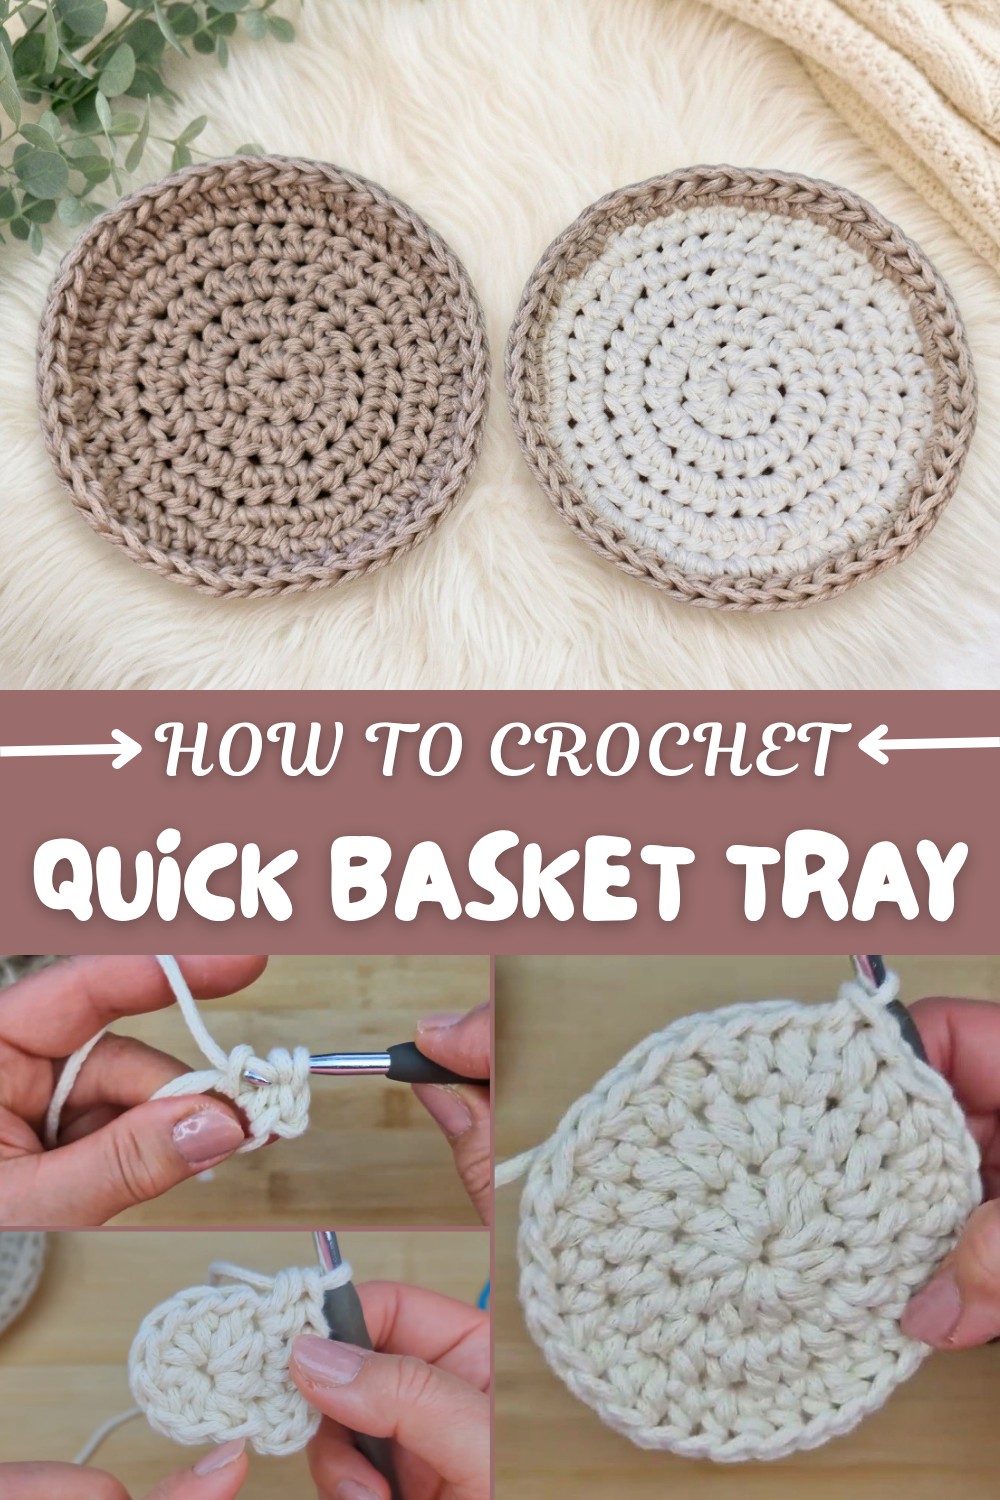
The pattern uses simple stitches worked in the round, resulting in a sturdy base and a neat rim that keeps the tray’s shape. Using chunky braided cord or rope yarn, such as “Return of the Mac,” gives the basket a stylish and textured look while ensuring it stays upright without collapsing. The sides are formed with a special loop technique, creating a gentle ridge for extra strength and a unique design. If you wish, you can introduce a second color for a two-tone effect, making your basket tray truly one-of-a-kind.
Features of the Crochet Basket Tray
- Beginner-friendly: Simple stitches and easy construction
- Versatile uses: Ideal for home storage, gifting, or decoration
- Chunky cord recommended: Adds durability and shape to your tray
- Minimal materials needed: One ball of yarn or cord is sufficient
- Customizable: Option to use different colors or adjust the size
- Step-by-step video assistance: Perfect for visual learners
- Sturdy and stylish: Maintains shape while looking beautiful
You can absolutely make this crochet basket tray even if you are new to crochet. This pattern will teach you how to start your project with a magic ring, join a new yarn color, and build sturdy sides with special loops. These techniques can be used for creating larger baskets, stylish handbags, or even plant pot covers.
Once you try this project, you might be inspired to create a whole collection of beautiful and practical crocheted accessories for your home. With just a few supplies and a bit of time, you’ll see how enjoyable and rewarding making your own crochet basket tray can be!
Crochet Basket Tray Pattern
This practical and aesthetic crochet tray, resembling a mini basket, is perfect for holding small items like Easter eggs, candies, jewelry, or even as a stylish rest for a teapot or potted plant. With crisp ridged sides and a robust base, it’s an excellent addition to your decor and a fantastic way to practice specific shaping techniques with chunky corded yarns.
Skill Level
Intermediate (suitable for advanced beginners and above)
This project involves working in the round, back-loop and third-loop stitches, color changes, and invisible joins.
Materials & Tools
- Yarn: Chunky braided or corded rope yarn such as "Return of the Mac" or similar sturdy cord (approx. 60–80g needed for one tray; 1 ball (~200g) makes several).
- Hook: 6.0 mm crochet hook
- Scissors: For cutting yarn
- Yarn/Darning Needle: For weaving in ends and making invisible joins
- Optional: Additional color of the same yarn for a two-tone effect
Abbreviations (US Crochet Terminology)
| Abbreviation | Meaning |
|---|---|
| ch | chain |
| hdc | half double crochet |
| sl st | slip stitch |
| BLO | back loop only |
| 3rd loop | third loop (below BLO) |
| st(s) | stitch(es) |
| MR | magic ring |
Special Notes
- Back Loop & Third Loop: To create the rigid sides, stitches are worked into the back and third loops only, giving increased structure and a ridged look.
- Invisible Join: Finishing with an invisible join creates a seamless round for a polished finish.
Finished Size
Approx. 6–7” (15–18cm) diameter and 1.25” (3cm) tall, depending on yarn thickness and tension. The sides are low and tray-like.
The Pattern
Base
- Magic Ring & Foundation:
- Form a magic ring (MR).
- Ch 1 (does not count as a stitch).
- 10 hdc into ring.
- Pull MR tight.
- Sl st to top of first hdc to join. (10 sts)
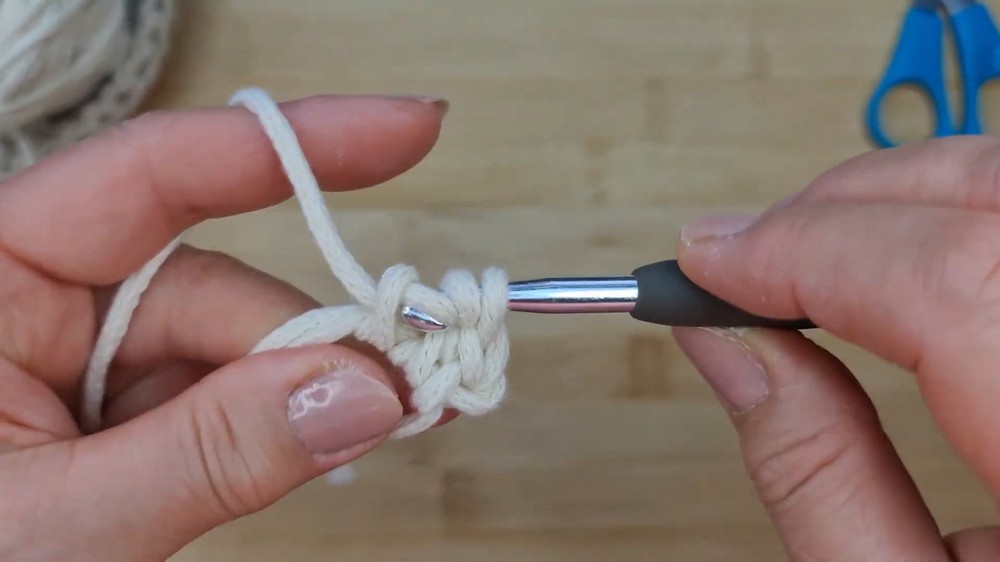
Start with a magic ring, make 10 half double crochets into the ring, and then close the circle with a slip stitch. This forms the sturdy base of the tray.
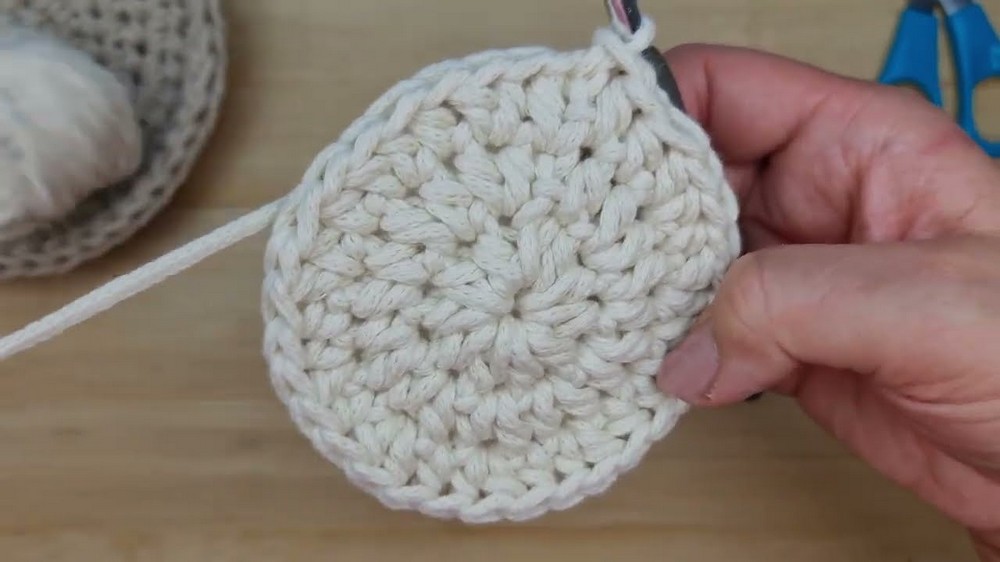
- Round 2 (Increase round):
- Ch 1.
- 2 hdc in each st around (including first st after ch 1). (20 sts)
- Sl st to join.

Work two half double crochets into each stitch from the previous round. This doubles your stitch count and makes your circle wider.
- Round 3 (Increase round):
- Ch 1.
- (Hdc in next st, 2 hdc in next st) repeat around. (30 sts)
- Sl st to join.
Now do one half double crochet in the first stitch, then two in the next; repeat all the way around. This continues shaping the circle for your base.
- Round 4 (Increase round):
- Ch 1.
- (Hdc in next 2 sts, 2 hdc in next st) repeat around. (40 sts)
- Sl st to join.
This round creates a larger, flatter base. Continue by working one hdc in the first two stitches, then 2 hdc in the next, and repeat around.
- Round 5 (Increase round):
- Ch 1.
- (Hdc in next 3 sts, 2 hdc in next st) repeat around. (50 sts)
- Sl st to join.
Continue the pattern with one hdc in each of the next three stitches, then two hdc in the next. This is your final increasing round for the base.
Sides (Optional Color Change)
- Change Color (optional):
- If using two colors, fasten off old color, join new color with a sl st in any st, ch 1.
- Side Wall: Back Loop & Third Loop Only
- Ch 1.
- Hdc in BLO and 3rd loop of each st around (see notes above).
- Sl st to join. (50 sts)

To give a raised edge, work a hdc into the back loop AND the third loop (the ‘hump’ just below the back loop) of every stitch all the way around. This makes the side stand upright.
Finishing the Shape
- Invisible Join & Seamless Finish:
- Cut yarn, leaving a long tail.
- Remove the hook, thread tail through a yarn needle.
- Insert needle under both loops of the first hdc of the side round, back to the last st made.
- Pull through to mimic a real stitch—this is your invisible join.
- Weave in all tails on the inside of the tray, looping under stitches for stability.
Trim your yarn, use your needle to make a seamless finish, then carefully sew in all loose ends on the inside for a neat basket.
Block and Shape the Tray
- Mold and press the sides gently upwards all around the base using your hands, giving the tray a crisp, upright edge.
- Adjust the roundness of the base and side, ensuring the form is symmetrical.
Gently shape the tray with your hands to help it stand up neatly. The sturdy yarn will maintain its form well once pressed into place.
Conclusion
You have now completed a stylish, sturdy crochet basket tray! This project is ideal for holding treats, trinkets, or for elegant table decor. The combination of a dense base, thoughtful increases, and special side stitch ensures both robustness and a designer finish.
Pattern Corrections and Tips
- Pattern Tip: Always check your stitch counts at the end of each round. Using a stitch marker at the start of rounds can help keep track.
- Invisible Join: If you are unfamiliar, search for “invisible join crochet” tutorials online for demonstration videos.
- Correction: In the side round, ensure you insert your hook under both the back loop and the third loop for crisp, upright sides. Avoid weaving in ends too early; adjust side shaping first.