
Crochet Baby Whale Amigurumi Pattern for Ocean-Inspired Gifts
Amplify your style effortlessly with a free crochet baby whale amigurumi pattern, making adorable whales for trendy, heartfelt presents.
Bringing a little ocean friend to life with just a hook and yarn is such a sweet and rewarding experience. This tiny baby whale amigurumi pattern is not only irresistibly cute but also a fantastic project for crocheters of all levels. Using single crochet stitches worked in continuous rounds starting with a magic ring, this pattern guides you through shaping the whale’s rounded body with gentle increases and decreases that give it a soft and plump form. Choosing colors like soft pink and white (or blue and white) adds personality and charm to your creation, making it perfect for gifting or keeping as a cute keepsake.
Learn to Crochet Baby Whale Amigurumi for Free and Make Smiles All Around
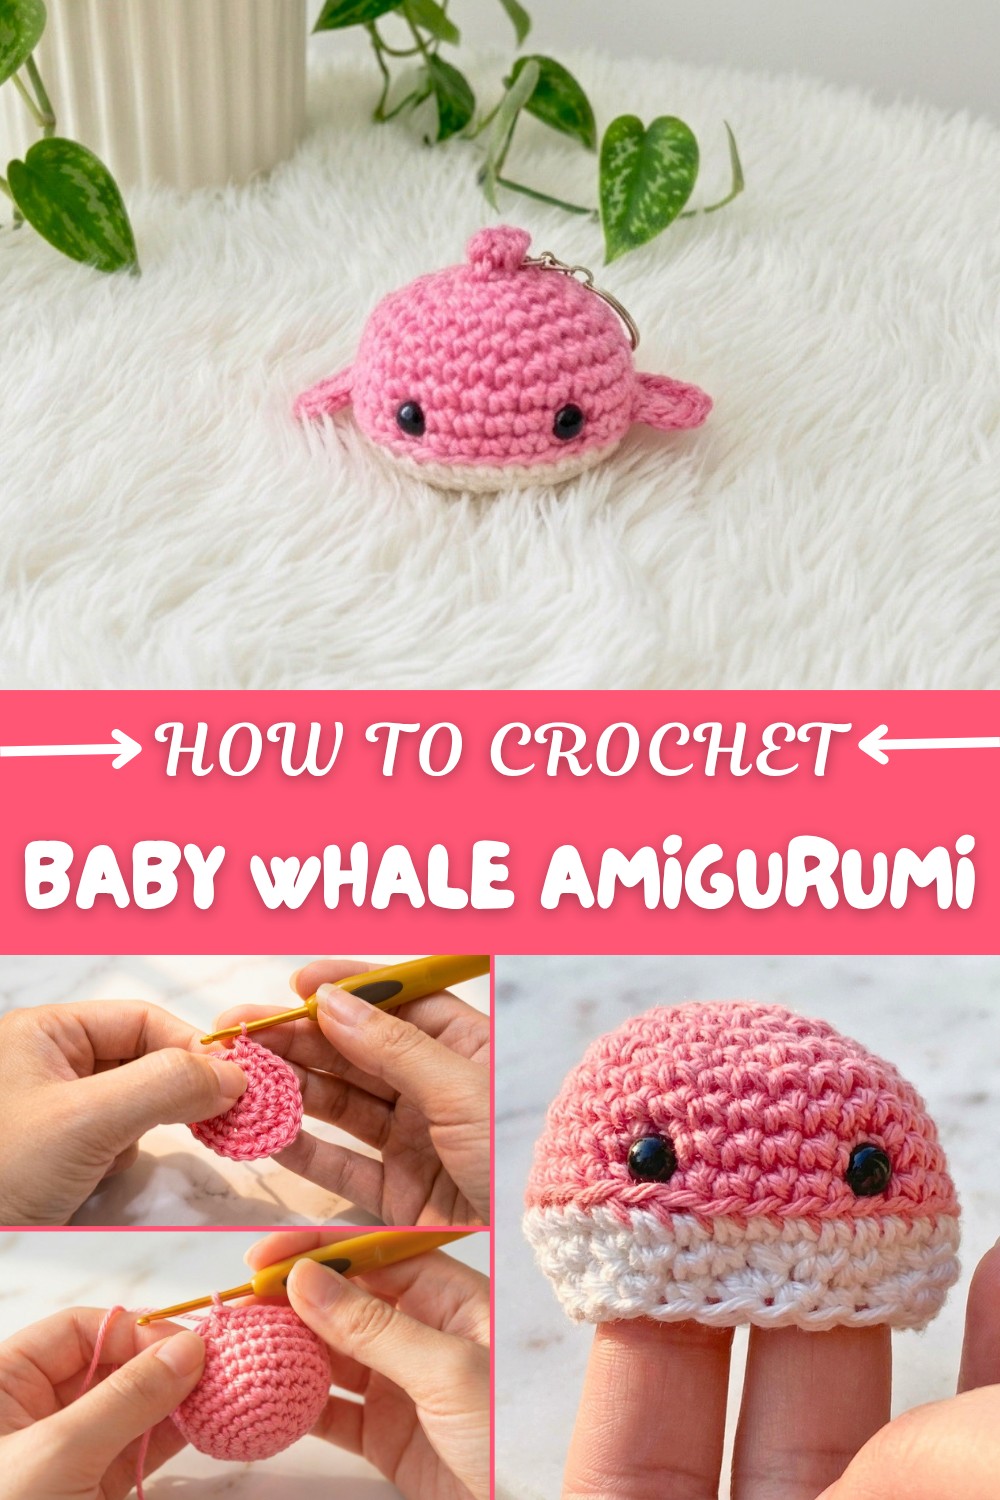
The beauty of this pattern lies in its simplicity and detail. You’ll learn how to seamlessly switch colors, work into the back loops to create neat edges, and attach tiny fins and a tail for extra cuteness. Adding small safety eyes brings the little whale’s face to life with just a few stitches. Once finished, this amigurumi can be turned into an adorable keychain by adding a carabiner or used as a charming decoration for bags, backpacks, or nursery rooms.
Expand Your Crochet Skills with This Pattern
Beyond making this delightful baby whale, the techniques you practice here open doors to many more crochet adventures. The magic ring and working in spirals are foundational skills for countless amigurumi projects, from sea creatures to animals and whimsical toys. Learning to increase and decrease stitches smoothly helps in shaping any 3D object you wish to create. With this pattern under your belt, you can experiment with color changes, stitch variation, and small details to craft your own unique collection of crochet friends and accessories that bring smiles wherever they go.
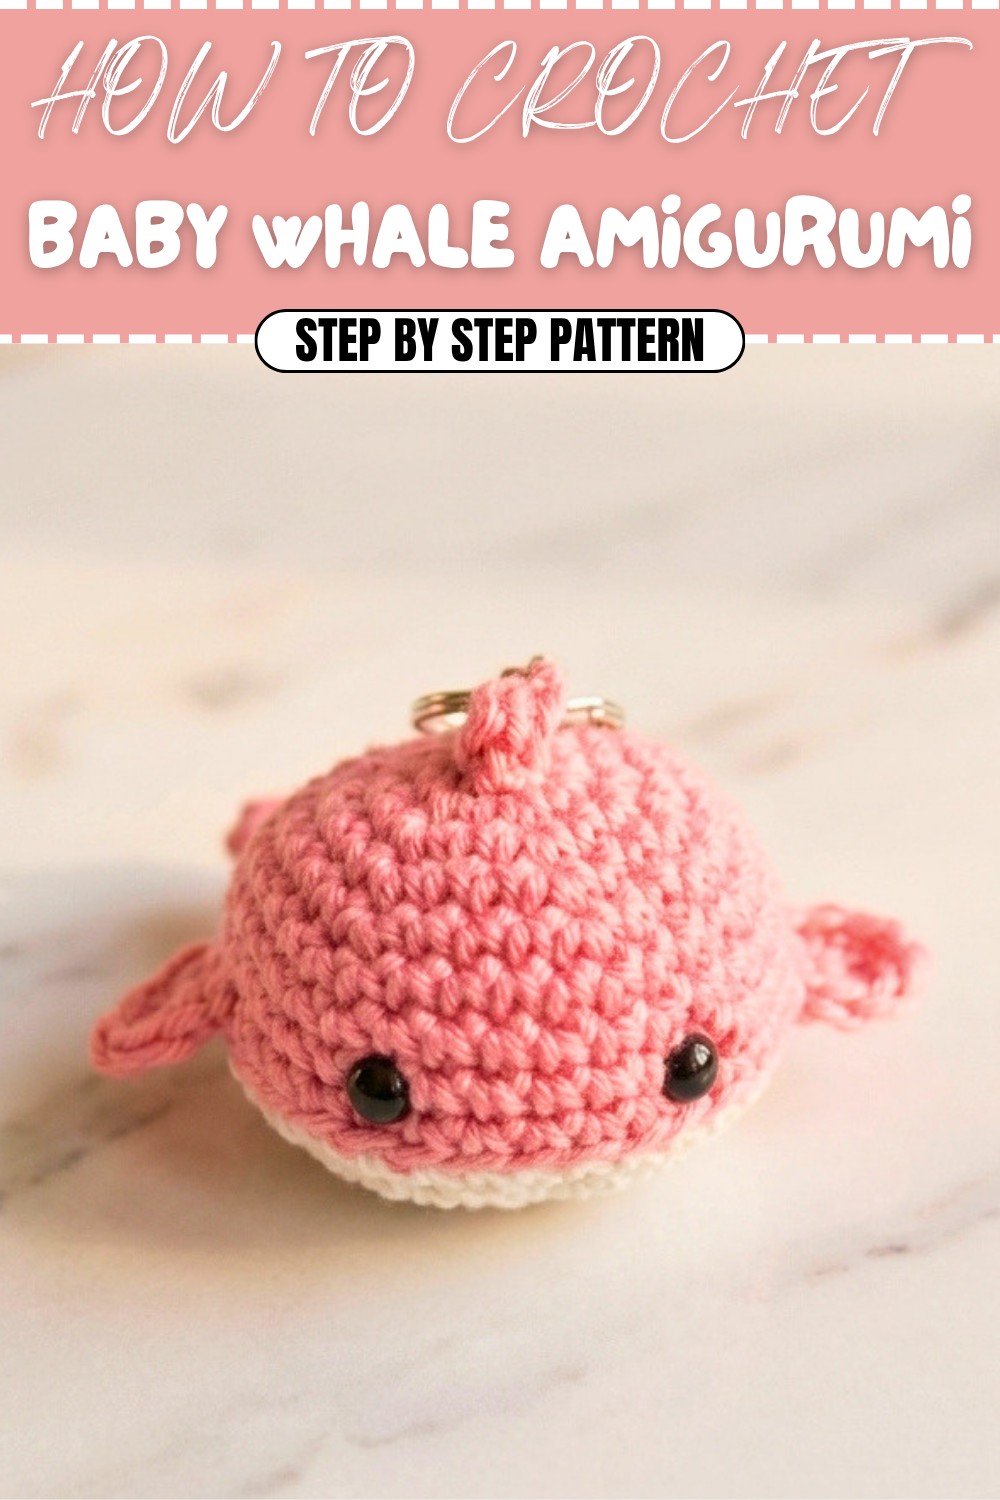
Crochet Pattern: Baby Whale Keychain
Introduction
Welcome to this detailed crochet pattern for creating an adorable Baby Whale Keychain! This tiny, lovable project is perfect for keychains, bag charms, or decorations for kids. Make it in your favorite color combinations—pink and white, blue and white, or any other creative palette. With minimal material requirements and beginner-friendly stitches, this cute little whale is quick to crochet and immensely satisfying to make.
Using just single crochet stitches, color changes, and basic shaping, this pattern is perfect for beginners wanting to practice amigurumi techniques while adding a functional and decorative touch to their creations.
Skill Level & Terminology
- Skill Level: Beginner
- Terminology: US Crochet Terms
This pattern involves basic skills:
- Single Crochet (SC)
- Increases (Inc)
- Decreases (Dec)
- Working in the round
- Basic assembly techniques.
Materials & Tools
- Yarn:
- Main Color (e.g., pink or blue).
- Contrasting Color (e.g., white for the bottom).
- Hook:
- 3 mm crochet hook.
- Fiberfill Stuffing: For shaping the whale body.
- Safety Eyes: Small safety eyes for the whale’s face (or you can embroider eyes).
- Other Tools:
- Yarn needle for sewing and weaving in ends.
- Stitch marker for keeping track of rounds.
- Scissors.
- Carabiner for keychain attachment (optional, but recommended for functionality).
Gauge
Gauge is not critical for this pattern. However, for reference:
With a 3 mm hook and 3-ply cotton yarn: 6 SC x 6 rows = 1 inch square.
Abbreviations List
| Abbreviation | Meaning |
|---|---|
| ch | Chain |
| sc | Single Crochet |
| inc | Increase (2 SC in same stitch) |
| dec | Decrease (joining 2 stitches into 1 stitch) |
| sl st | Slip Stitch |
| BLO | Back Loop Only |
| mr | Magic Ring (Magic Circle) |
Special Stitch Instructions
Magic Ring (MR):
- Wrap the yarn around two fingers to form a loop.
- Insert the hook under the front loop, yarn over, and pull through the loop.
- Chain 1 to secure the ring.
- Work the number of SC stitches required into the loop. Once complete, pull the tail tightly to close.
Back Loop Only (BLO):
This technique creates a subtle ridge. Insert your hook into only the back loop of the stitch (the loop farthest from you) and work as instructed.
Finished Size
- Length: ~2.5 inches (6 cm).
- Width: ~1.5 inches (4 cm).
What You’ll Learn from This Pattern
- How to work in the round using a magic ring.
- Creating seamless shapes with increases and decreases.
- Switching yarn colors for amigurumi designs.
- Adding and assembling features like fins and keychain accessories.
The Pattern Itself
Step 1: Baby Whale Body
Main Color (Pink or Blue):
Body Rounds:
- Round 1:
- Start with a magic ring and work 6 SC. (6 sts)
- Round 2:
- Inc in each stitch around (2 SC in each stitch). (12 sts)
- Round 3:
- 1 SC, inc in the next stitch. Repeat [1 SC, inc] around. (18 sts)
- Round 4:
- 2 SC, inc in the next stitch. Repeat [2 SC, inc] around. (24 sts)
- Round 5:
- 3 SC, inc in the next stitch. Repeat [3 SC, inc] around. (30 sts)
- Rounds 6–9:
- Work 1 SC in each stitch around. (30 sts per round)
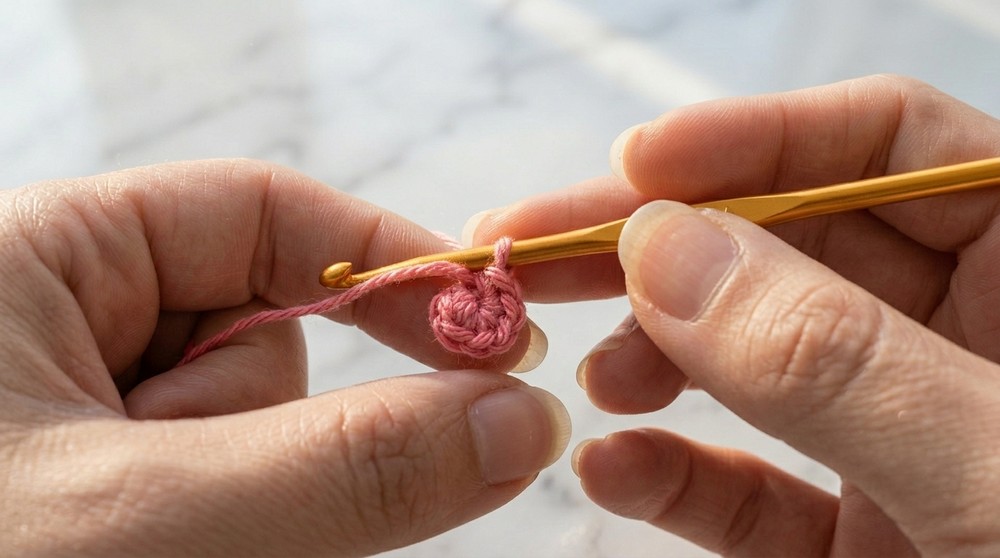
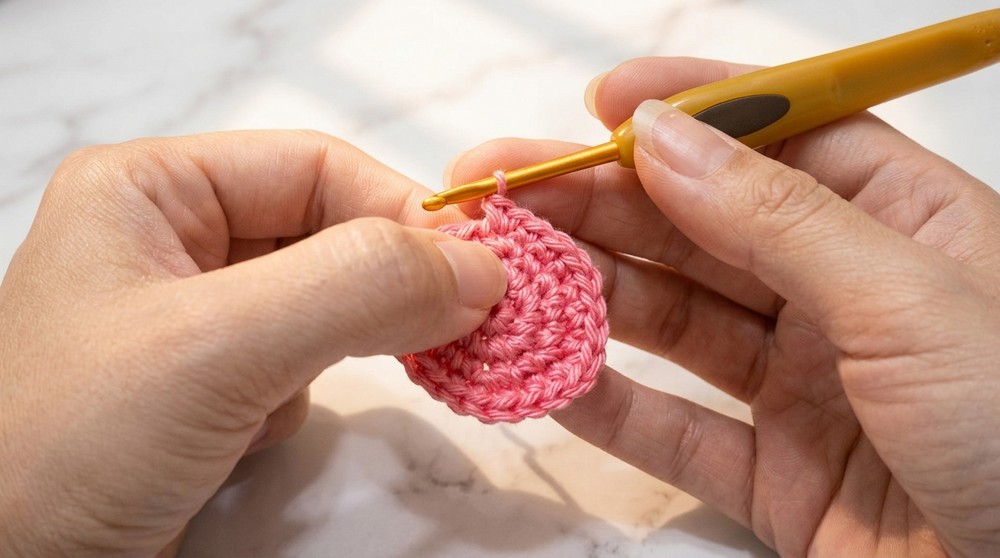
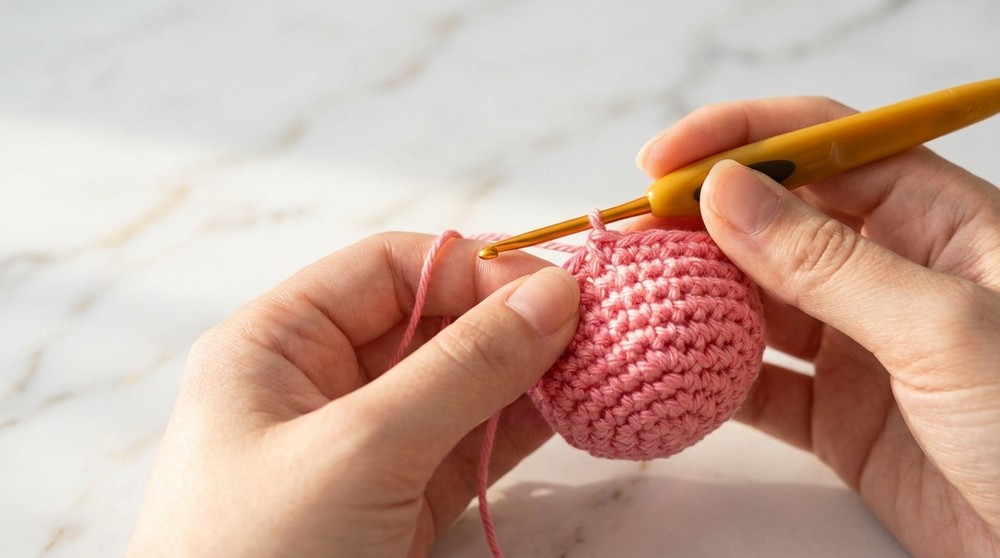
This forms the main body of the whale. Be sure to stuff the body evenly as you go for a smooth shape.
Step 2: Change to White for Bottom Section
- On the last stitch of Round 9, switch to white yarn by completing the stitch with the white color.
- Tie a small knot on the inside to secure the color change.
- Round 10 (BLO):
- Work in Back Loop Only for this round: 1 SC in each stitch around. (30 sts)
- This creates a defined ridge to separate the body from the bottom.
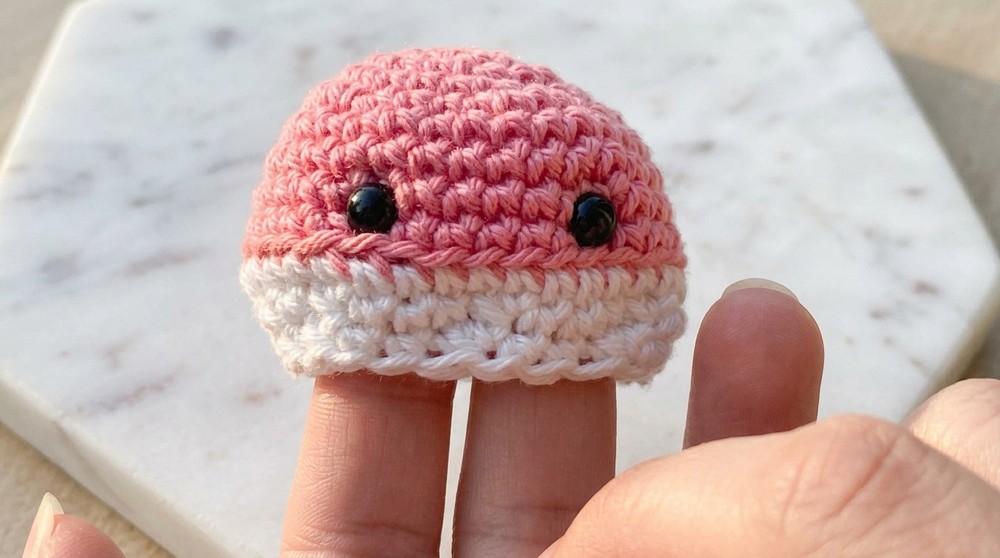
The back-loop technique adds a subtle, decorative definition to the whale’s body while transitioning to the contrasting color.
Step 3: Begin Decreasing
- Round 11:
- 3 SC, dec. Repeat [3 SC, dec] around. (24 sts)
- Round 12:
- 2 SC, dec. Repeat [2 SC, dec] around. (18 sts)
At this stage, insert the safety eyes (or embroider eyes as desired) evenly spaced at the front of the whale.
- Round 13:
- 1 SC, dec. Repeat [1 SC, dec] around. (12 sts)
- Stuff the whale with fiberfill before the opening gets too small to manage.
- Final Round:
- Work dec in every stitch around until the hole is closed. (6 sts)
- Fasten off, leaving a small tail. Use a sewing needle to close the hole securely, pass the thread through the body, and trim excess yarn.
You’ve now completed the body of the baby whale! It should look smooth and rounded at the top with a flatter white base.
Step 4: Fins
Make 4 Fins (2 Side Fins, 2 Back Fins):
- Start with a magic ring:
- Work 1 SC, 1 HDC, 1 DC, 1 DC, 1 HDC, 1 SC into the ring.
- Close the magic ring tightly.
- Cut the yarn, leaving a long tail for sewing. Tie the starting and ending threads together to secure the magic ring closed.
The fins are small semi-oval shapes with a slight curve, perfect for the baby whale’s cute and round silhouette.
Step 5: Assembly
- Sew the side fins symmetrically onto the sides of the whale, close to the body’s widest point.
- Attach the two back fins near the tail.
- Use a needle to weave in any remaining loose threads securely.
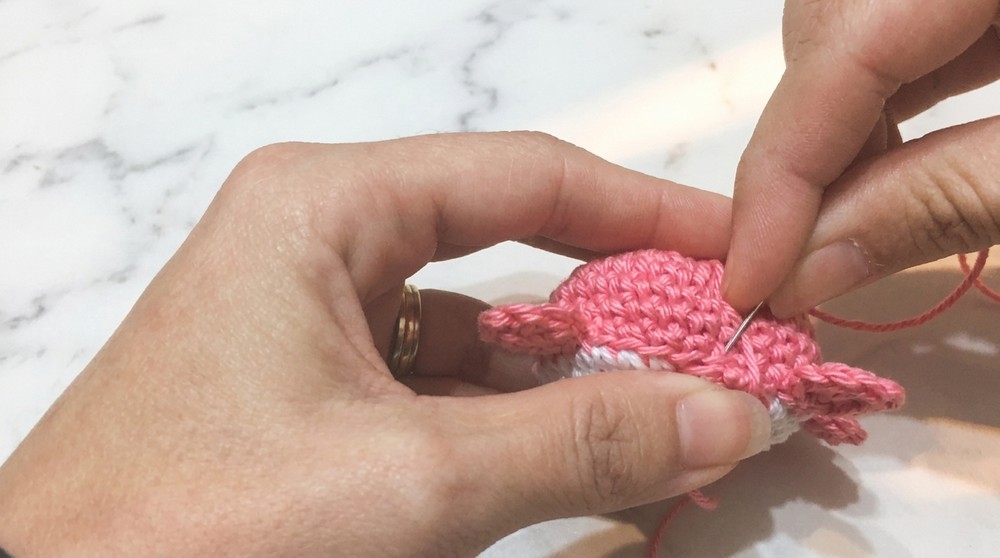
The fins should be cute and balanced, giving the whale its characteristic shape.
Step 6: Keychain Attachment
- Use a needle and yarn to create a loop at the top of the whale's body.
- Add a carabiner (or other keychain hardware) to this loop.
- Optionally, you can create a chain of stitches to lengthen the attachment before connecting the carabiner.
By adding a carabiner, your cute whale becomes a functional and portable keychain or bag charm!
Why I Love This Pattern
This Baby Whale Keychain pattern is the perfect blend of simplicity and charm. It’s quick to make, uses minimal yarn, and creates an absolutely adorable piece that kids and adults alike will love. I especially love the versatility of the design so you can personalize it in countless ways with color combinations, embroidery, or additional details like bows or beads.