
Cute Crochet Elephant Amigurumi Free Pattern for Nursery Décor
Stitch a cute Crochet Elephant Amigurumi with this easy pattern that helps you complete a lovable handmade toy ideal for gifts or home decor.
A small, soft elephant can be formed from yarn and a hook through clear and simple instructions. The Crochet Elephant Amigurumi Pattern shows exactly how to build this charming animal. You have the freedom to pick any colors you like, such as gentle gray or bright tones like pink and blue, which gives the elephant a special look.
Mini Crochet Elephant Amigurumi Free Pattern for Keychains and Gifts
The crochet elephant can serve as a toy, gift, or a delightful decoration in any room. It can add a playful touch to a nursery, be used as a keychain or bag charm in a smaller size, or even act as a comforting companion for young children. Some people use these elephants as unique party favors or keepsakes to remember special moments.
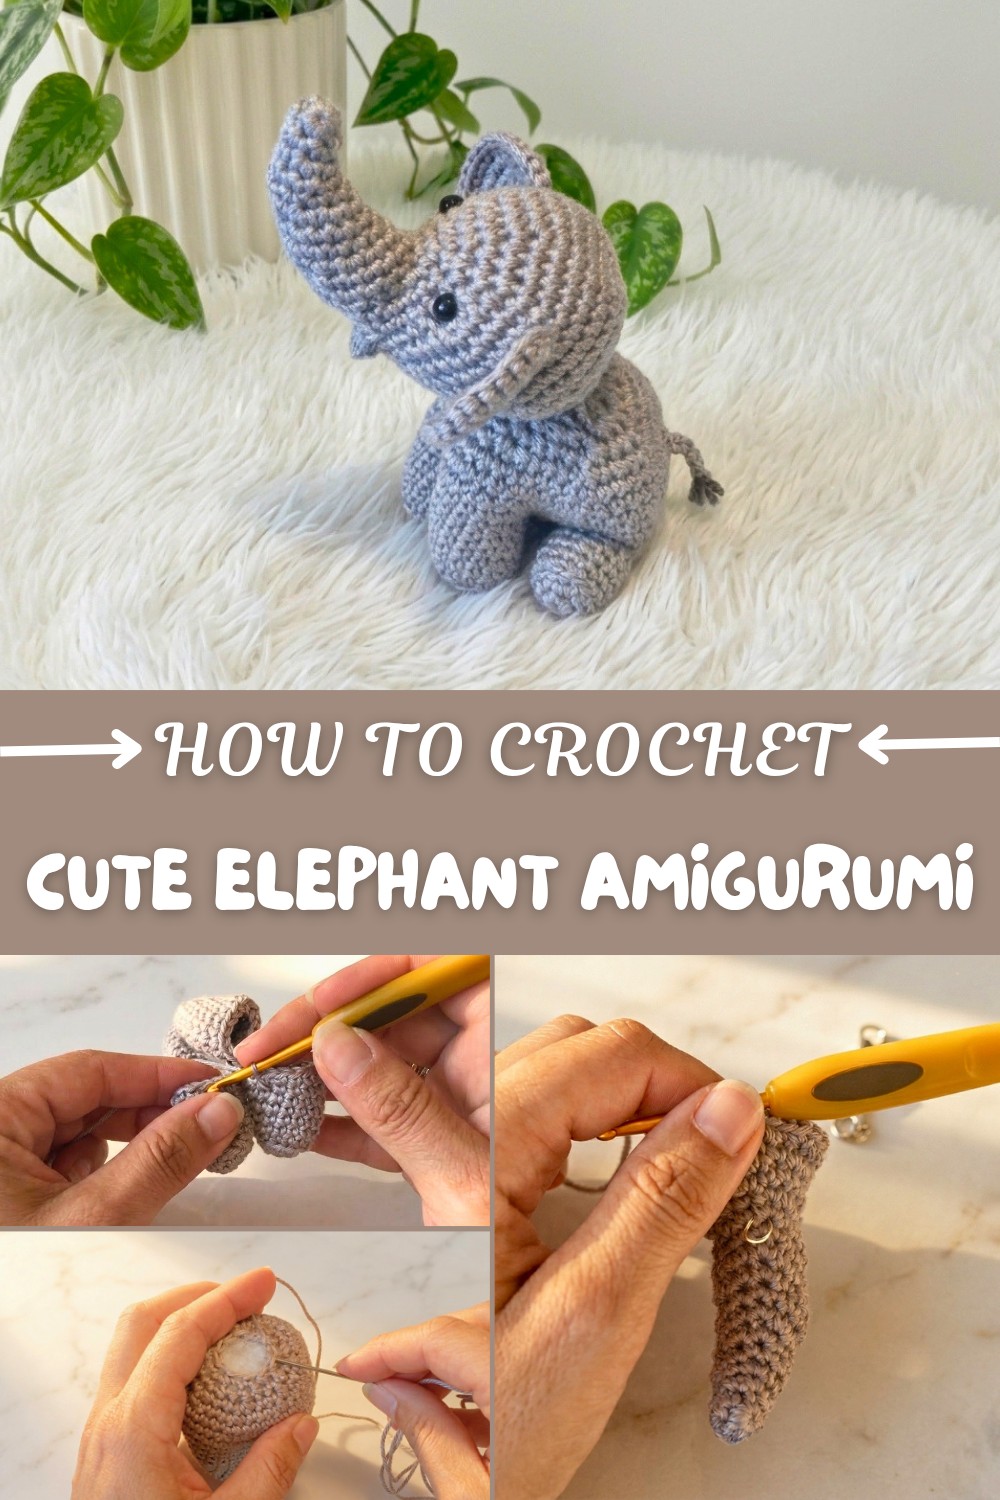
Its round body, large ears, and long trunk give it character and friendliness. Small details like eyes and little tusks make the elephant feel more lively.
Key stitches, such as the single crochet stitch, are used to put the elephant together. These stitches are important for making the toy soft yet firm, helping it keep its shape well. Neat stitching helps the elephant appear smooth and cuddly.
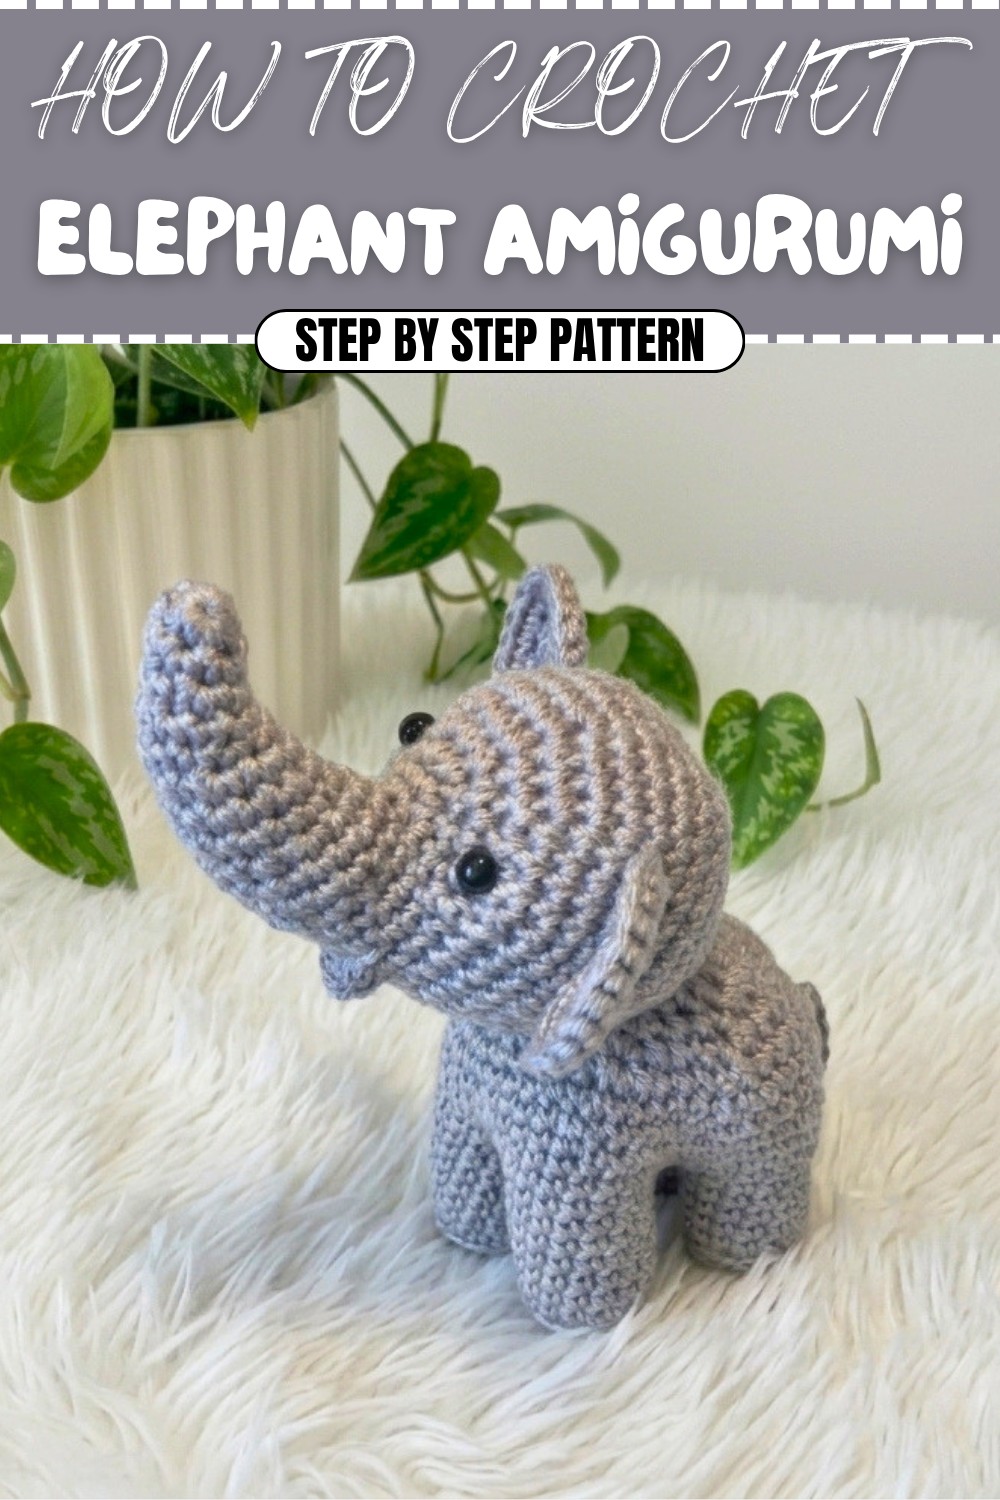
This pattern also allows adjustment of the size so the elephant can be tiny enough to hold in your palm or larger for hugging. Children especially find joy in working with yarn to produce their own stuffed animals made this way.
Crochet Elephant Amigurumi Pattern
In this detailed step-by-step pattern, you'll learn how to create an adorable crocheted elephant. This project is beginner-friendly with thorough instructions guiding you through every part: legs, body, head, trunk, ears, and tail. With thoughtful shaping and simple sewing, your finished elephant will make a delightful handmade gift, toy, or decor item.
Quick Overview Of Pattern
- Four legs are crocheted separately, then joined to create the body.
- The head is worked with integrated trunk shaping and finishing, then sewn to the body.
- Ears and tail are created separately and sewn on.
- Safety eyes are added for a friendly expression.
- Step-by-step instructions ensure clear progress through magic rings, increases, decreases, and assembly.
Notes
- Use cotton yarn for softness and durability.
- Stitch markers help keep your place, especially in rounds.
- Stuff each part firmly for best structure.
- Customize ear and tail position for personality.
- Pattern is written in US terms and rounds.
Skill Level
Beginner/Advanced Beginner
The pattern requires knowledge of single crochet, increasing, decreasing, and sewing amigurumi pieces together.
Materials
- Cotton yarn (size 3), approx. 50g in main color (you’ll have leftover)
- Crochet hook, size 3 mm
- Fiberfill (stuffing)
- Safety eyes (6 mm)
- Stitch marker
- Sewing needle
- Scissors
Measurements / Sizing
- Finished elephant: approx. 12–15 cm tall and wide (depending on yarn/hook/tension)
- Schematic: body is oval, legs positioned at corners, ears and tail customizable
Gauge
Gauge is not critical for amigurumi; ensure stitches are tight enough so stuffing does not show through.
Stitch Abbreviations
| Abbr. | Meaning |
|---|---|
| MR | Magic Ring |
| sc | Single Crochet |
| inc | Increase (2 sc in same st) |
| dec | Decrease (sc 2 together) |
| sl st | Slip Stitch |
| ch | Chain |
Special Stitches
Decrease (dec):
Insert hook in next st, yarn over, pull up loop (2 loops on hook), insert hook in following st, yarn over, pull up loop (3 loops on hook), yarn over, pull through all 3 loops.
Step-by-Step Pattern
Legs (Make 4)
Rnd 1: MR, 6 sc (6)
Rnd 2: inc in each st (12)
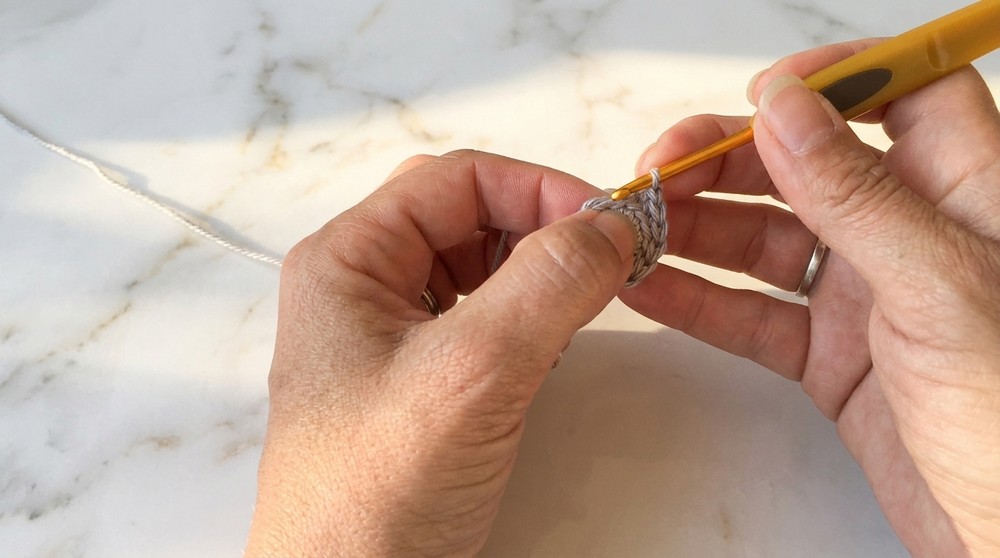
Rnd 3: Working in back loops only, sc in each st (12)
Rnds 4–8: sc in each st (12)
- For first three legs: fasten off and weave in ends.
- For the fourth leg: do NOT fasten off; you will join the legs together.
Body (Joining the Legs)
Join Legs:
- With the fourth leg still attached to the hook, join each leg in sequence with sc, working 12 sc around each, until all four are joined in a round. (48)
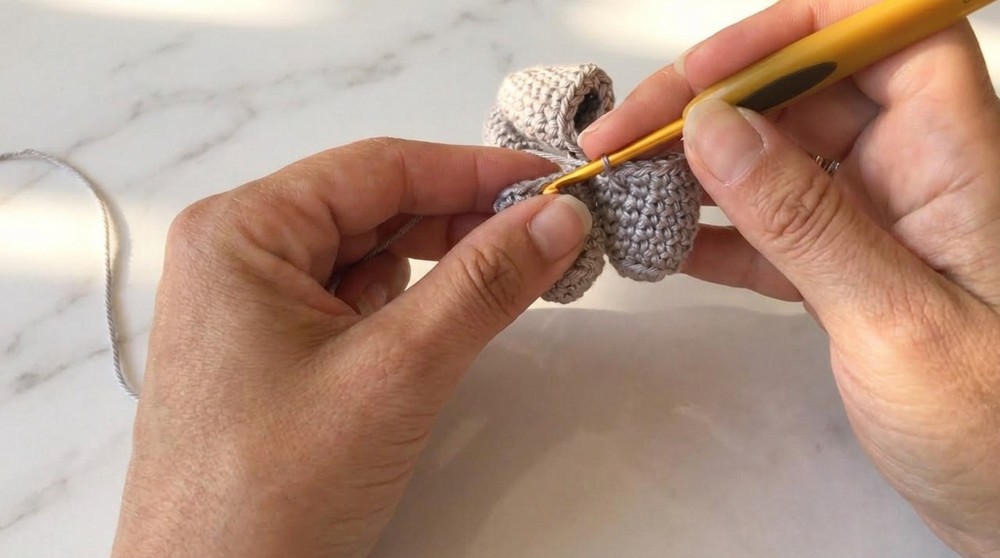
Rnds 9–14: sc in each st (48)
Seam Between Legs:
- Fold the lower body, sew the space between legs using yarn and a blunt needle for a neat finish.
Body Shaping (Decreases)
Rnd 15: (sc 4, dec) x 8 (40)
Rnd 16: sc in each st (40)
Rnd 17: (sc 3, dec) x 8 (32)
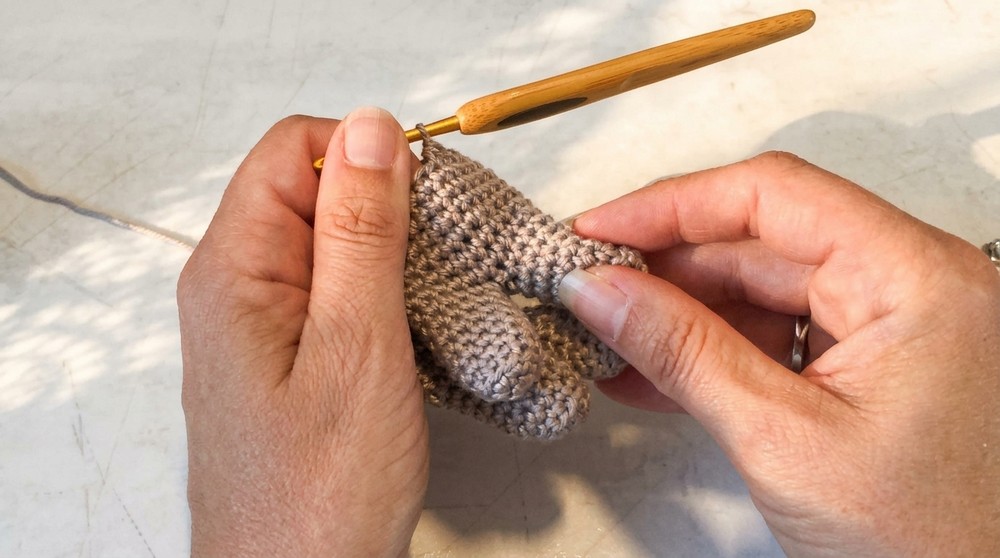
Rnd 18: (sc 2, dec) x 8 (24)
Stuff legs and body firmly at this point.
Rnd 19: (sc, dec) x 8 (16)
Rnd 20: (sc, dec) x 8 (8)
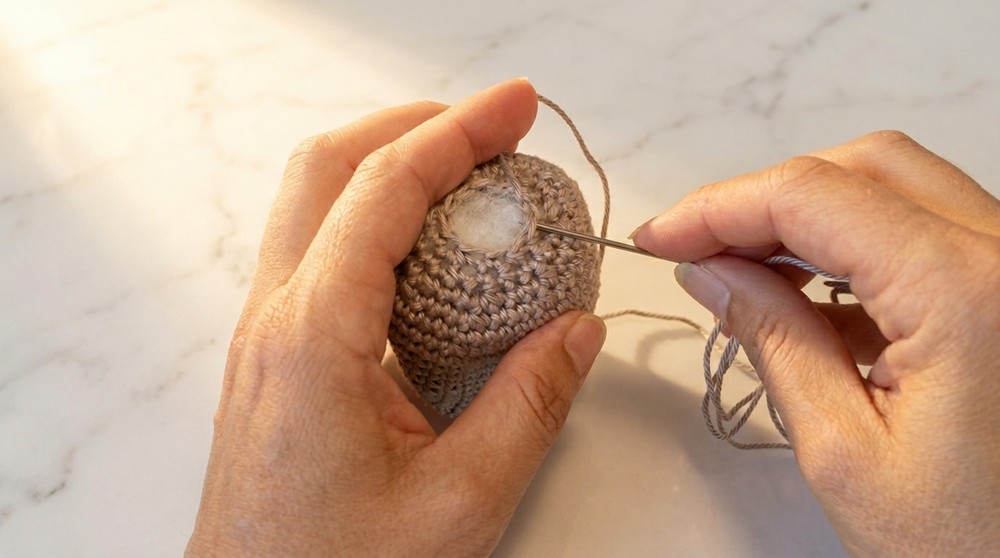
- Stuff as you go, continue closing with tight sc and decreases.
- Fasten off, sew shut with yarn and needle, hide end inside body.
Head & Trunk
Rnd 1: MR, 6 sc (6)
Rnd 2: (sc, inc in next) x 3 (9)
Rnd 3: 3 dec, (inc in next st) x 3 (9)
Rnd 4: sc in each st (9)
Rnd 5: (sc 2, inc) x 3 (12)
Rnd 6: inc, (dec) x 4, (inc) x 3 (12)
Rnd 7: sc in each st (12)
Rnd 8: (sc 3, inc) x 3 (15)
Rnd 9: 2 inc, 6 dec, 3 inc (15)
Rnd 10: sc in each st (15)
Rnd 11: (sc 4, inc) x 3 (18)
Rnd 12: 3 inc, 6 dec, 3 inc (18)
Rnd 13: sc in each st (18)
Rnd 14: 3 inc, 12 sc, 3 inc (24)
Rnd 15: (sc, inc) x 3, 12 sc, (sc, inc) x 3 (30)
Rnd 16: (sc 2, inc) x 3, 12 sc, (sc 2, inc) x 3 (36)
Rnd 17: (sc 3, inc) x 3, 12 sc, (sc 3, inc) x 3 (42)
Rnds 18–22: sc in each st (42)
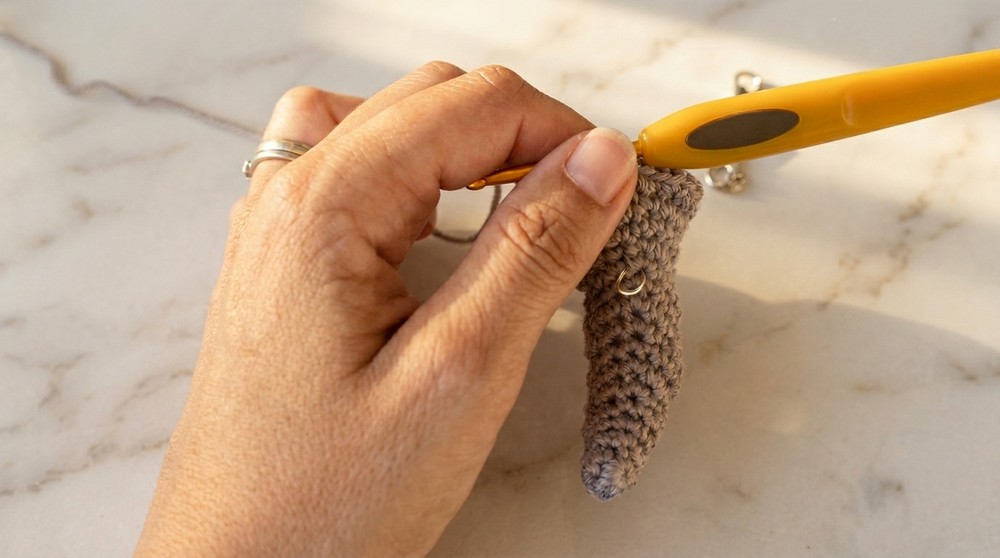
Safety Eyes:
- Place between Rnds 18–22, evenly spaced.
Head Decreases:
Rnd 23: (sc 5, dec) x 6 (36)
Rnd 24: (sc 4, dec) x 6 (30)
Rnd 25: (sc 3, dec) x 6 (24)
Stuff trunk and head firmly.
Mouth:
- With yarn, stitch under trunk, work sc across 6 stitches, ch 1, turn.
- On next row, sc in each, skipping first and last stitch (decreases), repeat once.
- Finish with sl st and fasten off.
Rnd 26: (sc 2, dec) x 6 (18)
Rnd 27: (sc, dec) x 6 (12)
- Fasten off, leave yarn tail. Sew shut and finish stuffing.
Ears (Make 2)
Rnd 1: MR, 6 sc (6)
Rnd 2: inc in each st (12)
Rnd 3: (sc, inc) x 6 (18)
Rnd 4: (sc 2, inc) x 6 (24)
- Fasten off, leave long tail for sewing.
Tail
- Attach yarn at back, ch 10.
- Sl st across every chain back to elephant’s body.
- Fasten off, hide tail end.
Assembly & Finished Size
- Sew head to body: Pin in place first for accuracy, sew securely with yarn and needle.
- Sew ears: Position using pins, sew around securely. Shape as desired.
- Attach tail: Sew and secure, hide ends.
- Weave, hide, and trim all thread ends.
- Finished size: Approximately 12–15 cm tall.
Conclusion and Ending Words
Your charming crocheted elephant is finished! This project combines basic amigurumi techniques for an adorable result. Customize ear shape, eye placement, and tail for personality. If you enjoyed, please share your creation and keep crafting! Thank you for following this pattern.