
Fun FreeCrochet Baby Santa Hat Pattern for Seasonal Joy
Keep your holiday photos magical with a charming crochet pattern that gives your little one the perfect look for their first Christmas celebration.
When the holiday season rolls around, there’s nothing more heartwarming than seeing little ones dressed in festive outfits. That’s exactly what inspired me to make a cute and cozy crochet project for babies, a Santa hat that’s as soft and jolly as the season itself. This design is perfect for beginner crocheters who want to whip up something fun and meaningful for Christmas photos, family gatherings, or even as a thoughtful gift.
Pattern By Crochet con Yamileth
It features classic Christmas colors, red for the hat’s base and white for the trim and pom pom, bringing festive cheer to life. The stitches used are super beginner friendly, such as single crochet (SC) and half double crochet (HDC). These stitches are simple to learn and give the hat a soft texture, making it gentle on a baby’s skin. The fluffy white trim is worked using a puff stitch to add a cloud like detail, while the pom pom at the top adds a playful finishing touch.
Adorably Festive Free Crochet Baby Santa Hat for Christmas Fun

This pattern isn’t just limited to hats. With the same stitches and techniques, you can easily crochet matching holiday accessories like little booties, mittens, or even a tiny Santa bag to complete the look. The simplicity of this pattern allows you to get creative without feeling overwhelmed.
What I love most about this project is how quick it is to finish. Even if you’re completely new to crochet, you’ll feel accomplished making something adorable for a little one. It’s a sweet way to spread holiday joy and create lasting memories. Whether you're crocheting for your own baby or making it as a gift, this little Santa hat is sure to make everyone smile.
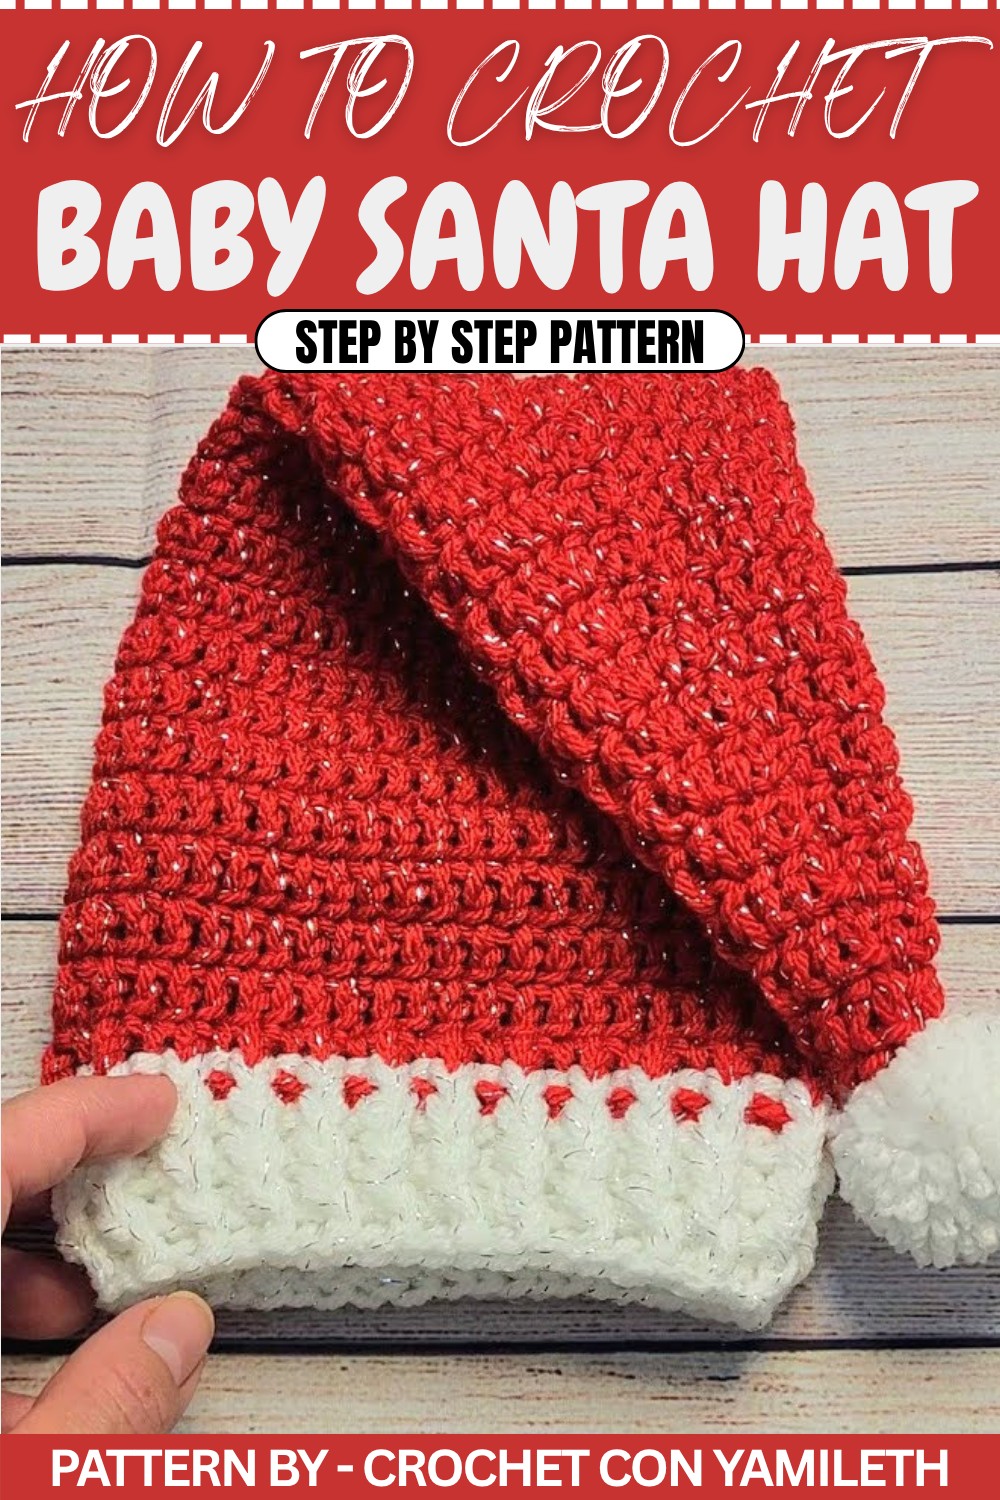
Crochet Baby Santa Hat Pattern
This guide will help you create a festive and adorable baby Santa hat, complete with a ribbed brim and a fluffy pompom. The hat is worked in rounds starting from the crown, followed by the body, a ribbed brim, and then finished with a pompom. Perfect for the holiday season.
Materials
- Crochet Hook: 4.5 mm
- Yarn: 2 medium weight yarn colors: red (main color) and white (for the brim and pompom).
- Yarn Needle: For weaving in ends.
- Scissors: To cut yarn.
Stitch Abbreviations
- MR: Magic Ring
- CH: Chain
- DC: Double Crochet
- Sl St: Slip Stitch
- FPDC: Front Post Double Crochet
- BPDC: Back Post Double Crochet
The Pattern
Crown (Increase Rounds):
The crown of the hat begins with a magic ring and is expanded progressively, adding increments until the desired size is reached.
Foundation:
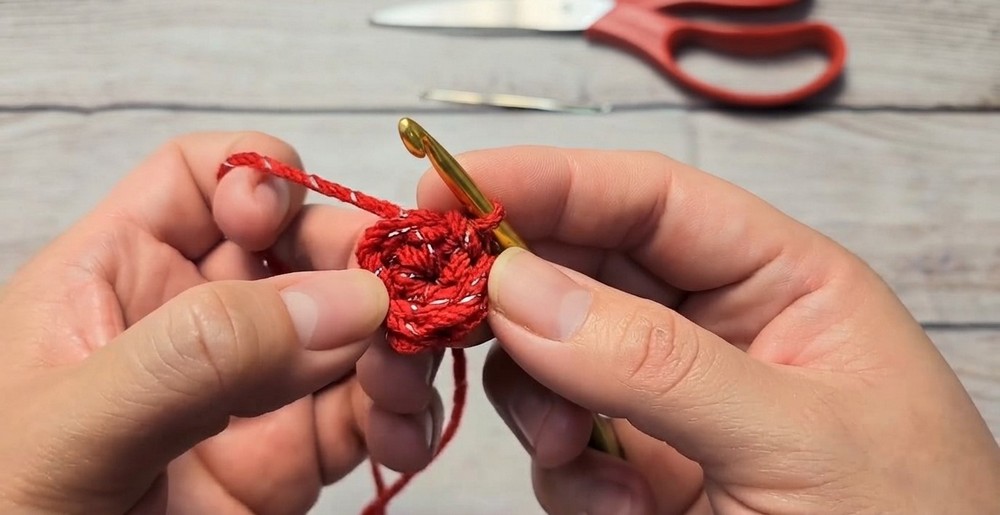
- Create a magic ring (MR).
- Work 6 DC into the magic ring. Pull the loop tight to close the ring.
- Sl St into the first DC to close the round.
Round 2:
- Chain 2 (does not count as a stitch).
- Work 2 DC in each stitch around, making a total of 12 DC.
- Join with a Sl St to the top of the first DC.
Round 3:
- Chain 2.
- Alternate: 1 DC in the next stitch, 2 DC in the next stitch (increase).
- Repeat the sequence around for a total of 18 DC.
- Join with a Sl St.

Round 4:
- Chain 2.
- Work 4 DC, then 1 increase (2 DC in one stitch). Repeat this sequence all the way around.
- Join with a Sl St.
Round 5:
- Chain 2.
- Work 5 DC, then 1 increase. Repeat the sequence to complete the round.
- Join with a Sl St.

Rounds 6 to 21:
Continue crocheting with the following increments:
- Round 6: Work 6 DC, then 1 increase around.
- Round 7: Work 7 DC, then 1 increase around.
- Round 8: Work 8 DC, then 1 increase around.
- Round 9: Work 9 DC, then 1 increase around.
- Round 10: Work 10 DC, then 1 increase around.
- Round 11: Work 11 DC, then 1 increase around.
- Round 12: Work 12 DC, then 1 increase around.
- Round 13: Work 13 DC, then 1 increase around.
- Round 14: Work 14 DC, then 1 increase around.
- Round 15: Work 15 DC, then 1 increase around.
- Round 16: Work 16 DC, then 1 increase around.
- Round 17: Work 17 DC, then 1 increase around.
- Round 18: Work 18 DC, then 1 increase around.
- Round 19: Work 19 DC, then 1 increase around.
- Round 20: Work 20 DC, then 1 increase around.
- Round 21: Work 21 DC, then 1 increase around.

Body of the Hat:
- After completing the increase rounds, begin working straight rounds without increases to create the body of the hat.
- Chain 2, then work 1 DC into every stitch around.
- Repeat this for 8 rounds or until the desired height of the hat is achieved.
Brim:
Switch to the white yarn color for the brim.
- Join the new yarn with a Sl St. Chain 2.
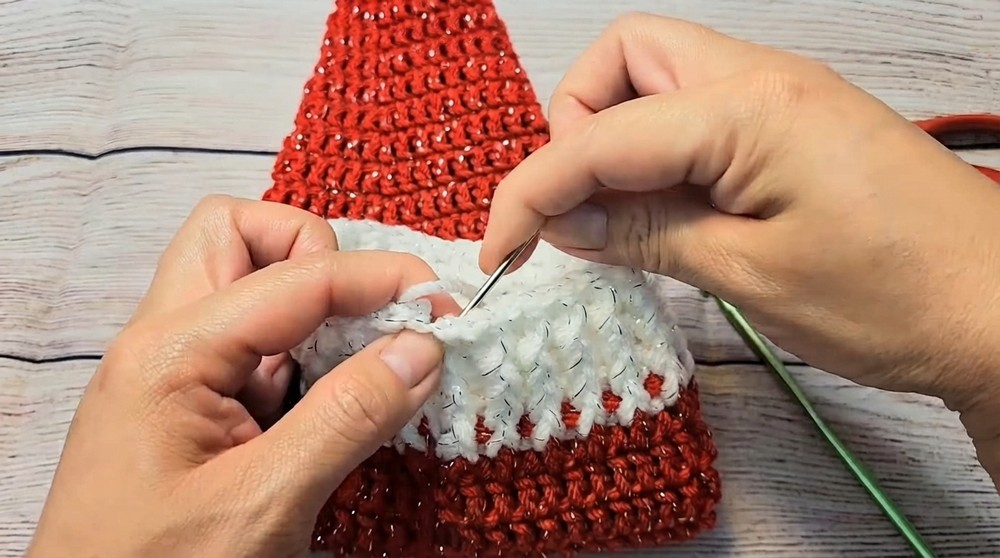
- Work Front Post Double Crochet (FPDC) into the first stitch, followed by Back Post Double Crochet (BPDC) into the next stitch.
-
- Alternate FPDC and BPDC around to create a ribbed texture.
- Join each round with a Sl St.
- Repeat for a total of 4 rounds of alternating FPDC and BPDC.

Finishing:
- Cut the yarn, leaving a tail. Secure the final stitch by pulling the tail through the loop.
- Use a yarn needle to weave in and hide all yarn ends.
Pompom:
- Wrap the white yarn around your fingers or a small object repeatedly until it’s thick enough for a pompom.
- Carefully slide the looped yarn off your fingers and tie a piece of yarn tightly around the center.
- Ensure the knot is secure to prevent unraveling.
- Use scissors to cut the loops on both sides of the tied center.
- Trim the ends to create a neat, round shape.
Attach the Pompom:
- Place the finished pompom on the tip of the hat.
- Use a yarn needle and the long pompom tail to sew the pompom securely to the hat.
- Make a few tight knots to ensure it’s firmly attached, then weave in the tail and trim the excess yarn.
Assembly & Finished Size
The crochet baby Santa hat is now complete! It features a soft and stretchy body with a stylish ribbed brim and a playful pompom. The size is ideal for babies, and adjustments can be made by adding or reducing rounds during the crown and body sections.
Conclusion
Congratulations, You’ve successfully made an adorable baby Santa hat to spread holiday cheer. This thoughtful handmade piece is perfect as a gift or for your baby’s holiday photos.