
Free Crochet Bow Hair Clip Pattern You Can Wear Anywhere
Keep your weekend look playful with the Crochet Hair Clip Pattern to create a lovely accessory perfect for pairing with a casual dress during picnics.
If you love adding a touch of handmade charm to your accessories, this bow hair clip is a simple and beautiful project to try. Perfect for all ages, the bow has a soft, delicate texture and a neat finish that makes it feel extra special. Its elegant design features a classic bow shape embellished with tiny crocheted flowers, creating a playful yet sophisticated look. Whether made for a little girl’s dress, a festive occasion, or just to brighten up an outfit, this hair clip is a thoughtful and stylish addition to any wardrobe.
Customize Your Look With a Crochet Bow Hair Clip Free Pattern

To bring this project to life, the process begins with a series of double crochet stitches that create the main body of the bow. These stitches give it a smooth and flexible texture, making it easy to shape. The edges of the bow are finished with neat chain stitches and slip stitches, which add a decorative, lace like border. A smaller strip, made with simple single crochet, is wrapped around the middle to give the bow its iconic style.
The finishing touches are what set this project apart. Delicate crocheted flowers, crocheted with tiny petals, are attached to the bow to add an extra layer of beauty and charm. The flowers are made using a combination of single and double crochet stitches, making them simple yet elegant. Hot glue is used to secure the bow and flowers to a clip, creating a polished and durable accessory.
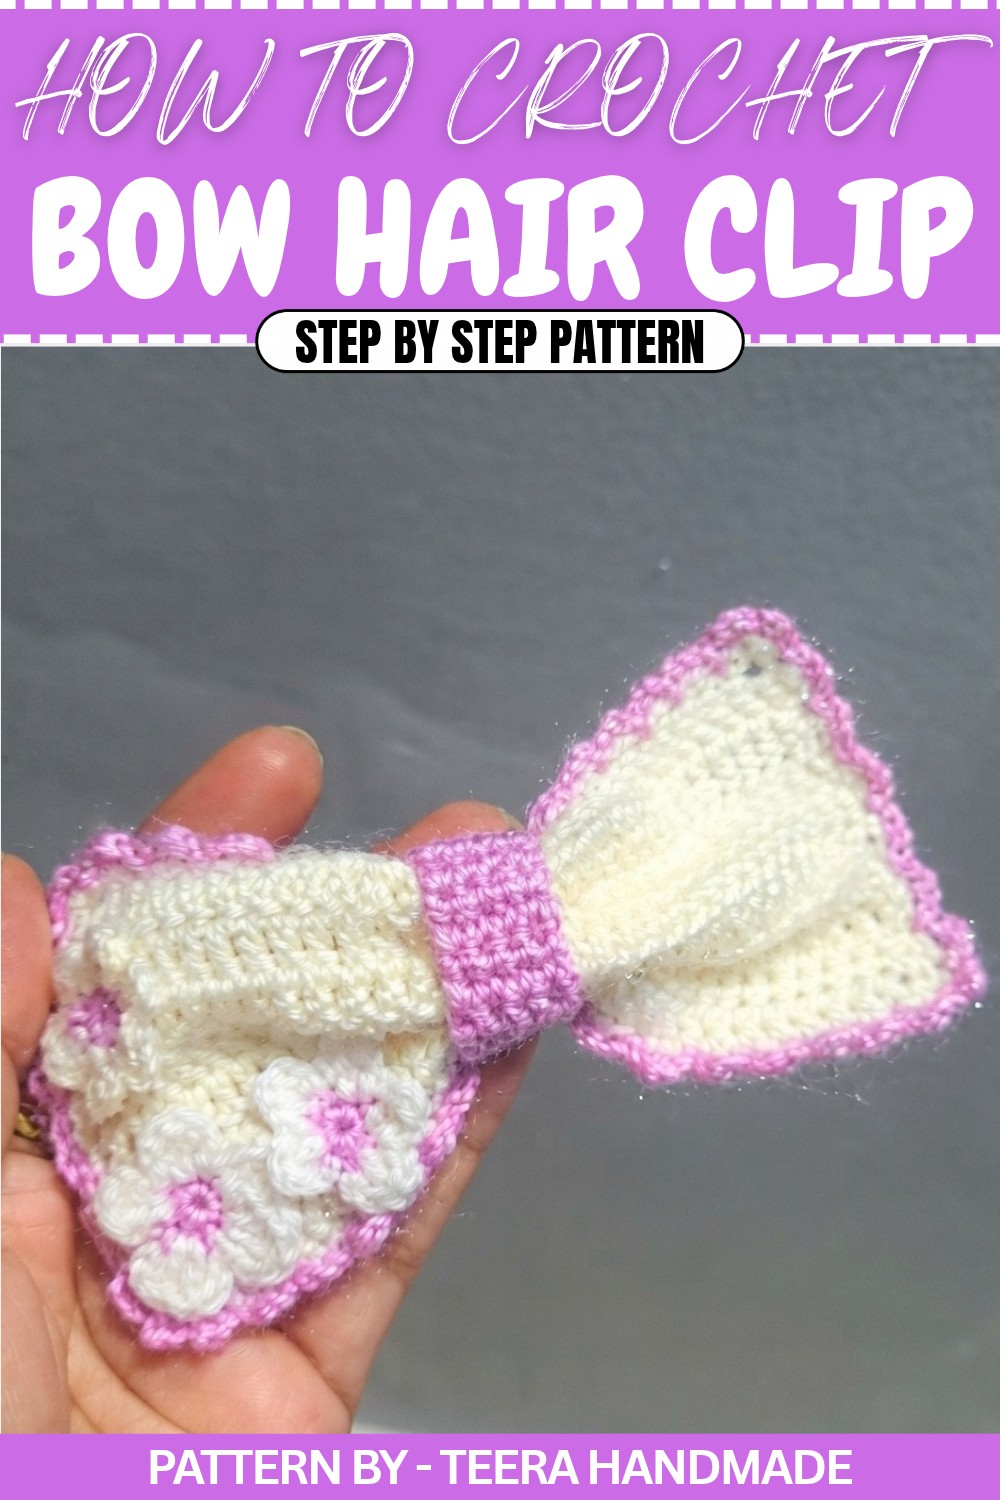
This tutorial is expertly taught by Teera Handmade, a YouTube channel dedicated to inspiring crochet lovers of all skill levels. The instructions are clear and beginner friendly, so even if you’re just starting out with crochet, you’ll feel confident following along. You can customize the bow with your favorite yarn colors, making it a fun and creative project. In addition to hair clips, these cute bows can also be used to decorate gift wraps, bags, or even headbands.
Crochet Bow Hair Clip Pattern
Let’s crochet a beautiful bow hair clip with floral accents. Using a combination of basic stitches and simple techniques, this project is perfect for both beginners and enthusiasts, providing a fun, versatile accessory you can customize in your favorite colors. Follow this guide to create your own masterpiece.
Quick Overview of Pattern
- Crochet a rectangular base for the bow using double crochet stitches.
- Add flowers using magic ring and petals for decoration.
- Attach the crocheted bow and flowers to a hair clip using hot glue or stitching.
Notes
- Ensure uniform tension throughout the project for a polished finish.
- Use a yarn needle to weave in tails neatly for clean edges.
- Customize the color and size of your bow and flowers as desired.
Skill Level
Beginner to Intermediate – Basic stitches like chains, slip stitches, single crochets, and double crochets are used. Slightly intricate steps like magic rings and shaping are also included.
Materials
- Yarn:
- Medium thickness yarn in at least two colors (one for the base bow and one for flowers).
- Crochet Hook:
- 3.5 mm hook for standard tension. You can adjust the hook size based on yarn thickness.
- Hot Glue Gun or Needle:
- To assemble the bow and attach it to the hair clip.
- Hair Clip/Barrette:
- Your choice of size, depending on the bow’s dimensions.
- Scissors and Yarn Needle:
- For cutting yarn and weaving in tails.
Measurements / Sizing
Finished Bow Size: Approximately 5 inches long and 2.5 inches wide.
Gauge
Gauge is not critical. However, for a polished look, ensure consistent tension throughout the project.
Stitch Abbreviations
- CH: Chain
- SC: Single Crochet
- DC: Double Crochet
- Sl St: Slip Stitch
- MR: Magic Ring
Special Stitches
- Slip Knot: Begin your crocheting by creating a slip knot for a secure start.
- Magic Ring (MR): Used to create a tight, seamless circle for the flower's center.
The Crochet Pattern
Step 1: Creating the Bow Base
- Start with a Slip Knot:
- Create a slip knot and place it on your hook.
- Make 33 Chains:
- Yarn over and pull through to create 33 CH.
- Double Crochet in the Second Chain from the Hook:
- Skip the first chain and make your first DC in the second chain.
- Double Crochet Across:
- Work DC stitches into every chain across the row.
- Turn and Continue:
- At the end of the row, CH 1 and turn your work.
- Continue working DC stitches in each stitch across the row.
- Repeat Rows for Width:
- Repeat the same pattern of DC rows until the height of the rectangle reaches about 2.5 inches.
- Cut the yarn, leaving a small tail, and fasten off.


Step 2: Edging the Bow Base
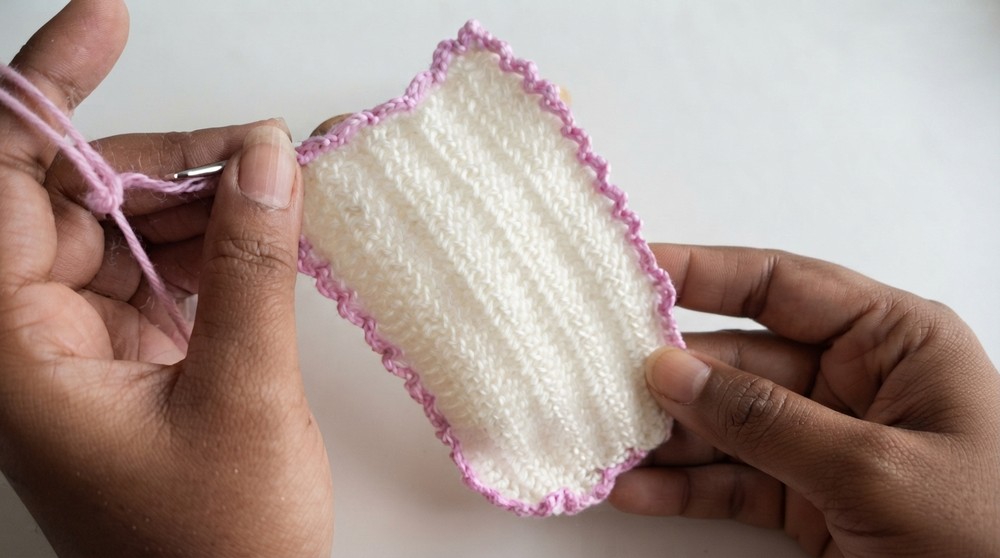
- Single Crochet Around the Border:
- Attach yarn to one corner of the rectangle.
- Work SC stitches evenly around all four sides to give the edges a clean and finished look. Join with a Sl St to the starting stitch.
- Fasten Off:
- Cut the yarn and weave in any remaining tail using a yarn needle.
Step 3: Creating Flowers for Decoration
Flower Base (Magic Ring and Center):
- Start with a Magic Ring:
- Create a MR and secure it on your hook.
- Make 6 Single Crochets into the Ring:
- Work 6 SC into the magic ring.
- Pull the tail tightly to close the circle, and secure with a Sl St into the first SC.
Making Petals:
- First Petal:
- Chain 2 (CH 2).
- Work 1 DC into the same stitch.
- Chain 2 (CH 2), and then join with a Sl St into the same stitch.
- Repeat for Remaining Petals:
- Move to the next stitch and repeat the petal pattern.
- You’ll make 6 petals (1 for each stitch in the ring).
- Fasten Off:
- Once all petals are complete, cut the yarn and weave in all ends at the back of the flower.
- Make Additional Flowers:
- Repeat the steps above to create 2 to 3 flowers for the bow.

Step 4: Assembling the Bow and Flowers
- Position the Bow:
- Fold the crocheted rectangle in the middle to form a bow shape. Use a small strip of yarn to tightly tie around the center, creating a gathered shape.
- Secure the tied yarn at the back for a clean look.
- Attach Flowers:
- Using a hot glue gun or needle, attach the flowers to the center or sides of the bow as desired.
- Connect to the Hair Clip:
- Using a hot glue gun, securely glue the bow to the hair clip.
- Allow it to dry completely before use.

Assembly & Finished Size
- Once assembled, the completed bow is approximately 5 inches long and 2.5 inches wide, perfect for hair accessories.
- The flowers add charm, creating a beautifully handcrocheted design.
Conclusion and Ending Words
Congratulations on completing your very own crochet bow hair clip. This fun and creative accessory makes for a great addition to your wardrobe or a thoughtful gift. Customize the colors and flower placements to suit your style.