
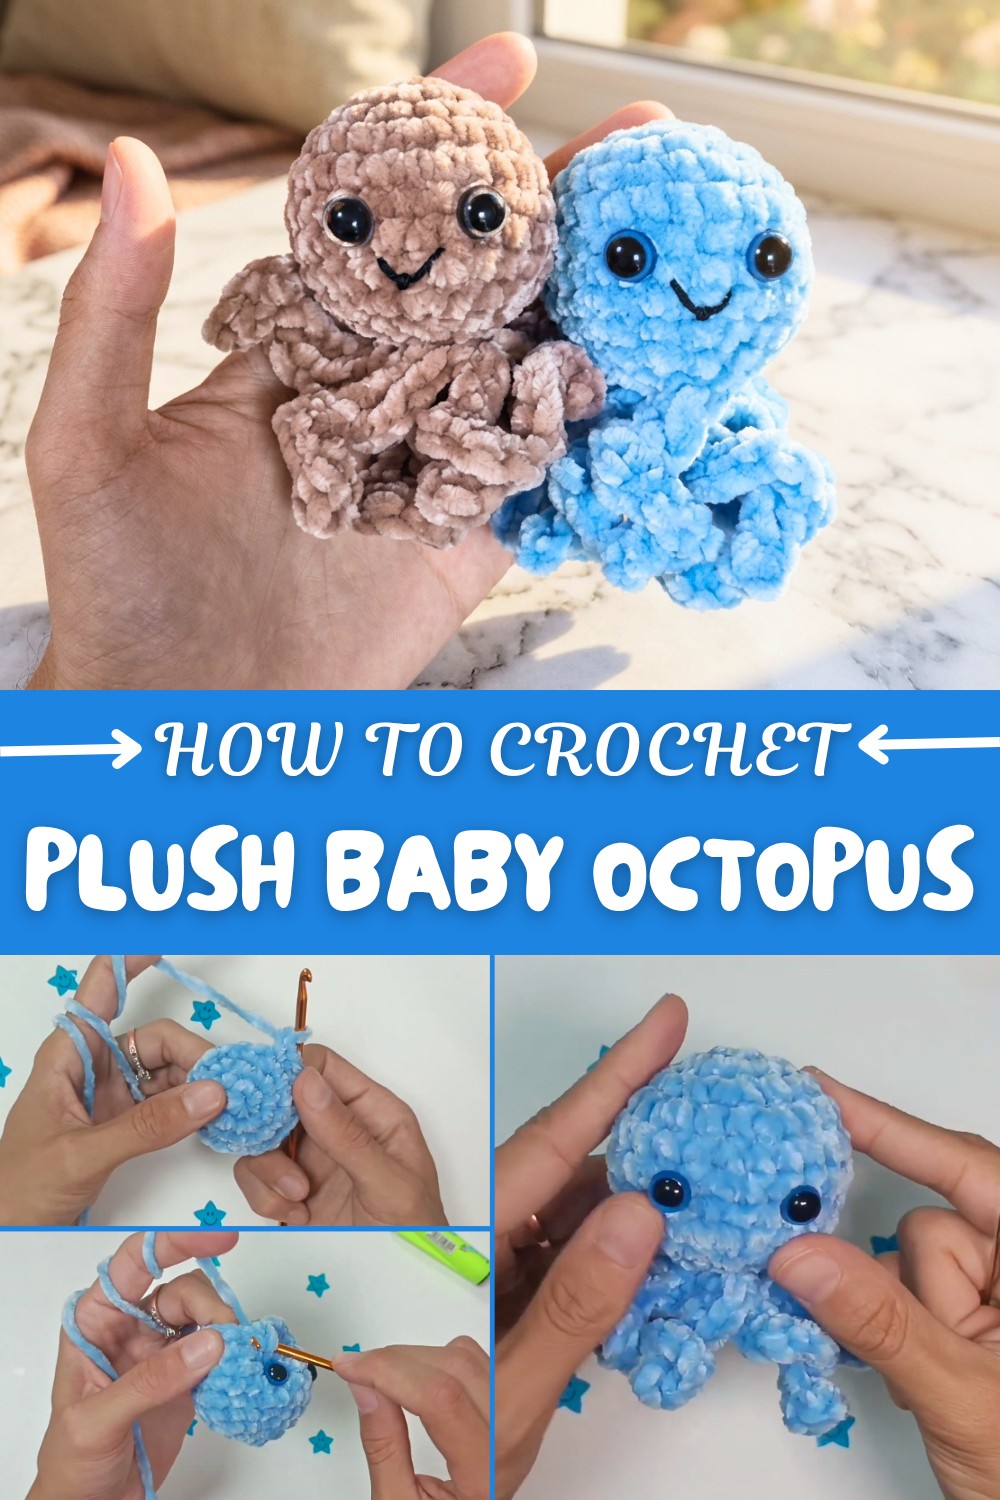
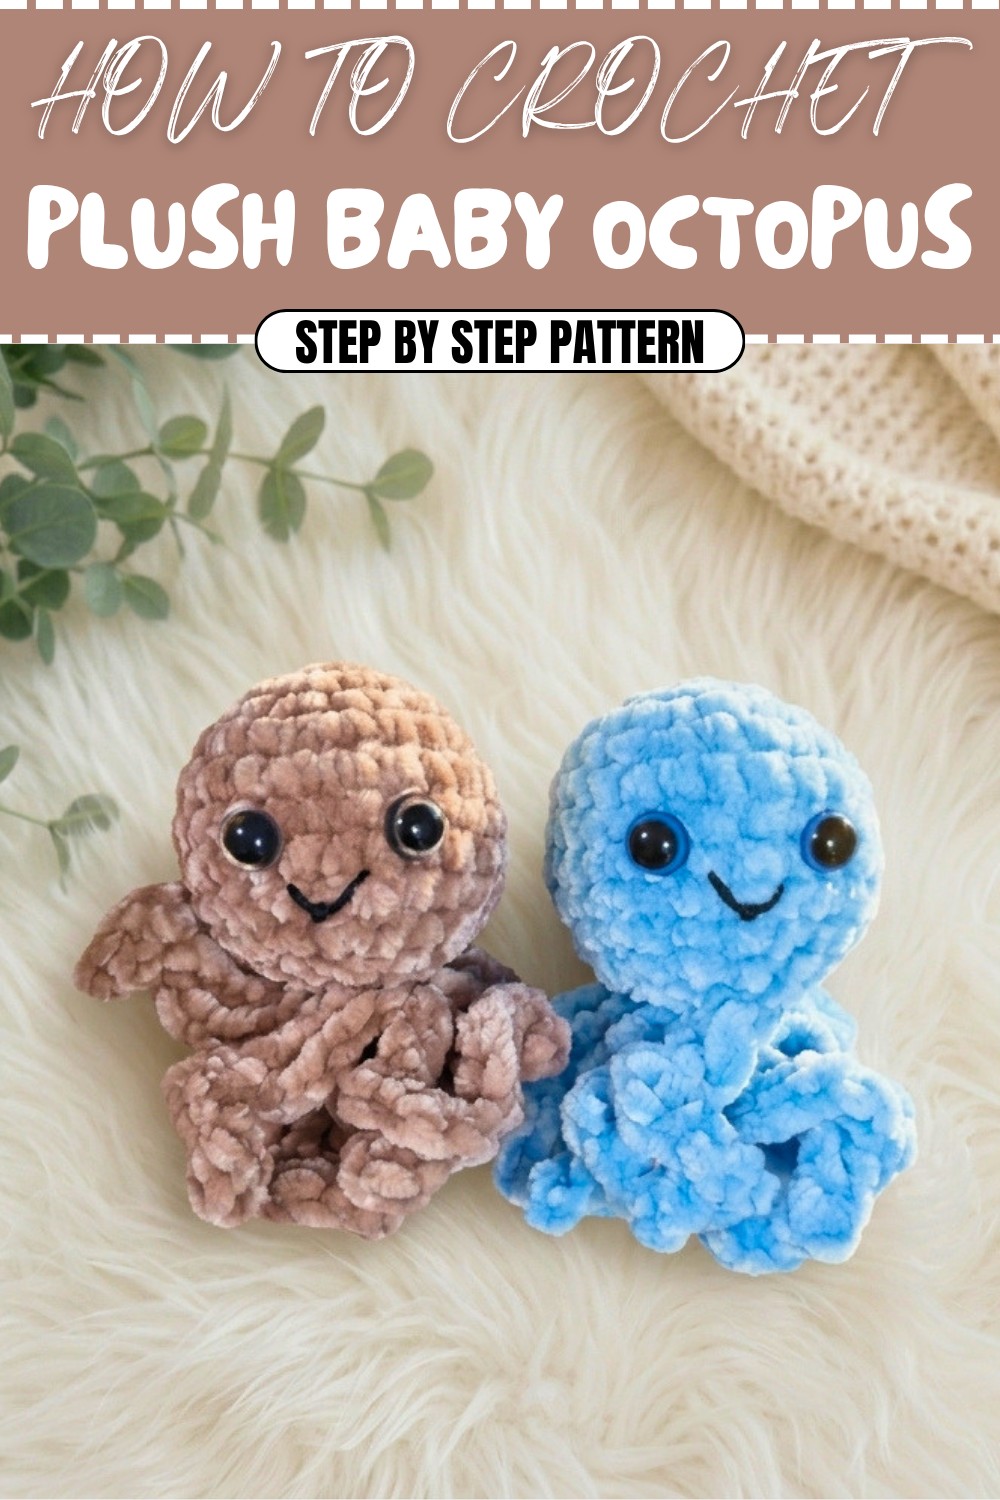
Trendy Crochet Plush Baby Octopus Pattern for Cute Nursery Toys
Liven up your space with the Free Crochet Plush Baby Octopus Pattern for an irresistibly soft and beginner-friendly plush companion.
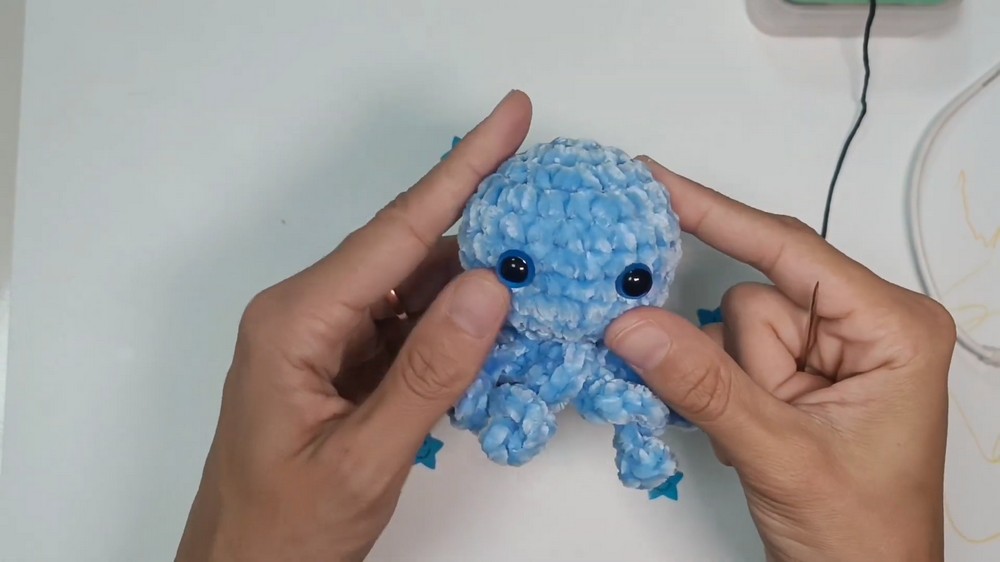
If you’ve ever wanted to create a whimsical character that fits right in the palm of your hand, this crochet baby octopus pattern offers the perfect opportunity! A tiny, adorable octopus with soft, curvy tentacles and an endearing smile that instantly brightens any day. One of the sweetest features of this pattern is how customizable it is. From soft pastels to bold, vibrant colors, you can easily adapt the design to suit your personality and style. Plus, the no-sew construction makes it beginner-friendly and quick to complete. Whether as a pocket companion, a keychain, or a delightful gift for a loved one, this cute pattern will steal hearts.
Must-Try Free Crochet Plush Baby Octopus Pattern for Kids and Gift Ideas
The magic of this project lies in its simplicity. You’ll practice key stitches like the magic circle, single crochet, slip stitch, and learn techniques like working in the front and back loops only. These foundational skills not only help give the octopus its soft, rounded shape but also allow you to create the intricate tentacles that make this little sea creature so unique. With soft yarn and a bit of filling fiber added, the plush texture adds to its charm, making it perfect for cuddles or display.
What Else You Can Create Using This Pattern
With a few adjustments or new ideas, this pattern can inspire endless possibilities:
- Mini sea creatures, like jellyfish or starfish, by replacing or modifying tentacles.
- Themed baby toys or rattles for undersea or nautical decor.
- Keychains, bag charms, or ornaments by scaling down the size.
- Cute stress balls or sensory toys with different fillings for texture.
Why You’ll Love crocheting This Octopus
- Quick, easy, and great for beginners.
- Perfect for gifts, personal use, or as stash-busting projects.
- Fun to customize with colors, expressions, and accents!
No-Sew Crochet Tiny Octopus Pattern
This no-sew crochet octopus pattern is an incredibly easy and fun project. It’s perfect for beginners who want to practice working in rounds and learning basic amigurumi techniques. The octopus pattern combines a simple design with adorable features that can be customized using different colors and personality-filled details.
Skill Level & Terminology
- Skill Level: Beginner to Intermediate
- Terminology: The pattern uses US crochet terms.
Materials & Tools
- Yarn: Lightweight yarn (130 m per 50 g) in any color of your choice (e.g., light blue).
- Hook Size: Metal crochet hook, 3.0 mm.
- Other Tools:
- Scissors
- Yarn/Tapestry needle
- Safety eyes (6 mm or 8 mm, depending on the size of your octopus)
- Filling fiber for stuffing (like polyfill)
Gauge
Gauge is not crucial for this pattern, but ensure your stitches are tight enough so that the stuffing doesn’t show through the finished octopus.
Abbreviations List
- ch – Chain
- sc – Single Crochet
- sl st – Slip Stitch
- inc – Increase (2 sc in the same stitch)
- dec – Decrease (Invisible Decrease, front loop only)
- st – Stitch
- magic ring – Adjustable loop to start crocheting in rounds
Special Stitch Instructions
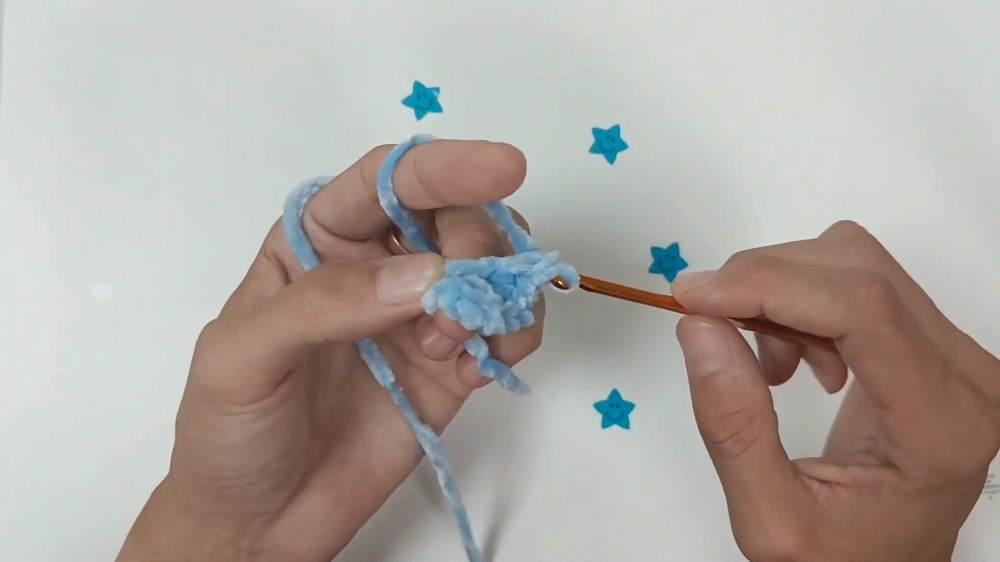
1. Magic Ring:
The magic ring (or magic circle) is used to start your work in a round.
- Loop the yarn around two fingers, creating a circle.
- Insert the hook into the circle, yarn over, and pull up a loop.
- Chain one to secure the loop before starting your first round.
2. Invisible Decrease:
This method creates a seamless and neat decrease.
- Insert your hook into the front loop of the first stitch.
- Without yarning over, insert it directly into the front loop of the next stitch.
- Yarn over and pull up a loop through both front loops.
- Yarn over again and pull through the remaining two loops on your hook.
Finished Size
The finished octopus measures approximately 2–3 inches depending on the yarn and hook size used.
The Crochet Pattern
Follow these step-by-step instructions to crochet your tiny no-sew octopus.
Body (Rounds 1–11):
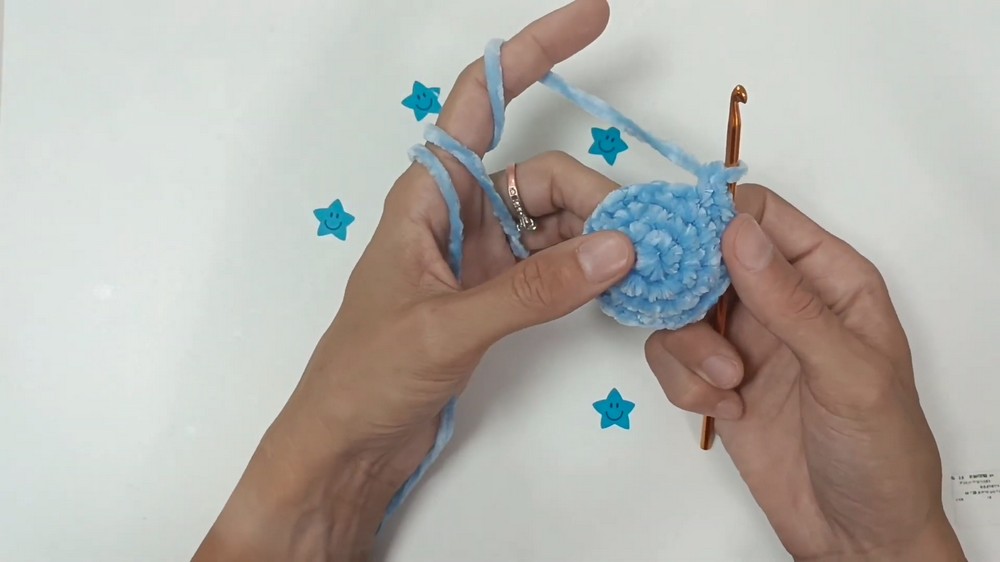
Round 1:
- Start with a magic ring.
- Work 6 sc into the ring.
- Pull the loop tightly to close the ring and join with a sl st to the first sc.
(6 stitches total)
(This round creates the base of the octopus body.)
Round 2:
- Work 2 sc into each st (inc) around.
(12 stitches total)
(This round widens the base of the octopus.)
Round 3:
- Alternate 1 sc in the first st, 2 sc in the next st (inc) around.
(18 stitches total)
(Gradually increasing the size of the body.)
Round 4:
- Work 1 sc in each of the first 2 sts, then 2 sc in the next st (inc). Repeat around.
(24 stitches total)
(The body continues to take shape.)
Rounds 5–8:
- Work 1 sc in each st around. No increases.
(24 stitches per round)
(These rounds add height to the body. You should now have a small cylinder-shaped body for your octopus.)
Round 9:
- Work 1 sc in each of the first 2 sts, then dec. Repeat around.
(18 stitches total)
(This round starts decreasing to shape the bottom of the octopus.)
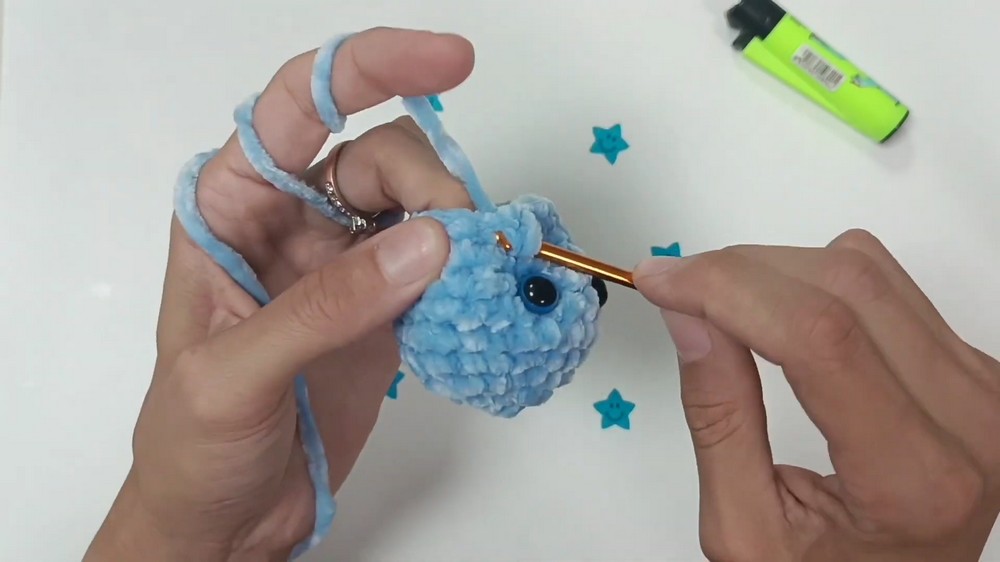
Insert Safety Eyes:
- Place the safety eyes between Rounds 6 and 7.
- Leave about 3 stitches between the two eyes.
(The eyes give character to your octopus.)
Round 10:
- Work 1 sc in the first st, then dec. Repeat around.
(12 stitches total)
(The body is closing up, so add a small amount of stuffing to maintain shape.)
Round 11:
- Work 1 sc, then dec. Repeat for a total of 4 times.
(8 stitches total)
(The body is almost complete, leaving a small opening for the stuffing.)
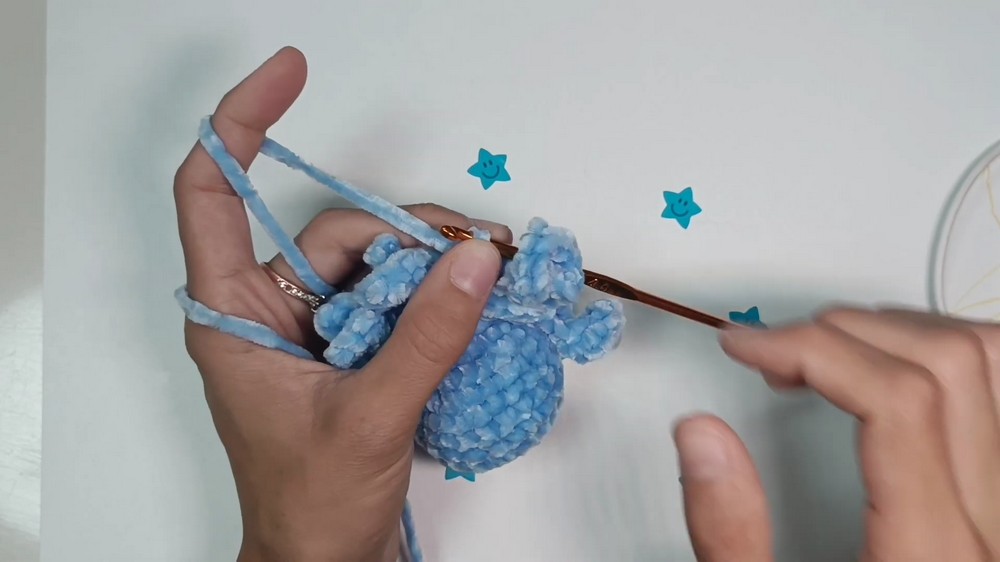
Tentacles (Created Continuously):
Tentacle 1:
- Sl st into the next st.
- Ch 9, then starting in the second ch from the hook, work 2 sc in each ch (inc).
- Sl st into the next st (front loop only).
(Creates the first tentacle with a nice curling effect.)
Tentacles 2–8:
Repeat the following steps 7 more times, for a total of 8 tentacles:
- Sl st into the next st (front loop only).
- Ch 9, then starting in the second ch from the hook, work 2 sc in each ch (inc).
- Sl st into the next st (front loop only).
(As you add more tentacles, your adorable octopus will start coming to life!)
Closing the Bottom:
- Stuff the body completely with filling fiber.
- Use a tapestry needle and weave the tail through the front loops only of the remaining 8 stitches.
- Pull the yarn tightly to close the opening. Fasten off and hide any loose ends inside the body.
(Body and tentacles are now complete!)
Smile Embroidery (Optional):
- Thread a needle with black embroidery thread or yarn.
- Embroider a small smile below the safety eyes by working a small curve across 3 stitches.
- Fasten off and hide the ends inside the body.
(This adds personality and makes your octopus irresistibly cute!)
Assembly & Finishing:
- Ensure all loose ends are woven in and trimmed.
- Adjust the tentacles to make them curl outward evenly.
- If gifting, consider adding a loop to the top of the octopus for hanging.
About This Pattern
This no-sew crochet octopus pattern is ideal for beginners willing to practice working in rounds, mastering basic stitches like single crochet, increases, and decreases, and creating adorable tentacles. The seamless pattern means there is no time-consuming assembly or sewing parts together.
Customize your octopus with different colors or experiment by adding accessories like bows, tiny hats, or blushed cheeks. This quick and delightful project is perfect for gifts, desk decor, or children's toys.
What You’ll Learn
This pattern has so much to teach, including:
- Mastering the magic circle for starting projects worked in the round.
- Invisible decreases to create smooth and seamless shaping.
- Creating whimsical tentacles using chain stitches and increases.
- Adding personality with safety eyes and embroidery for a perfect finishing touch.
Each step of the process is thoughtfully designed to build your confidence while adding new and versatile crochet skills to your arsenal.