
Crochet Sleeveless Cardigan Vest Pattern with Shirt Dresses
Bring style and charm to your wardrobe with a sleeveless cardigan vest that’s easy to make, perfect for layering, and customizable to suit your taste.
Who says layering up can’t be stylish and practical at the same time? This sleeveless cardigan vest is the ideal piece for those breezy days when you want to feel cozy without the fuss of heavy jackets. It’s a charming addition to your wardrobe that gives off a relaxed vibe while still looking put together. The versatility of this project is what really makes it stand out, whether you pair it with a long sleeve top, a dress, or wear it over a casual tee, it fits right in. This vest might just become your go to piece for everything from outings with friends to cozying up at home.
Crochet Sleeveless Cardigan Vest Pattern over Slip Dresses
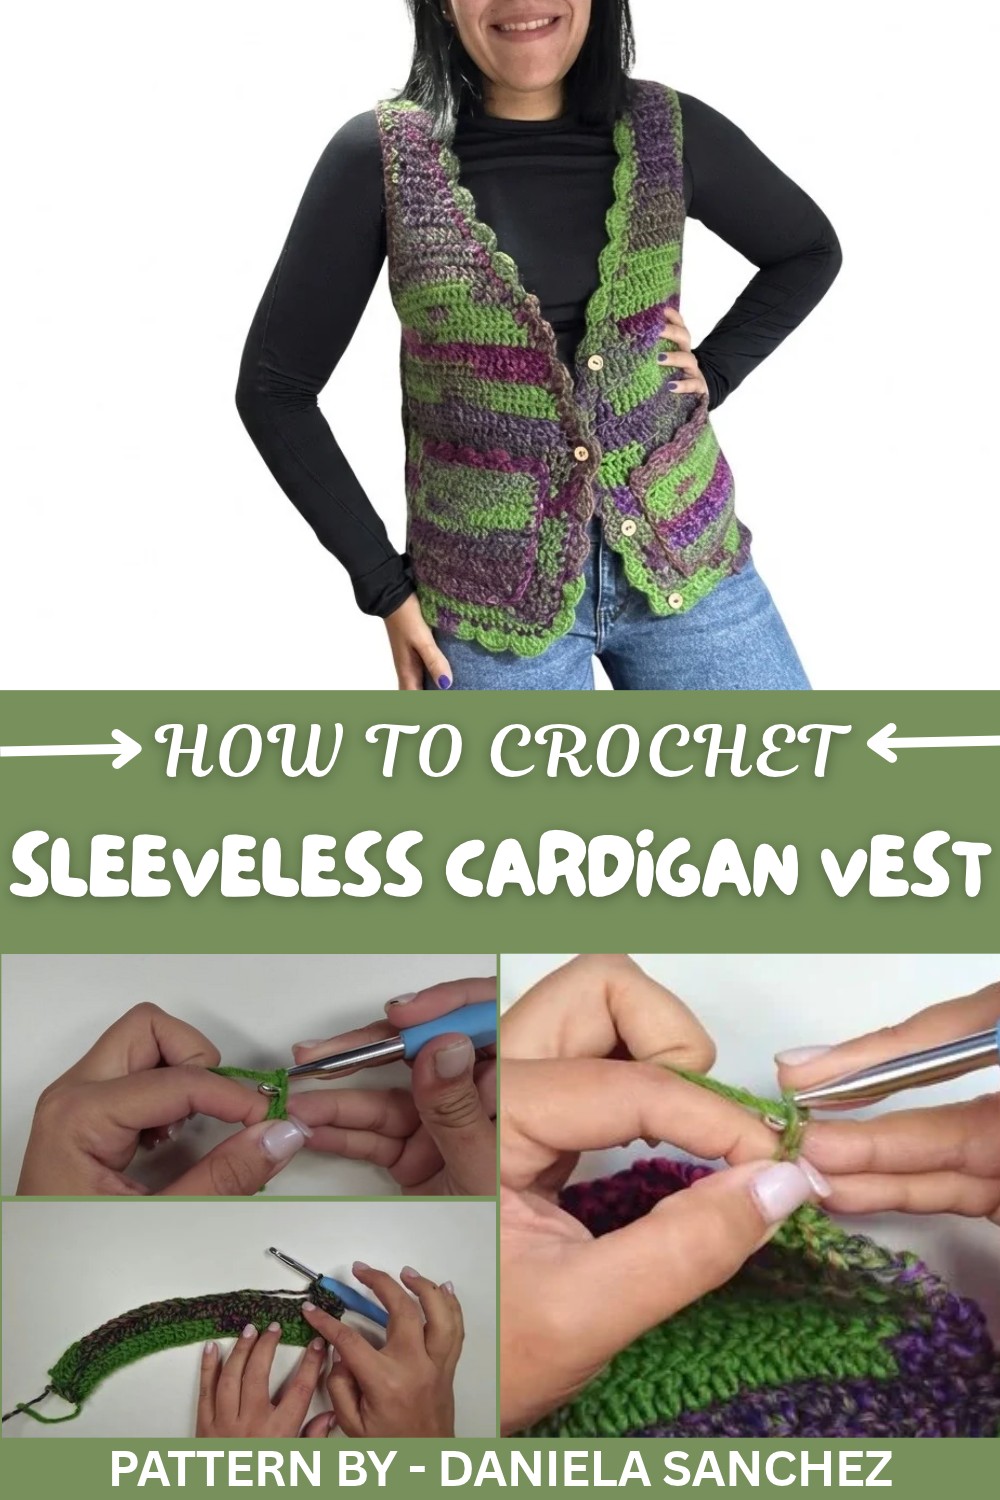
As you follow this pattern, you’ll become well acquainted with the simple yet stunning double crochet stitch. This stitch is like the trusty sidekick of any crochet project, it’s quick, easy to learn, and gives a textured, beautiful finish. But that’s not all, You’ll also practice shaping techniques for armholes and necklines, add a neat single crochet edge, and master the fan stitch for a decorative border. Don’t worry if you’re new to this, each step is straightforward and fun.
Pattern By Daniela Sanchez
Once you’ve tried your hand at the vest, you’ll find the techniques you learn here open doors to making so many other things. From cozy blankets and scarves to stylish shawls and even decorative table mats, the skills you practice in this project can be used in countless ways. And who wouldn't love a matchy set of handmade accessories?
Beginner Friendly Crochet Cardigan Vest Pattern
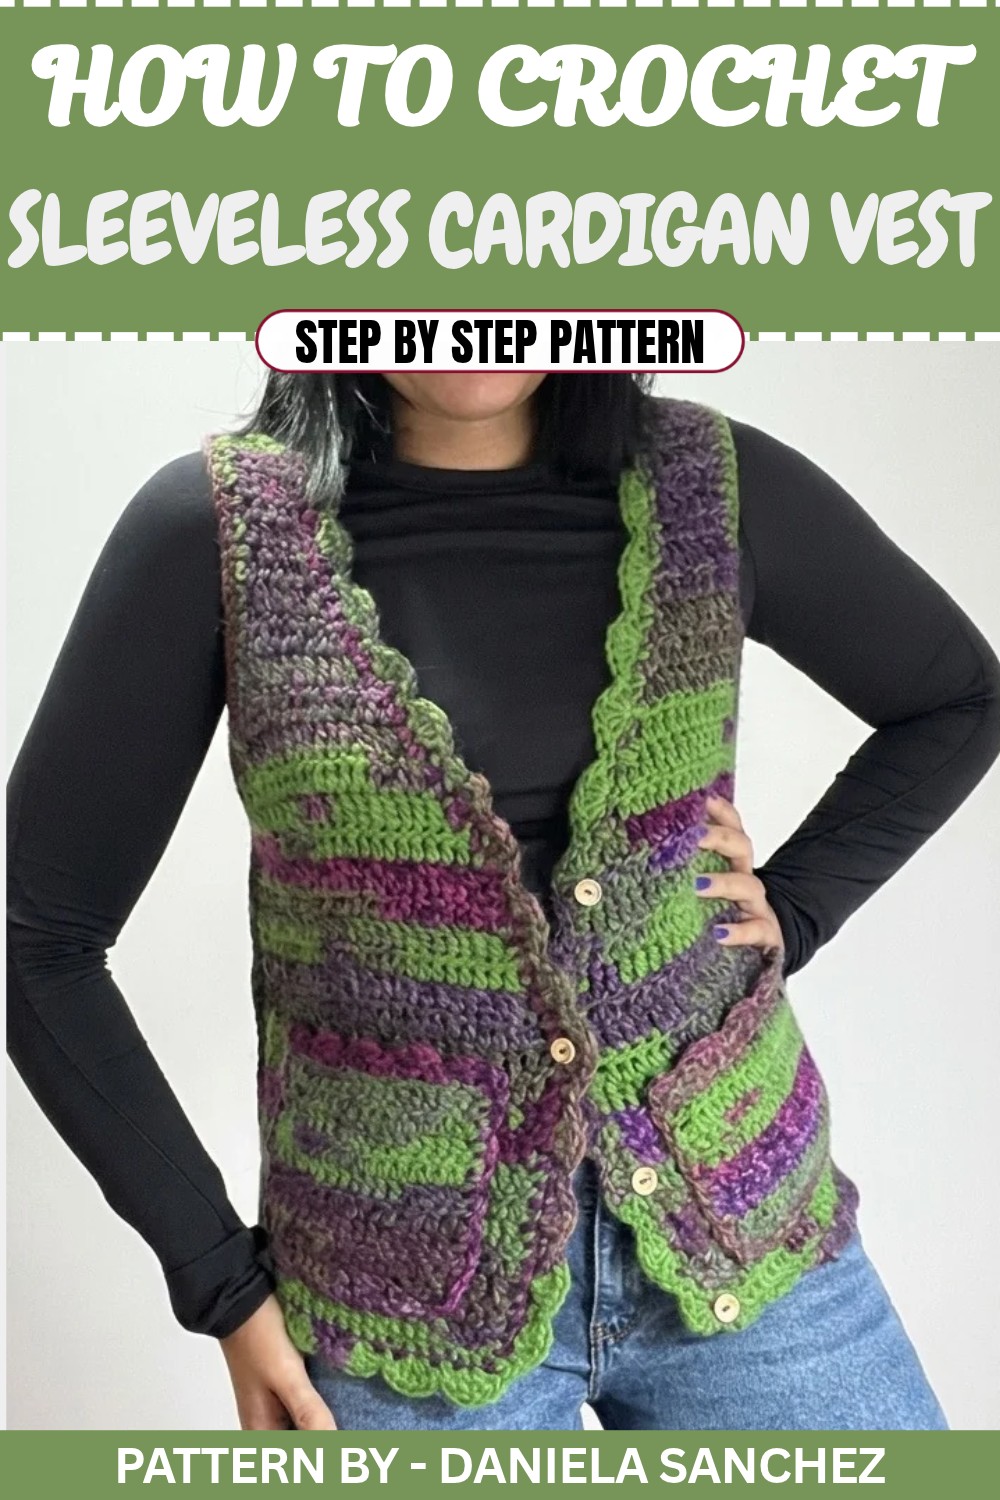
This crochet cardigan vest is perfect for beginners, featuring simple stitches and clear instructions. Follow this step by step guide to create a stylish handmade vest with practical detailing, such as shell pattern edging, patch pockets, and secure button closures.
Materials
- Yarn: 3 skeins of 60% acrylic/40% wool blend or similar (approx. medium weight).
- Crochet Hook: Size 7mm.
- Yarn Needle: For sewing panels and finishing details.
- Scissors: For cutting loose ends.
- Buttons: 4 buttons for the front closure.
Key Stitch Abbreviations
- CH: Chain
- DC: Double Crochet
- SC: Single Crochet
- SS: Slip Stitch
Special Techniques
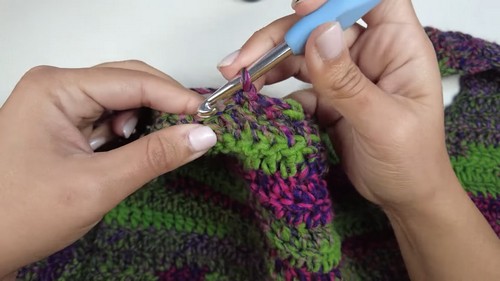
- Slip Stitch (SS): Used for shaping armholes and edges. Insert the hook into the stitch, yarn over, and pull through both the stitch and the loop on your hook.
- Shell Edge (Abanico Pattern): Work 5 double crochets into one stitch, skip 2 stitches, and secure with a slip stitch in the next.
Front Panels (Make 2)
Step 1: Foundation Rows
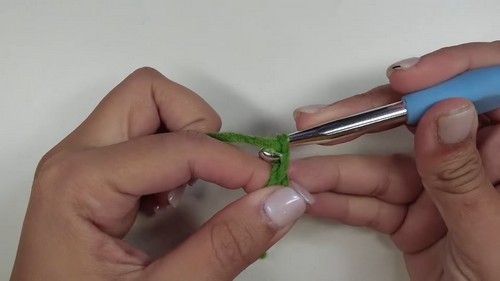
- Row 1: Chain 30 stitches.
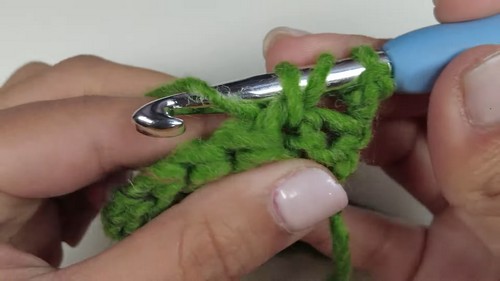
- Rows 1–17: Work 30 DC stitches across each row.
- At the end of each row, chain 3, turn your work, and skip the first stitch (start in the next stitch).
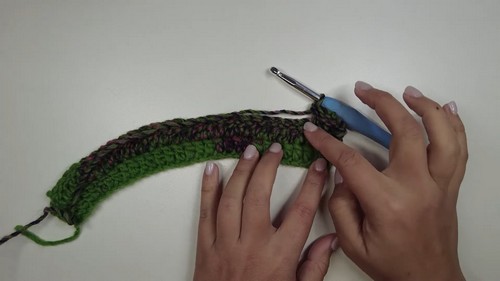
Step 2: Armhole Shaping
- Row 18:
- Work SS across the first 5 stitches to narrow the panel for the armhole.
- Work 24 DC stitches across the row, reducing by skipping the final stitch.
- Row 19:
- Decrease 1 stitch at the neckline side: Start with CH 3, skip 1 stitch, and work 21 DC stitches.
- Skip the final 2 stitches at the armhole side.
- Row 20:
- Work SS across the first 2 stitches to shape the edge.
- Work 18 DC stitches across the row, skipping the last stitch.
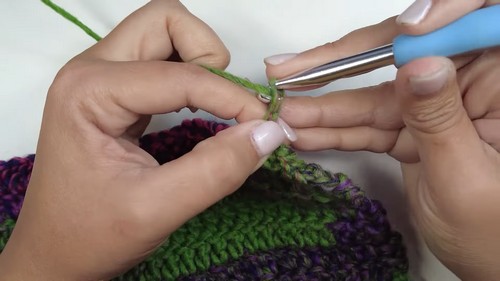
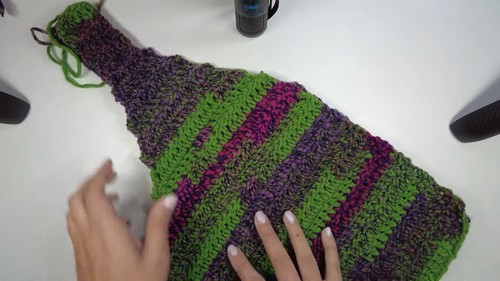
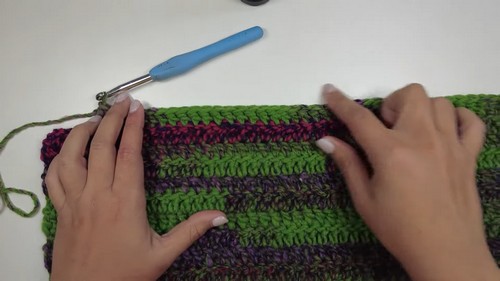
Step 3: Neck and Shoulder Shaping
- Rows 21–26:
- Decrease 1 stitch at both the start and end of each row.
- You will gradually reduce until you have 6 stitches remaining at the narrowest point.
- Rows 27–33:
- Work 6 DC stitches across each row.
- Repeat for a total of 7 rows, maintaining shoulder width.
Back Panel
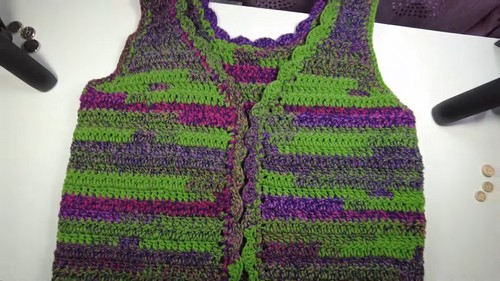
Step 1: Foundation Rows
- Row 1: Chain 50 stitches.
- Rows 1–17: Work 50 DC stitches across each row. Begin each row with CH 3, turn your work, and skip the first stitch.
Step 2: Armhole Shaping
- Row 18:
- Decrease 5 stitches at the start of the row using SS.
- Work 40 DC stitches across the row.
- Finish by decreasing 5 stitches at the end.
- Row 19:
- Decrease 2 stitches at the start and end of the row, resulting in 36 DC stitches.
- Rows 20–23:
- Decrease 1 stitch at the start and end of each row.
- After row 23, the panel should have 28 DC stitches remaining.
Step 3: Neck and Shoulder Shaping
- Row 24 (Neckline):
- Work 8 DC for one shoulder.
- Skip the 13 center stitches (creating the neckline shape).
- Work another 8 DC for the second shoulder.
- Rows 25–26:
- On each shoulder, decrease 1 stitch per side in row 26.
- You should now have 6 stitches per shoulder remaining.
- Rows 27–33:
- Work straight 6 DC stitches per row for 7 rows, maintaining the shoulder width for each side.
Assembly
Step 1: Shoulder Assembly
- Align each front panel with the back panel, matching their shoulder edges.
- Sew the shoulders together using a yarn needle by working through the visible loops of the stitches for a clean, seamless join.
Step 2: Side Seams
- Align the side edges of the front panels with the back panel.
- Sew the sides together using a yarn needle, making sure the armholes are open and evenly shaped.
Step 3: Border Edging
- Work 1 SC stitch around the entire garment, including the neckline, armholes, and bottom edge.
- This creates a smooth and uniform foundation for decorative finishing.
Step 4: Shell Pattern (Abanico)
- Into one stitch, work 5 DC stitches.
- Skip 2 stitches, then secure with a SS into the next stitch.
- Repeat this scalloped edge around the exterior of the vest, excluding the armholes.
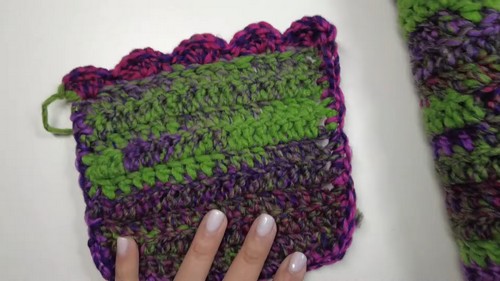
Pockets (Optional)
- Foundation Row: Chain 18 stitches.
- Rows 1–10: Work 10 rows of DC stitches for the pocket body.
- Edges: Add a border using SC stitches, followed by the shell pattern (as outlined above).
- Sew each pocket onto the front panel slightly lower than the armhole height.
Button Closure
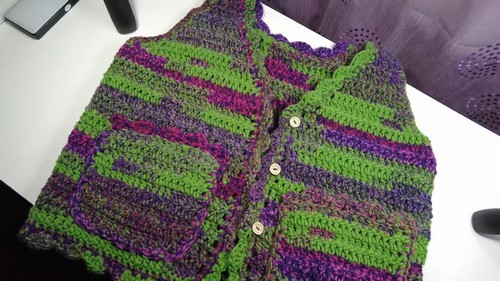
- Placement: Evenly place 4 buttons along one front panel edge, using gaps in the pattern for alignment.
- Sewing: Use yarn to securely attach each button to the fabric.
- Tie knots on the back to finish, ensuring each button is firmly fixed.
Conclusion
This beautiful crochet cardigan vest combines functionality and flair with its detailed design. Perfect for layering during cooler months, it’s a beginner friendly project that includes thoughtful features like decorative scalloped edges, handcrocheted pockets, and button closure.
Let your creativity shine by customizing the vest with different yarn colors and textures.