
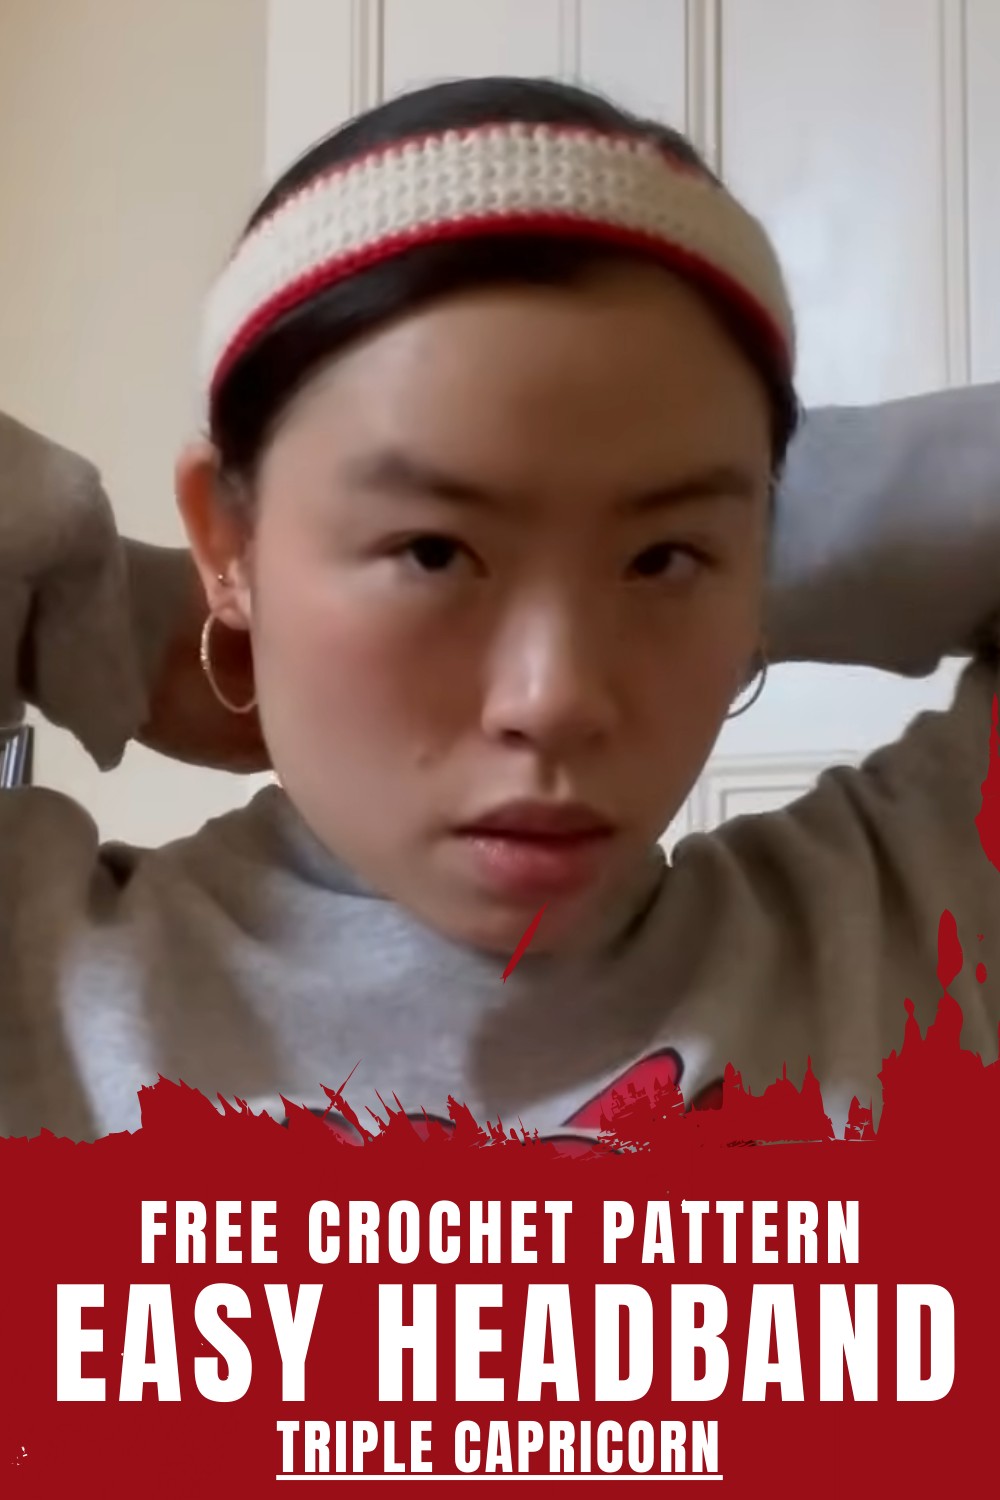
Beginner-Friendly Crochet Headband Pattern for All Occasions
Adding a functional touch to your everyday style, a crochet headband pattern serves as a versatile accessory that is both practical and chic. It effortlessly keeps hair tidy while enhancing your outfit with a subtle handmade element. By following the pattern, you can crochet a headband that not only showcases your creativity but also offers comfort and uniqueness every wear. Perfect for anyone looking for a quick project, this pattern is ideal for gifts, as it can be easily tailored to fit different sizes and color preferences.
Learn the Eye-Catching Crochet Headband Pattern That Stuns
You can customize it to suit any wardrobe or season, making it practical and fashion-forward. Secure yarn ends tightly to prevent unraveling, and try different stitch tensions to ensure a comfortable fit. Favor cotton yarn for durability and easy maintenance, allowing the headband to hold its shape through wear and washing.
Materials Required
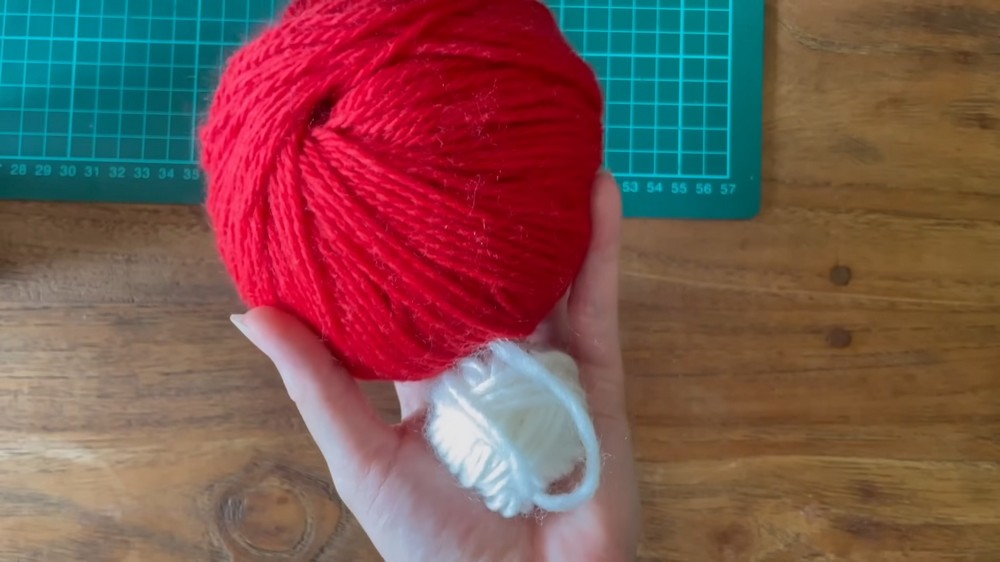
Here’s what you need to get started:
- Yarn: Cotton yarn is recommended for its durability and ability to hold shape after washing. The tutorial uses 4-ply cotton yarn but also experiments with wool and alpaca blends.
- Hook Sizes:
- 3mm for 4-ply cotton yarn.
- 7mm for slightly heavier yarns.
- Essential Tools: Measuring tape (optional), scissors, and darning needles for tidying up ends.
- Optional Accessory: Ribbons (if following the ribbon-loop variation).
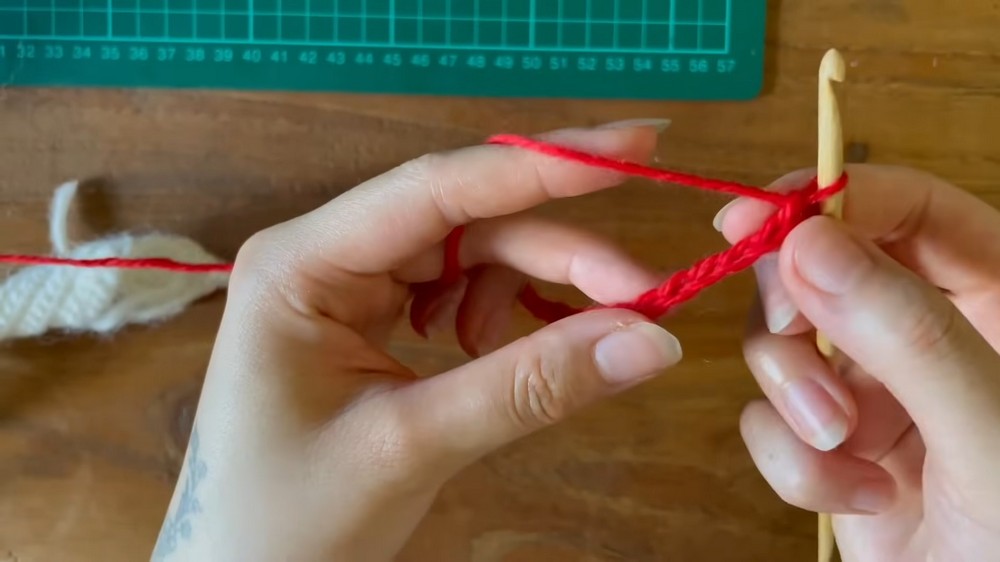
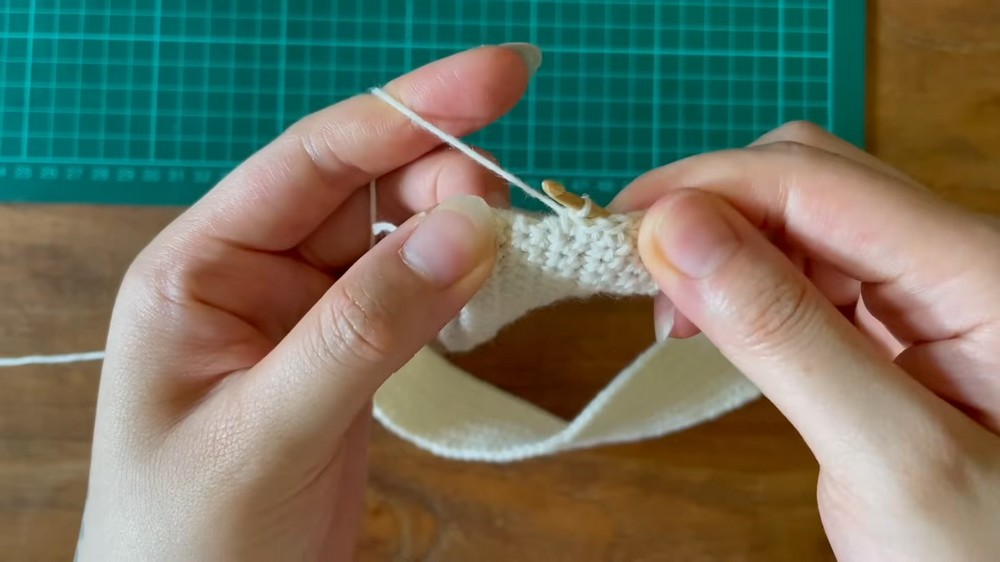
The process begins with a simple slip knot followed by chain stitches—approximately 80 chains for heavier yarn or 100 chains for lighter yarns like cotton. Using stitch markers every 20 chains helps to maintain accuracy.
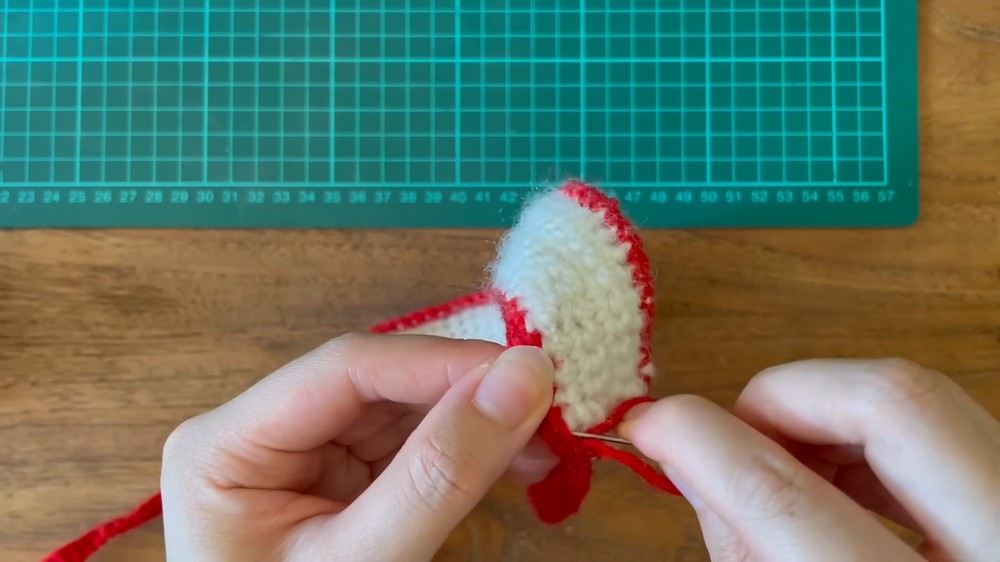
Form the base with single crochet rows, adjusting the width to your preference, usually around five rows for a standard band. To create the ties, taper the ends by either skipping the last stitch of each row or using single crochet decreases.
Incorporate the ties by changing colors and chaining 40 stitches for each tie, connecting back to the band smoothly. The alternative ribbon variation involves creating a small loop with chain stitches, which is then attached to the band. This adaptable approach makes the headband both stylish and functional.
Special Features
- Two Design Options: The tutorial teaches two variations – one with long ties (great for adjustable fitting) and another with a ribbon loop for easy wear.
- Beginner-Friendly: The entire project relies on basic single crochet stitches, making it accessible to those just starting their crochet journey.
- Customizable: Adjust the length, width, or color depending on your preference. The band can also be finished with ribbons or ties for added style and function.
- Scrap Yarn-Friendly: This project uses a small amount of yarn, making it ideal for leftover materials from previous projects.
Level of Difficulty
This pattern is beginner-friendly due to its reliance on simple stitches (single crochet). However, it also presents opportunities for customization that intermediate crocheters might enjoy experimenting with, such as color changes, custom widths, or alternative finishing techniques.
Tutor’s Suggestions
- Choose Cotton Yarn: The tutor recommends cotton as the best material for durability, shape retention, and ease of washing. Wool and alpaca blends were explored but found challenging due to their fluff and halo.
- Using Tools Efficiently: Measuring tape and stitch markers can be handy, especially if you want to ensure an accurate fit or maintain symmetry across both sides.
- Experiment with Color and Accessories: For a polished or playful look, experiment with different colors or add ribbons.
Uses and Benefits
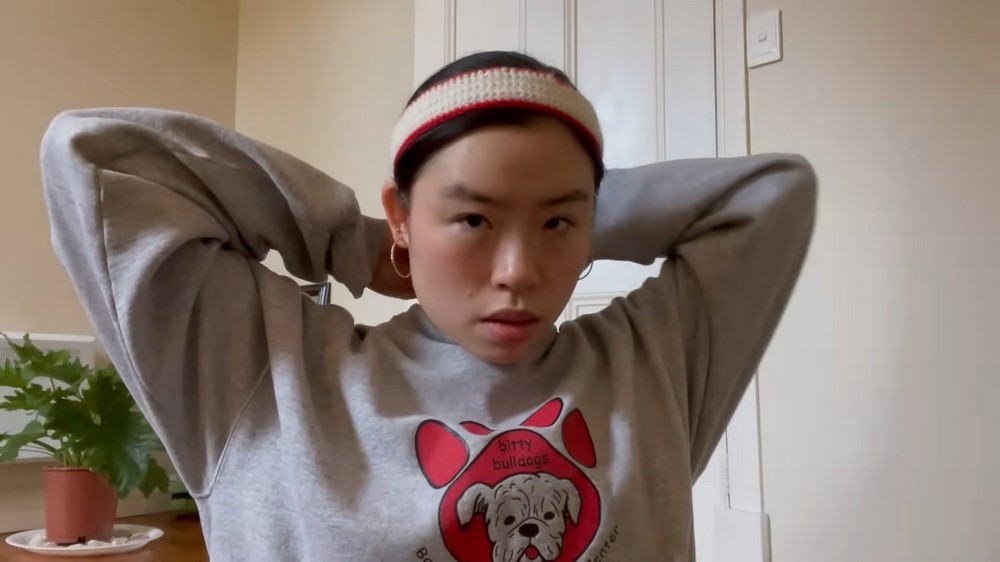
- Practical Accessory: This headband can be worn daily to secure hair while adding a splash of style.
- Custom Fit: Adjust the band width or length for children, adults, or specific head sizes.
- Gift Idea: A handmade pattern is a thoughtful, cozy gift for friends or family.
- Eco-Friendly: By using scrap yarn, this project promotes sustainability while still being fashionable.
Step-by-Step Instructions
Crocheting headbands can be a fun, quick, and creative project that allows you to experiment with different yarns and finishes. The tutorial presents two unique variations of a crochet headband – one with ties and another with a ribbon loop, offering versatility in design. By following this tutorial, you’ll crochet a functional yet stylish headband that can add charm to your everyday look or serve as a thoughtful handmade gift.
Conclusion
This crochet headband tutorial offers a practical and creative project that fits perfectly into any wardrobe. With options for ties or ribbon loops and the freedom to experiment with colors and widths, you can truly personalize the design. Whether you aim for a minimalist vibe or a bold accent accessory, this pattern is both stylish and functional.
Final Tip
When making color changes or attaching ribbons, always leave enough yarn tails to weave in securely to prevent unraveling. For a polished finish, block your headband (particularly if using cotton yarn) to relax stitches and refine the overall shape.