
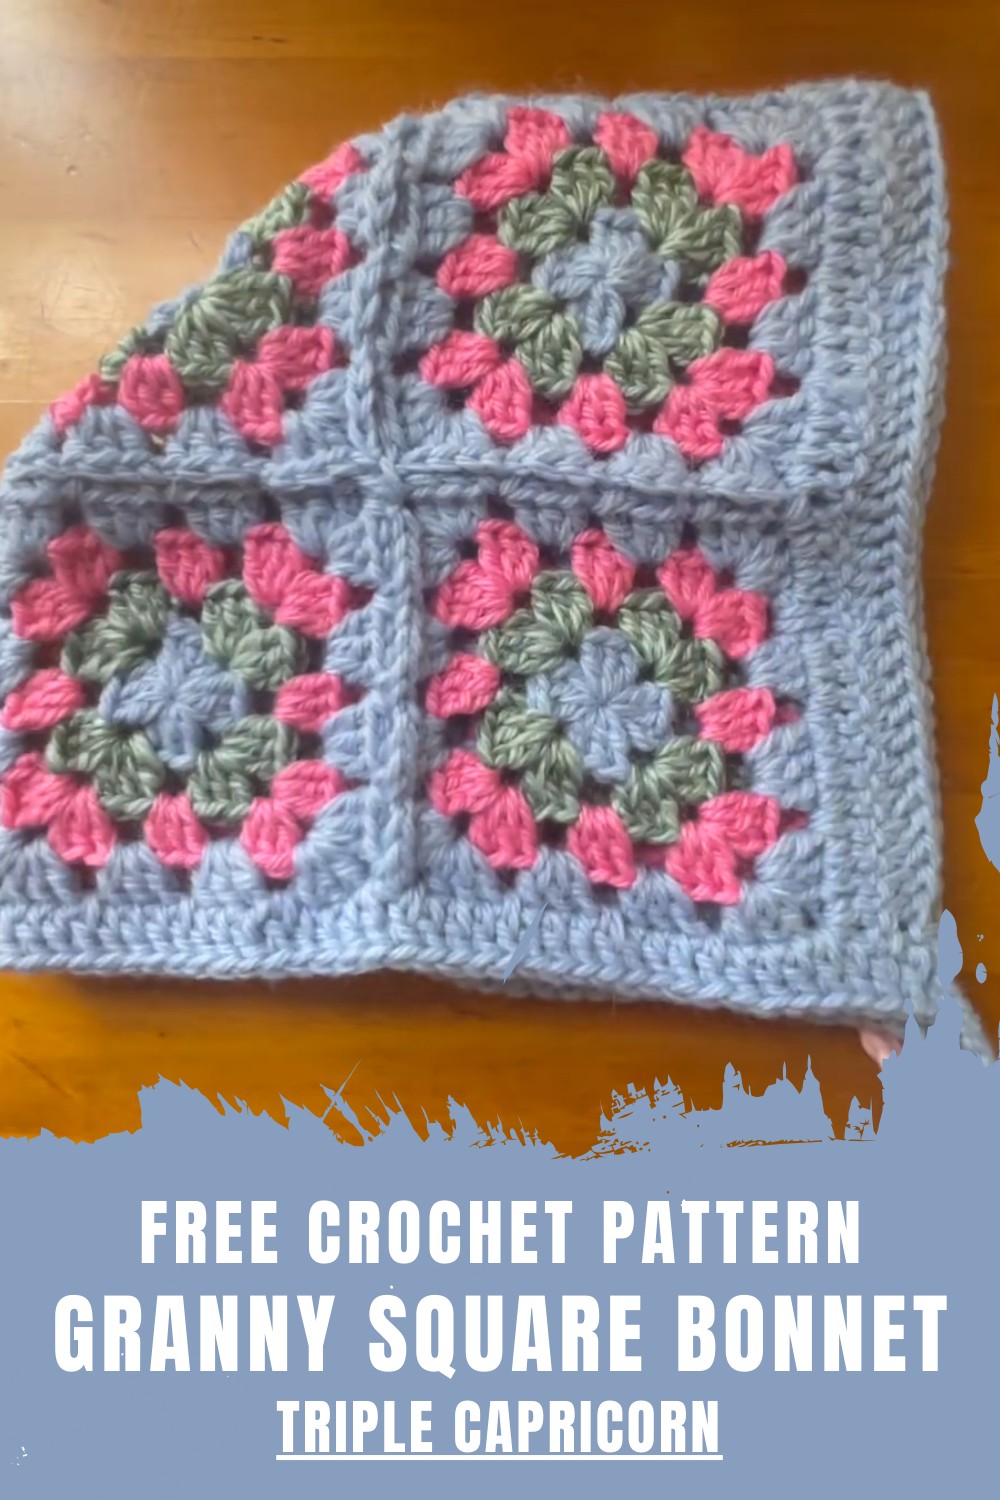
How to Crochet Granny Square Bonnet Pattern That Turn Heads
Easy Crochet Granny Square Bonnet Tips for Gorgeous Outfits
The pattern encourages creativity, giving room to experiment with bold or subtle colors. Upon completion, the result is a stylish, practical pattern that showcases effort and skill, making it both an enjoyable and rewarding project.
Materials You’ll Need
- Soft, lightweight yarn in your choice of colors (acrylic or cotton works best).
- A crochet hook matching the yarn size (typically 3.5mm–4mm).
- Scissors and a tapestry needle for joining squares and weaving in ends.
- Optional: Buttons, ribbons, or decorative embellishments for finishing touches.
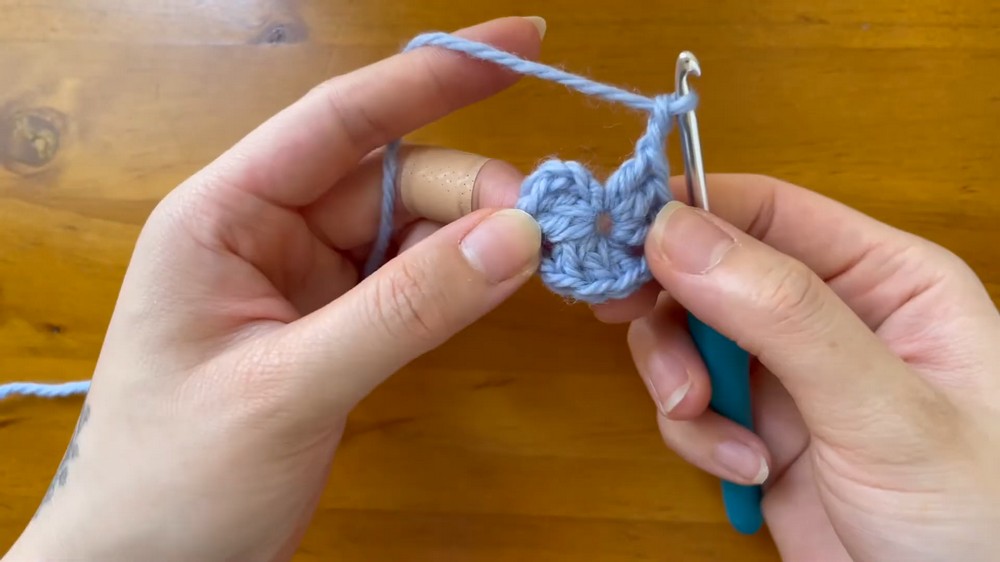
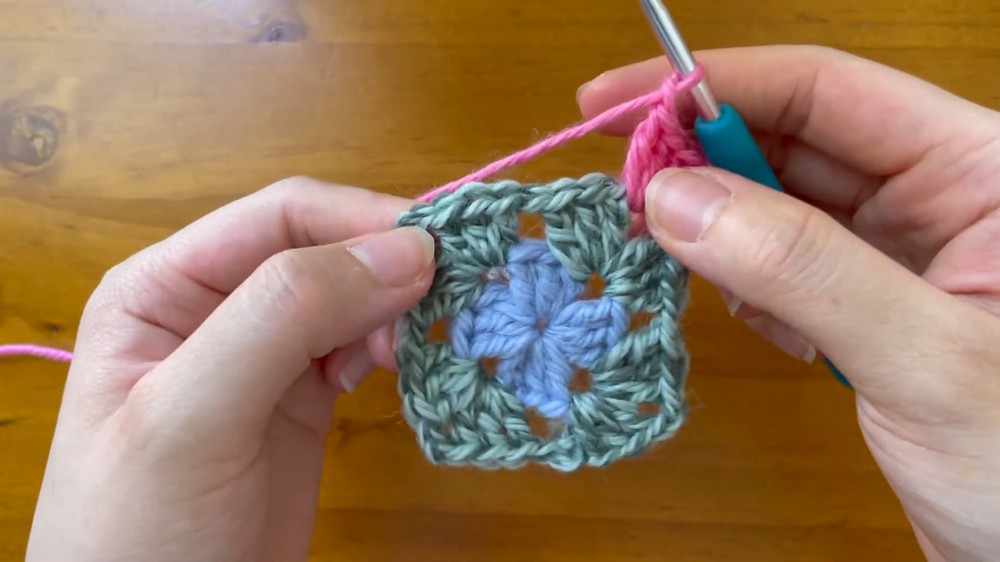
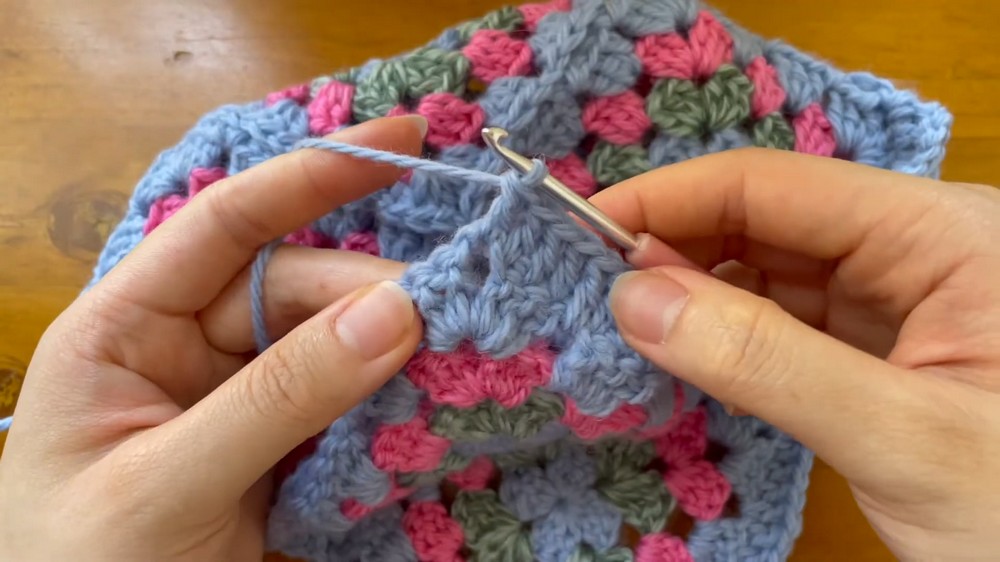
The bonnet pattern begins with individually crocheted granny squares, each starting with a magic ring. Using double crochets and chain spaces, the squares are worked round by round until they reach the desired size.
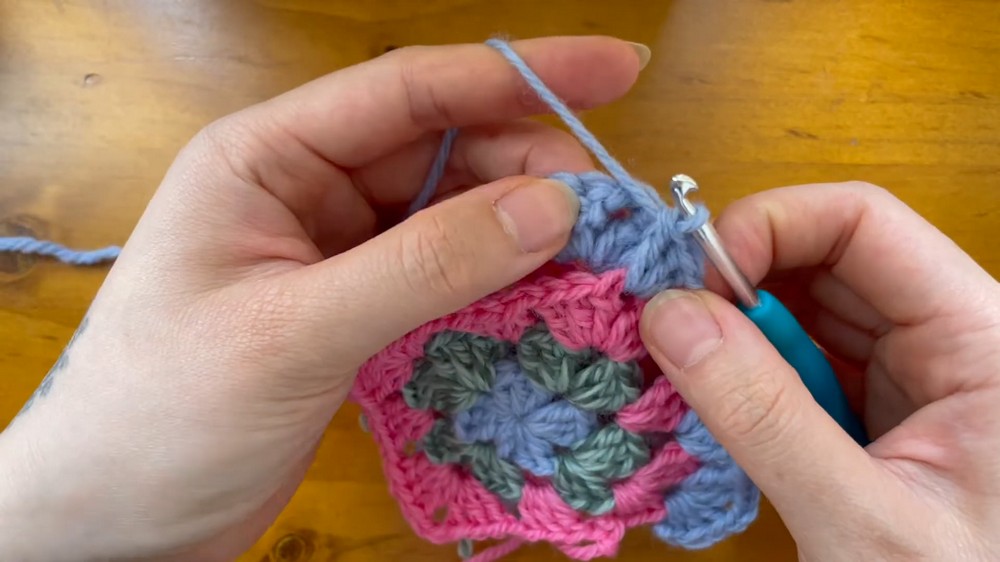
To keep the process smooth and efficient, the “join-as-you-go” technique is used, ensuring all squares connect seamlessly. Slip stitches carefully, placed at each corner provide extra neatness and eliminate gaps.
After assembling the bonnet’s base, the edges are refined with rows of double crochet stitches to enhance structure and balance. The final touch includes ties secured with reinforced chains and single crochets, allowing for a snug yet comfortable fit.
While working through the pattern, maintaining even tension is essential for consistent square sizes and clean joins. Weaving in loose ends during the process helps keep the project tidy.
Special Features
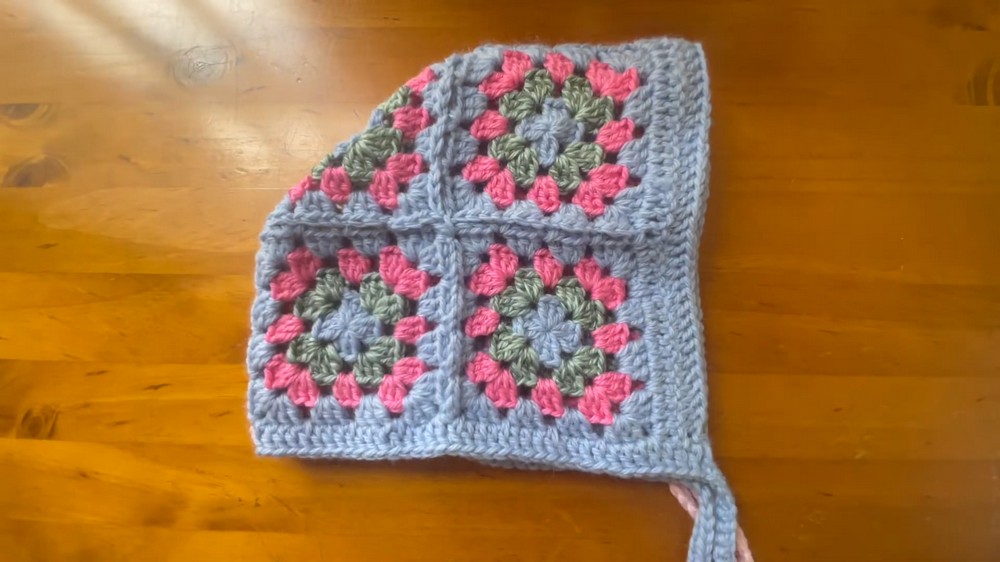
- The tutorial showcases vibrant granny square patterns combined for a unique and retro-inspired bonnet.
- It emphasizes customization, allowing you to mix and match colors or patterns to fit your personal style.
- The bonnet pattern is lightweight, cozy, and perfect for mild weather.
- This project helps improve skills in connecting granny squares and shaping them into a wearable item.
Level of Difficulty
The project is suitable for beginners with a basic understanding of crochet techniques, like making granny squares and joining them. However, intermediate crocheters will find this easier, as it includes shaping tips to achieve the perfect fit.
Tutor’s Suggestions
- Focus on consistency: The tutor recommends maintaining even tension throughout to ensure neat and joined granny squares.
- Color experimentation: Don’t shy away from bold colors or mixing textures for a modern twist.
- Take it step by step: Work on the granny squares first, then move on to assembly; this will make the entire process less overwhelming.
Uses
- Everyday accessory: A trendy item for casual outings or adding flair to your wardrobe.
- Gift idea: Thoughtful and handmade, perfect for friends or family members.
- Photo prop: Its retro and cheerful design makes it great for photoshoots or special events.
- Skill-building project: Enhances creativity and boosts confidence in piecing together multiple parts.
A Final Tip
When joining the granny squares, ensure that the edges are aligned and secure the stitches tightly. This will give the bonnet a polished and professional look, even if you’re a beginner.
Step-by-Step Instructions
Crochet enthusiasts will love this step-by-step tutorial on crocheting a stylish and functional granny square bonnet. This beginner-to-intermediate level tutorial simplifies the process, making it easy to follow while emphasizing creativity and practicality. Whether you're looking to upgrade your crochet skills or crochet an eye-catching accessory, this tutorial has you covered.
Conclusion
This tutorial makes crocheting a granny square bonnet both approachable and fun, allowing you to combine artistry and functionality. With its engaging design and endless customization options, this project adds charm to your crochet repertoire. Whether crafting for yourself or gifting a loved one, this stylish bonnet is sure to bring smiles and compliments!