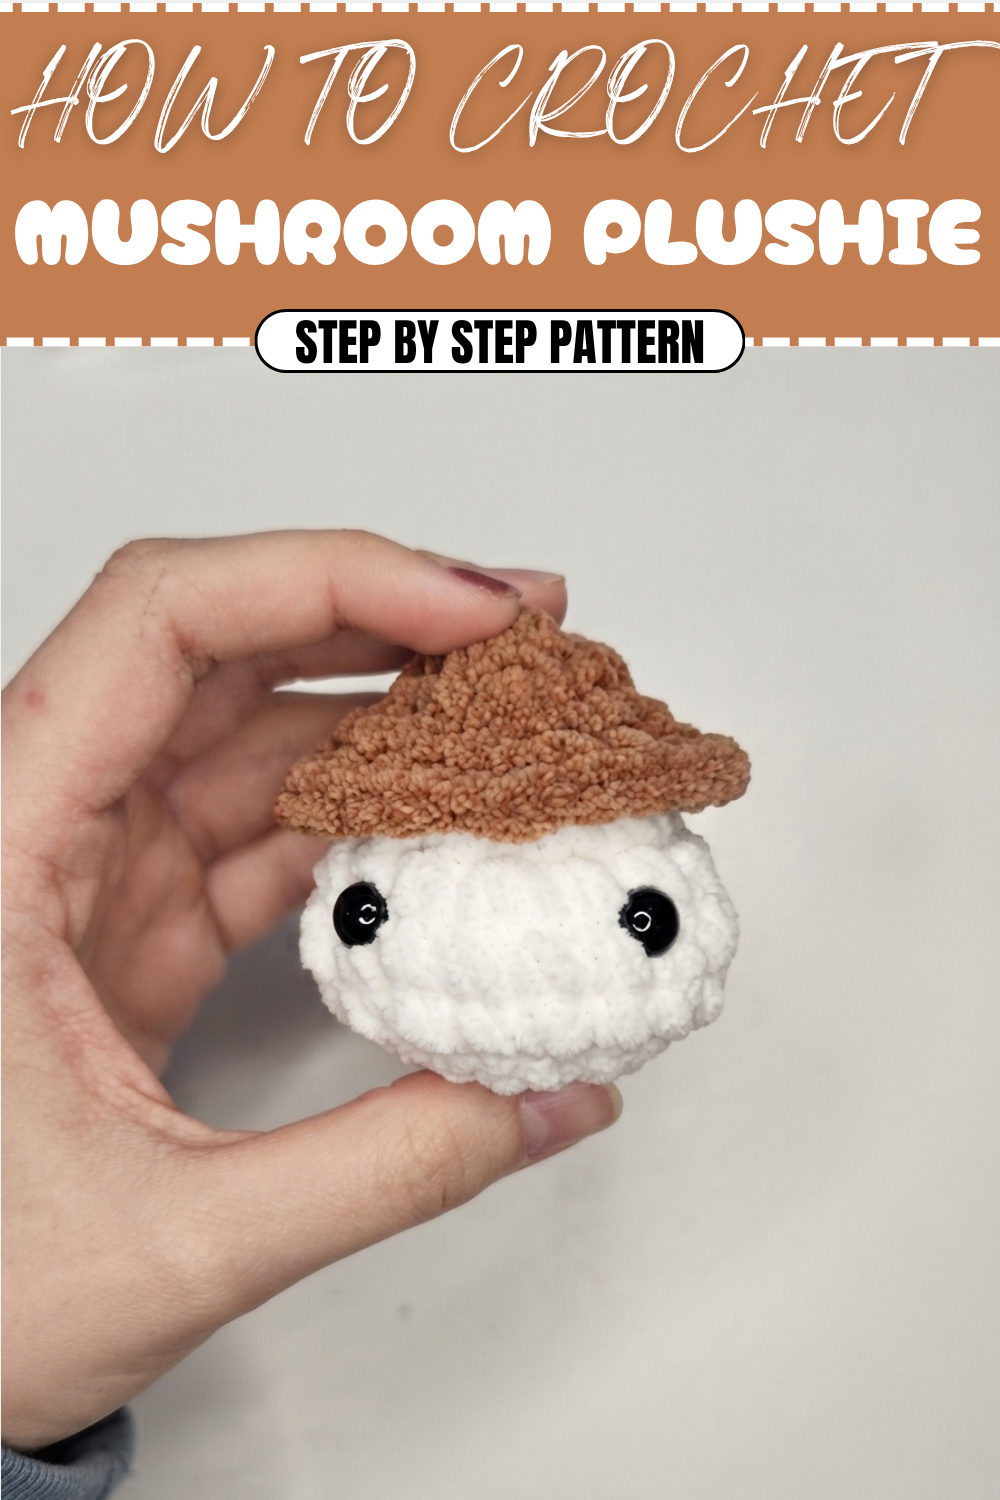
How to Crochet A Mushroom Plushie Pattern For Whimsical Decor
Amplify your decor vibe by choosing a free crochet mushroom plushie pattern, blending fun personality with irresistible softness.
Creating a tiny, soft mushroom plush brings a delightful touch of whimsy to your crochet projects. Crafted with bulky, plush yarn and worked primarily in single crochet stitches, this pattern shapes a charming mushroom that’s both squeezable and sturdy. The tight stitches help keep the stuffing neatly inside, while the gentle curves come to life through simple increases and decreases. Perfect for attaching to a keychain or decorating a cozy nook, this mushroom is a wonderful gift or a cheerful companion for your crochet collection.
More Fun Creations Using This Technique
This pattern’s easy-to-follow rounds and shaping methods lend themselves well to crocheting other small amigurumi animals or decorations. You could make tiny fruits, mushrooms in different colors and sizes, or even cute little dolls by varying stitch counts and shapes. The same single crochet foundation is perfect for creating soft charms, mini cushions, or holiday ornaments, giving you plenty of options to personalize your handmade gifts and keepsakes.
Free Guide To Crochet Mushroom Plushie Pattern For Unique Presents
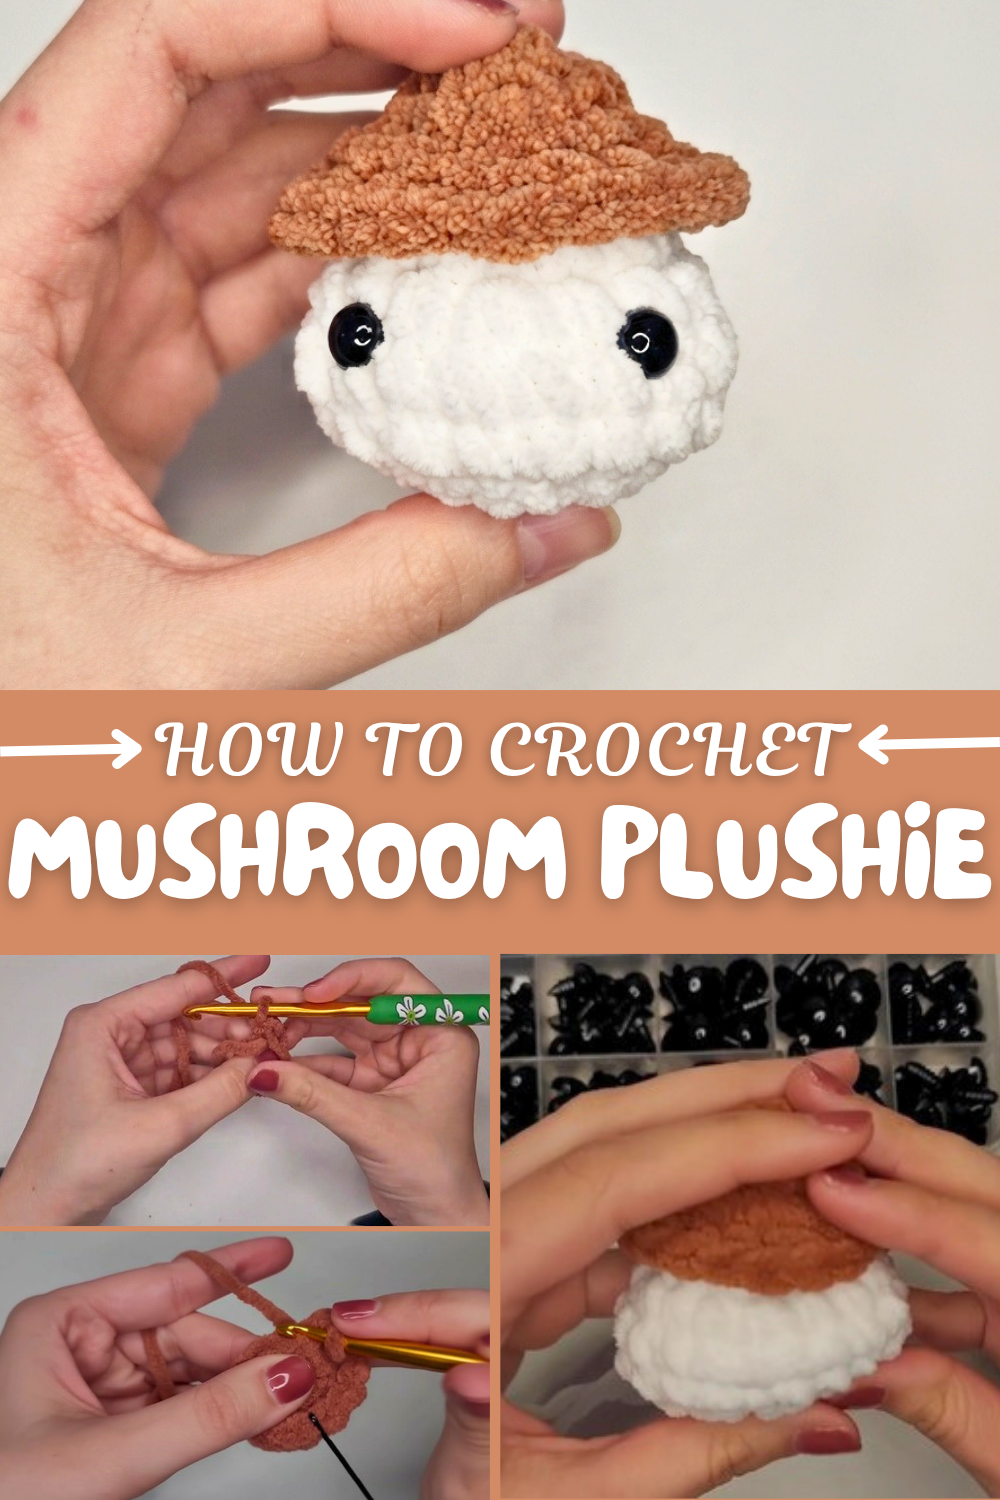
The process begins with a magic ring, a technique that allows you to start in the round without holes, setting up a smooth base for the mushroom’s cap. As you work around, increases shape the top into a dome, and later rows form the body, closing with decreases to finish off the plushie. Adding little details like embroidered eyes and optional blush gives personality to your creation, making it especially fun for beginners or anyone wanting a quick, satisfying project that doesn’t require advanced skills.
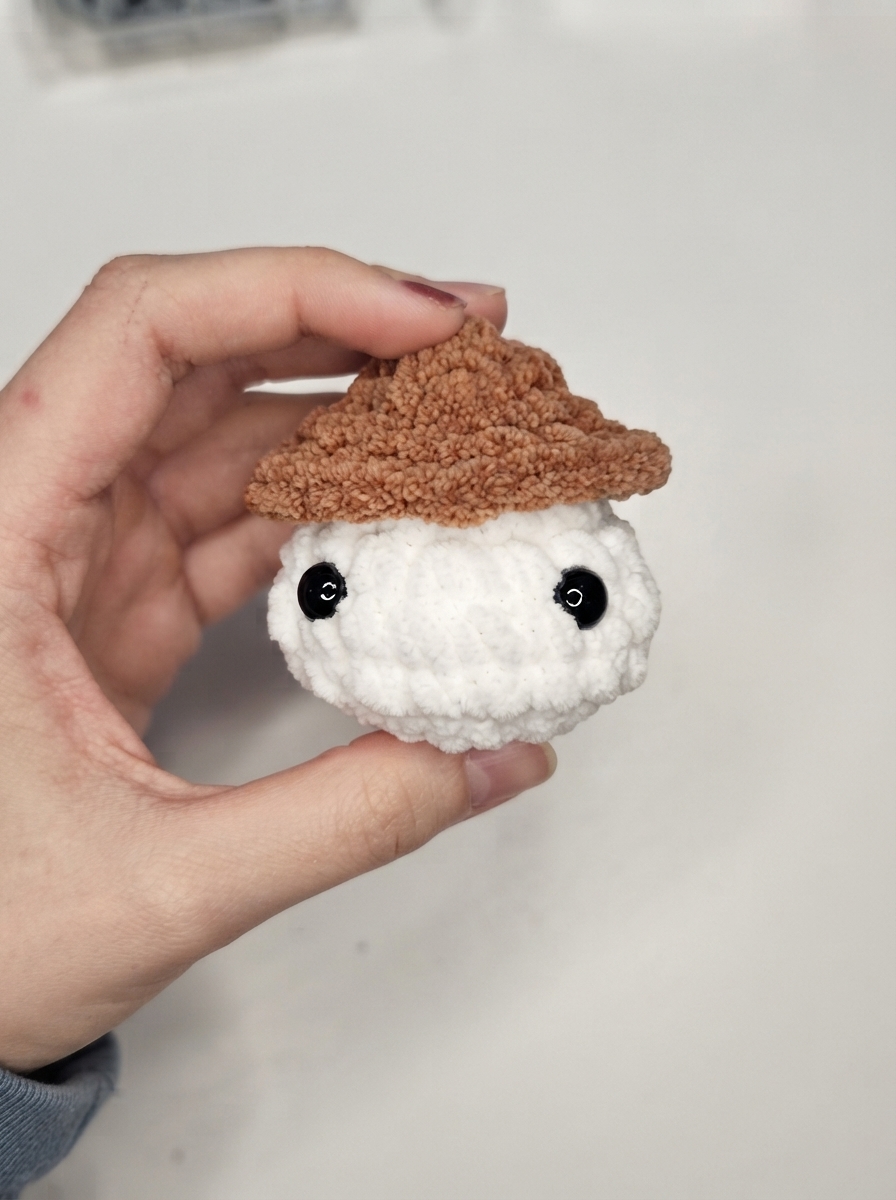
Crochet Pattern: Cute Little Mushroom Keychain
This adorable crochet mushroom keychain pattern is perfect for beginners and intermediate crocheters alike. Its small size and charm make it a fun and portable project suitable for crochets fairs, gifts, or personal use. You’ll learn how to create a magic ring, crochet in the round, increase, decrease, and assemble for a complete three-dimensional piece. You’ll also have the option to add stuffing, eyes, and even turn it into a keychain with metal jump rings or a simple string attachment.
Uses of This Pattern
- Decorative Keychain: Use it on your keys, bag, or pouch for a personalized touch.
- Gifting: A handcrafted, whimsical gift for friends and loved ones.
- Beginner-Friendly Practice: Perfect for mastering magic rings, tension techniques, and working in the round.
Skill Level & Terminology
- Skill Level: Beginner-Intermediate
- Terminology: US Crochet Terms
Materials & Tools
- Yarn: Category 5 (bulky/chunky yarn) - plush or soft yarn recommended.
- Hook Size: 6 mm (you can adjust for tighter or looser stitches depending on your tension).
- Additional Materials:
- Stuffing/Fiberfill (optional for added shape).
- Stitch Marker or Bobby Pin (to mark the start of each round).
- Needle for Threading & Sewing Ends.
- Metal Jump Rings and Keychain Hook (optional for making it a keychain).
- Plastic Safety Eyes (optional).
- Blush/Makeup (for decorative cheeks).
- Tools: Scissors.
Gauge
Gauge is not critical for this pattern. Adjust hook size for tighter or looser stitches based on your yarn thickness. You want a dense fabric without visible gaps.
Finished Size
- Approximate size: 2.5–3 inches (6–8 cm) tall, depending on yarn and hook size.
Abbreviations List
| Abbreviation | Description |
|---|---|
| ch | Chain |
| sc | Single Crochet |
| sl st | Slip Stitch |
| inc | Increase (2 sc in 1 stitch). |
| dec | Decrease (crochet 2 sc together). |
Special Stitch Instructions
Magic Ring:
- Loop the yarn over two fingers to create a circle.
- Insert your hook under the circle, pull up a loop, and ch 1 to secure.
- Work the required starting stitches into the magic ring, pulling on the tail tightly to close it.
What You’ll Learn from this Pattern
- Master basic crochet techniques such as increasing and decreasing.
- Work in the round using a magic ring for neat and gapless project starts.
- Assemble two crocheted components into a cohesive 3D shape.
The Pattern
Part 1: Mushroom Cap (Top)
Step 1: Create the Magic Ring
- Make a Magic Ring.
- Work 5 sc into the ring. (5 sc total)
- Pull the tail of the magic ring to tighten the circle.
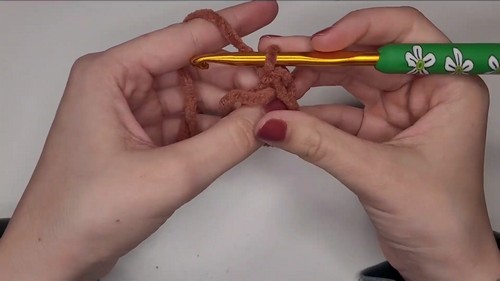
Step 2: Begin Increasing
- Place a stitch marker in the first stitch to keep track of your rounds.
- Round 1: Work 2 sc in each stitch around. (10 sc total)
- Round 2: Work 1 sc in the first stitch, 2 sc in the next stitch. Repeat this pattern around. (15 sc total)
- Round 3: Work 1 sc in the first 2 stitches, 2 sc in the next stitch. Repeat around. (20 sc total)
- Round 4: Work 1 sc in the first 3 stitches, 2 sc in the next stitch. Repeat around. (25 sc total)
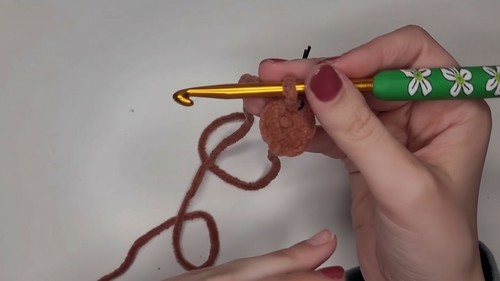
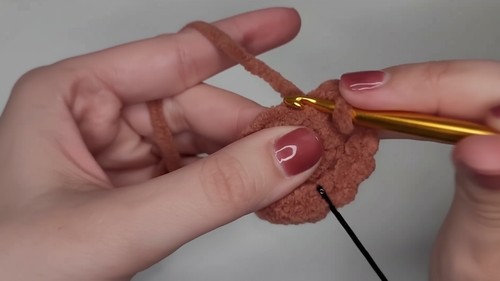
Step 3: Finishing the Cap
- At the end of your final round, sl st into the next stitch to finish.
- Fasten off and trim the yarn, leaving a long tail for sewing.
- Weave the end of the starting tail, ensuring the cap’s center remains tight.

The mushroom cap is now complete. Set it aside—we’ll attach it to the body later!
Part 2: Mushroom Stem (Body)
Step 1: Create the Magic Ring
- Make a Magic Ring.
- Work 5 sc into the ring. (5 sc total)
- Pull the tail of the magic ring to tighten the circle.
Step 2: Begin Increasing
- Place a stitch marker in the first stitch to track your rows.
- Round 1: Work 2 sc in each stitch around. (10 sc total)
- Round 2: Work 1 sc in the first stitch, 2 sc in the next stitch. Repeat this pattern around. (15 sc total)
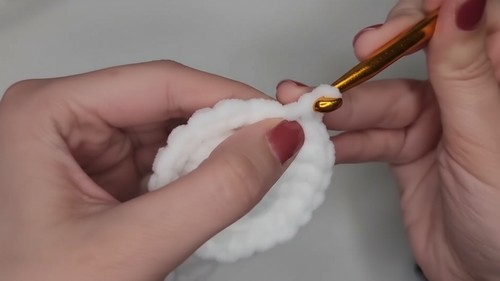
Step 3: Build the Stem
- Round 3–5: Work 1 sc in each stitch (no increases). (15 sc per round)
- This forms the height and stability of the stem.
Step 4: Begin Decreasing
- Round 6: Work 1 sc in the first stitch, sc2tog in the next stitch. Repeat around. (10 sc total)
- Round 7: Work sc2tog in every stitch around. (5 sc total)
Stuffing the Stem
- Before fully closing your stem, add stuffing if desired. This helps maintain its shape.
Step 5: Closing the Stem
- Use sl st to close any remaining gap at the bottom.
- Fasten off, leaving a long tail for sewing to the cap.
The stem is complete, and it’s ready to attach to the mushroom top.
Part 3: Assembly
Step 1: Attach the Mushroom Parts
- Place the mushroom cap on top of the stem.
- Use the long tail left on the cap to sew the two pieces together.
- Insert your needle through the bottom edge of the cap and into the top stitches of the stem. Work around evenly to ensure a secure connection.

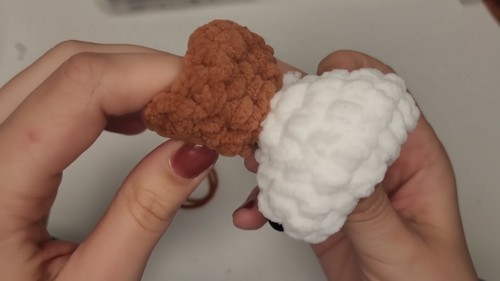
Step 2: Add Keychain and Embellishments
- Keychain Hook: Thread a jump ring or string through the top of the cap to create a secure keychain attachment.
- Facial Features: Add plastic safety eyes to the face as desired. Position them evenly on the stem.
- Blush Effect: Use blush or makeup to dab rosy cheeks below the eyes.
Final Touches
- Ensure all yarn ends are securely sewn in and trimmed.
- Shape the mushroom with your hands to achieve a smooth and firm structure.
Assembly and Finishing
This classic mushroom pattern is perfect as it is, but you can customize it further with spots on the cap, colors for the stem, or creative embellishments!
Why You’ll Love This Pattern
This super cute mushroom keychain pattern is not only a joy to crochet but also offers endless personalization possibilities! Whether you tackle this project as a beginner or seasoned crocheter, this little pattern allows you to experiment with shapes, textures, and whimsical flair for a beautiful result.