
Cute Free Crochet Rabbit Keychain Pattern with Adorable Style
Start a sweet crochet project with this free rabbit keychain pattern and make a tiny bunny charm that adds fun style to your keys, bags, or gifts.
Pattern By CrochetLilWeaves
One day, while organizing my favorite yarn stash, I realized how a few leftover strands could turn into something adorable and practical. That’s how this idea of making a small rabbit keychain came to life. This project is not only fun but also lightweight, portable, and a wonderful way to use up scrap yarn. Whether you want to add charm to your keys, accessorize your bag, or gift something handmade to a loved one, a crochet rabbit keychain is just perfect.
Free Crochet Rabbit Keychain Pattern for Bunny Lovers
What makes this keychain extra special is its design and the stitches used. You’ll get to try the magic ring, a beginner friendly technique that’s a favorite in other special projects like amigurumi and small crochet toys. There’s also a puff stitch involved, which is a fun and fluffy detail that works wonders for creating the rabbit's little tail. You can use the same techniques here to crochet other cute items like tiny teddy bears or even festive ornaments.
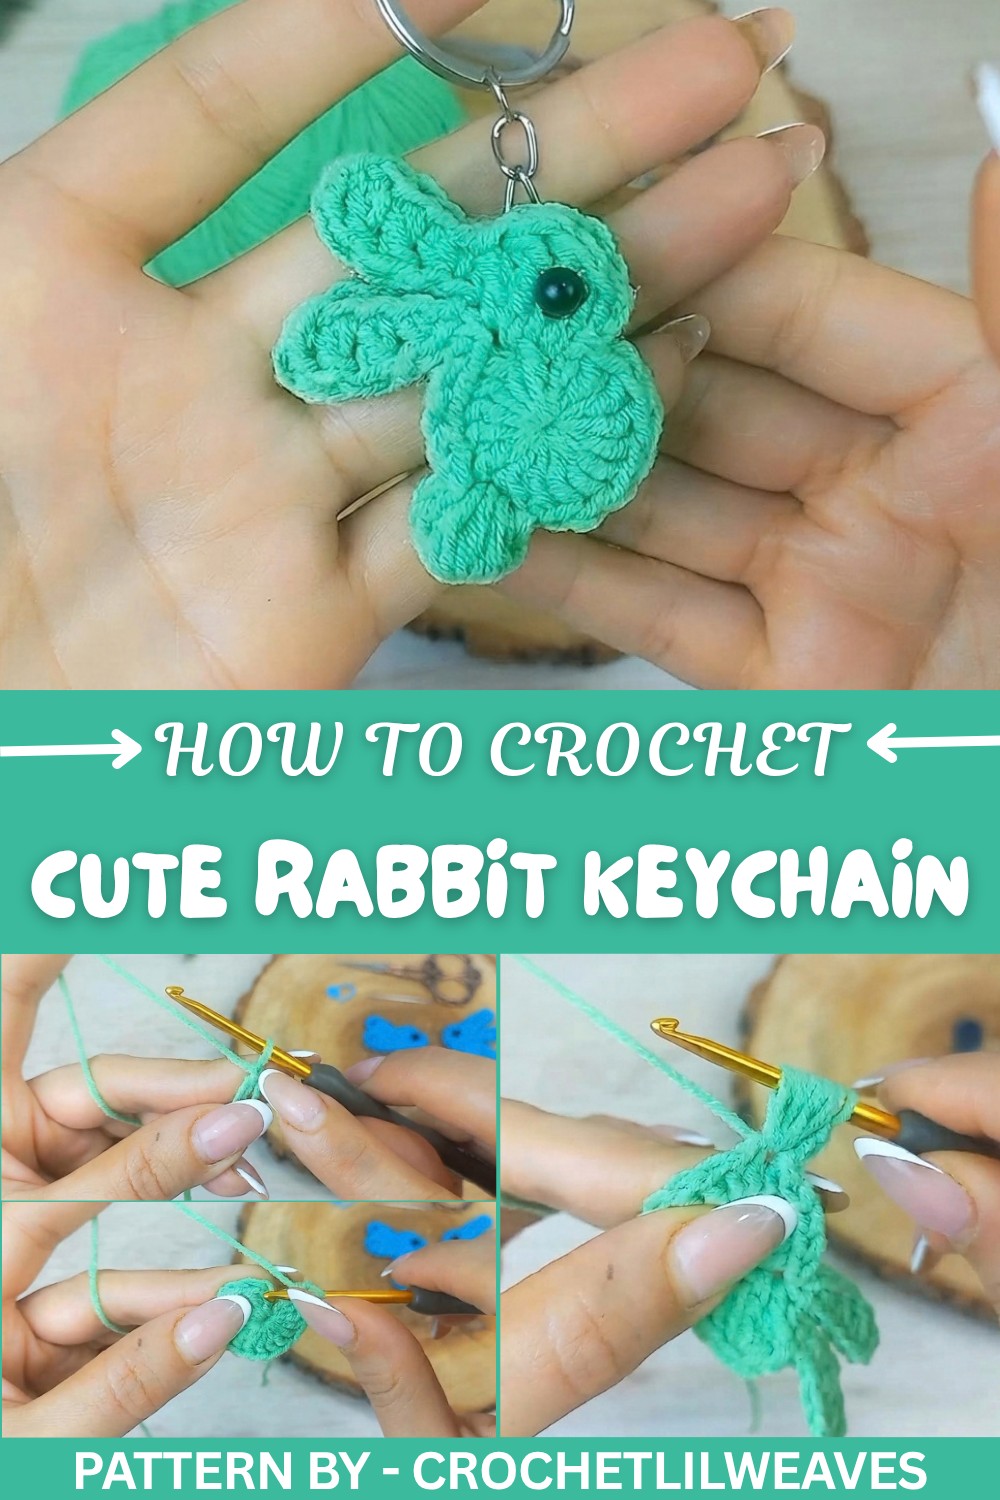
This little rabbit keychain isn’t just adorable, it’s simple enough for beginners to try. That’s right, even if you’re new to crochet, this project won’t overwhelm you. You only need a small amount of yarn, a hook, a few handy tools, and a little patience.
So, are you looking to learn new stitches, boost your creativity, or make something truly unique? This crochet rabbit keychain might just be what you’re looking for. It’s a small commitment with big results, giving you something lovely to keep or share as a handmade treasure.
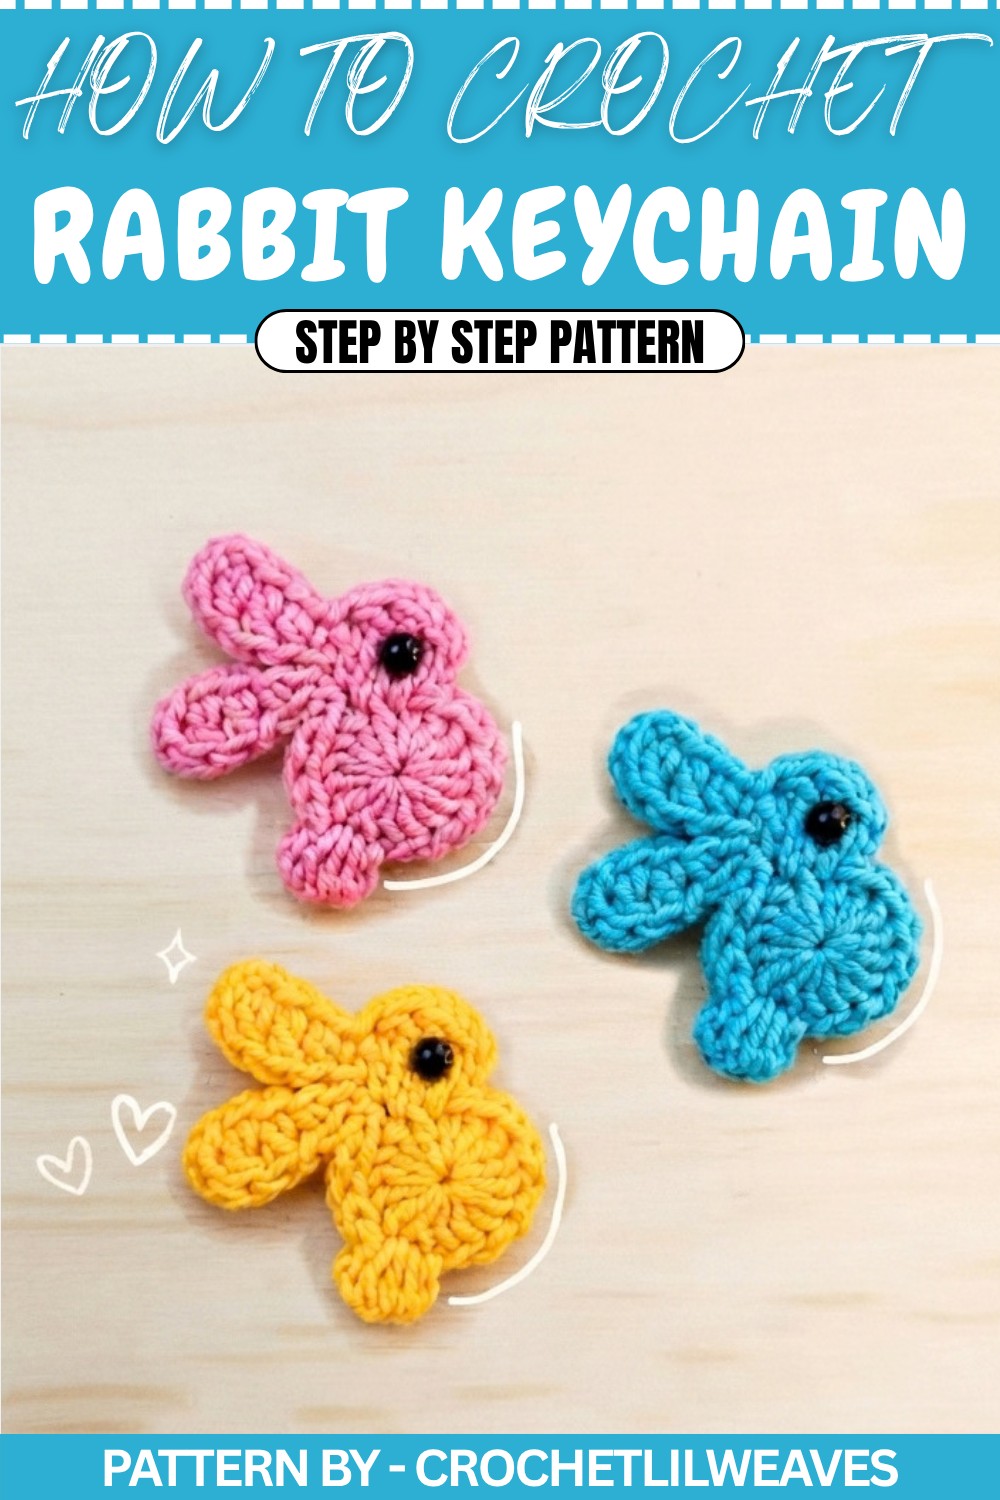
Crochet Rabbit Keychain Pattern
In this pattern, we will create a beautiful, tiny, and very cute crochet rabbit keychain step by step. The pattern requires creating two identical rabbit pieces, joining them together, and finally attaching flat eyes and a keyring to complete this adorable accessory. This project is great for crochet lovers looking for a quick and fun project.
Quick Overview of Pattern
- Create Two Rabbit Pieces: Start with the body, then crochet the head, ears, and tail.
- Join the Two Pieces Together: Use a glue gun to assemble the two rabbit pieces.
- Add the Final Details: Attach flat eyes and a keyring to finalize your beautiful keychain.
Notes
- Use a stitch marker to keep track of your rounds and stitches, if needed.
- Make sure to maintain even tension for a neat finish.
- Work loosely for the slip stitches to avoid puckering.
- Customize the rabbit with your choice of yarn colors.
Skill Level
Beginner to Intermediate – This pattern involves basic stitches such as double crochet, single crochet, and slip stitch, as well as techniques like working in the back loops and creating a puff stitch.
Materials
- Yarn: Category 2 fine yarn (any color).
- Crochet Hook: 3.0 mm.
- Scissors
- Keyring
- Flat Eyes (pair)
- Yarn Needle
- Glue Gun
Measurements / Sizing
- Rabbit Size: Small, fits perfectly as a keychain accessory.
Gauge
Gauge is not essential for this project, but ensure that the stitches are tight enough to maintain the structure without gaps.
Stitch Abbreviations
| Abbreviation | Stitch |
|---|---|
| CH | Chain |
| SC | Single Crochet |
| DC | Double Crochet |
| TR | Triple (or Treble) Crochet |
| SL ST | Slip Stitch |
| PS | Puff Stitch |
Special Stitches
- Magic Ring: This technique creates a tightly closed loop to start the round, perfect for creating circular shapes like the rabbit's head.
- Puff Stitch (PS): Yarn over, insert the hook into the stitch, pull up a long loop, and repeat the process multiple times before pulling through all loops on the hook.
The Crochet Pattern
Part 1: Left Rabbit – Body
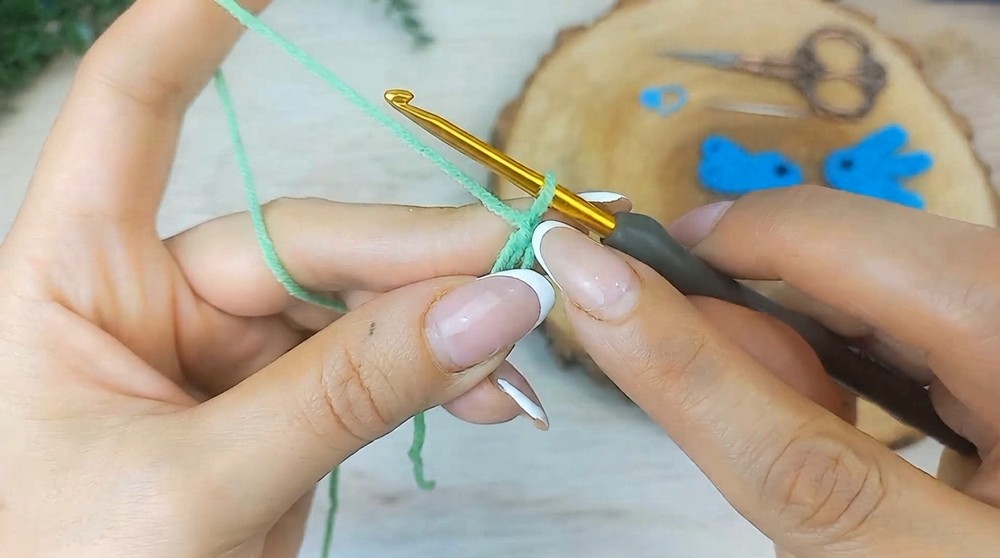
- Start with Magic Ring:
- Wrap the yarn around your fingers to create an X shape. Insert the hook under the first loop, grab the second loop, and pull it through. Make 1 CH to secure the ring.
- Pull the tail to tighten the ring.
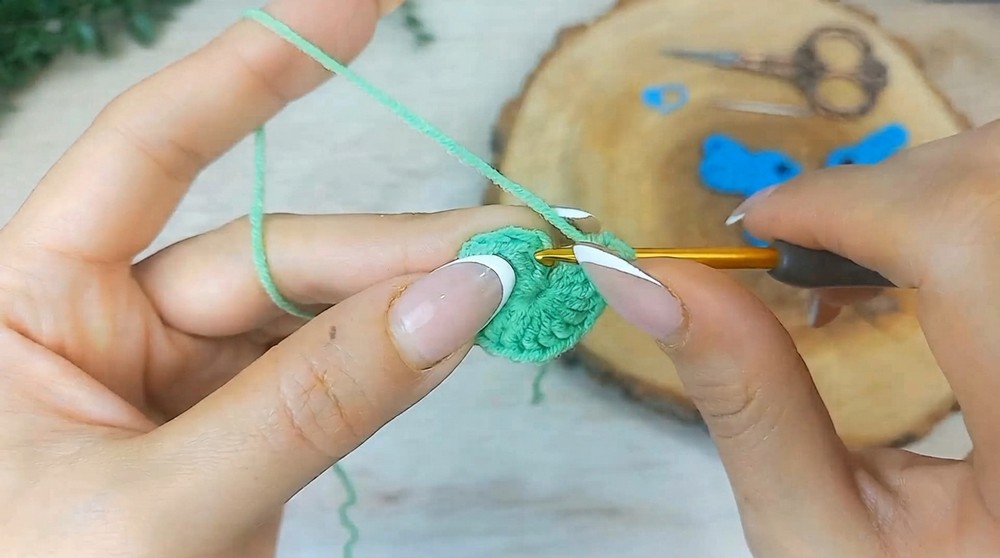
- First Round:
- CH 3 (counts as 1 DC).
- Make 15 DC into the magic ring for a total of 16 DC.
- Pull the ring’s tail to close the circle.
- SL ST into the 3rd CH of the starting chain to finish the round.
Part 2: Head
- CH 2.
- Make 1 DC between the first group of starting chains and the next DC.
- Work 1 TR on top of the next DC. TR: Yarn over twice, insert hook, pull up a loop, yarn over and pull through 2 loops at a time.
- Work 1 TR in the space between the second and third DC.
Part 3: Ears
- First Ear:
- CH 7.
- Skip the first 3 CH.
- In the 4th CH, work 1 DC into the back loop.
- Work 1 DC into the back loop of the next CH.
- Work 1 half double crochet (HDC) into the back loop of the next CH.
- Work 1 SC into the back loop of the last CH.
- Attach the ear by making a SL ST into the same stitch where the previous DC was made.
- Second Ear:
- Repeat the same steps for the second ear. After attaching it, the rabbit's head with both ears is complete.
Part 4: Body and Tail
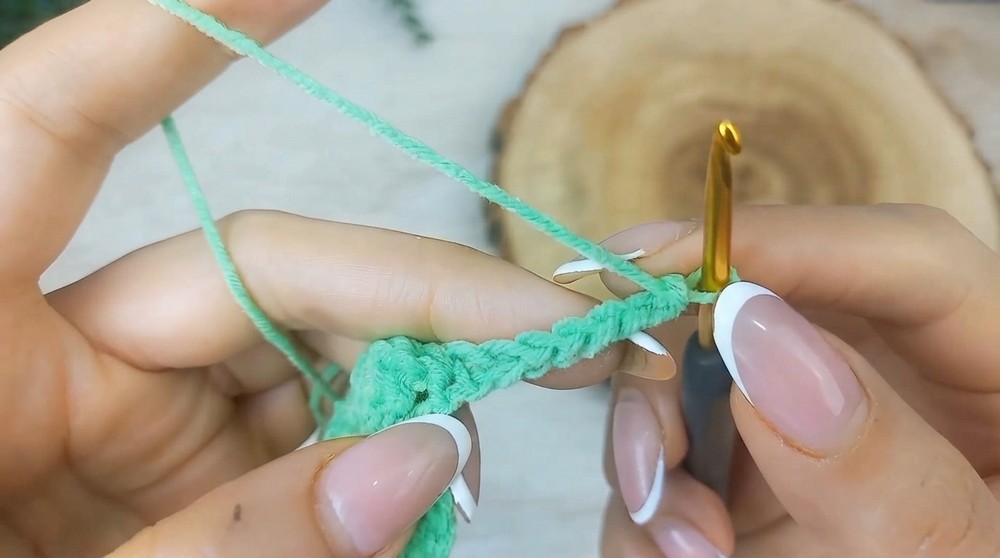
- Count 5 stitches from the ear and work 1 SL ST into each stitch to position for the tail.
- Tail:
- CH 2.
- Make a puff stitch (PS) in the same stitch: Yarn over, insert hook, pull up a long loop, repeat 4 times until there are 11 loops on the hook.
- Yarn over and pull through all loops.
- CH 1 to secure, CH 2 more, then SL ST back into the same stitch to complete the tail.
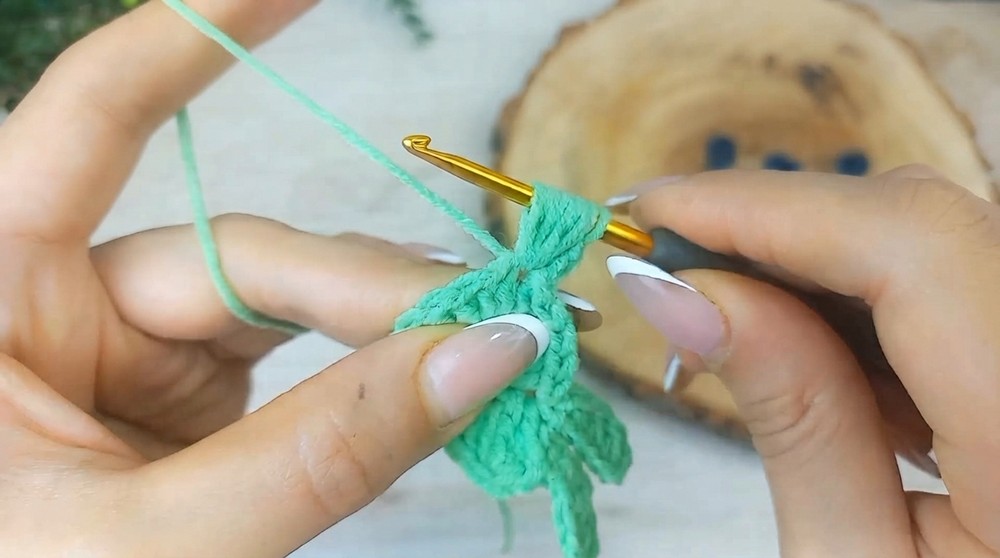
- Cut the yarn, make a knot, and push the puff tail to the front. Weave in the ends on the back to finish.
Right Rabbit
- Repeat the same steps as the left rabbit, but start from the tail instead of the head.
- Work the ears, head, and body in reverse order to mirror the previous rabbit piece.
- Weave in any loose ends upon completion.
Assembly & Finished Size
- Join Rabbit Pieces:
- Place the two rabbit pieces back to back, ensuring the edges align neatly.
- Use a glue gun to attach the pieces together.
- Let the glue dry completely before proceeding.
- Attach Flat Eyes:
- Use a glue gun to securely attach one eye to each side of the rabbit's head.
- Add Keyring:
- Use the glue or attach the keyring securely to the top of the rabbit’s head.
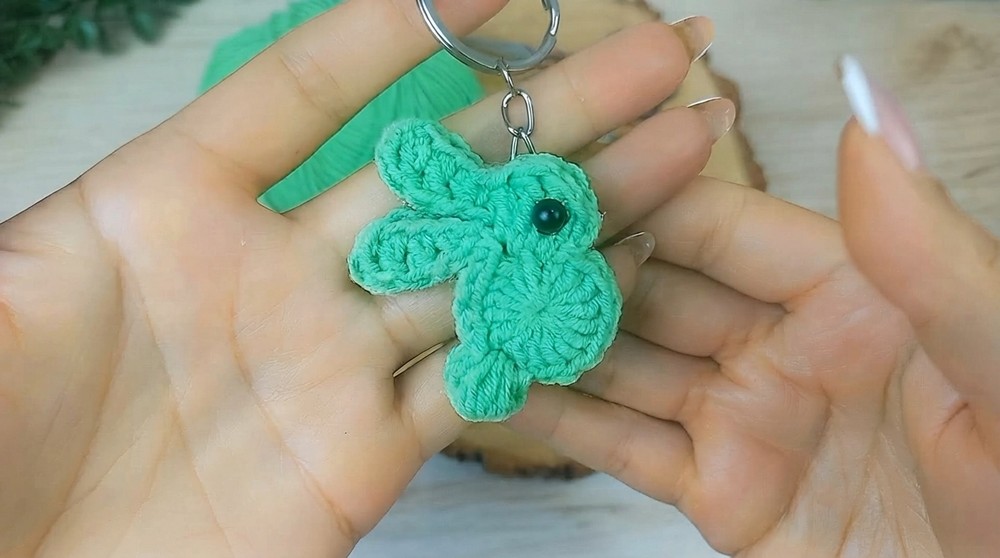
- The finished rabbit keychain measures small enough to act as a decorative and functional accessory.
Conclusion
Congratulations, You’ve crocheted a cute crochet rabbit keychain complete with ears, a puff tail, and standout eyes. This keychain is a wonderful handmade piece that’s both fun to create and perfect as a gift for friends or family. Feel free to experiment with colors and make multiple keychains for different occasions.