
Free Crochet Colorful Granny Bag Pattern for Every Yarn Lover
Start crocheting with this free and simple granny bag pattern that’s colorful, easy to make, and a joy for anyone who loves handmade creations.
If you’ve got some leftover yarns in your collection and you’re wondering what to do with them, let me share a project idea you’ll absolutely love. Have you ever thought about crocheting your very own colorful and functional crochet bag? It’s the perfect mix of creativity, style, and fun. Plus, you don’t need to be a super skilled crochet artist to create one, it’s beginner friendly and so much fun to make.
Featured By MOP Crochet
What makes this project so special is the beauty of the Granny stitch. This popular crochet technique brings a charming, cozy vibe that’s easy to master, even if you’re still new to crocheting. With just a simple mix of double crochets and chains, you can create a stunning and sturdy pattern. You can also use this versatile stitch to make other things like blankets, coasters, or even cozy wraps. It’s super fun and flexible to work with.
Free Granny Bag Crochet Pattern That’s Easy and Gorgeous
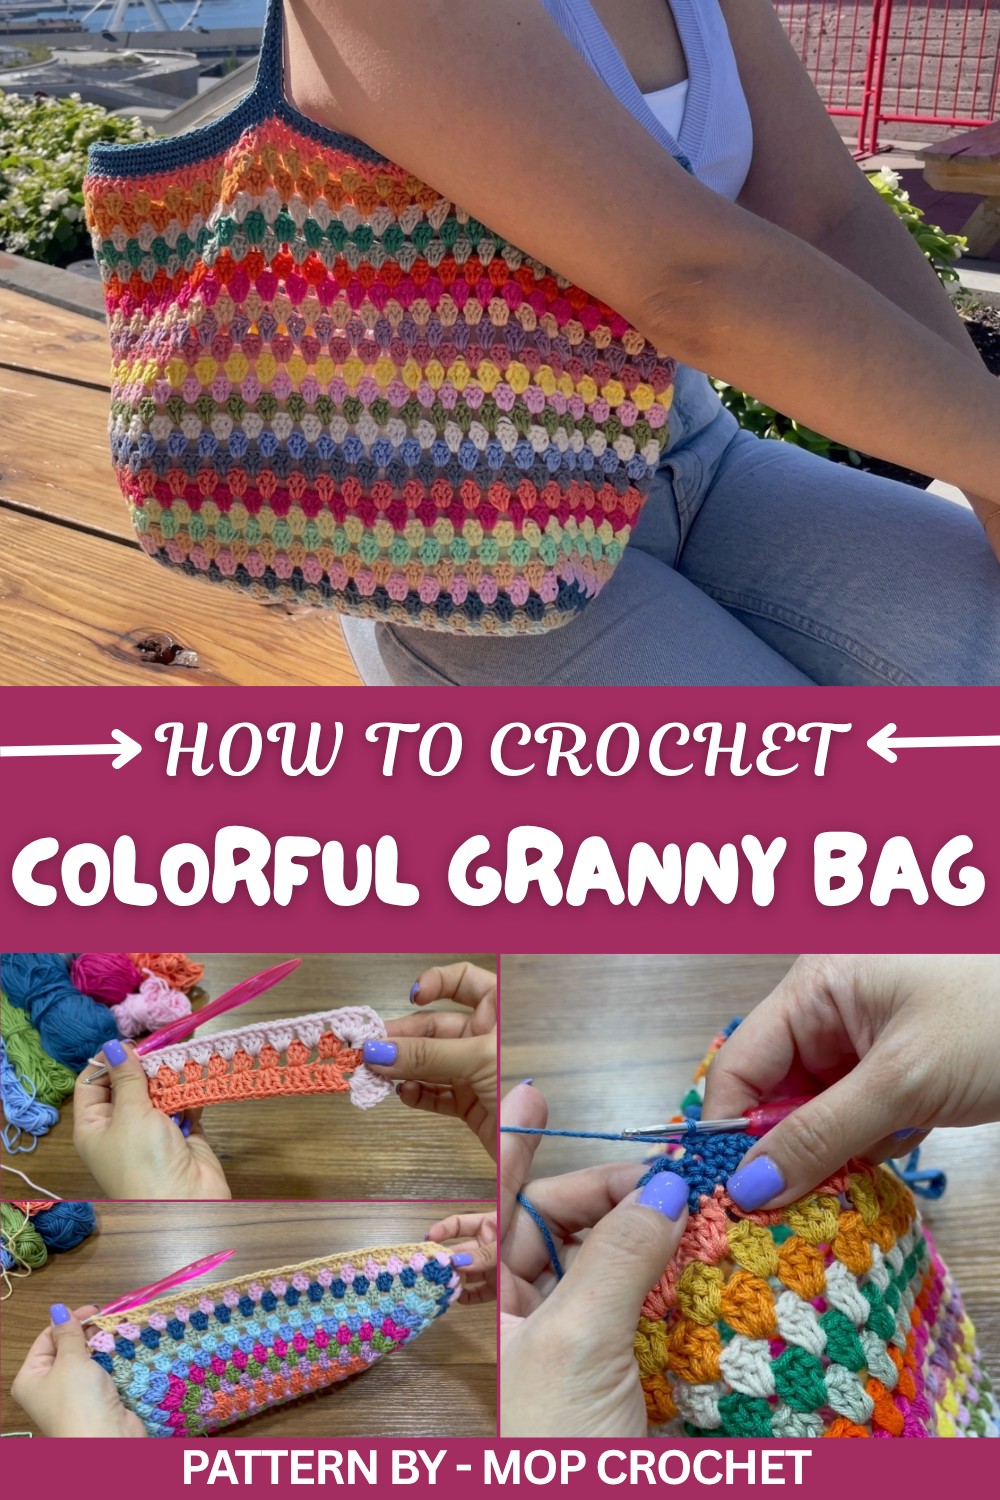
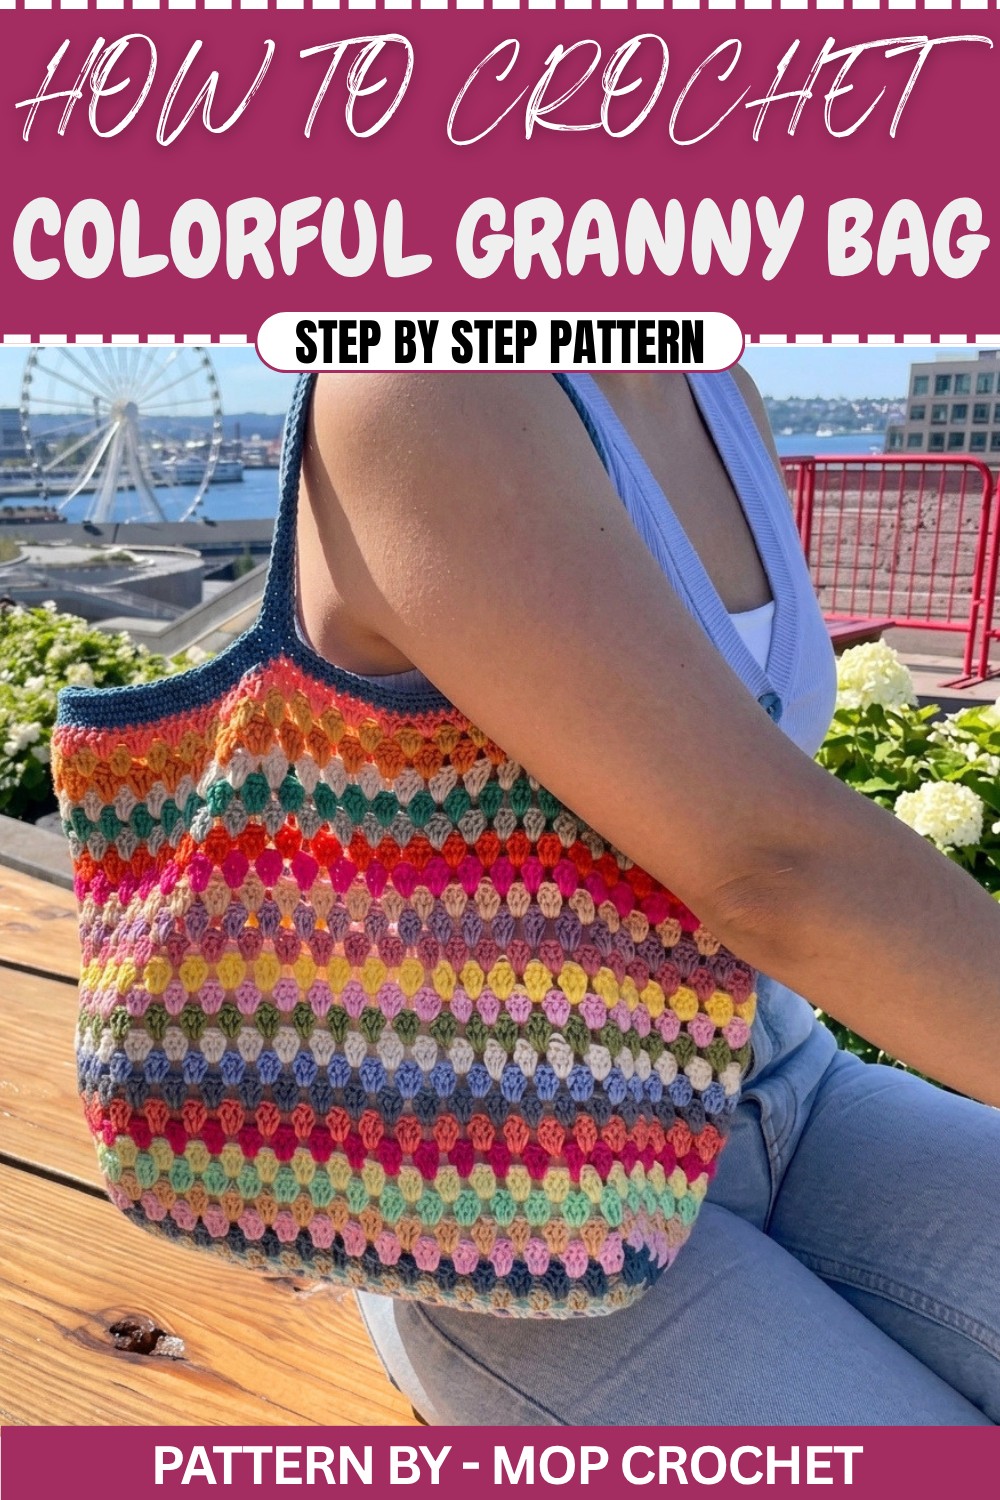
This crochet bag is perfect for so many occasions. Whether you want to carry books, groceries, or your favorite crochet supplies, it’s designed to be both useful and beautiful. And if you love a pop of color in your life, this is your chance to experiment with multi colored yarns or leftover scraps to create a vibrant, eye catching bag. Add a personal touch with your favorite shades to make it as unique as you are.
So pick your hook, choose your prettiest yarn colors, and let’s create something that’s both stylish and practical. With a little time and creativity, you’ll have a homemade masterpiece to flaunt or gift to someone special. It’s more than just a bag, it’s an expression of your creativity.
Crochet Tutorial: Colorful Granny Stitch Bag Pattern
In today’s tutorial, I’ll guide you through making a colorful crochet bag using leftover 100% cotton yarn. This is a versatile and durable piece, perfect for everyday use or as a beautiful handmade gift. With its unique granny stitch pattern, this project is both fun and rewarding for a variety of crocheters.
Quick Overview of Pattern
- Pattern Name: Colorful Granny Stitch Bag
- Project Type: Crochet Bag with Handles
- Difficulty Level: Beginner to Intermediate
- Skills Used: Magic Ring, Chain (CH), Double Crochet (DC), Single Crochet (SC), Slip Stitch (SLST)
Notes
- The bag is made using the granny stitch. You’ll build the base of the bag in a rectangular shape and then work in the round to add length and handles.
- You can easily customize the size of the bag by increasing the number of rounds worked on the base or body.
- Use a stitch marker if needed to keep track of rounds while working in the round.
Skill Level
Beginner to Intermediate – Familiarity with stitches like chain (CH), double crochet (DC), single crochet (SC), and slip stitch (SLST) is helpful.
Materials
- Yarn:
- Total: 200 g of 2 mm thick, 100% cotton yarn
- You can use leftover yarn in colorful shades for this bag.
- Hook Size: 3 mm crochet hook
- Stitch Markers (Optional)
- Scissors
Measurements / Sizing
The finished rectangular base for the bag measures approximately 27 cm x 15 cm after 8 rounds. When folded and stitched into the body of the bag, the overall dimensions are approximately 23 cm x 40 cm.
If you'd like a larger bag, simply work additional rounds on the base before transitioning to the body.
Gauge
The gauge isn’t critical for this project. However, do ensure that your stitches are even for a neat finish.
Stitch Abbreviations
- CH: Chain
- DC: Double Crochet
- SC: Single Crochet
- SLST: Slip Stitch
Special Stitches
Granny Stitch: A group of three double crochet stitches worked into the same stitch or space.
The Crochet Pattern
Let’s dive into the step by step instructions for making this colorful crochet bag:
Base of the Bag
Round 1: Starting the Foundation
- Create a slipknot to begin.
- Chain 24.
- Chain 1 more (a turning chain).
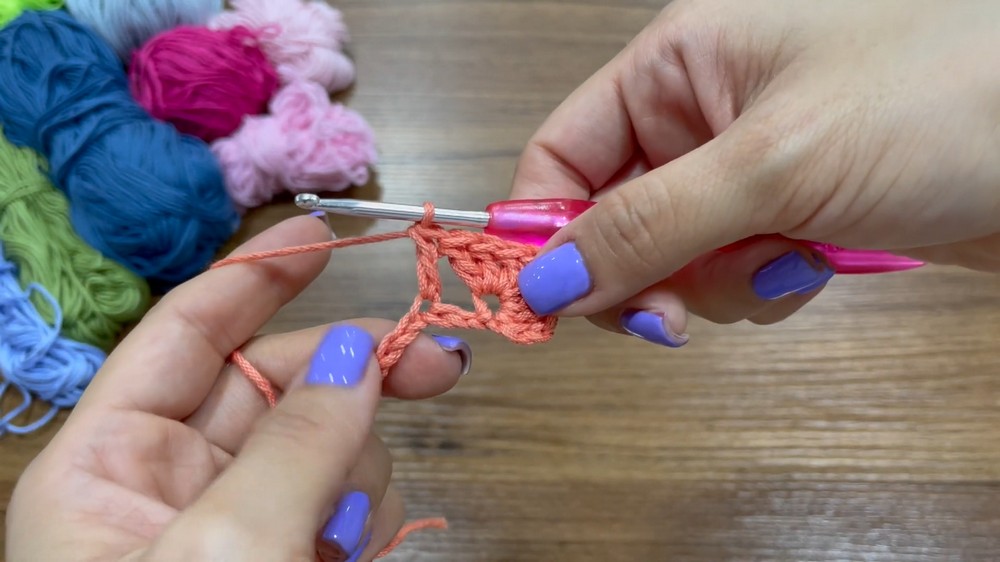
- To start working the granny pattern, skip the first 3 chains and go to the 4th chain from the hook. Work:
- 2 DC into the same chain.
- With the last chain you skipped and the two DCs just made, you have your first granny group of 3 DCs in the same spot.
Marking the Corner
- Chain 2.
- Into the same chain space, work another 3 DC to form the first corner.
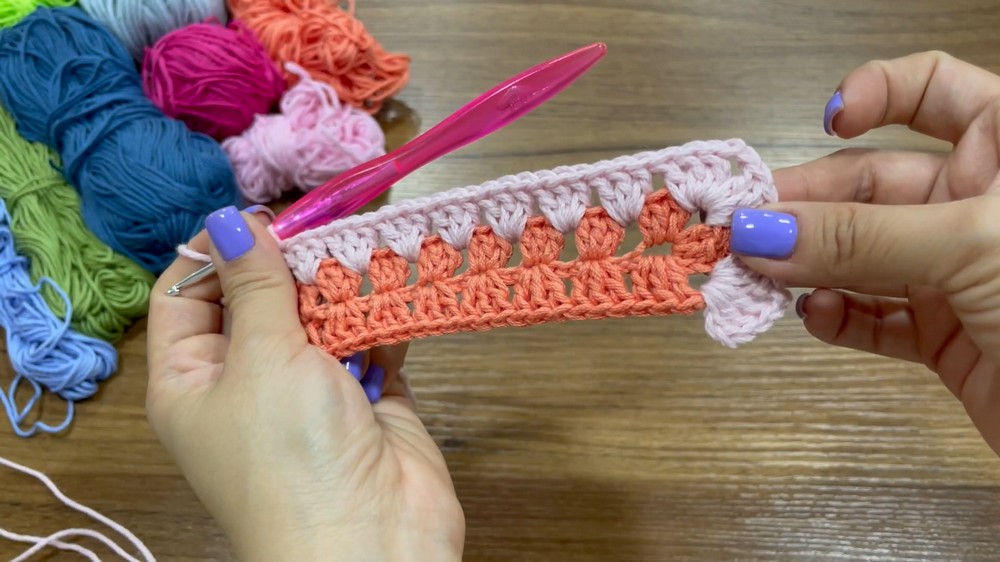
- Skip 2 chains on your foundation chain. In the next chain, work:
- 3 DC in the same chain space.
Forming the Rectangle Shape
- Continue this pattern: Skip 2 chains, work 3 DC in the next chain space, until you only have 3 chains remaining on your foundation chain.
- When there are 3 chains left:
- Skip 2 chains.
- In the last chain, work:
- 3 DC
- 2 chains
- 3 DC
- This creates the second corner.
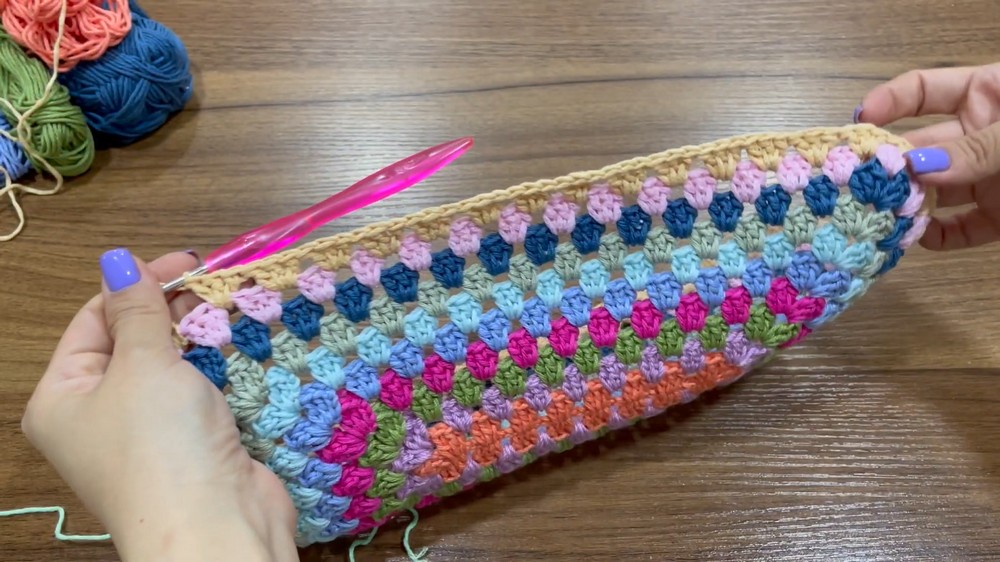
Working the Other Side of the Foundation Chain
- Turn the work to the opposite side of the foundation chain.
- Skip 2 chains and align the 3-DC granny groups you create with the groups from the previous sequence:
- 3 DC into the same chain space directly across from a granny group on the opposite side.
- Repeat this pattern until only 3 chains remain on the foundation chain.
Completing the Round
- When you reach the last chain, work:
- 3 DC
- 2 Chains
- 3 DC, ending at your starting point.
- Finish the round with a Slip Stitch (SLST) into the third chain of the starting chain.
Subsequent Rounds for the Base
Round 2:
- Insert the hook into any 2 chain space on any of the corners of the rectangle.
- Attach a new color (or the same color) yarn.
- Chain 3, then:
- Work 2 DC into the same chain space.
- Chain 2, and work another 3 DC into the same space (this marks the new corner).
- Work your way around the rectangle:
- Into each 2 chain space (corner), work:
- 3 DC, 2 CH, and 3 DC.
- Into each space between two granny groups (non corner spaces), work:
- 3 DC.
- Into each 2 chain space (corner), work:
- Complete the round with a SLST into the starting chain and change to a new color (optional).
Rounds 3–8:
Repeat the instructions for Round 2, continuing to form additional rounds of granny stitches. For corners, always work 3 DC, 2 CH, 3 DC into the same space. For non corner spaces, add 3 DC.
Body of the Bag
- Once the base has reached your desired size (in this tutorial, 8 rounds = 27 cm x 15 cm), stop increasing.
- From this point, the work will be done without increases.
Forming the Bag Body:
- Introduce your hook into any of the 2 chain spaces and attach the new color.
- Chain 3, and work 2 DC into the same chain space. This creates your first granny stitch group for the body.
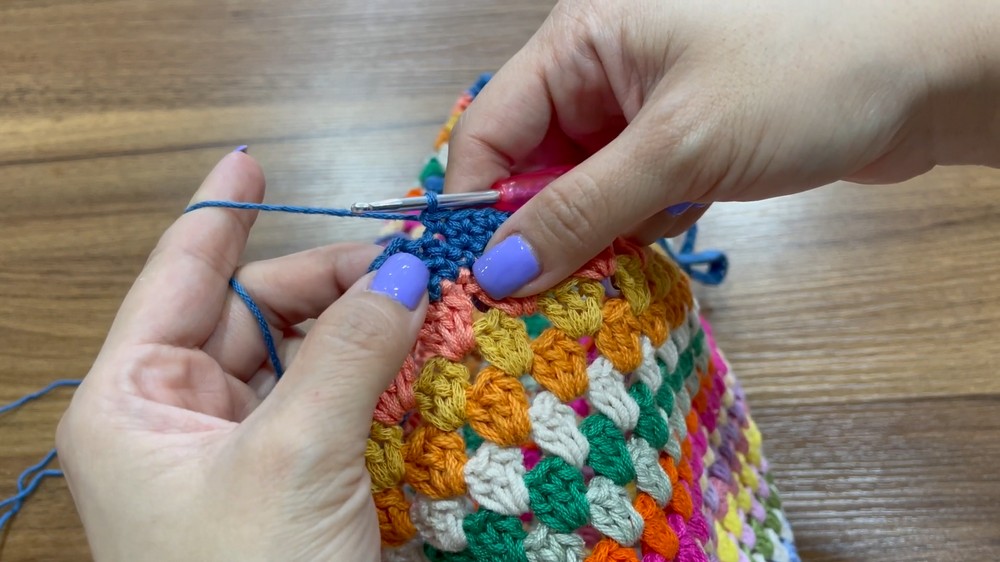
Round-by-Round Instructions for the Body:
- Work 3 DC in each space across the edges of the rectangle, working in the round.
- When you reach a 2-chain corner space:
- Work only 3 DC (no increases, as you're no longer building the base).
- Continue until the desired height is reached.
- In this tutorial, 23 rounds = 23 cm body height.
Handles
Step 1: Mark Positions for Handles
- Fold the bag in half and evenly divide the top edge into three equal parts.
- Mark two points on each side that are 13 cm apart from the edges. These will be the locations for your straps.
Step 2: Crochet the Handles
- Join the yarn at the first marked point.
- Chain 50 (or more) to make a handle length of 32 cm.
- Join the chain to the opposite marker with a SC. Repeat this for the second handle on the other side.
Finishing Touch Strengthening the Handles
- Work a row of SC stitches across both the top of the bag and along each strap.
- Repeat this on the underside of the handles for durability.
- Secure your yarn, weave in the ends, and trim the excess.
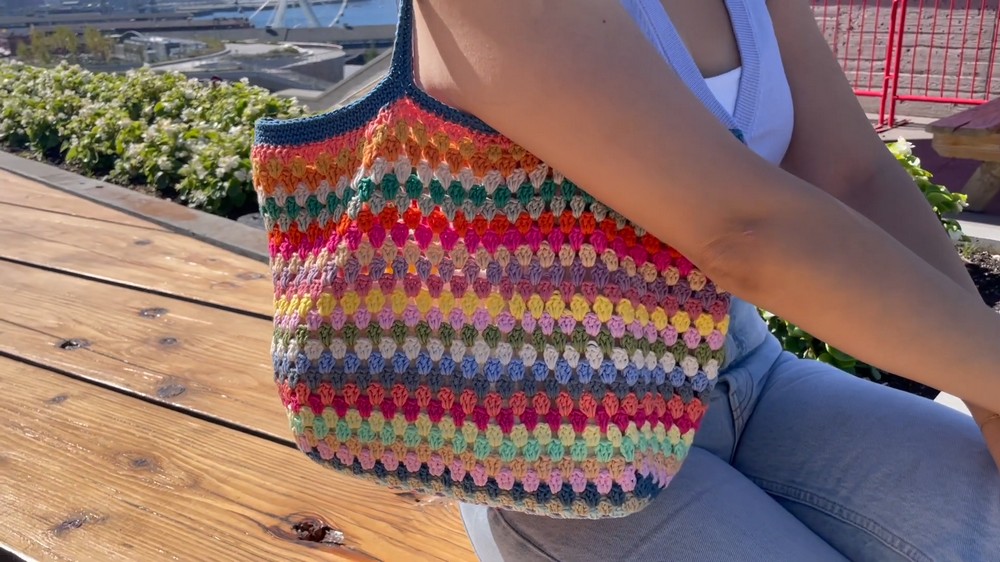
Assembly & Finished Size
- Base Size: 27 cm x 15 cm (can be customized).
- Body Length: 23 cm in the tutorial.
- Handles: 50 chains (32 cm); adjust length as needed.
Conclusion and Ending Words
Congratulations, Your colorful crochet bag is now complete. This fun and versatile granny stitch bag is perfect for your daily errands, a casual outing, or even as a fabulous gift.