
Elegant Crochet Flower-Shaped Bag Pattern for Unique Looks
Carry charm and creativity with this free crochet flower-shaped bag pattern, perfect for stylish, practical, and heartfelt accessories.
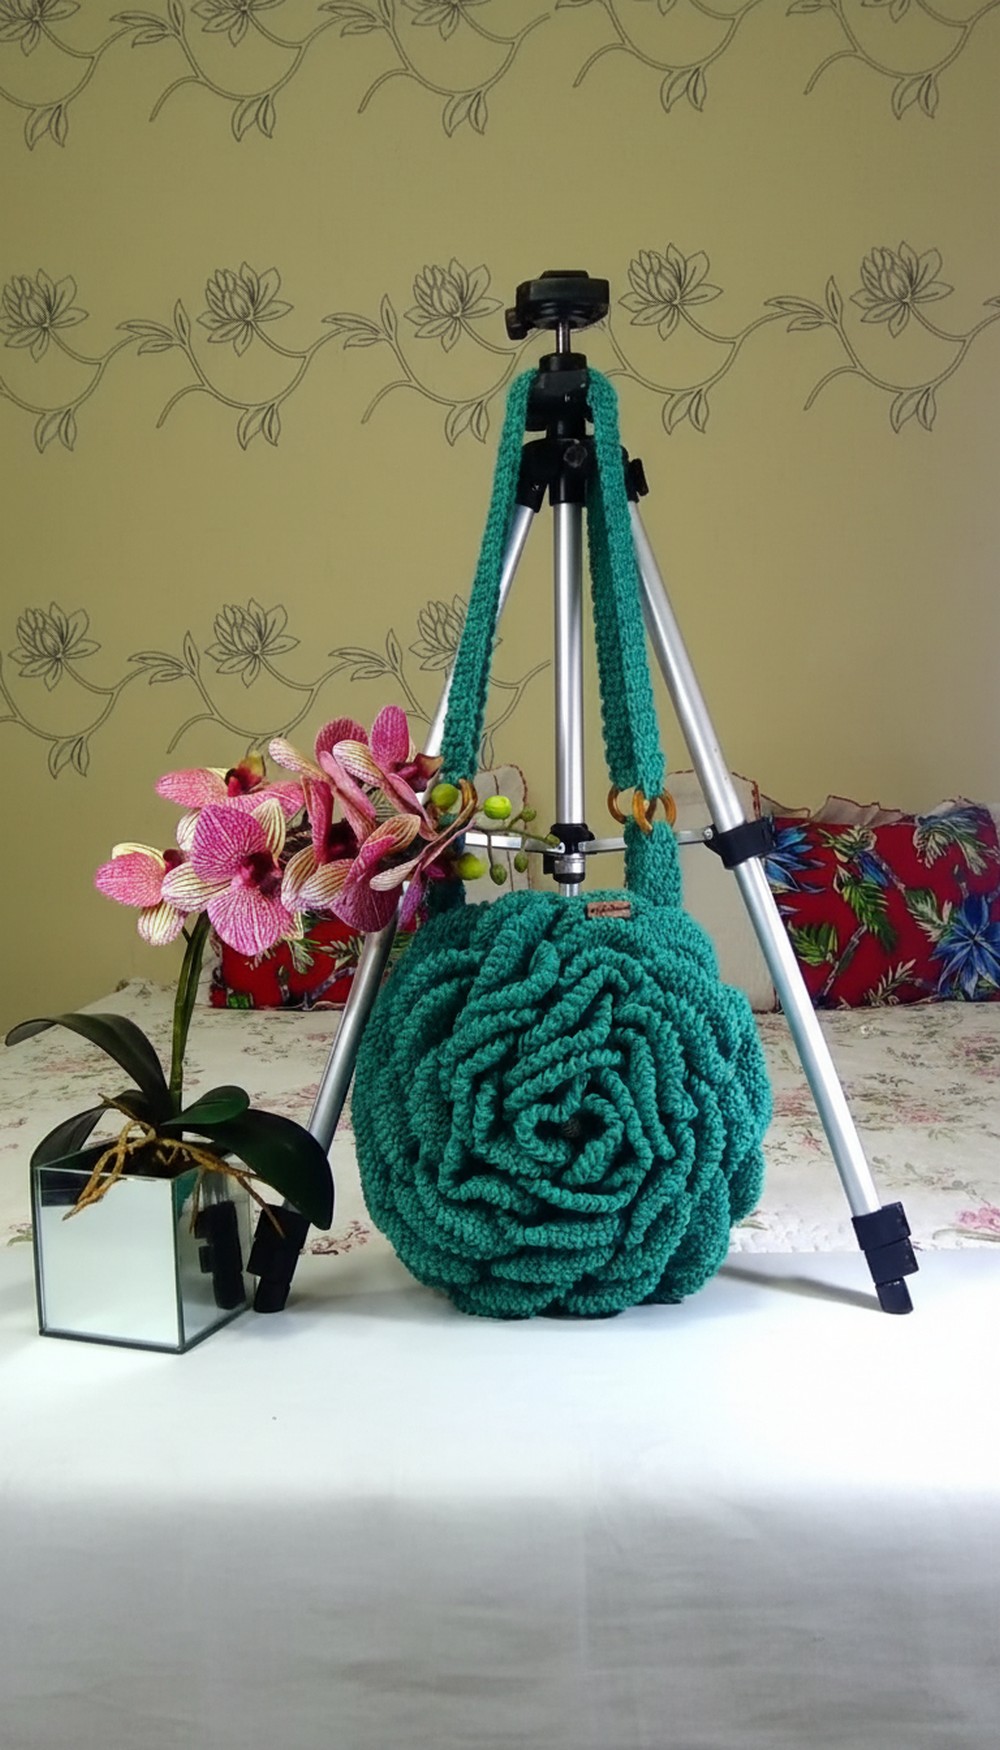
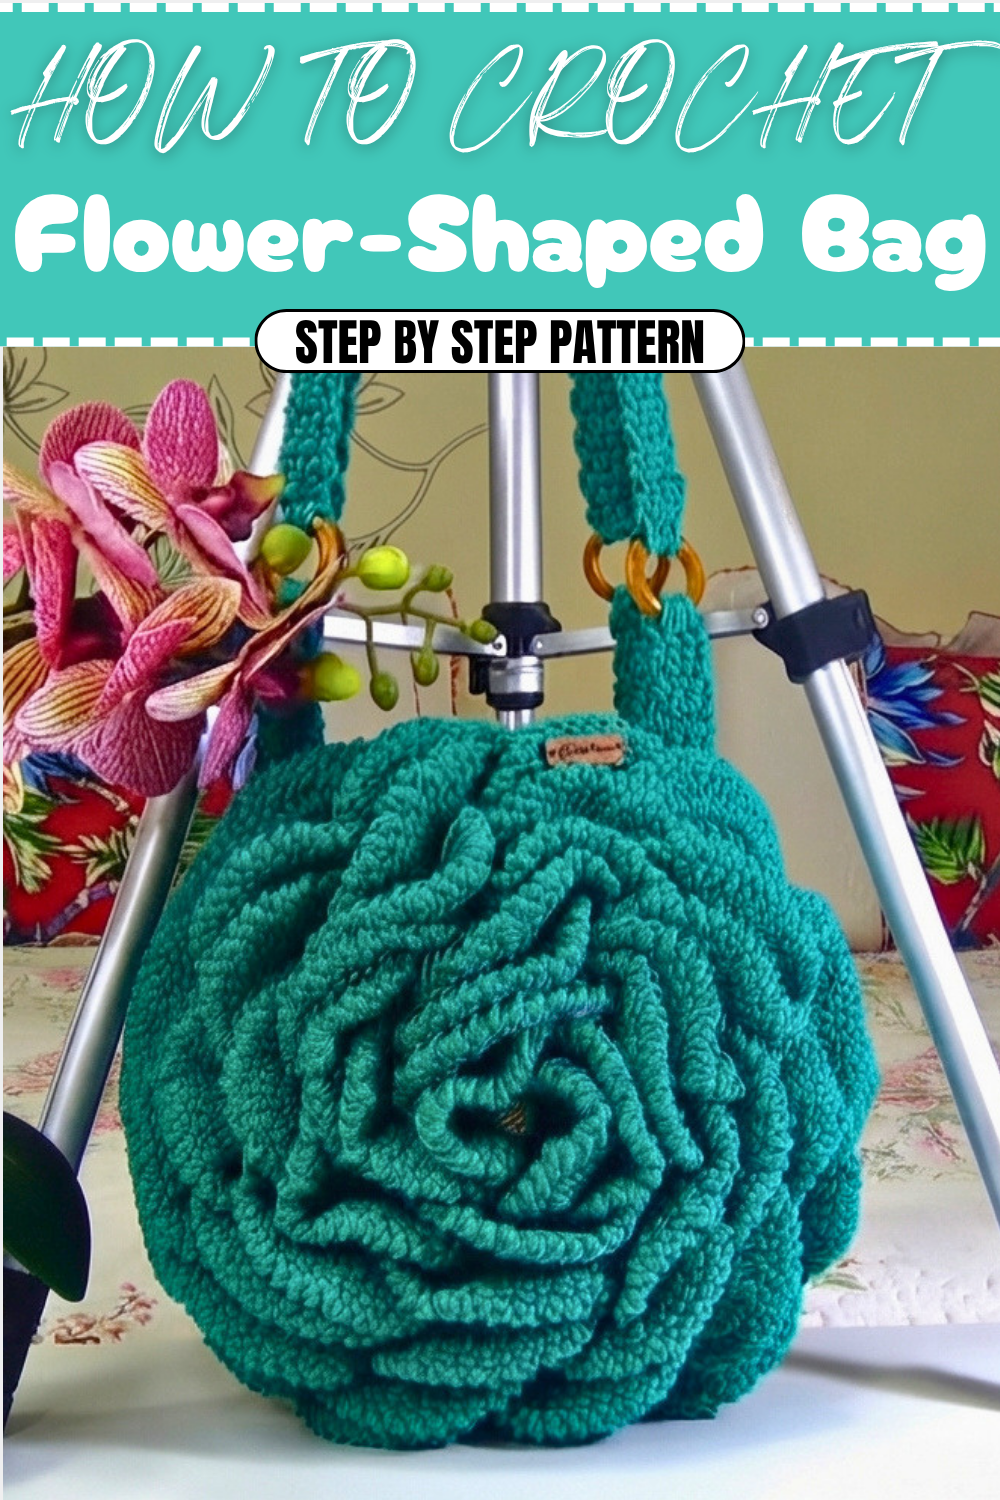
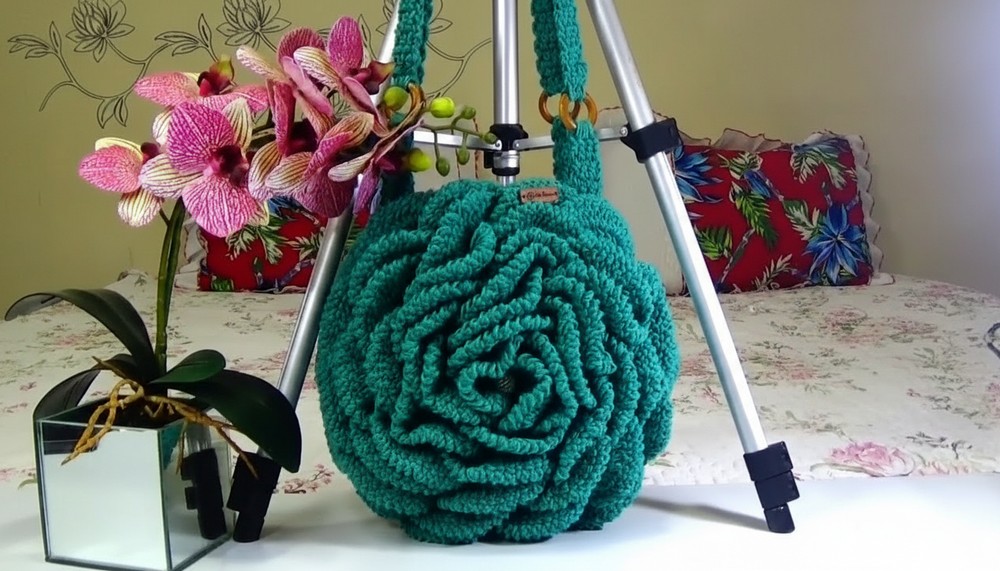
Soft textures and cheerful shapes bring extra charm to everyday accessories, and this flower-shaped bag pattern captures that spirit beautifully. Crocheted with treble crochet stitches worked mainly through the back loops, the bag’s sturdy base supports lovely, raised petals that give it a playful, three-dimensional look. Measuring about 28 cm across, its compact size makes it perfect for carrying small essentials or for a sweet gift that stands out with style and personality.
What Else You Can Create
The charming stitches and shaping used in this bag pattern offer great inspiration for many other handmade items. You might try making vibrant flower appliques to decorate hats, scarves, or blankets. Smaller versions can become coasters or ornamental pieces, while larger ones can turn into unique wall hangings or pillow covers. Changing colors or yarn types gives you endless ways to customize and brighten your crochet projects with floral flair.
Effortless Crochet Flower-Shaped Bag Pattern with a Charming Twist
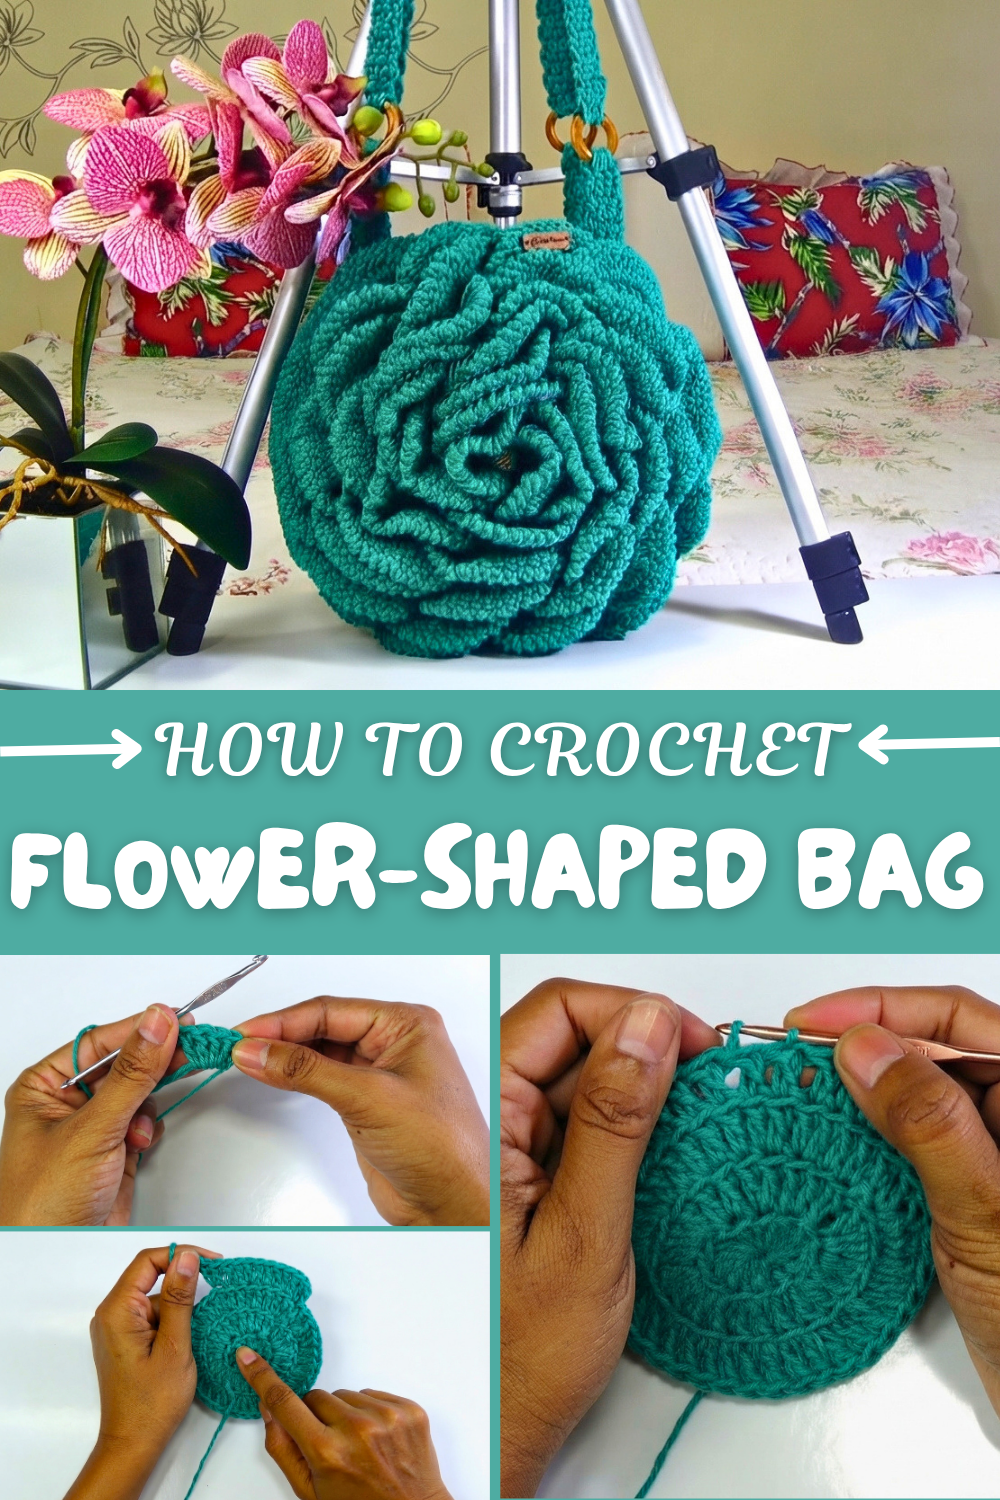
The project starts with a magic ring or a simple chain circle, gradually increasing stitches to form a rounded base. Focusing on back loop stitches keeps space for the petals to pop up in textured clusters of double crochets. These petal shapes are created with careful stitch placement and layering, giving the bag a delightful ruffled effect. The finishing touches include a neat single crochet edging and a comfy handle, making it both functional and eye-catching. This pattern welcomes beginners who know basic crochet stitches and want to add a little creative twist.
Floral Crochet Bag – Step-by-Step Detailed Pattern
This flower crochet bag is an elegant and versatile accessory that combines functionality and artistry. Its floral front paired with a plain backside balances style and practicality, making it perfect for casual outings or gifting. This pattern offers a great opportunity to practice petal formation, joining techniques, and adding beautiful finishing touches like delicate straps.
This floral crochet bag pattern lets you create a stunning handmade piece with a flower design on the front and a simple, sturdy back—ideal for someone who wants a balance of intricate detail and simplicity. With options to customize materials, colors, and textures, you can adapt this pattern to suit any preference. Ensure each stitch creates this unique, lightweight bag designed for functionality and beauty.
Uses of This Pattern:
- Daily Use: Lightweight design perfect for casual use.
- Customization Opportunity: Add colors to complement outfits or personal styles.
- Elegant Gift: Suitable for holidays or birthdays, showcasing your creativity.
Skill Level & Terminology
Skill Level: Beginner to Intermediate
You’ll practice fundamental crochet stitches and handle slight complexities such as attaching petals and straps.
Terminology: US Crochet Terms
Materials & Tools
- Yarn: Approximately 460 grams of size 6 yarn (you can also use jersey yarn or nautical yarn).
- Hook: 3.5 mm crochet hook.
- Wooden Rings: Two rings, approximately 2.5x2.5 cm, for strap attachments.
- Button: Medium or small for closure (optional: magnetic snap buttons).
- Tapestry Needle: For weaving ends and sewing pieces together.
- Stitch Markers: To assist with alignment.
Gauge
Gauge is not critical for this pattern. The finished bag’s size is influenced by your yarn type and hook size.
Abbreviations
| Abbreviation | Meaning |
|---|---|
| ch | Chain |
| sc | Single Crochet |
| dc | Double Crochet |
| sl st | Slip Stitch |
| yo | Yarn Over |
Special Stitch Instructions
Magic Ring: A method to form a tight loop at the center of your piece. Essential for creating the flower base.
Crab Stitch (Reverse Single Crochet): A decorative stitch used to reinforce edges while creating a textured border.
Finished Size
- Diameter of Bag: ~28–29 cm
- Strap Length: ~75 cm (can be adjusted based on preference).
What You’ll Learn from This Pattern
- Creating clean circular bases using the magic ring technique.
- Forming petals using strategic increases and crab stitch borders.
- Joining parts seamlessly for a professional finish.
- Customizing strap lengths and functionalities of closures like buttons or rings.
The Pattern Itself
Step 1: Creating the Bag Base
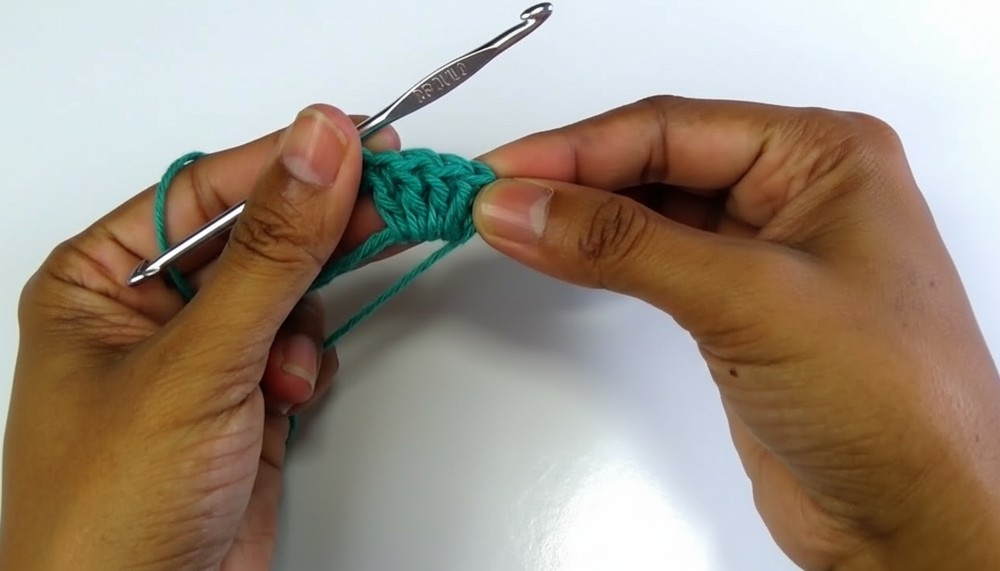
- Magic Ring:
- Wrap yarn around two fingers to form a ring.
- Insert hook into the ring, yo, and pull through. Secure with ch 1 (this ch 1 does not count as a stitch).
- Round 1:
- Work 14 dc into the ring.
- Pull the tail of the magic ring tightly to close the center.
- Join with a sl st into the 1st dc.
- Round 2:
- Ch 2 (counts as the 1st dc), and work 1 dc into the same stitch.
- Work 2 dc in each stitch around (28 dc total).
- Join with a sl st to close the round.
- Round 3–8:
- Continue increasing evenly in rounds:
- Round 3: 1 dc in the first st, 2 dc in the next st. Repeat around.
- Round 4: 2 dc in every 3rd st.
- Round 5: 2 dc in every 4th st, and so on.
- Continue increasing evenly in rounds:
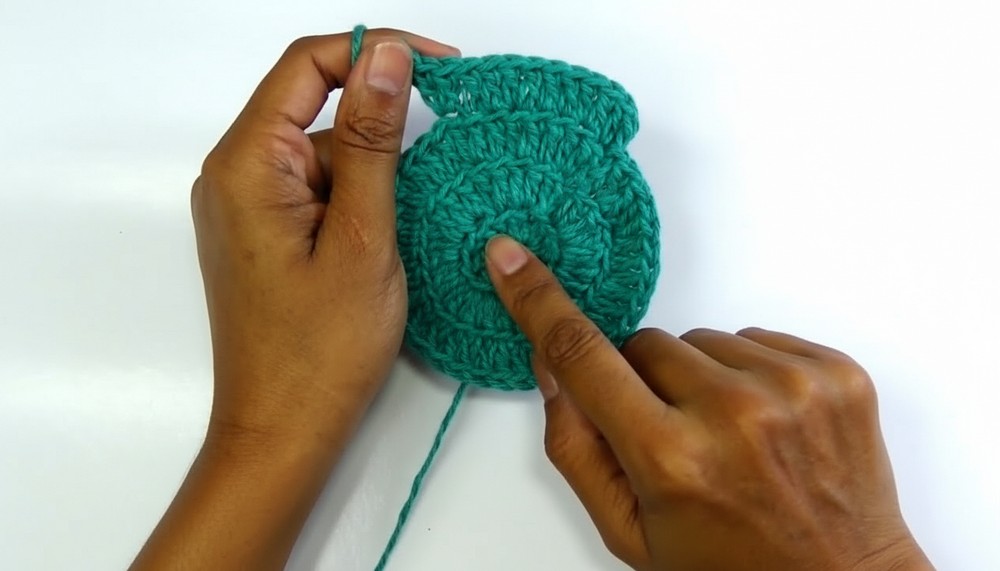
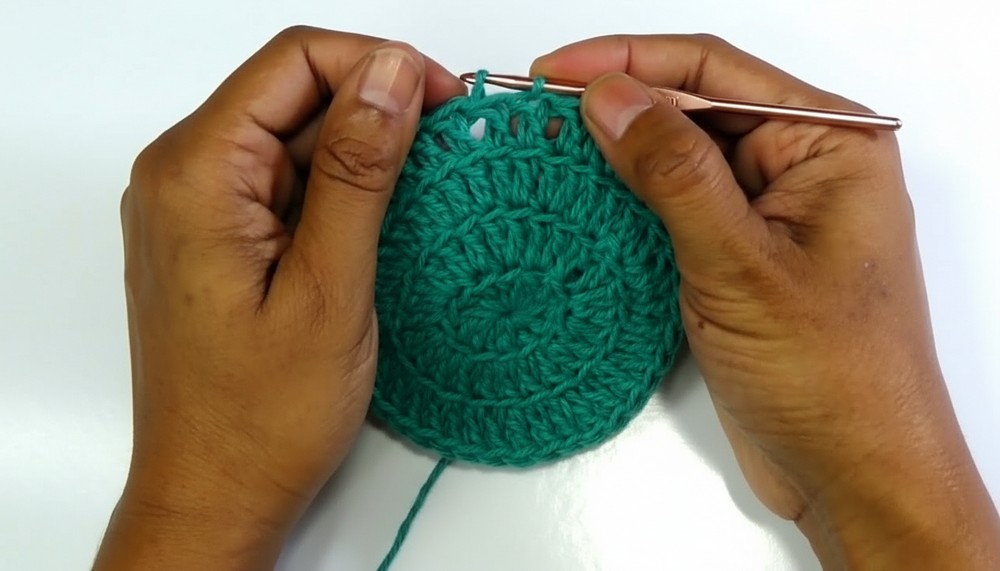
This forms the base of the bag. The eight rounds will serve as the foundation for both the flower side and the plain side.
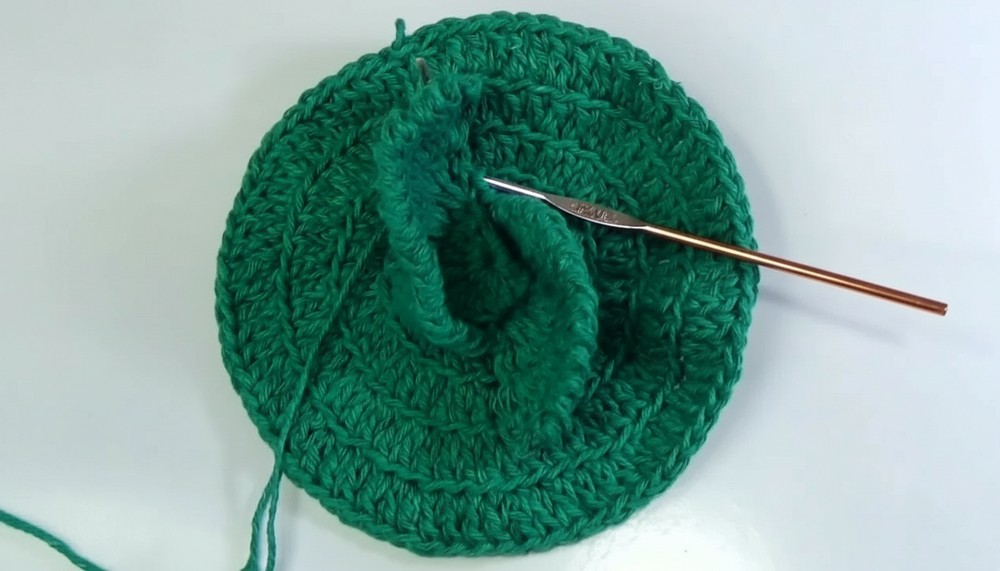
Step 2: Adding the Flower Petals (Front Side)
- Switch to Petal Work:
- Cut your main yarn and switch to a new color (optional). Attach the yarn to one of the back loops left unworked in the base round.
- Petal Formation:
- Step 1: Work your first petal starting in the loop’s back by working 1 sc followed by 3 dc into the same stitch.
- Step 2: Move to the next back loop and repeat the same technique. Every petal uses 3 base loops.
- Second Petal Row:
- Begin at the base of the formed petals, offset slightly to avoid stacking.
- Follow the same process (attach, chain up, and complete the petal sequence).
- Continue working petals until the outer edge of the base loops.
- Adding Crab Stitch Border:
- Around each petal’s edge, finish with the crab stitch (reverse single crochet).
- This makes the flower petals more structured and decorative while securing them neatly.
Step 3: Working the Plain Back Side
- Magic Ring for Second Side:
- Start with a magic ring and work rounds 1–8 exactly as detailed for the flower base.
- No Additional Steps Needed:
- This side remains plain and serves as the backside of the bag for durable support.
Keeping the back simple saves material and creates a lightweight final product.
Step 4: Joining the Two Bag Parts
- Aligning the Sides:
- Place the flower side and plain side wrong sides together.
- Use stitch markers to pin the edges evenly.
- Joining:
- Insert your hook into aligned stitches from both sides at the same time.
- Use sl st to join edges, ensuring alignment across all petals.
- Leave a small opening if desired, for a zipper or button closure.
Step 5: Adding the Strap and Button
- Attachment Points:
- Mark positions for wooden rings using stitch markers to avoid misalignment.
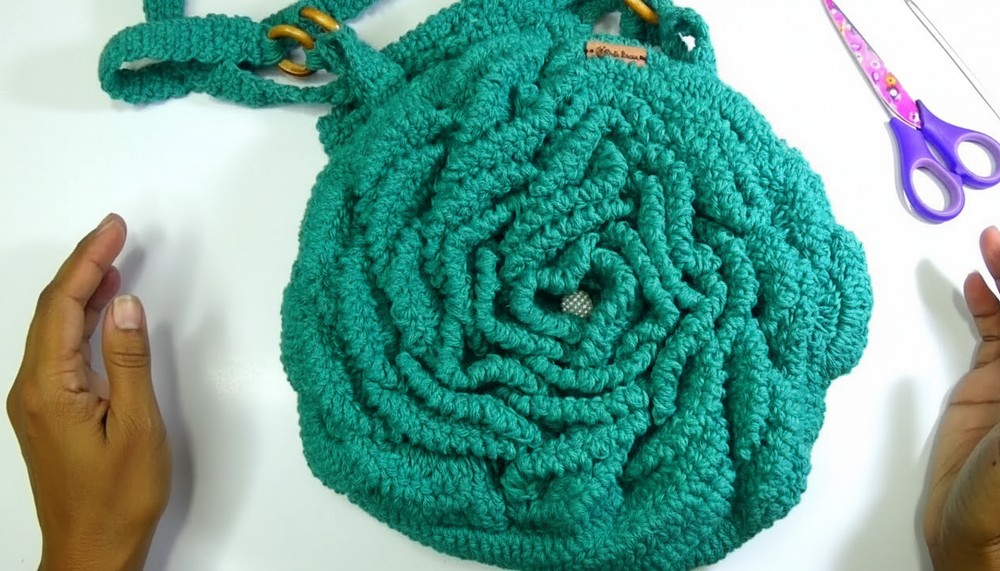
- Attach the rings with 7 rows of sc reinforcement for durability.
- Creating the Strap:
- Start with 3 sc into a ring. Work rows back and forth in sc for ~75 cm (or desired length).
- Attach the strap to the second ring using sc.
- Positioning the Button:
- Sew a snap button or magnetic closure to the bag's opening.
- Optionally, add decorative buttons to the flower’s center for a polished touch.
Assembly & Finishing
- Weaving Ends:
- Weave in all yarn ends using a tapestry needle.
- Finishing Touches:
- Lightly block the bag if needed to smooth out edges and petals.
- Test Sturdiness:
- Ensure slip stitches, straps, and button are securely attached for a long-lasting product.
Why You’ll Love This Pattern
This flower crochet bag pattern combines beauty, durability, and functionality. The floral detail makes it resemble a bouquet, perfect for summer or spring outings, while its simplicity offers understated elegance. The structured back and reinforced strap showcase thoughtful design, making it a highly cherished handmade item.