
Free Crochet Ripple Yarn Bag Pattern with Boho Summer Vibes
Learn to make a simple and stylish ripple yarn bag with this free crochet pattern perfect for beginners using chunky yarn and basic stitches for a fun project.
Crocheting is one of those skills that allows you to turn simple materials into something both practical and visually appealing. This ripple yarn bag is no exception. With a structured form and detailed edges, it offers the perfect balance of style and usability. Whether you’re using it for groceries, work essentials, or a casual day out, this bag serves as a sturdy and attractive carrier. Its stiff yarn ensures it holds its shape with ease, while the neatly wrapped handles make it comfortable to carry and durable enough for regular use.
Free Crochet Ripple Yarn Bag Pattern with Cheerful Waves
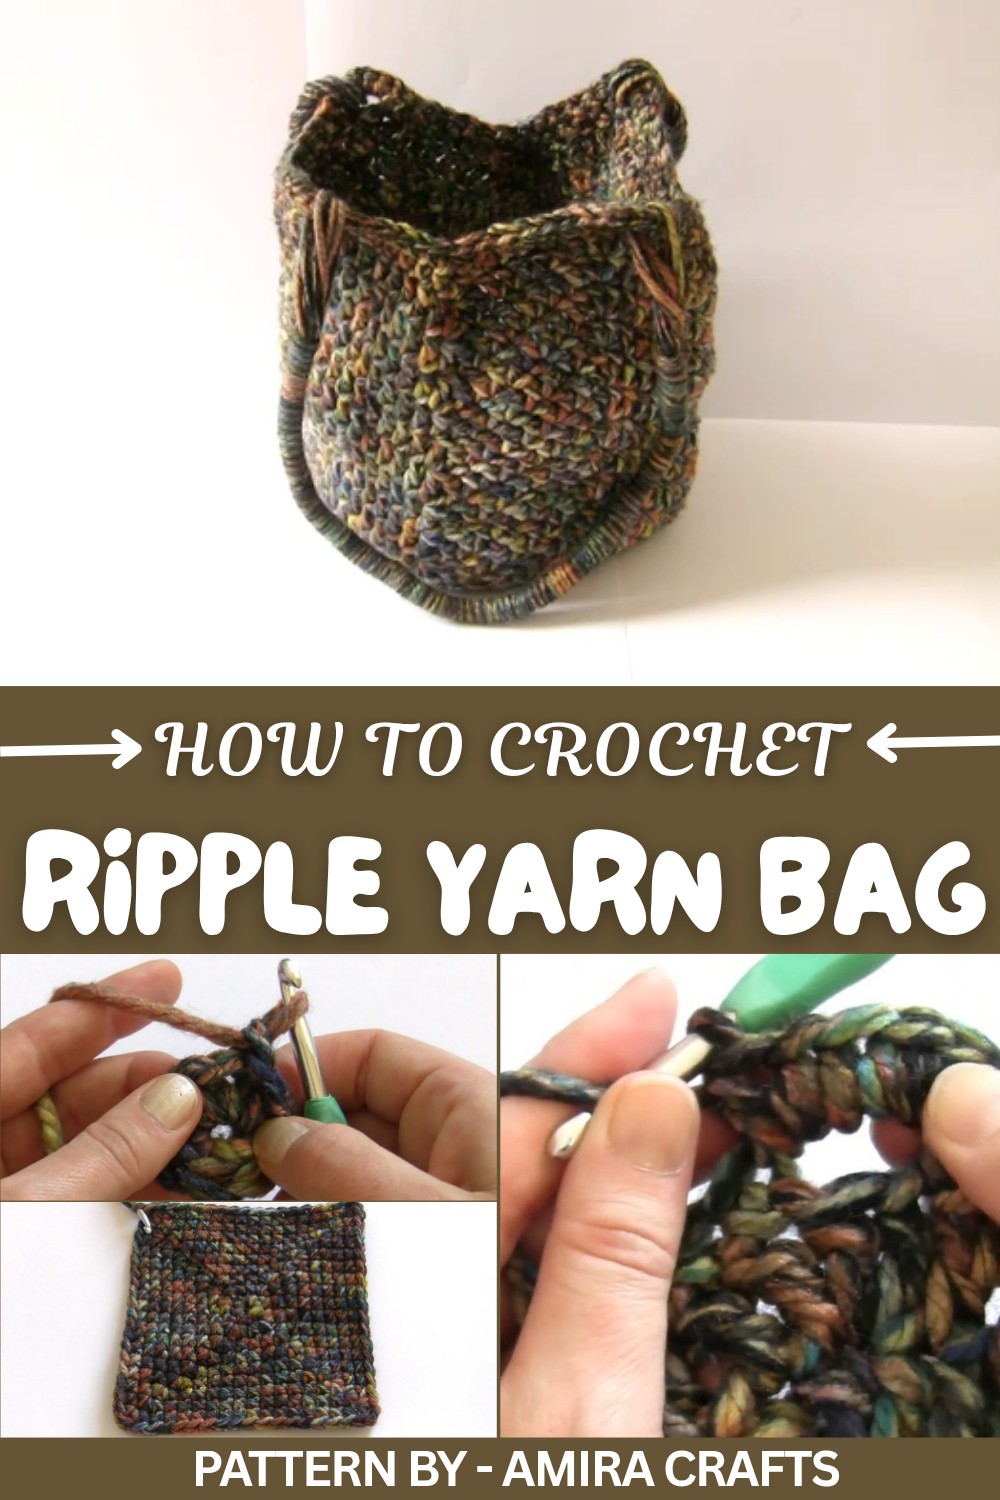
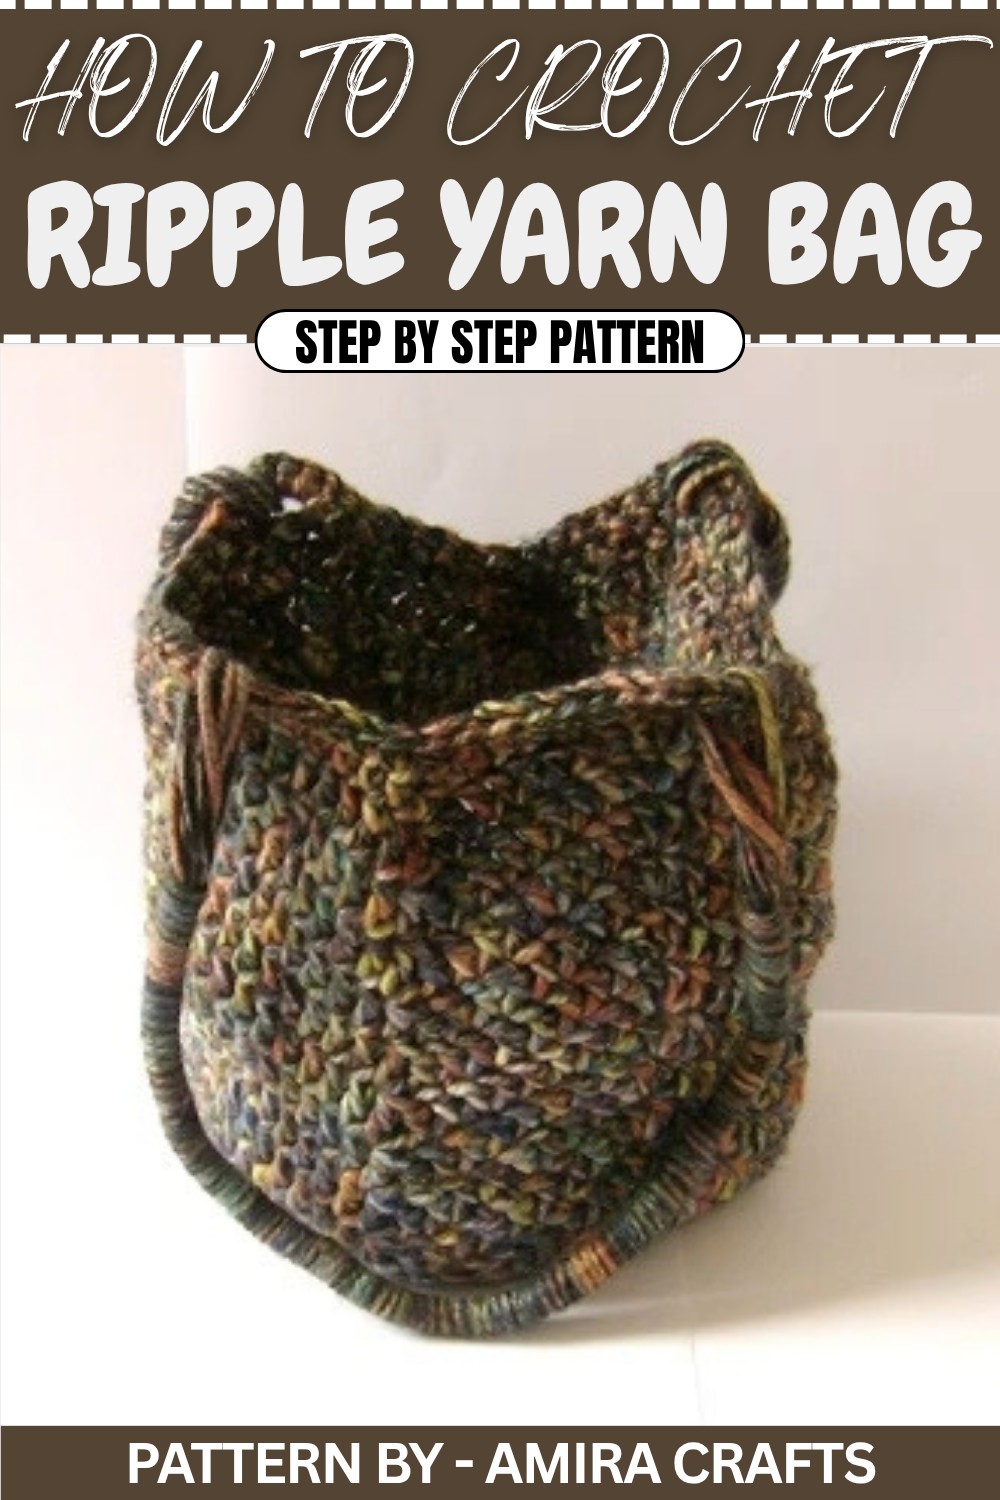
The process of making this bag involves working with basic crochet stitches like single crochet, half double crochet, and double crochet. Starting with a solid square base, the stitches grow outward, forming the ripple effect on the edges. The attention given to the corners and the gradual increases lend the bag its noticeable shape, while the flat sides balance the appearance beautifully. The wrapped handles are perhaps the most striking detail, they provide a polished finish and add strength, making the bag not just functional but also stylish.
Pattern by
A helpful guide for making this ripple yarn bag can be found on Amira Crafts, a channel well loved for its clear and thoughtful tutorials. From starting the base to completing the ripple effect and wrapping the handles, every step is explained in a straightforward, approachable way.
Ripple Crochet Yarn Bag Pattern
This design creates a textured ripple yarn bag using a 6mm hook and chunky yarn. The bag consists of two main parts: the square base (9 rounds) and the bag body (up to 20 rounds, including the base). Handles are added at the end for durability and functionality. This easy to follow pattern will guide you through every step of the process to craft your stylish bag.
Quick Overview of the Pattern:
- Step 1: Create a square base with increasing ripple stitches at each corner.
- Step 2: Build up the bag body by continuing in rounds to create height and structure.
- Step 3: Add wrapped yarn handles for sturdiness and a polished finish.
Notes:
- Use stiff chunky yarn to ensure the bag holds its shape.
- Maintain consistent tension throughout to achieve a seamless and even texture.
- Keep track of the stitch count as you work the increases and ripple effects in the bag.
Skill Level:
✔ Advanced Beginner to Intermediate
Materials:
- Yarn: 400g of stiff, chunky yarn (such as Neeko Chunky Yarn).
- Crochet Hook: 6mm.
- Scissors.
- Needle and thread for securing handle ends.
- Measuring tape.
Measurements:
- Square base consists of 9 rounds.
- Bag body consists of 20 total rounds (9 base rounds + 11 body rounds).
- Final bag size will vary depending on tension and the thickness of the yarn.
Stitch Abbreviations:
- ch: Chain
- sl st: Slip Stitch
- sc: Single Crochet
- hdc: Half Double Crochet
- dc: Double Crochet
- tog: Together (used for decreasing stitches, such as 2 sc tog).
Special Stitches:
Half Double Crochet (HDC):
- Yarn over.
- Insert hook into the stitch.
- Yarn over, pull through the stitch (3 loops on hook).
- Yarn over, pull through all 3 loops on the hook.
2 Single Crochet Together (SC2Tog):
- Insert hook into the first stitch, yarn over, and pull up a loop.
- Insert hook into the next stitch, yarn over, and pull up another loop.
- Yarn over and pull through all three loops.
2 Double Crochet Together (DC2Tog):
- Yarn over, insert hook into the first stitch, yarn over, pull up a loop (3 loops on hook).
- Yarn over, pull through 2 loops (2 loops remain).
- Yarn over, insert the hook into the next stitch, yarn over, and pull up a loop.
- Yarn over, pull through 2 loops (3 loops remain).
- Yarn over and pull through all 3 loops on the hook.
The Crochet Pattern
The Square Base (Rounds 1–9)
Round 1:
- Start with a slip knot and attach it to your hook.
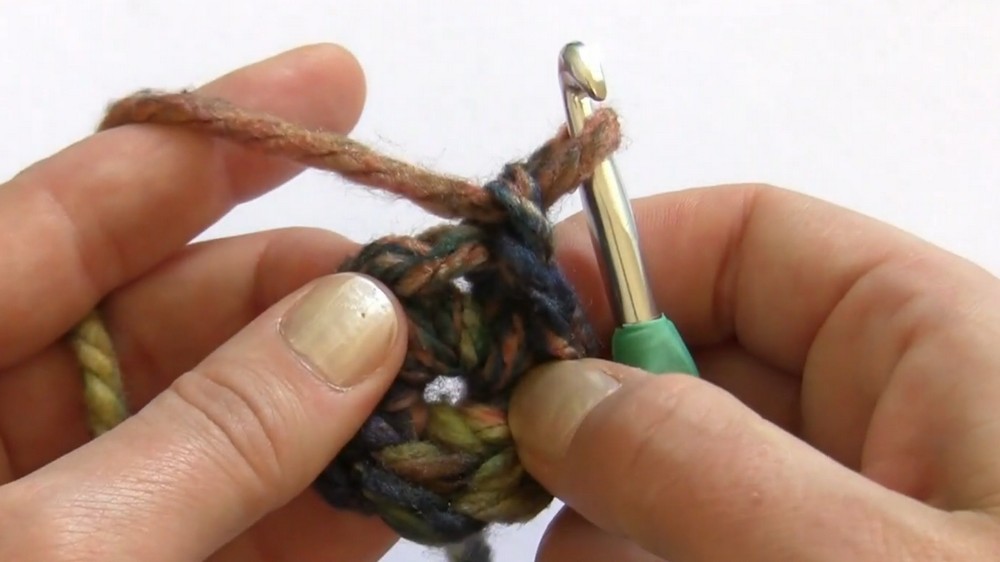
- Ch 2 and work 8 SC into the first chain.
- Slip stitch into the first SC to join the round. (8 stitches total).
Round 2:
- Ch 1 (counts as the first SC).
- Into the same stitch, work 1 HDC, 1 SC.
- In the next stitch, work (1 SC, 1 HDC, 1 SC).
- Repeat (1 SC, 1 HDC, 1 SC) 3 more times around.
- Slip stitch into the first HDC to join the round.
Rounds 3–9:
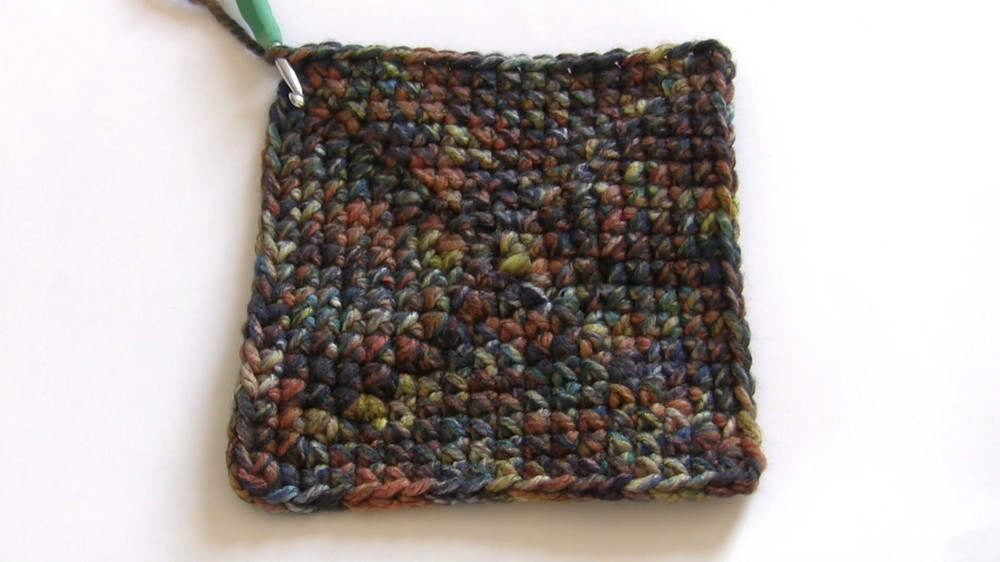
- Continue working increases at the corners: In each corner HDC, work (1 SC, 1 HDC, 1 SC).
- Work 1 SC into each stitch between the corners, increasing the number of SC stitches between corners by 2 in each subsequent round.
- Join each round with a sl st into the first HDC to maintain the spiral shape.
The Bag Body (Rounds 10–20)
Round 10:
- Ch 3 (counts as the first DC).
- Work 2 DC in the same stitch.
- Work 1 DC in each of the next 7 SC stitches on the side.
- Work DC2Tog, skipping the middle stitch to form the dip in the ripple pattern.
- Repeat 1 DC in each of the next 7 SC along the side, then work 3 DC into the next corner HDC.
- Continue this pattern around and finish by joining with a sl st into the first DC.
Round 11:
- Repeat the pattern of Round 10, working into the DC stitches from the previous round.
- Continue to work corner increases (3 DC in one stitch) and DC2Tog decreases at ripple points.
- Work the rippled texture evenly for a total of 20 rounds, ensuring the bag body becomes taller.
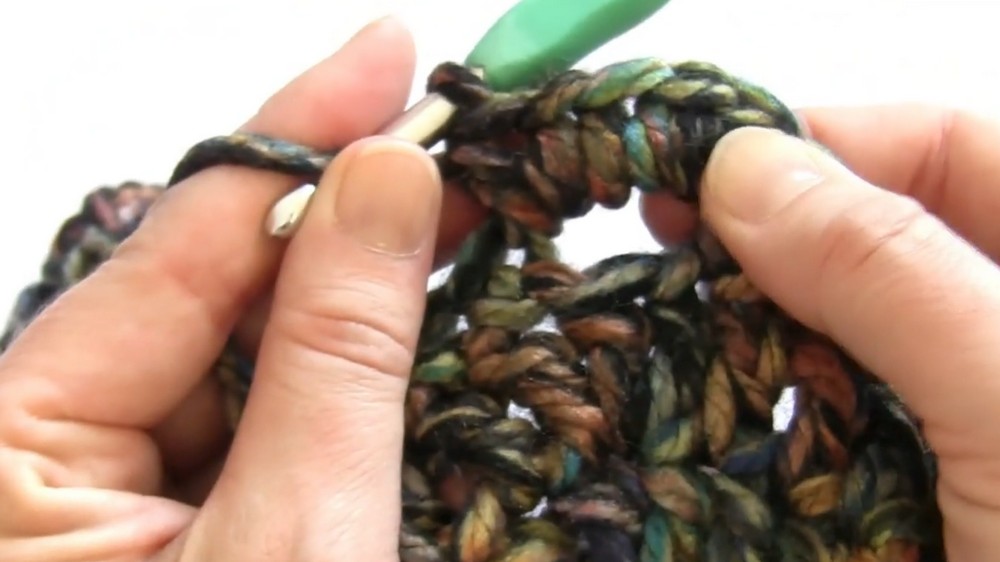
Round 19:
- Ch 1, and work 1 SC into the first 6 stitches.
- Work SC2Tog by skipping the middle stitch.
- Then work 1 SC into each of the next 7 stitches.
- Ch 3, skip 1 stitch, and repeat this sequence, maintaining the ripple effect.
Round 20 (Top Edge and Handles):
- SC along the top edge of the bag.
- When you reach the Ch 3 spaces from the previous round, work 5 SC into each space.
- Use an invisible join to close the round for a clean and seamless edge.
Handles Construction
Step 1 (Handle Base):
- Cut a 5 meter strand of yarn.
- Thread the yarn through the 5 SC holes on the bag’s top edge where the handles will go.
- Repeat the threading process until the handle reaches the desired thickness.
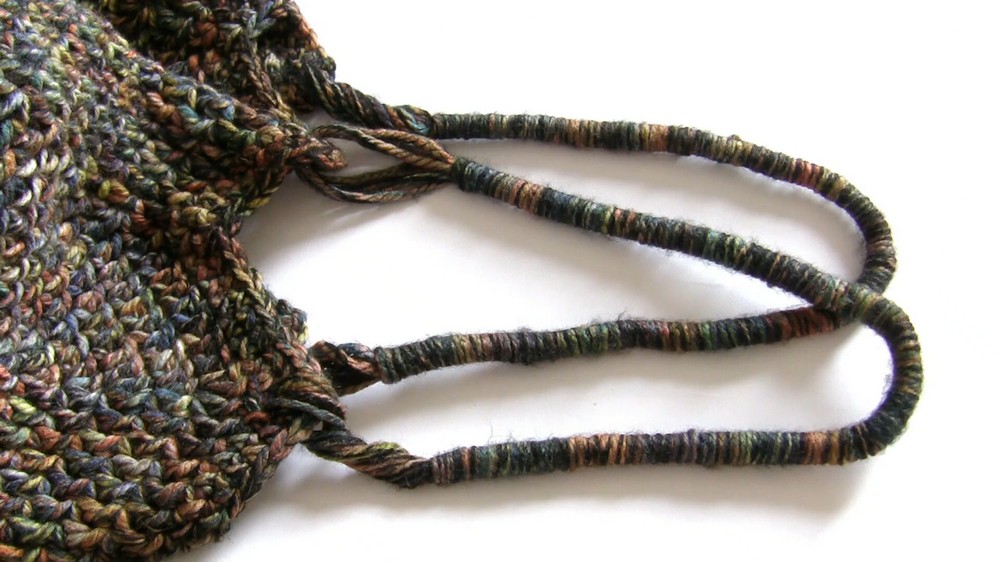
Step 2 (Wrapping the Handles):
- Cut an additional piece of yarn and begin wrapping tightly around the threaded handle yarn.
- Start wrapping 8cm from the base of the handle hole, moving downward as you go.
- Ensure the wraps are tight and evenly spaced.
- When finished, pull the end of the yarn through the last few wraps and secure with a knot or by sewing the ends with a needle and thread.
Assembly & Finished Size
- Ensure both handles are of equal length and thickness.
- Trim any loose yarn and make sure the joins are secure.
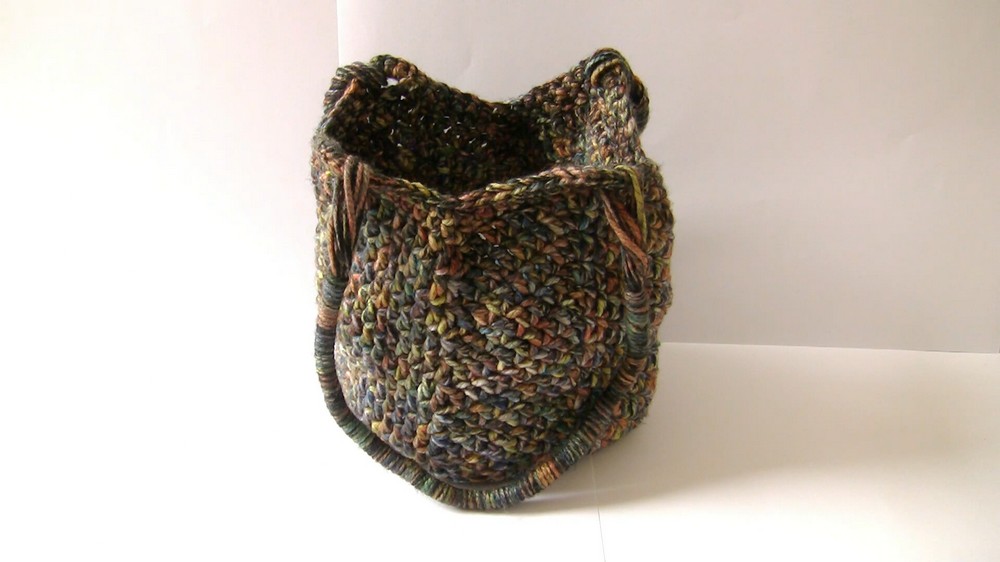
- Your finished bag should have a sturdy body and durable handles suitable for everyday use.
Conclusion
Congratulations on completing your Ripple Crochet Yarn Bag. This beautiful bag is versatile, functional, and uniquely textured with its ripple pattern and wrapped handles. Experiment with different colors and yarn types to create your personalized masterpiece.