
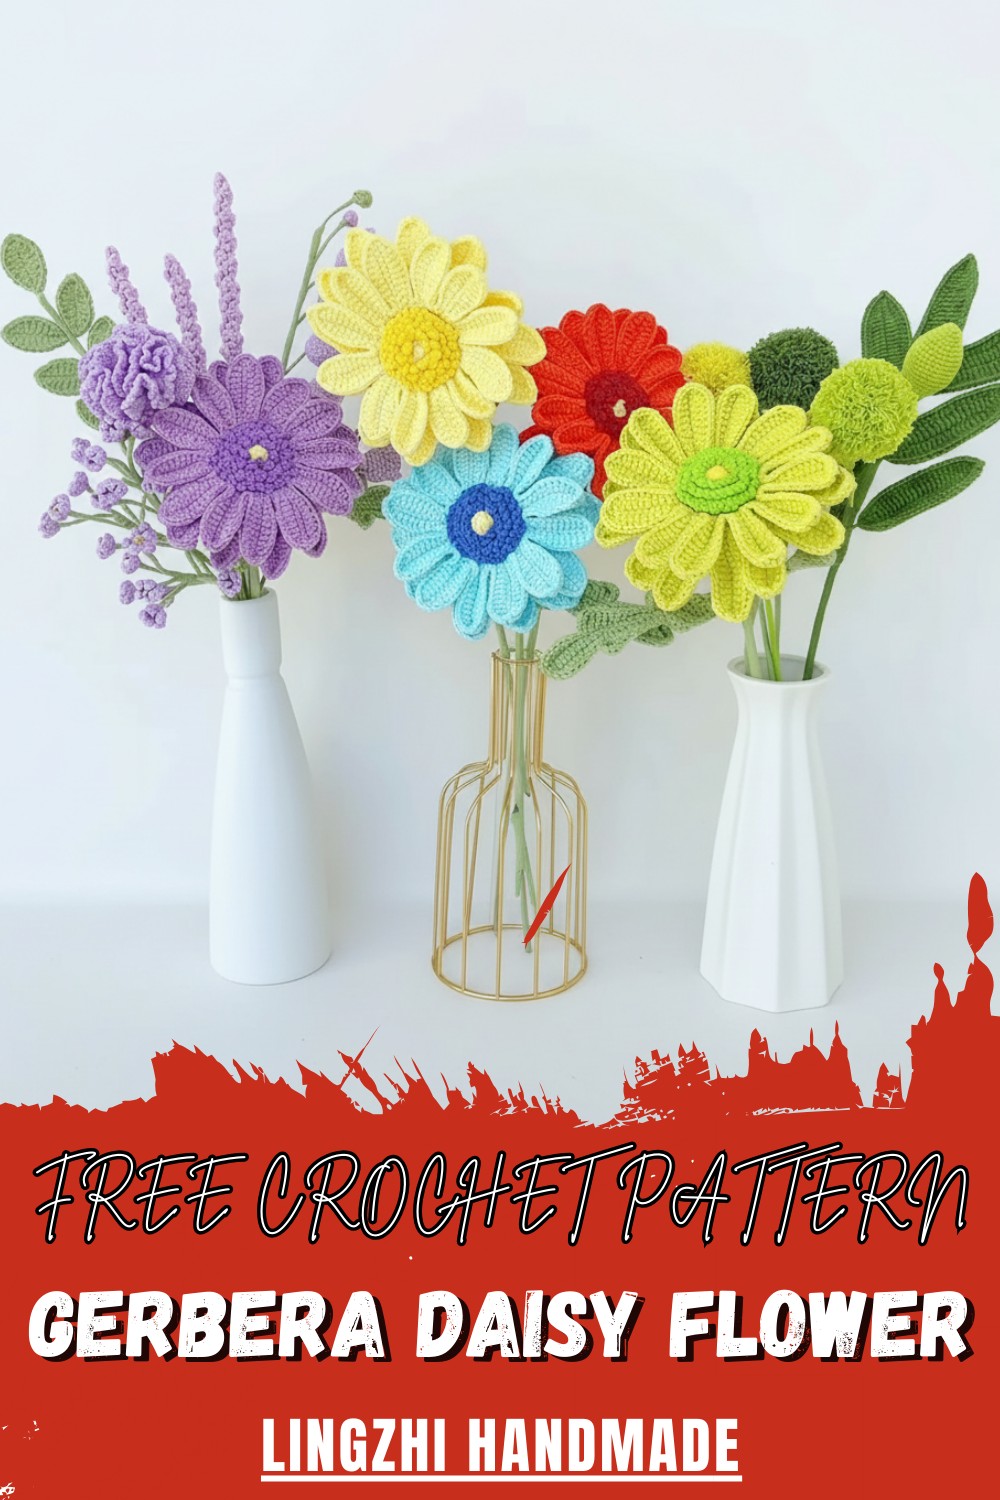
Bright Crochet Gerbera Daisy Flower Pattern to Cheer Any Space
Brighten any room with a lively crochet Gerbera daisy that spreads happiness, adds cheerful charm, and brings playful energy to every space.
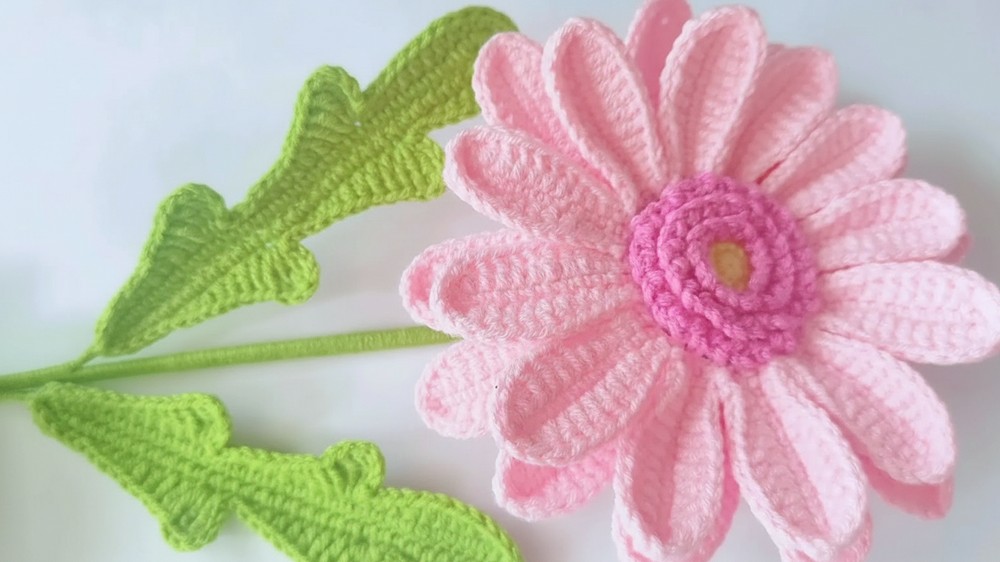
This bright flower is made by looping soft yarn with a crochet hook to form a round center and many long petals that spread outward like a real blossom. The way the center is made uses a small ring of stitches that slowly grows into a fuller base, and then the petals are added around it one by one to give it a full, layered shape. Each petal starts from the outer edge and uses basic stitches like chain loops and taller stitches to create smooth, pointed petals that look like gentle rays of color.
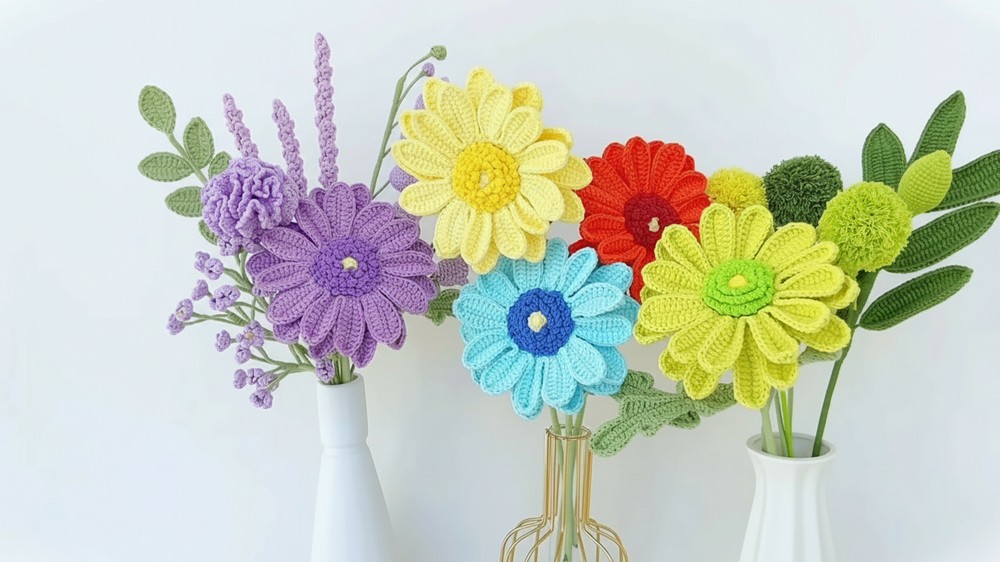
Simple Crochet Gerbera Daisy Flower Pattern That Looks Stunning
When all the petals are attached, the flower looks very lively and can remind you of sunny gardens because of its round shape and bold form. The crochet Gerbera Daisy flower pattern makes this piece both fun to make and nice to look at, especially when you use bright yarns that stand out.
This handmade flower can be used to decorate bags, scarves, blankets, or even given as a small gift that shows care and creativity. Many people enjoy it because it adds a cheerful, artistic touch wherever it is displayed.
How to Crochet a Giant African Daisy
Materials Needed
To crochet the African Daisy, you’ll need the following materials:
Yarn:
- Milk Cotton Yarn (4-ply): Used for all parts of the flower. The instructor mentions that there are 86 color options available, so you can create a design to your liking.
Other Supplies:
- Craft wire: Used for shaping the flower petals and leaves.
- Crochet hook: Size not explicitly stated in the transcript, but typically, a size between 2.5 mm and 4 mm works with 4-ply yarn.
- Scissors: For cutting yarn and trimming.
- Stitch markers (optional): Useful for beginners to keep track of rounds.
- Tapestry needle: For weaving in yarn tails and assembling parts.
Special Features
- Detailed Layers:
- This daisy is crafted in multiple parts: the flower heart, flower torus, two layers of flower petals, and leaves, all pieced together for a realistic and intricate look.
- Craft Wire Incorporation:
- The petals and leaves are reinforced with craft wire, which allows you to shape them and give the flower a more structured, life-like form.
- Stunning Design:
- With large, vibrant petals and a textured flower heart, this daisy is designed to stand out as the centerpiece of any bouquet.
- Customizable Colors:
- You can choose from a wide spectrum of colors to suit your design and make your flower unique.
Level of Difficulty
- Intermediate:
- Requires knowledge of foundational crochet techniques such as magic rings, single crochet (SC), half-double crochet (HDC), double crochet (DC), and slip stitches (SL ST).
- Beginners may find the project slightly challenging due to the incorporation of craft wire and the layered structure of petals and leaves. However, the tutor provides clear step-by-step instructions to guide learners through the process.
Tutor's Suggestions
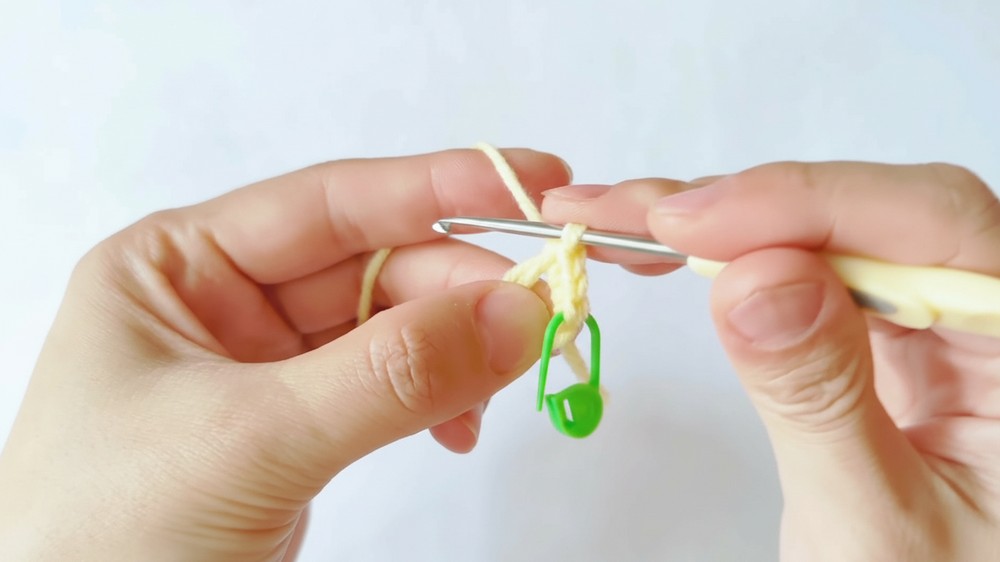
- Using Stitch Markers: Beginners are encouraged to use stitch markers at the start of each round to help track stitches and avoid confusion.
- Tighten Your Magic Ring:
- To create a clean and tight ring, pull the moving yarn firmly when closing the magic circle and ensure the tail is pulled securely.
- Hide Tails Neatly:
- Always weave in yarn tails securely and cut them off carefully to achieve a neat and professional finish.
- Incorporating Craft Wire:
- When working with the craft wire, fold it at the start to ensure it doesn’t shift during shaping. Trim the wire carefully before securing it inside the stitches.
- Customization:
- Experiment with different yarn colors to make the flower expressive and personalized.
Step-by-Step Instructions
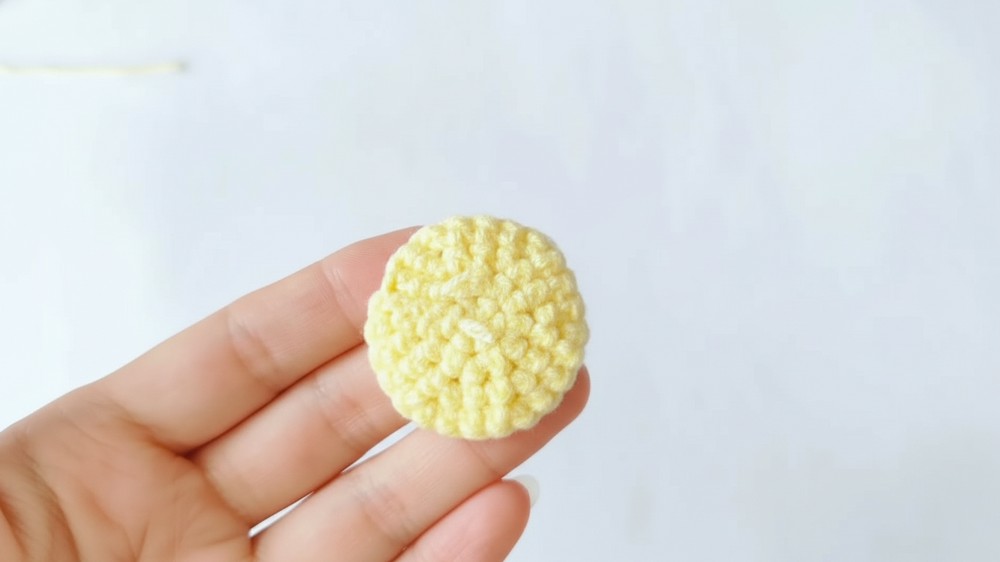
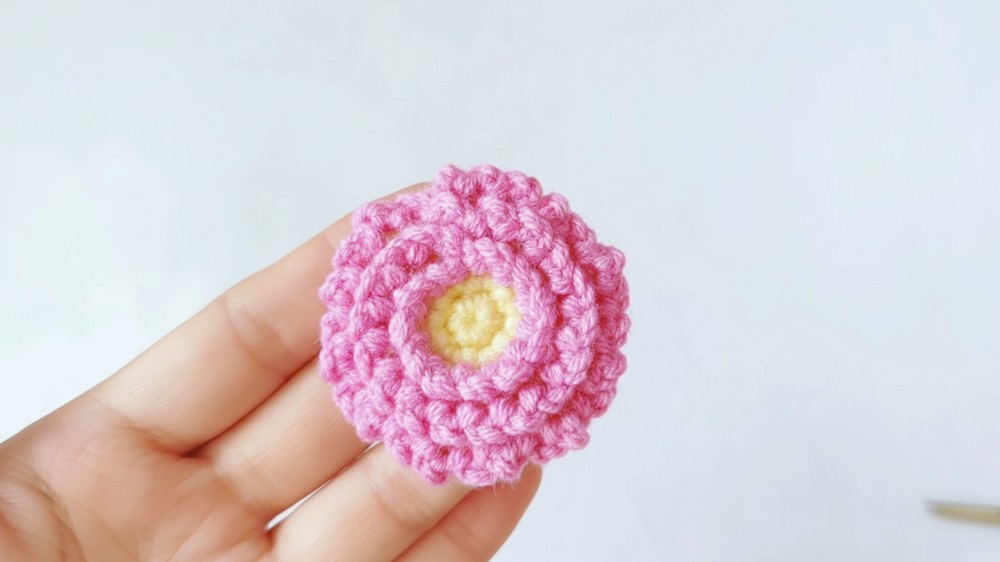
Step 1: Crochet the Flower Heart
- Start with a magic ring using yellow yarn.
- Chain 1 (does not count as a stitch).
- Work 6 single crochets into the magic ring. Use a stitch marker if needed.
- Pull the tail tight to close the ring, then slip stitch to the first stitch to close the round.
- Chain 1 to begin the next round:
- Round 2: Work 6 increases (2 SC in each stitch) – total 12 stitches.
- Round 3: Work only in the back loops. Alternate 1 single crochet and 1 increase – 18 stitches.
- Round 4: Alternate 2 single crochets and 1 increase – 24 stitches.
- Cut and secure the yarn, weaving in the tail.
Step 2: Add Detail to the Flower Heart
- Switch to pink yarn and attach it to the unused loops of Round 3.
- Chain 2, slip stitch into the next space, and repeat: 2 chains, slip stitch. Continue this pattern around.
- Repeat the same pattern for two more rounds to create layered loops. Secure the yarn and hide the tail.
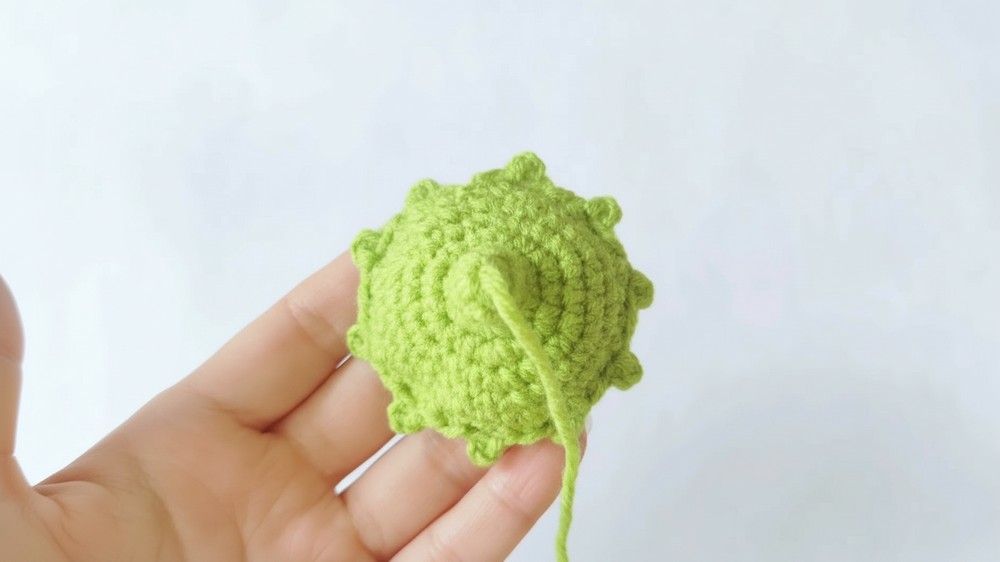
Step 3: Crochet the Flower Torus
- Using green yarn, start with a double circle or magic ring.
- Round 1:
- Chain 1 (not a stitch) then work 6 single crochets into the ring. Pull the tail tightly to close the ring and slip stitch to the first stitch.
- Round 2:
- Work 1 single crochet in each stitch (6 stitches).
- Rounds 3–8:
- Continue working 1 single crochet into each stitch.
- Add a decorative edge on Round 9:
- Skip one space, work 1 double crochet and a 2-chain picot in the next stitch, repeat around.
- Secure and hide the yarn.
Step 4: Crochet the First Layer of Flower Petals
- Start with a double circle and yellow yarn:
- Work 6 SC into the magic ring, then secure the circle as before.
- Work 5 rounds to form the base following the same general steps as used for the flower heart.
- Switch to pink yarn for petals:
- Work 13 chains, then 11 SC into each back bump.
- Slip stitch into the base and repeat for all petals.
- Add craft wire:
- Work along the petals, incorporating craft wire into your stitches. This allows for shaping.
- Repeat for all petals and secure the layer.
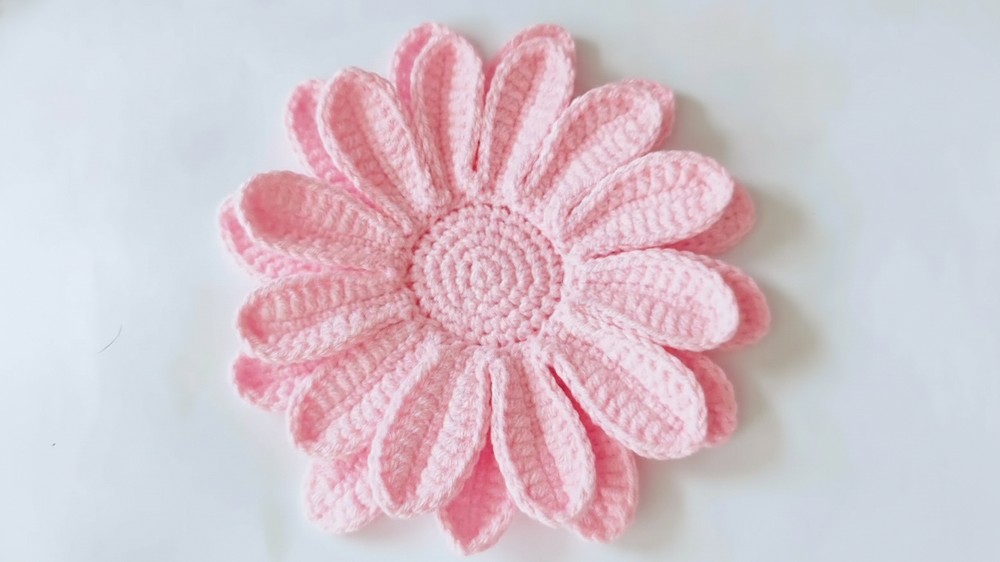
Step 5: Crochet the Second Layer of Flower Petals
- Work between the petals created in the first layer.
- Repeat the same pattern but modify the chains to create slightly larger petals.
- Add craft wire and shape as you work.
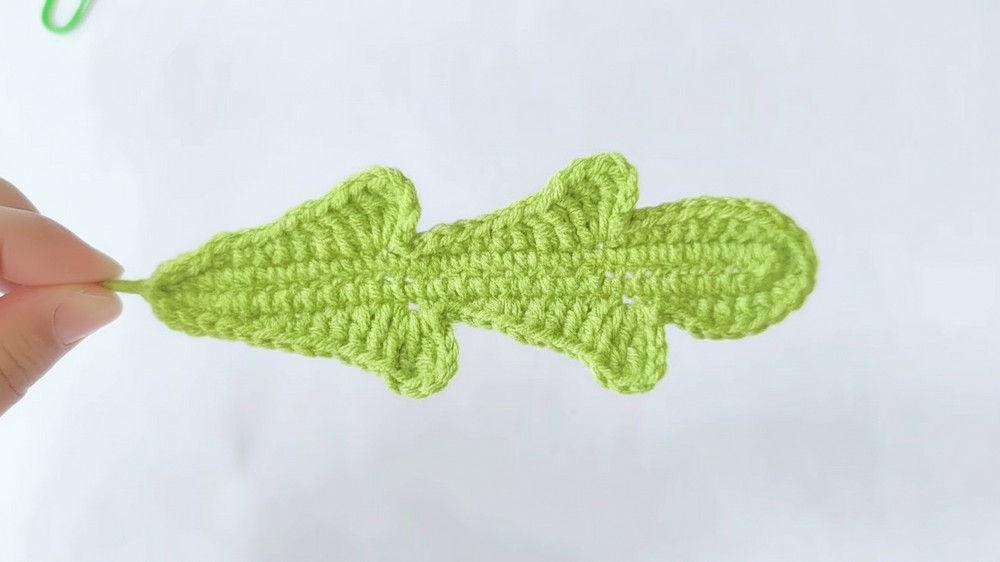
Step 6: Crochet the Leaves
- Start with 34 chains in green yarn and craft wire:
- Work 30 SC down one side, 3 SC in the tip, and continue 30 SC down the other side.
- Follow along with the pattern for shaping the leaf with slip stitches, half-double crochets, and decorative edges.
- Add petals to the tip of the leaf following the pattern.
- Secure the craft wire, weave in tails, and cut.
Step 7: Assemble the Flower
- Attach the flower heart, petals, torus, and leaves together using a tapestry needle.
- Shape the petals and leaves using the craft wire for a life-like finish.
Uses
- Home Décor: Use the flower as a centerpiece for your table or décor for events.
- Craft Bouquets: Combine several flowers and leaves to create a stunning bouquet.
- Gifting: Makes a thoughtful and unique handmade gift for loved ones.
Tip
When working with craft wire, always cut it slightly longer than needed to allow for flexibility during assembly. Fold and secure the ends of the wire neatly in the stitches to prevent poking or shifting.
Conclusion
This giant African Daisy tutorial is an exciting and rewarding crochet project that allows for creativity and customization. While it requires intermediate skills, the clear, step-by-step instructions make it manageable. The result is a stunning decorative piece that can serve as a statement in any home or gift arrangement.